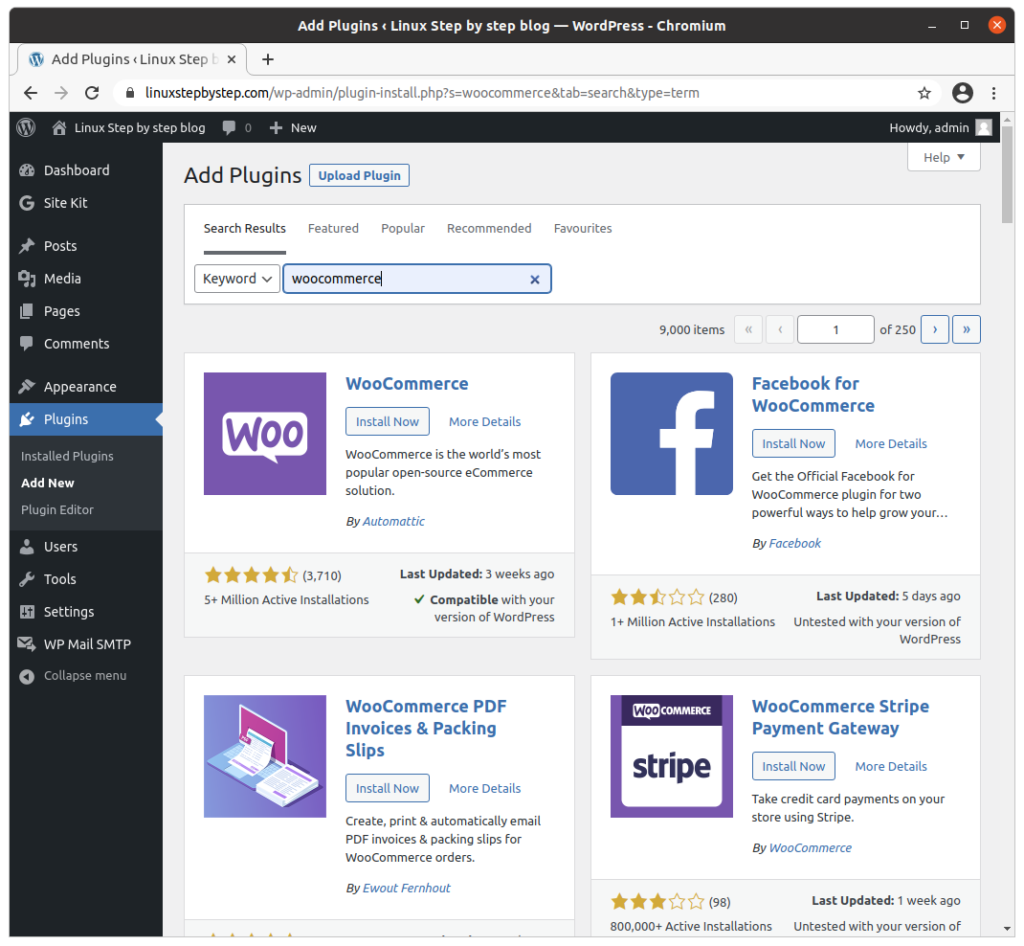
Previous step: Chapter 12: Installing and configuring the WooCommerce plugin for WordPress to enable a shopping cart for transactions
Next step: Chapter 14: Installing and configuring Live Helper Chat to add text chat support to a website
Web presence step by step is a series of posts that show you to how to build a web presence.
In this chapter, we install and configure MyBB to create a community forum site.
If you are not familiar with SSH terminal programs
This chapter assumes that you have read Chapter 4: Using an SSH terminal program to connect to an Ubuntu Linux cloud server. If you are not familiar with SSH terminal programs, please consult that chapter.
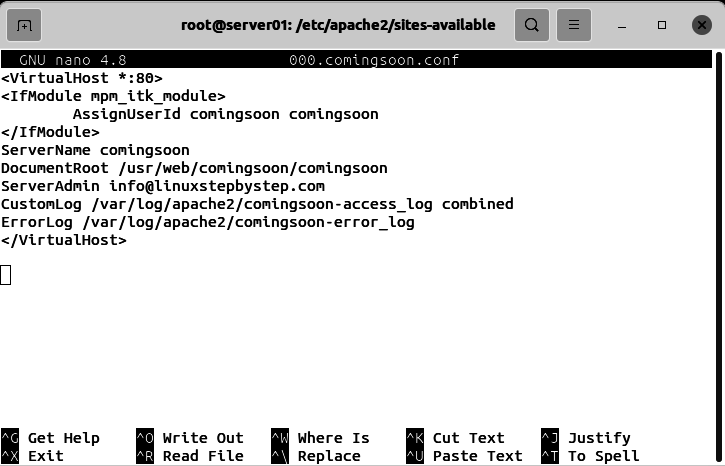
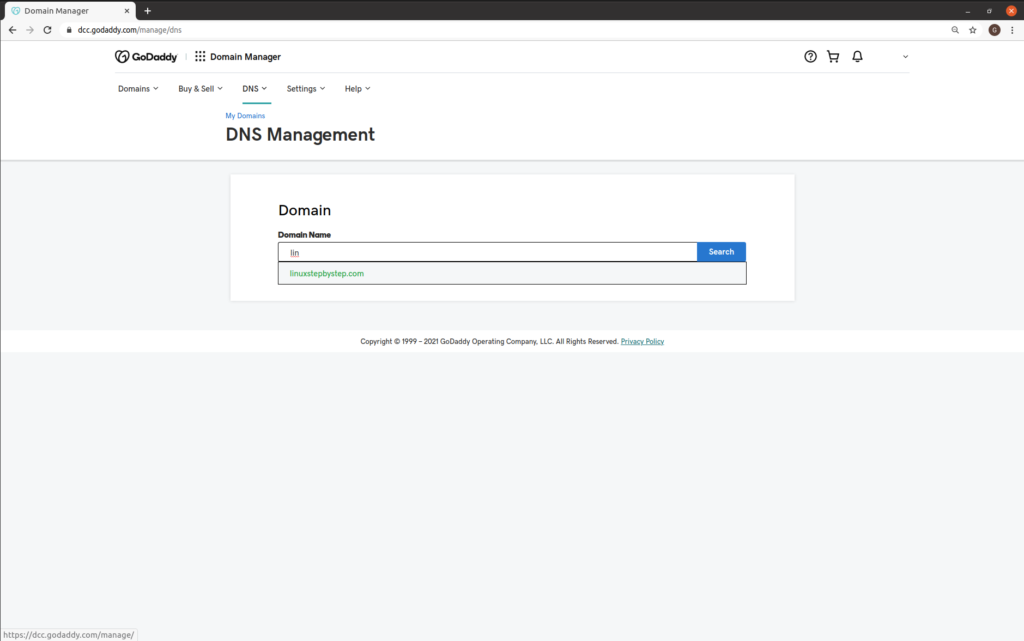
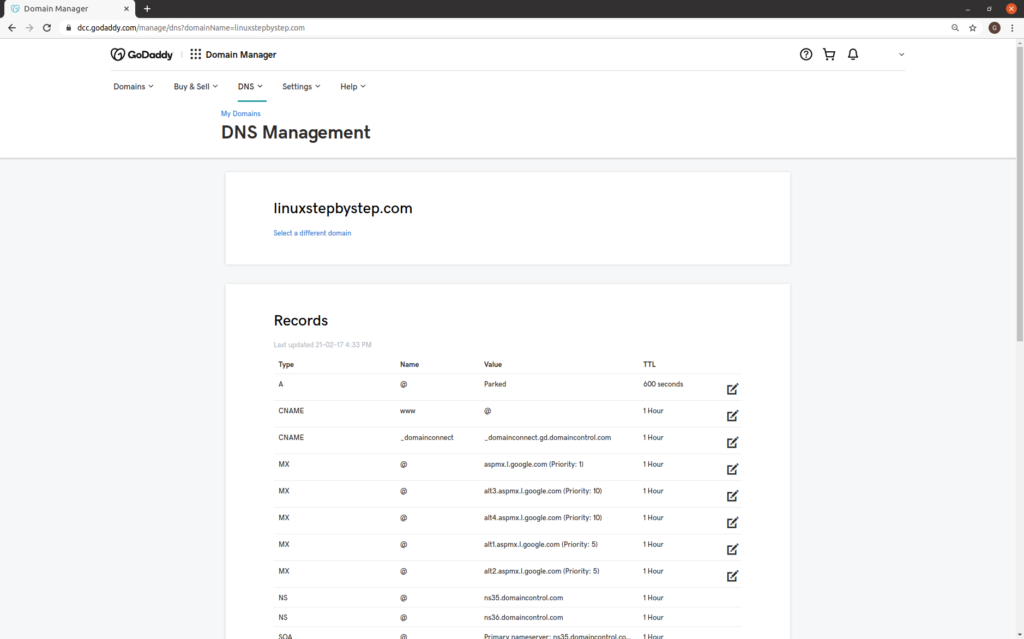
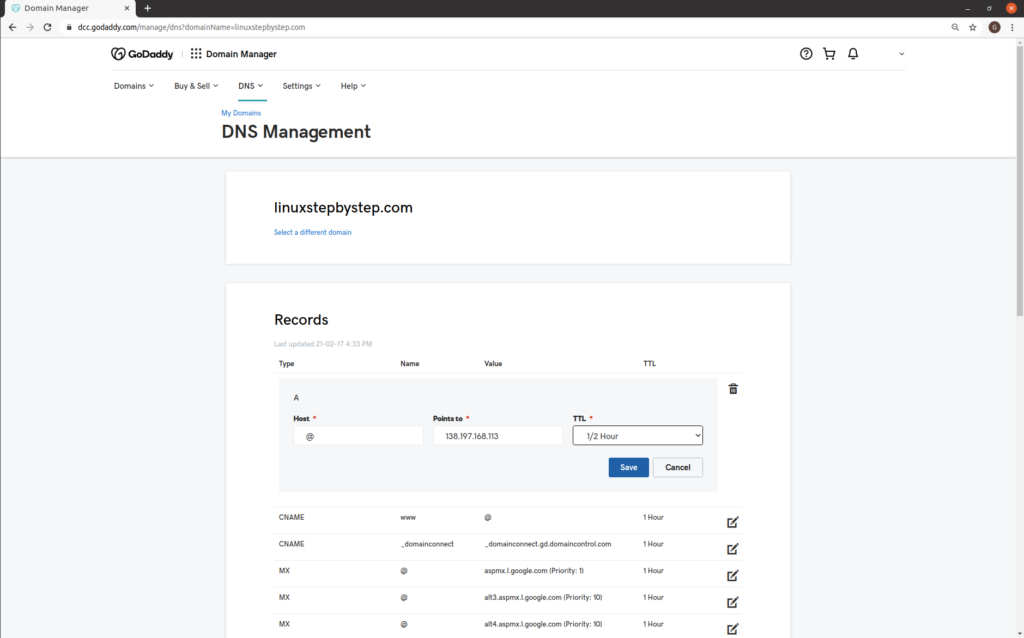
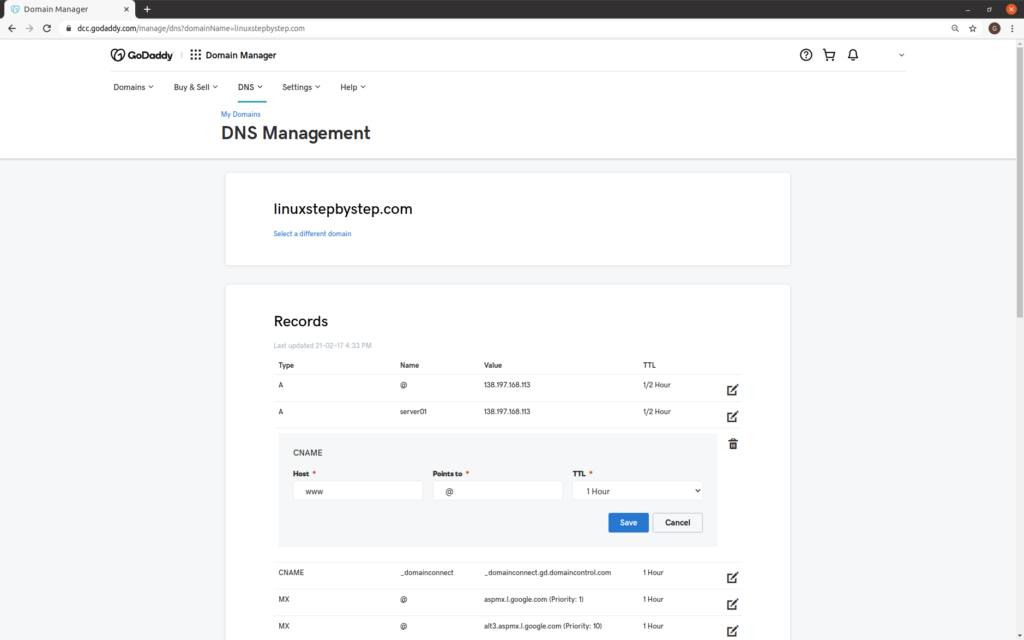
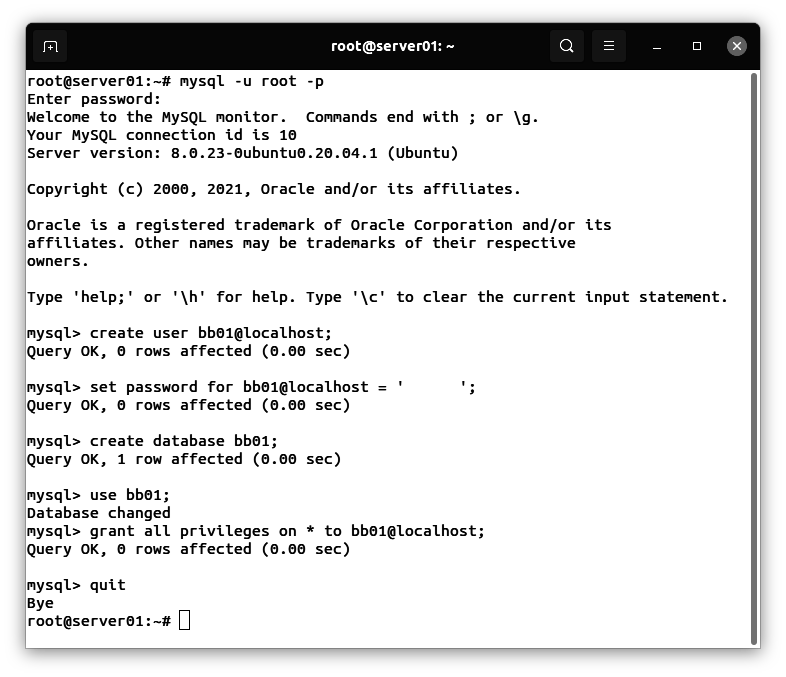
Creating a MySQL database to host the data for the MyBB community forum site
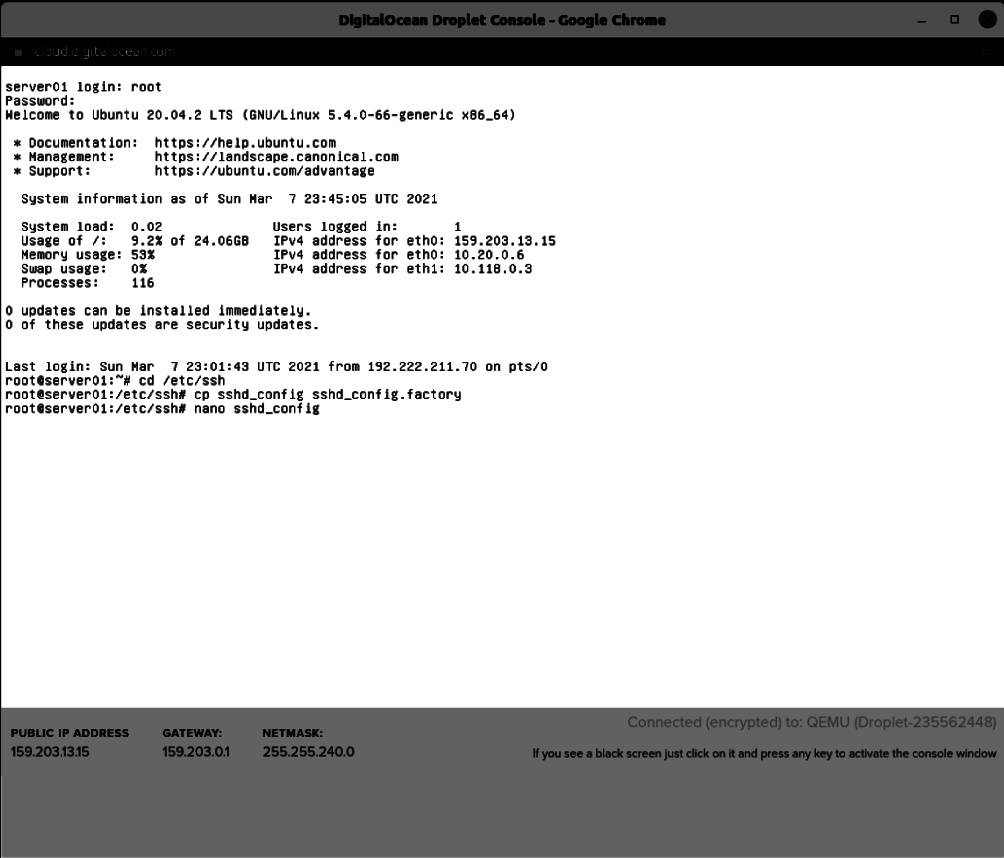
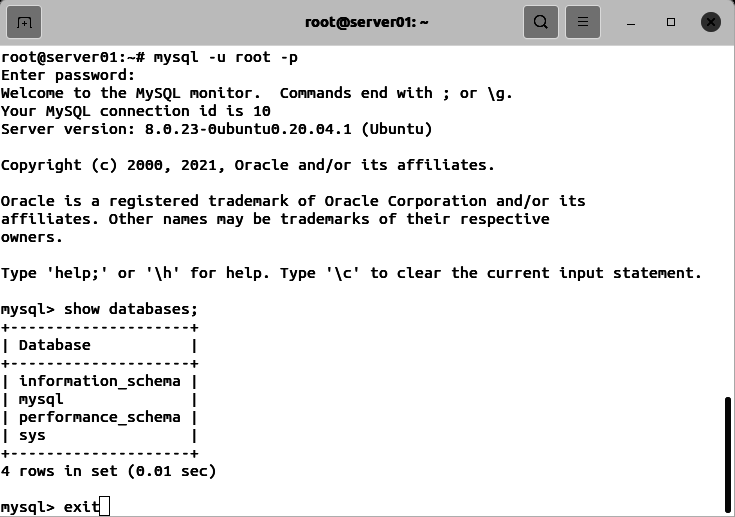
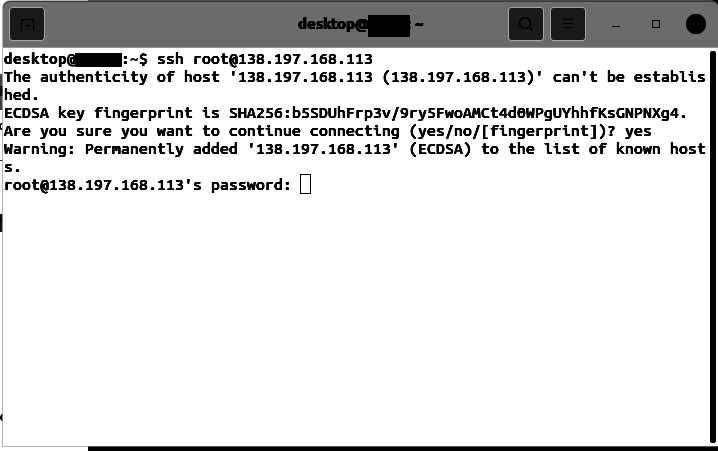
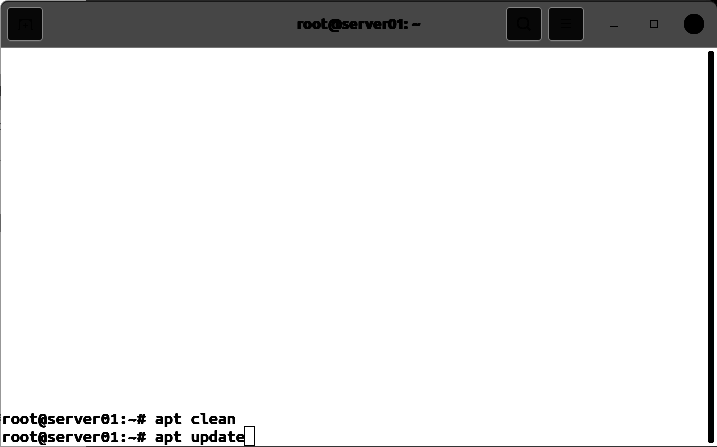
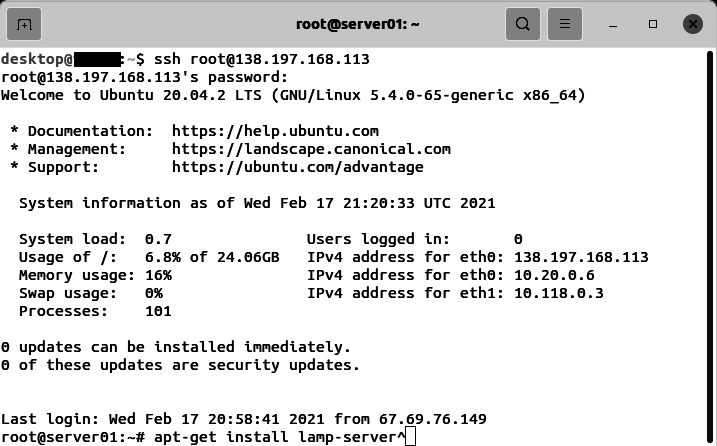
Use an SSH terminal program to connect to the Ubuntu Linux cloud server you created in Chapter 3: Buying an Ubuntu Linux cloud server from Digital Ocean.
From the system prompt, enter the command:
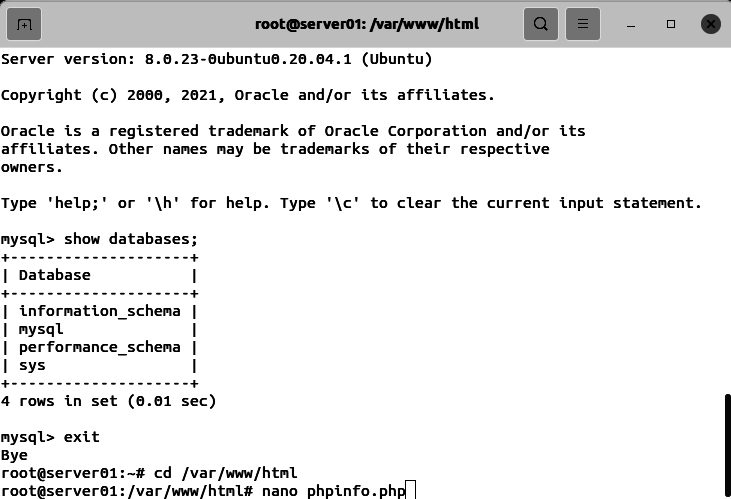
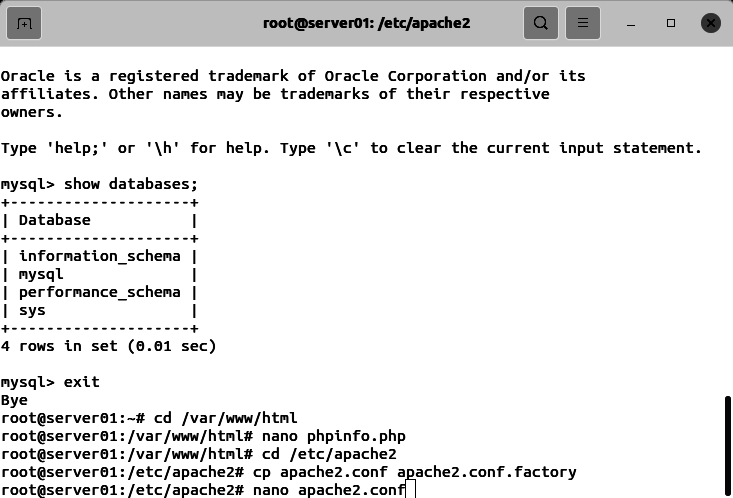
mysql -u root -p
From the MySQL console prompt, enter these commands (use a unique password in place of ‘xxxxxx’):
create user bb01@localhost;
set password for bb01@localhost = 'xxxxxx';
create database bb01;
use bb01;
grant all privileges on * to bb01@localhost;
quit
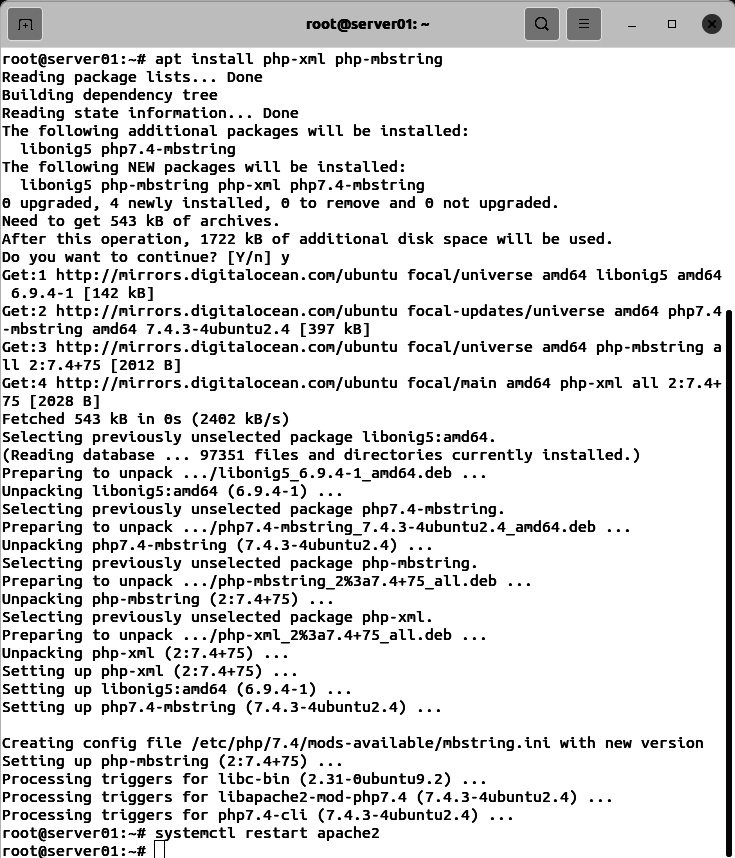
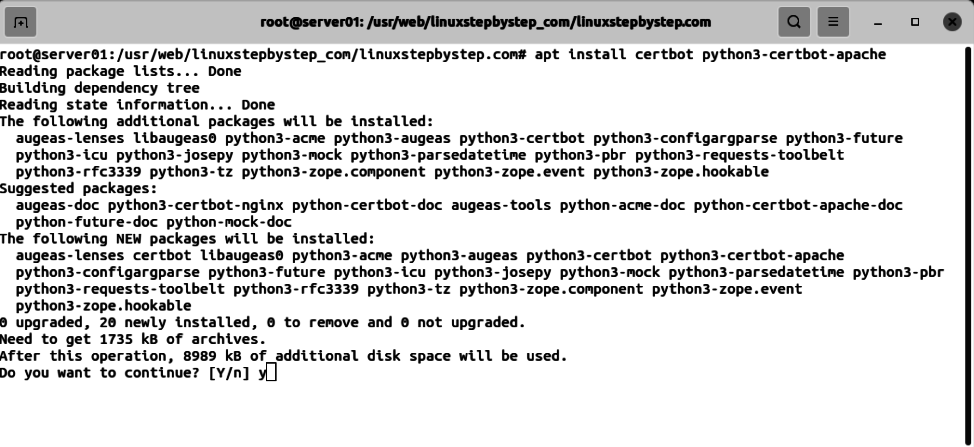
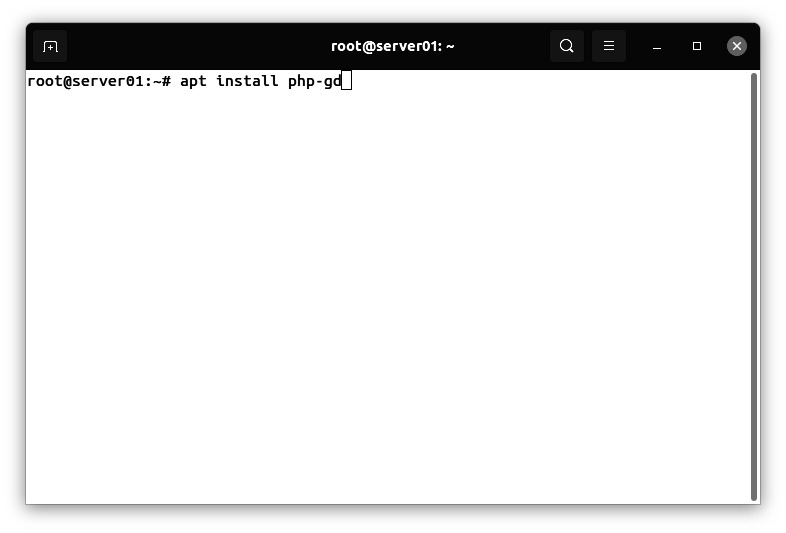
Installing the php-gd extension
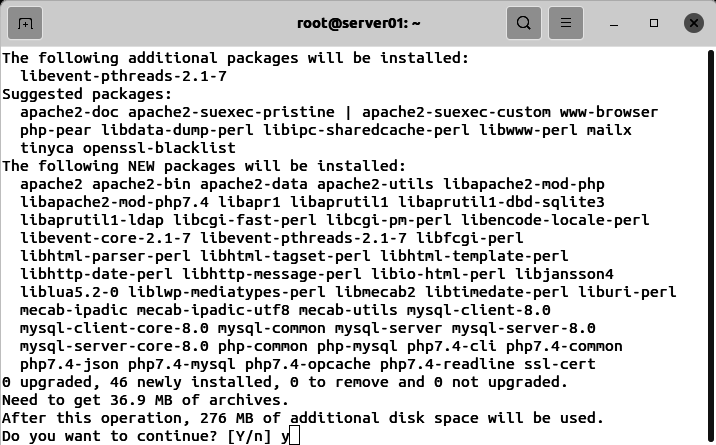
In order to generate graphics representing captchas, we need to install the php-gd extension.
Enter the command:
apt install php-gd
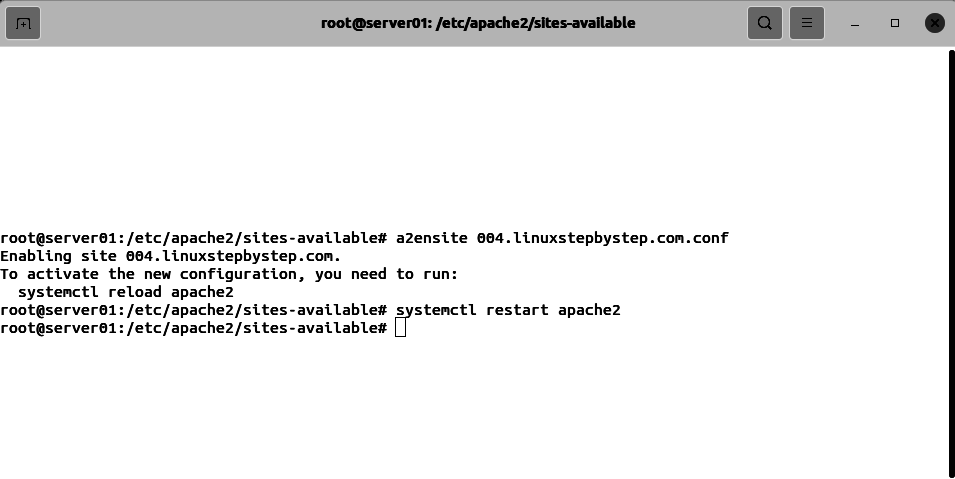
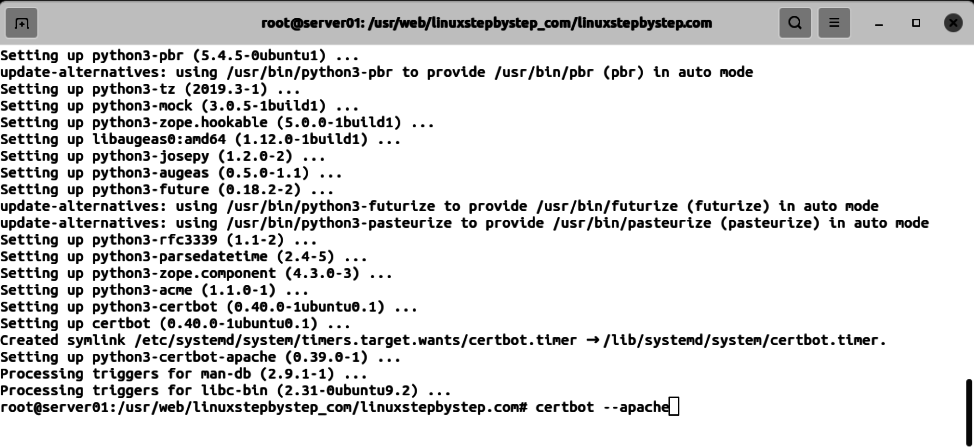
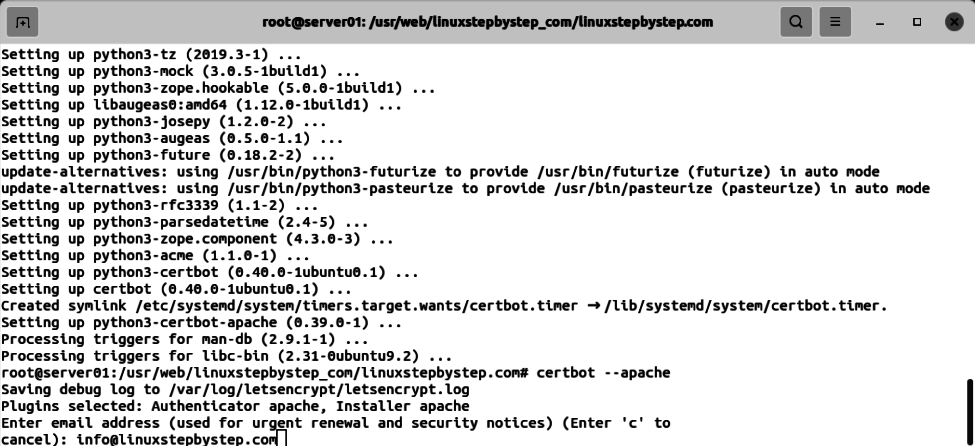
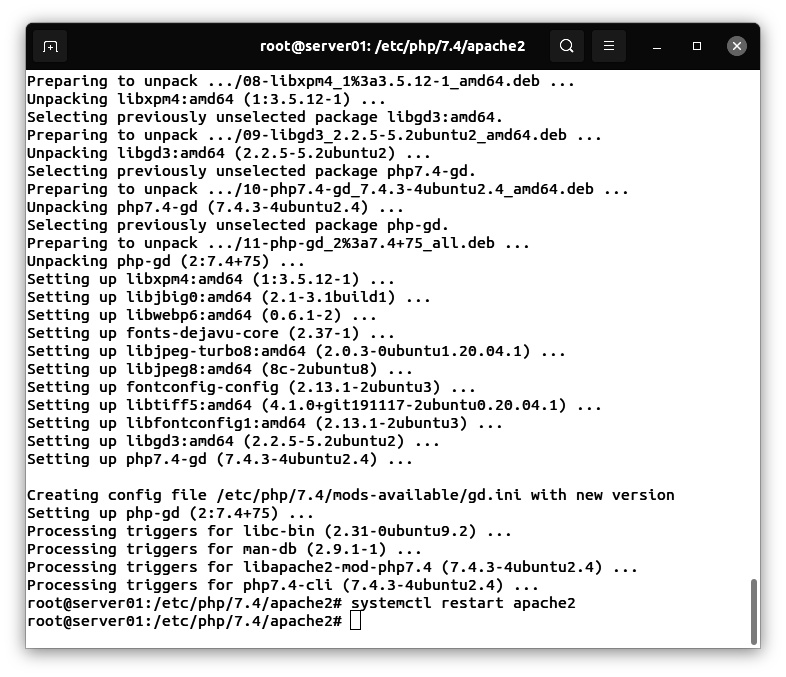
Enter the command:
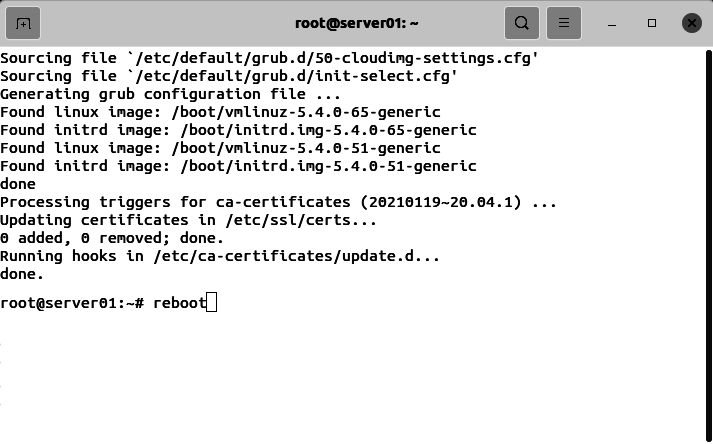
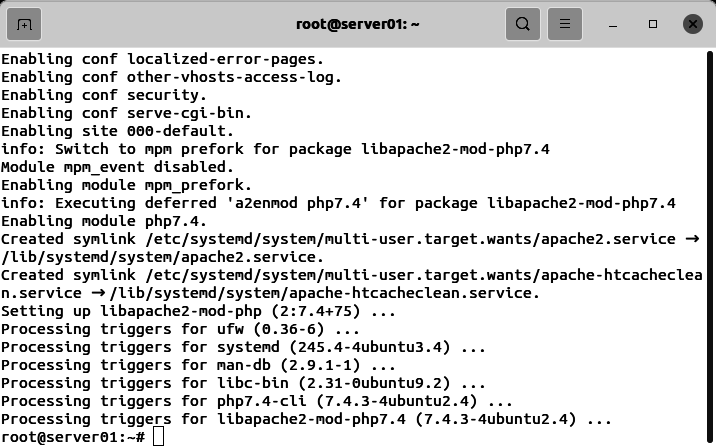
systemctl restart apache2
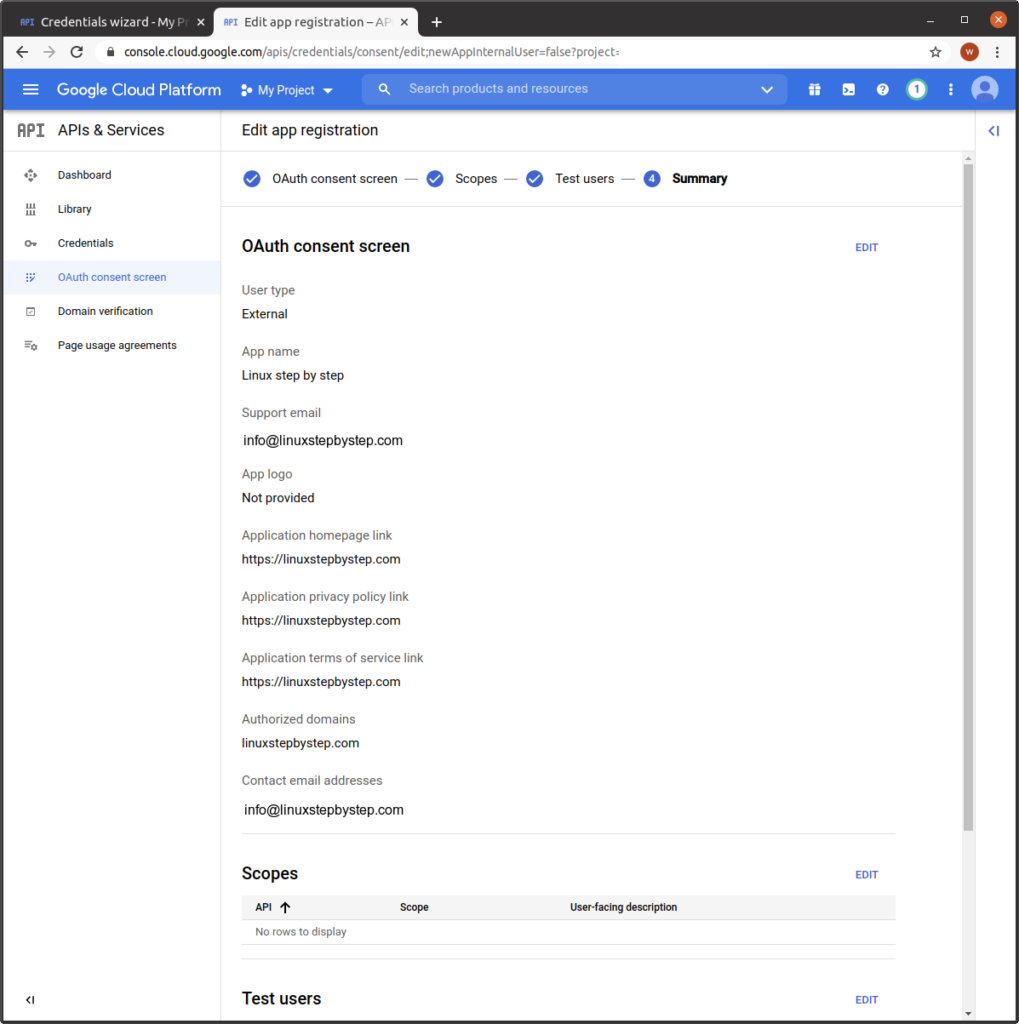
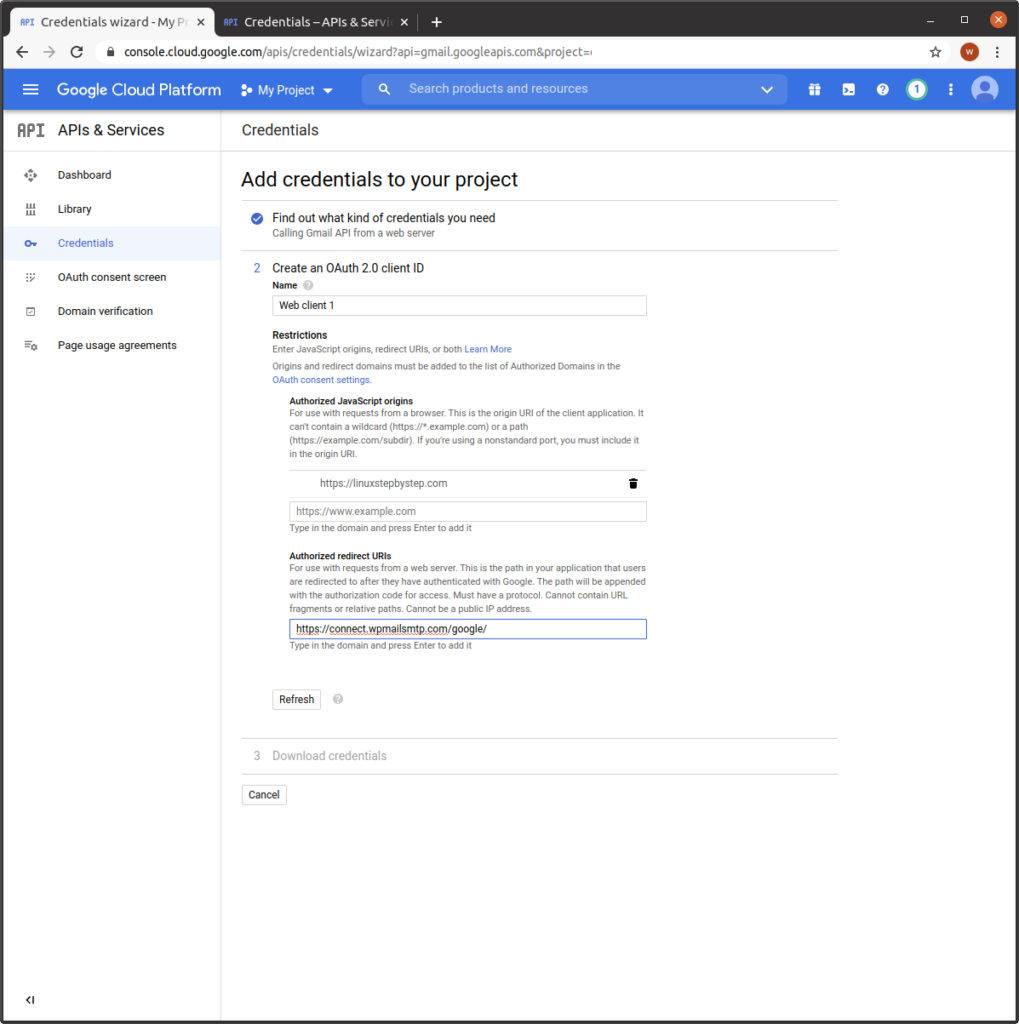
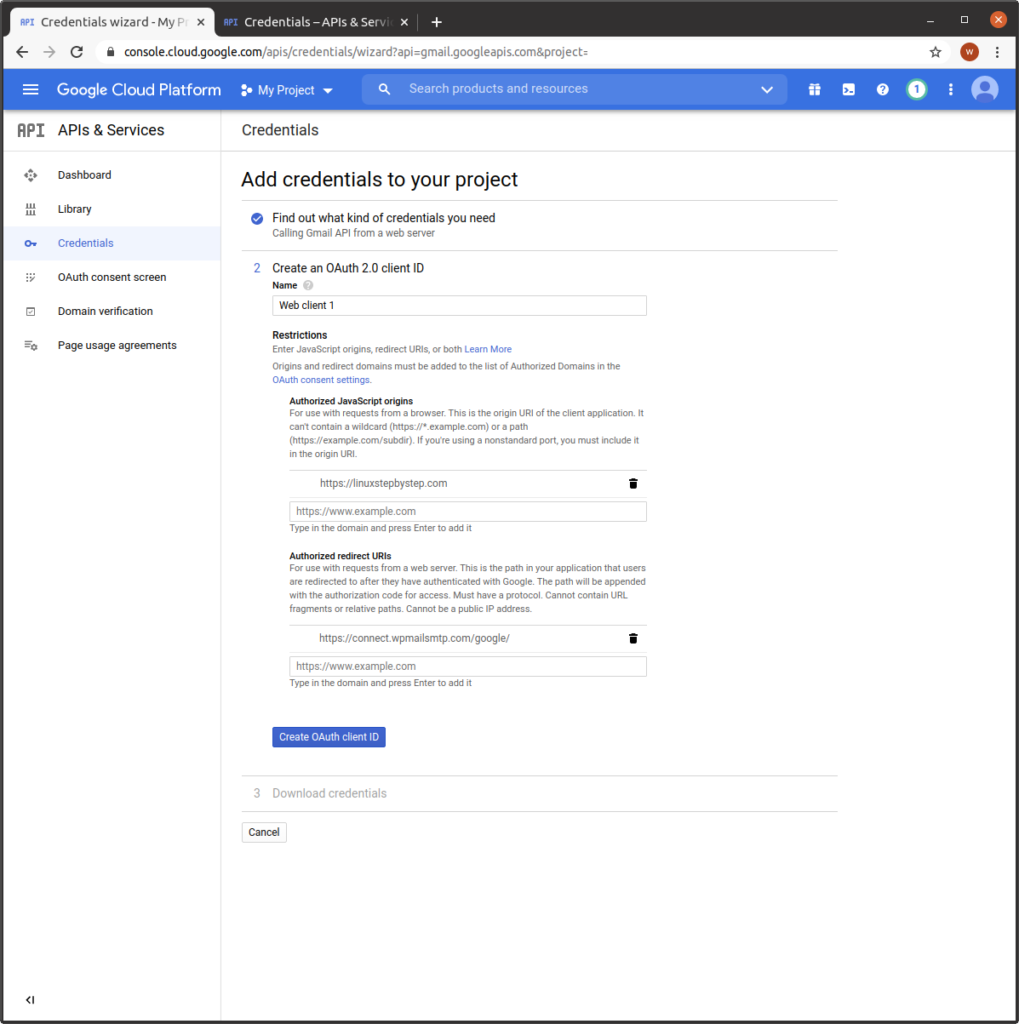
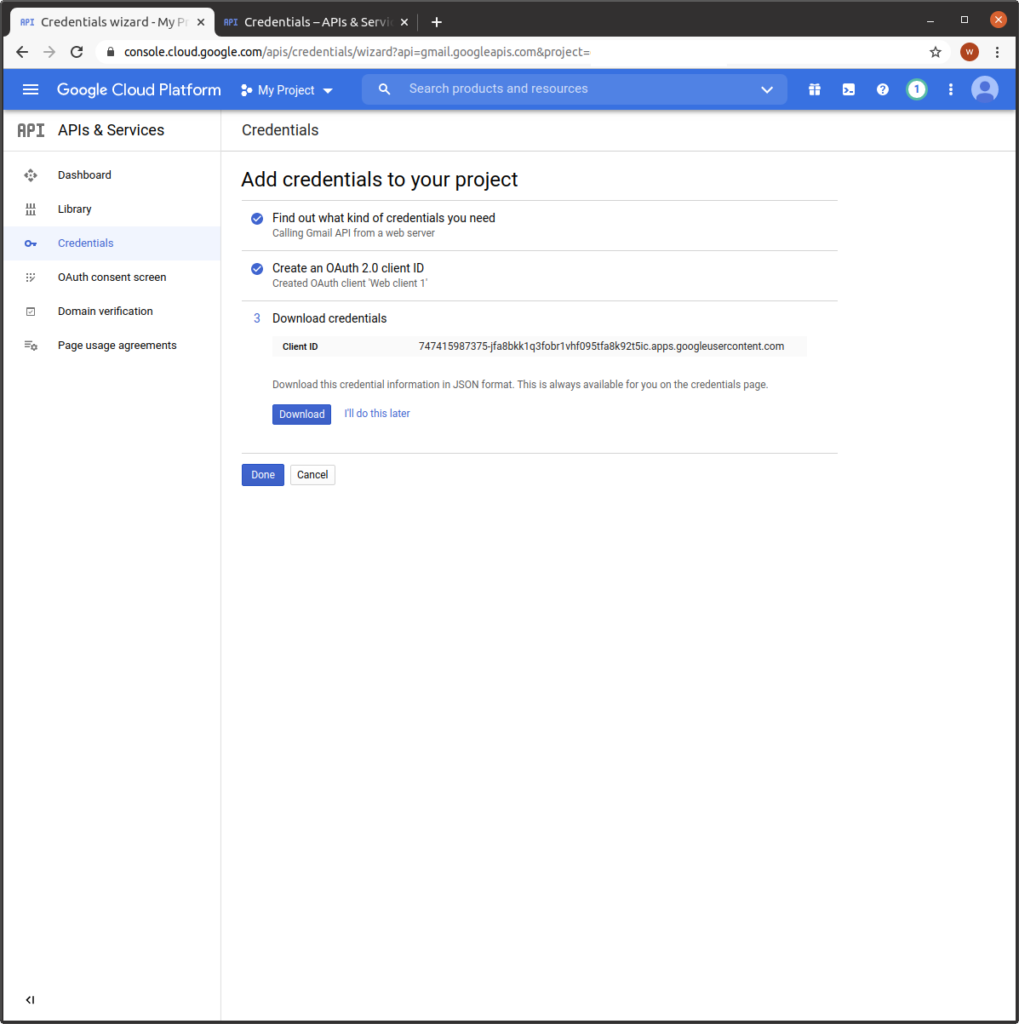
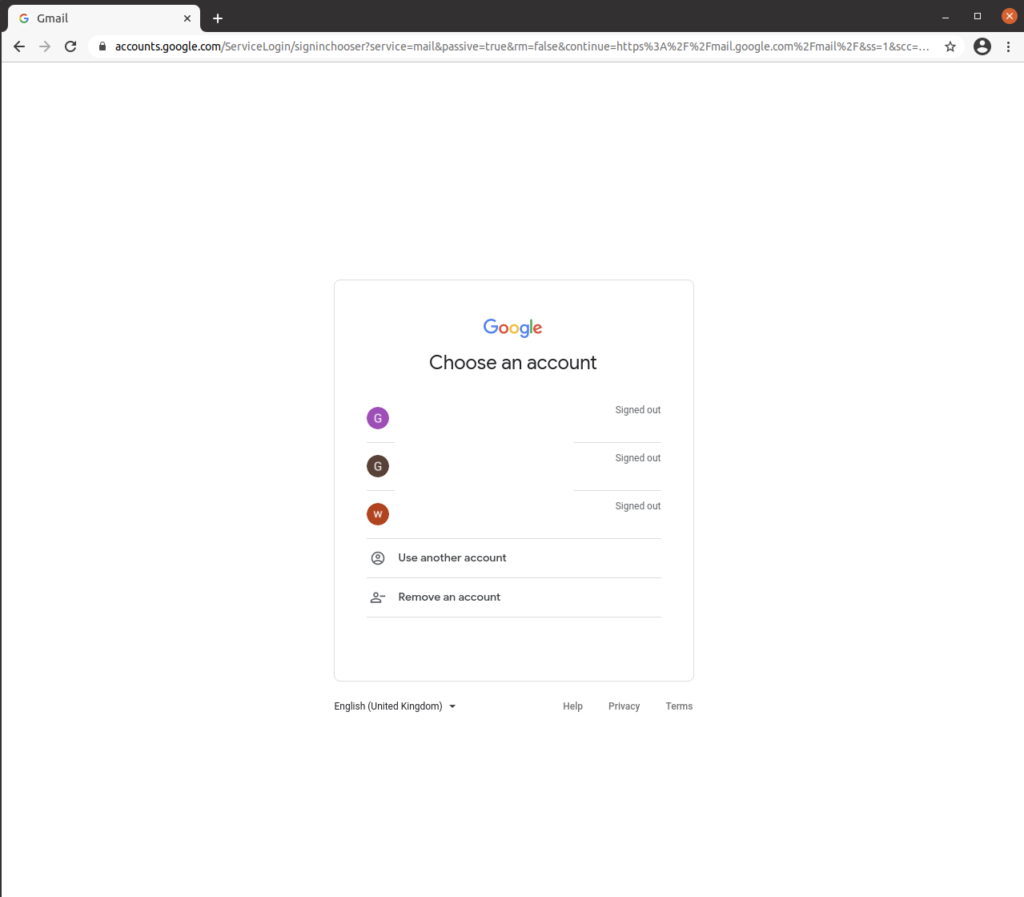
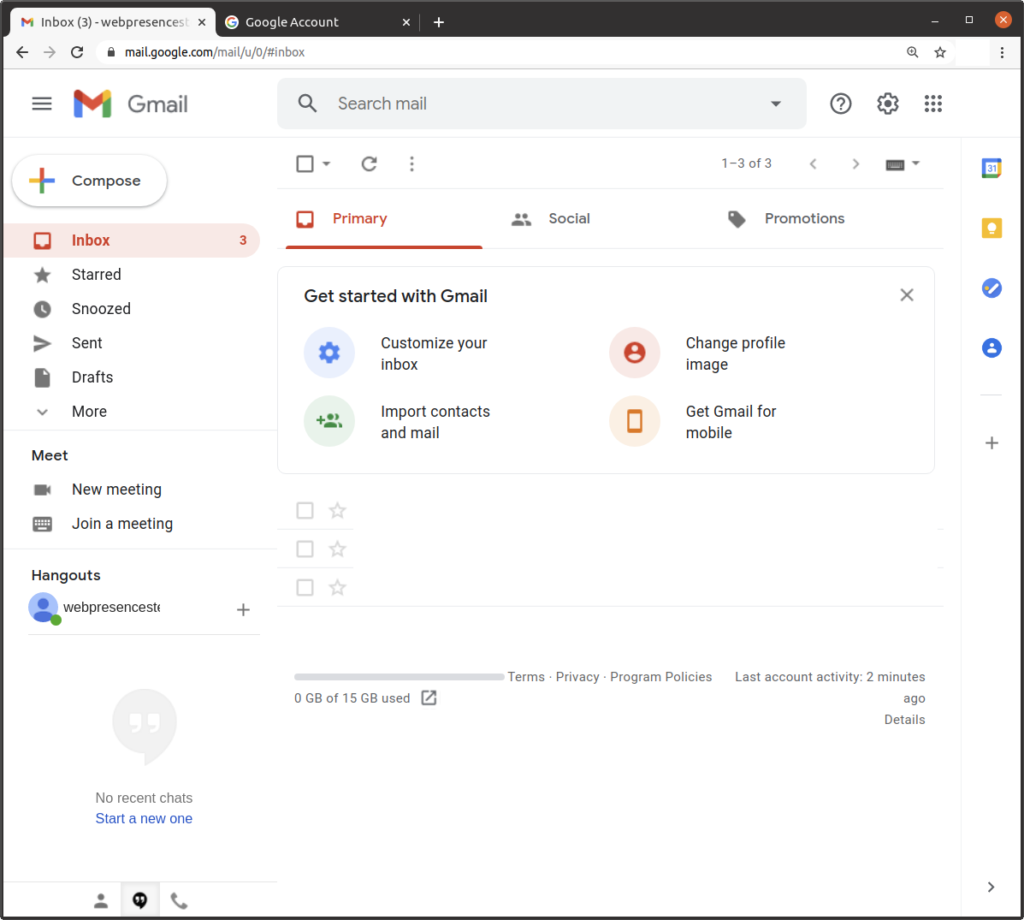
Configuring a Gmail account to allow MyBB to send email messages
We need to select or create a Gmail account that the MyBB community forum software will use to send email messages. This can be the same Gmail account you selected or created in Chapter 11: Installing and configuring the WP Mail SMTP plugin for WordPress to enable WordPress to send email messages.
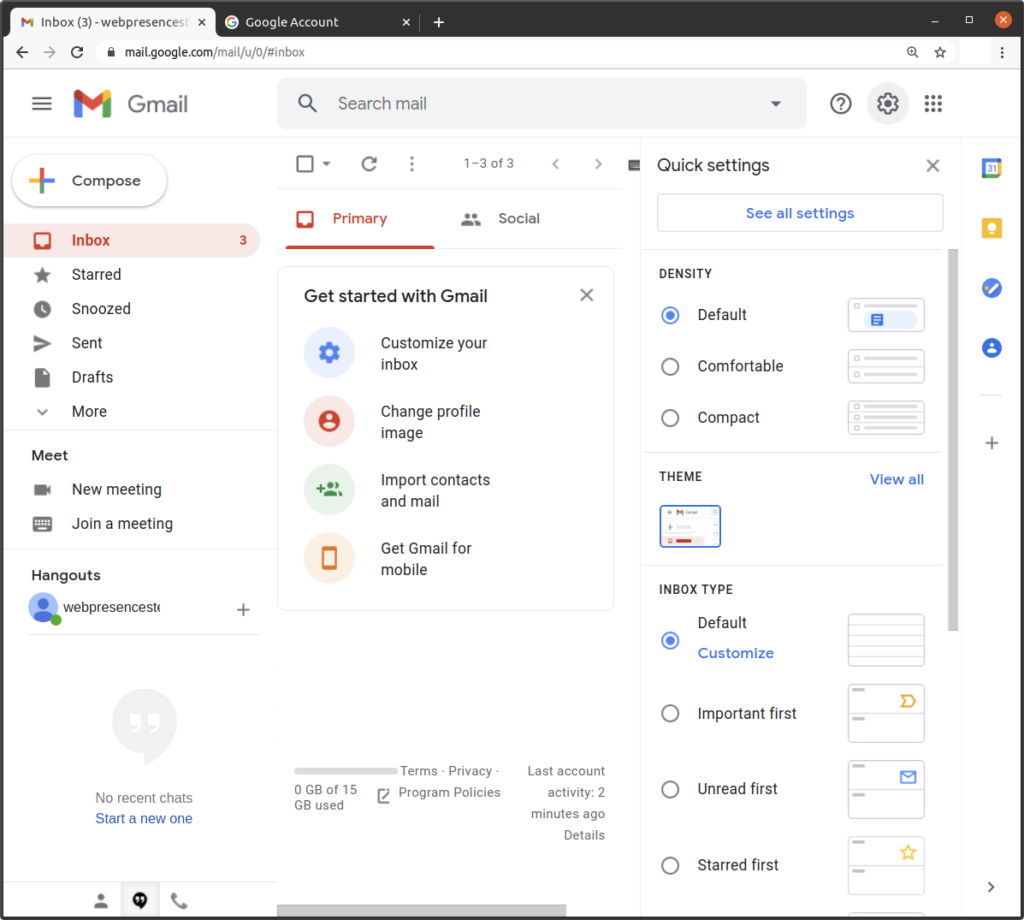
Click on the settings icon (gear symbol in upper-right):
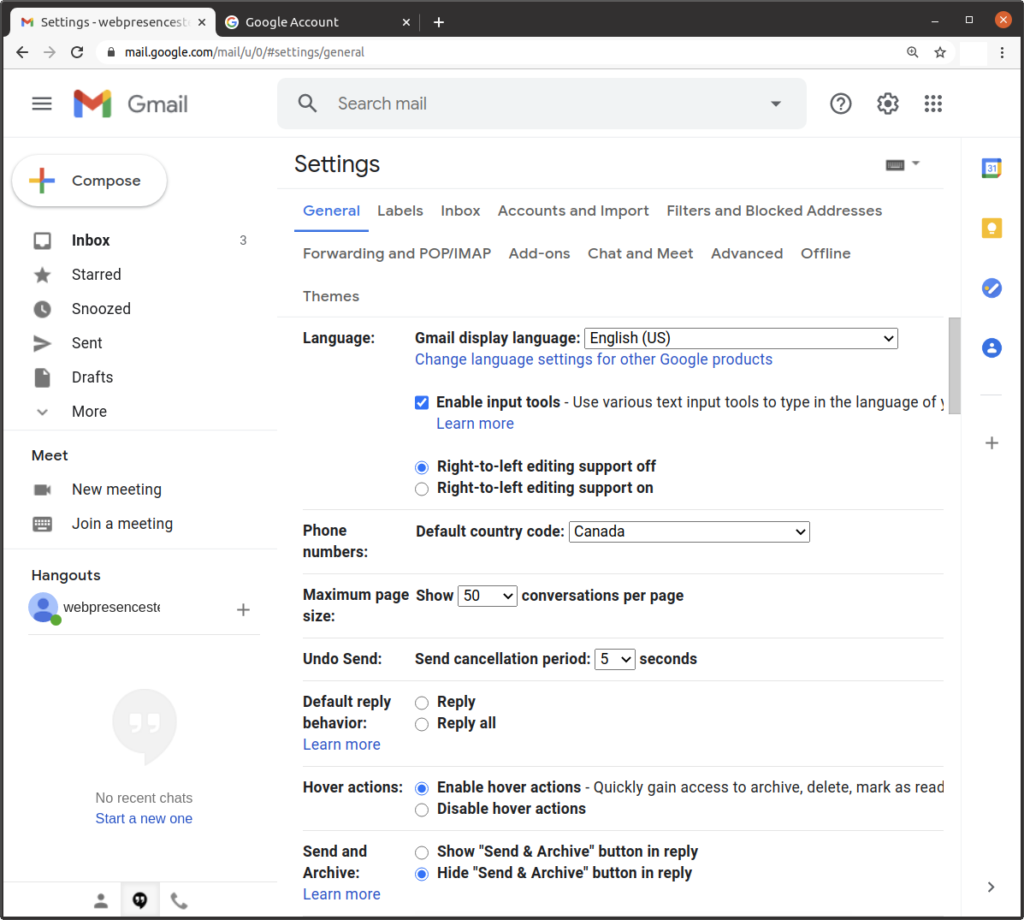
Click on “See all settings”:
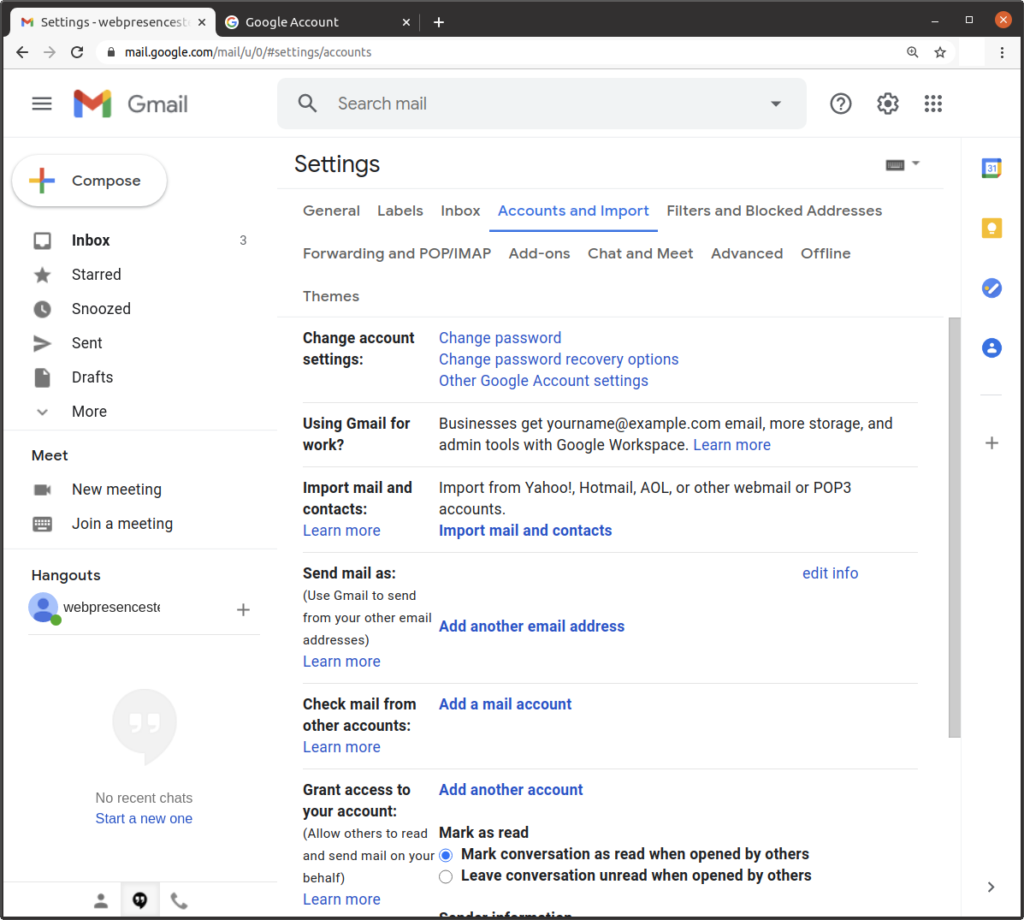
Click on “Accounts and Import”:
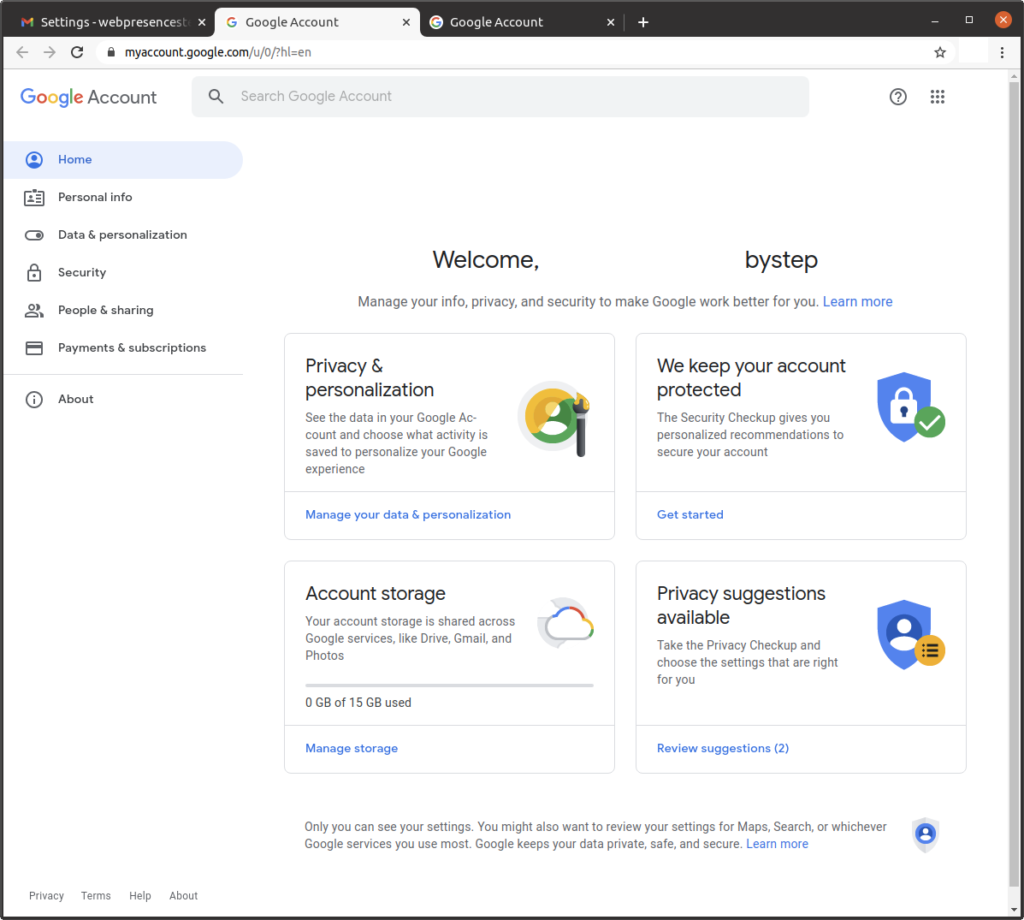
Click on “Other Google Account settings”:
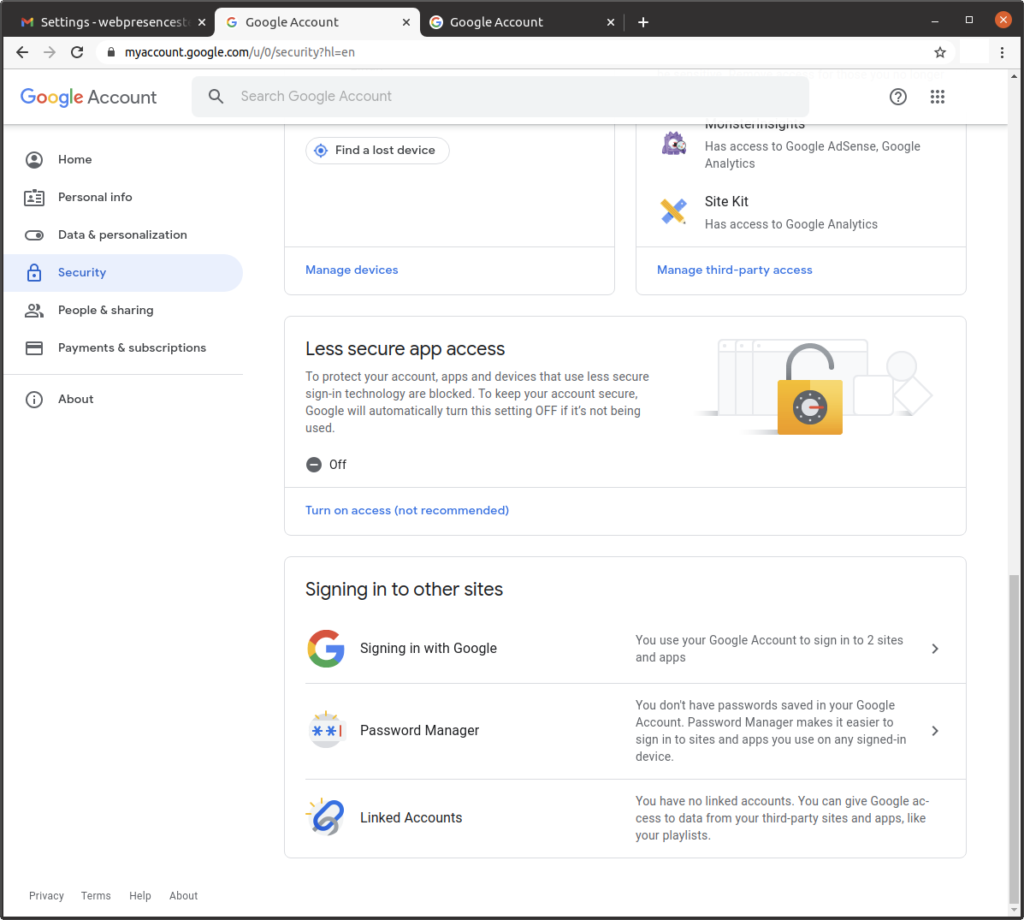
Click on “Security”:
In the section “Less secure app access,” click on “Turn on access (not recommended)”:
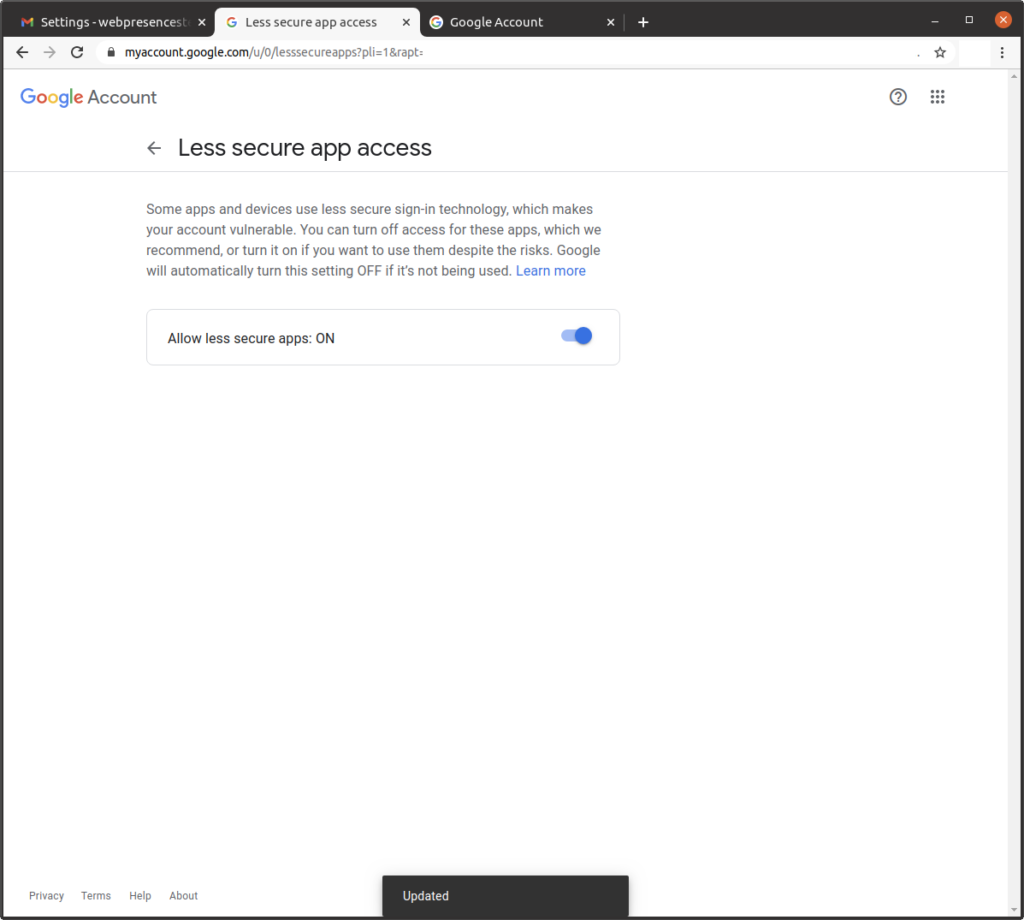
Enable the control so that the page displays “Allow less secure apps: ON”:
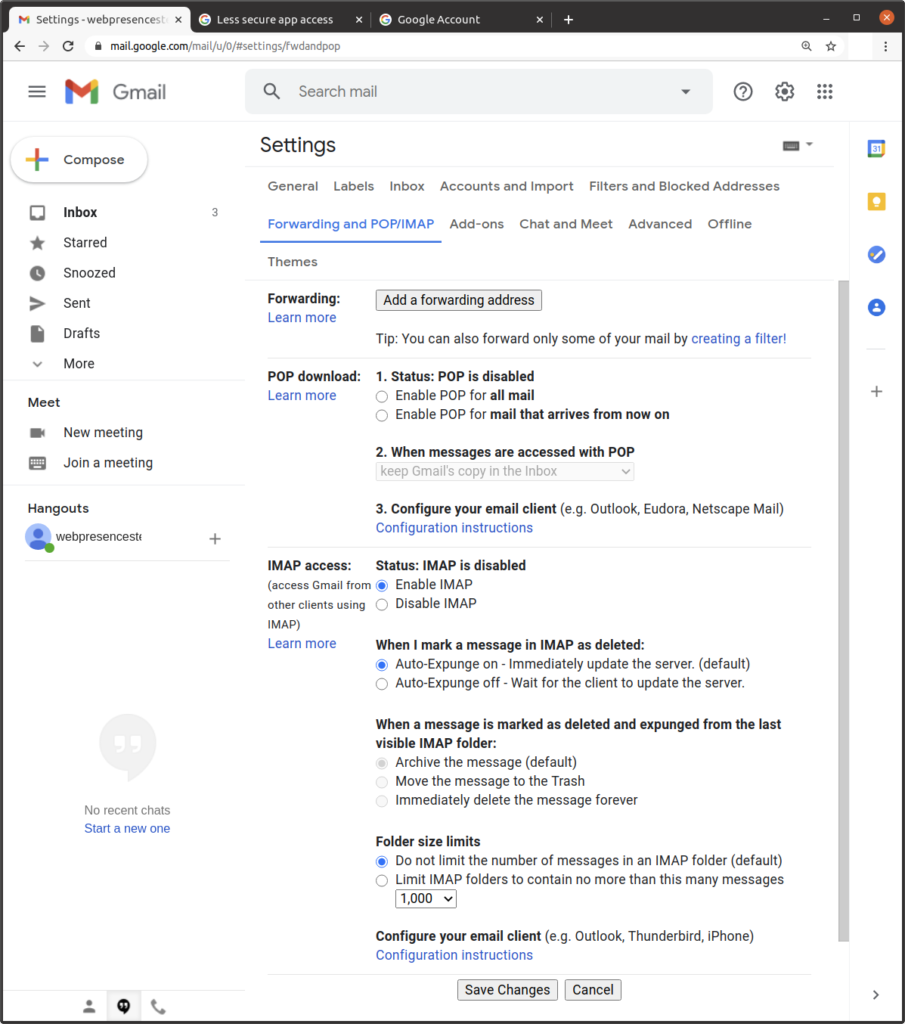
Click on “Forwarding and POP/IMAP,” select the option “Enable IMAP,” click on “Save Changes”:
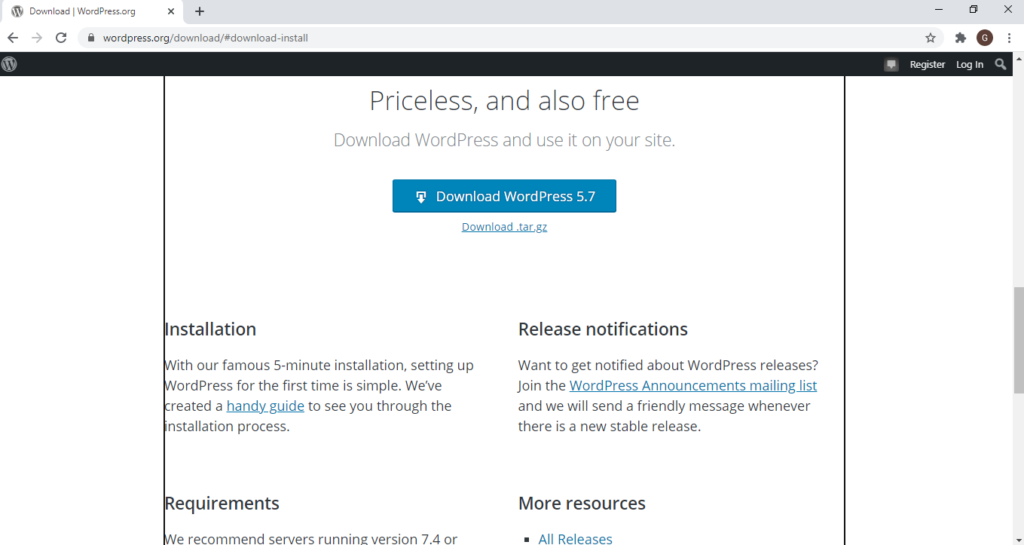
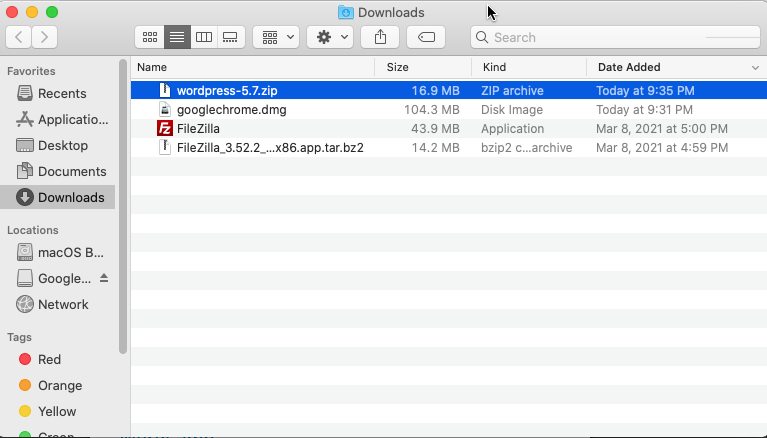
Downloading the MyBB zip file
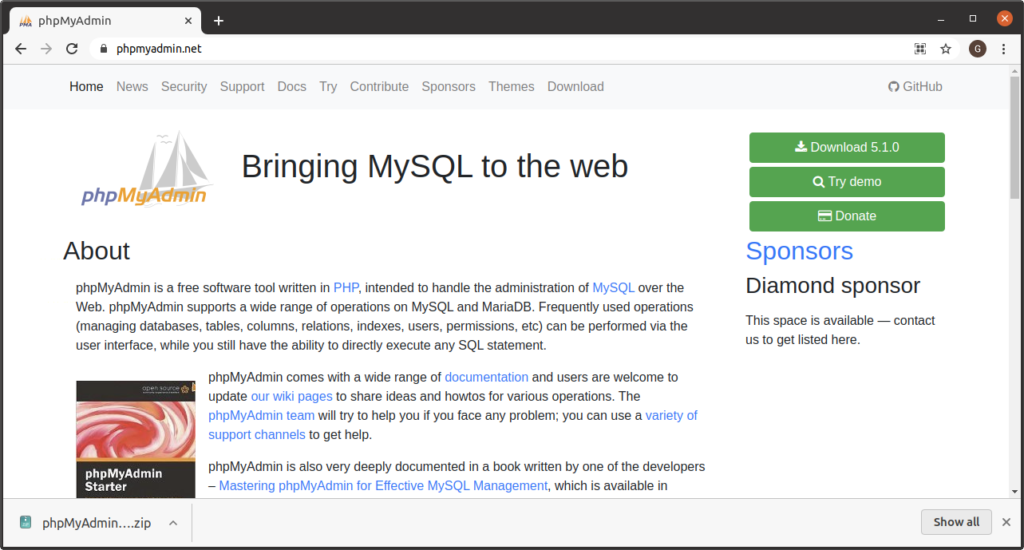
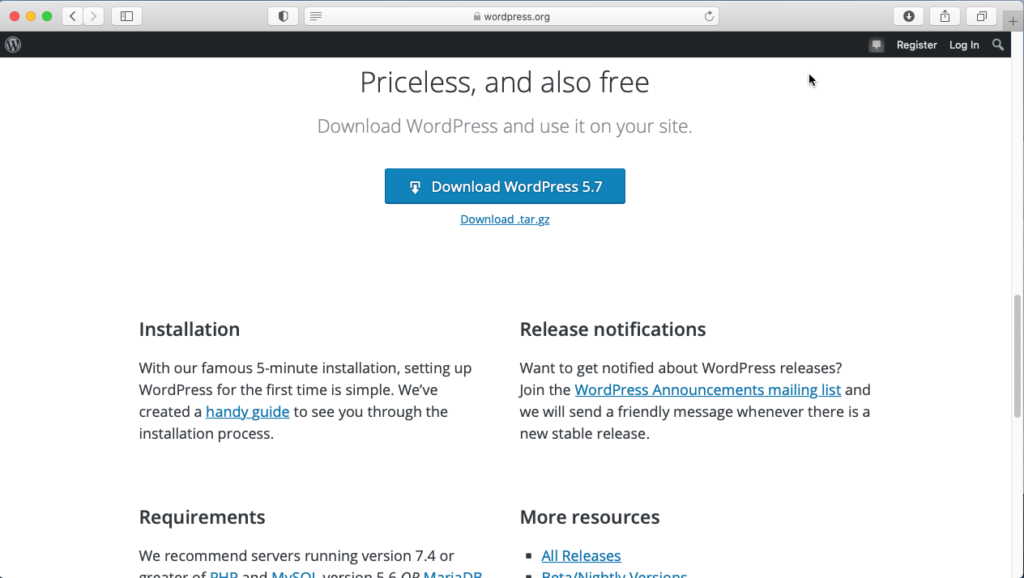
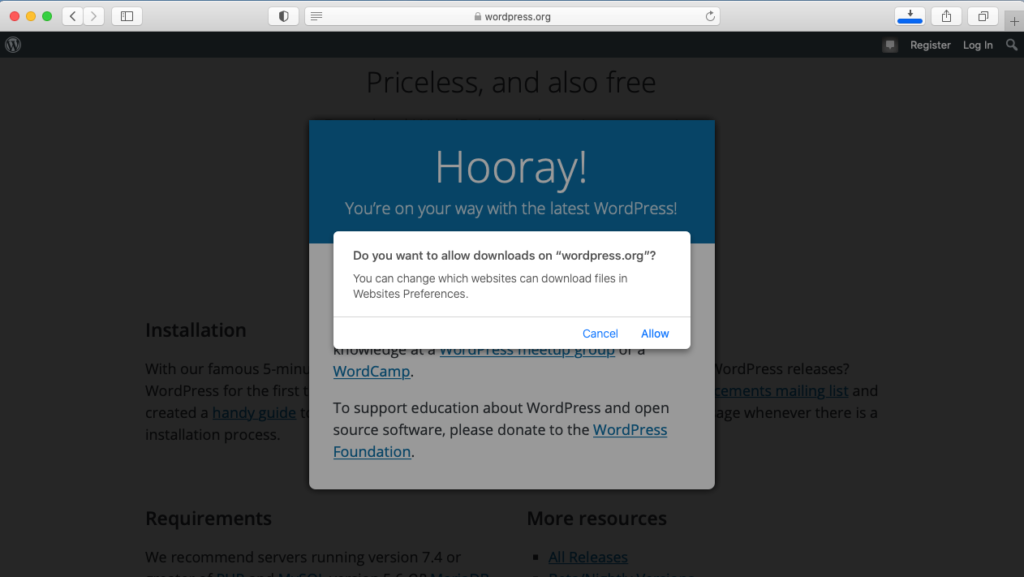
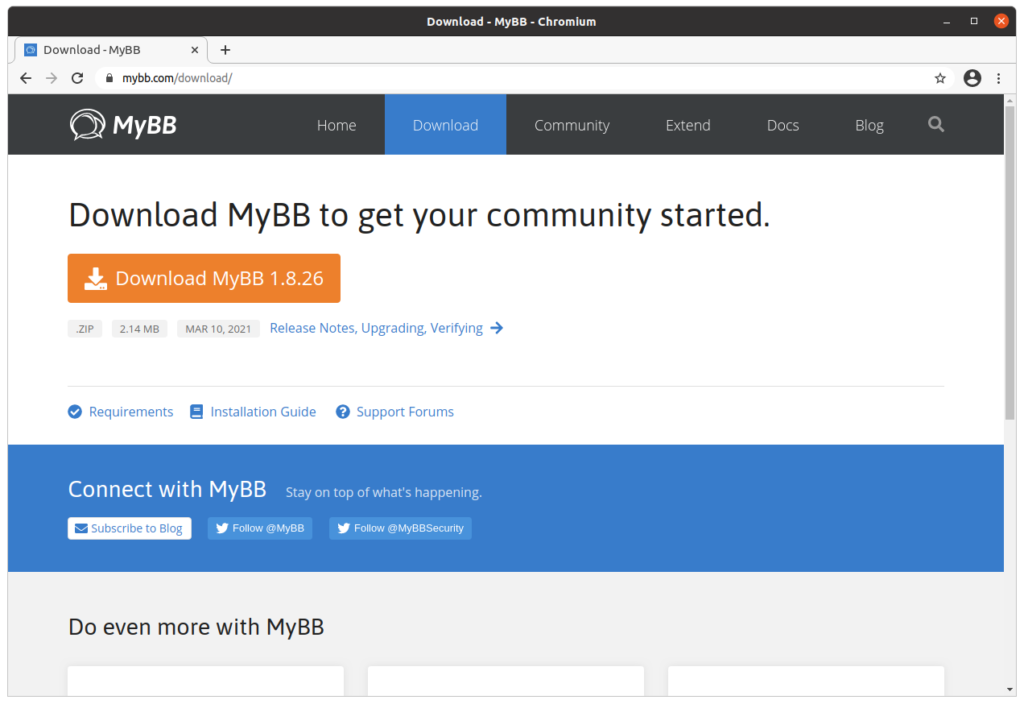
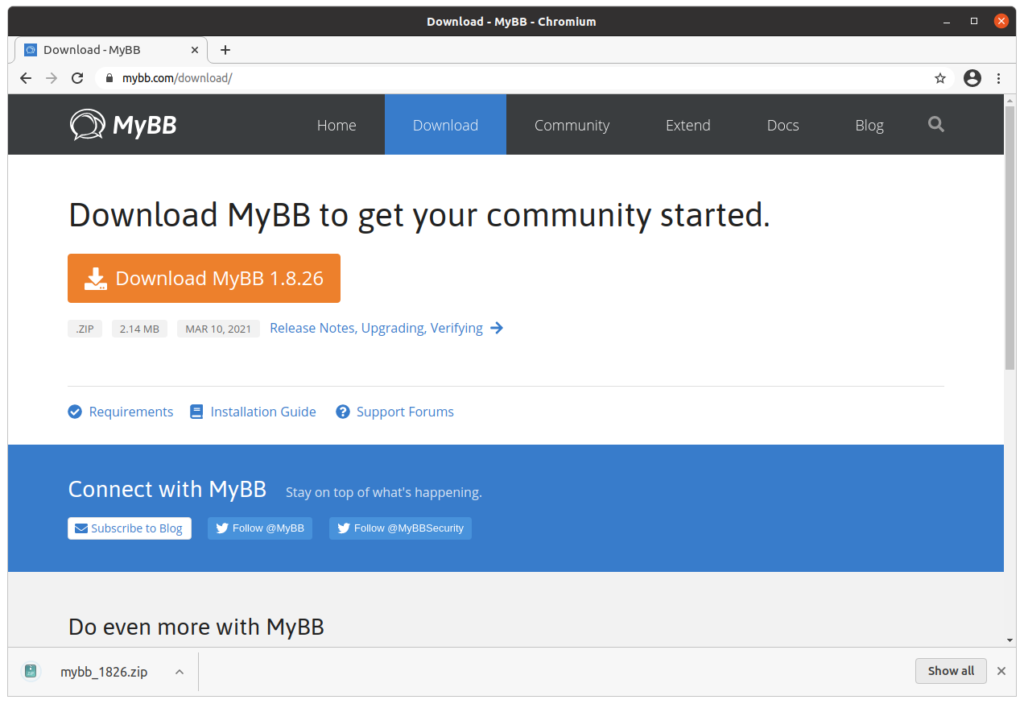
Visit this site:
Click on “Download MyBB x.x.xx” (where x.x.xx is the version):
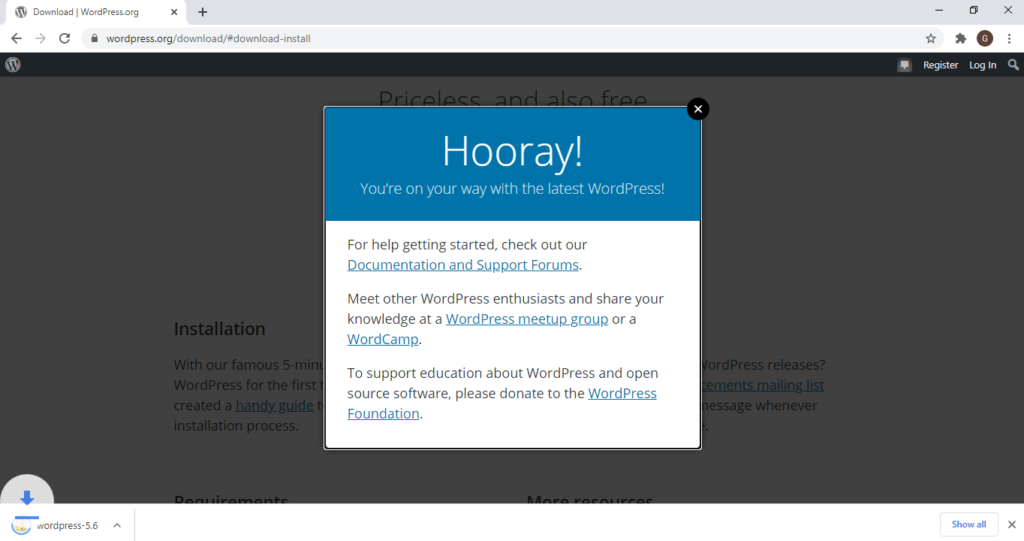
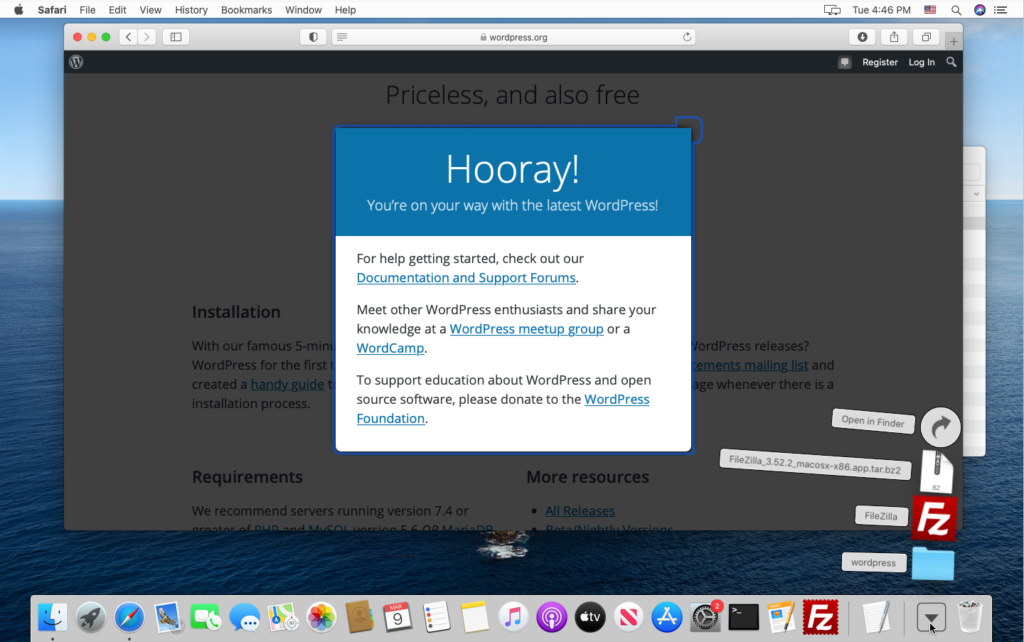
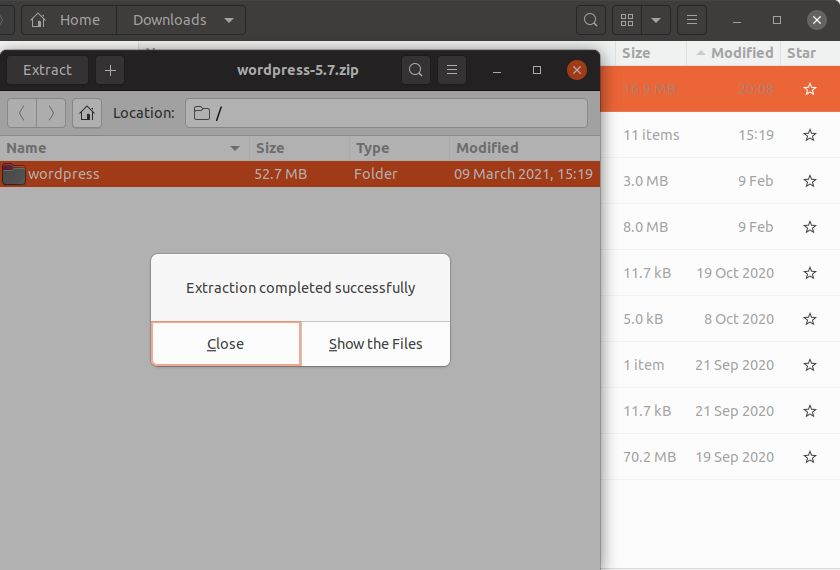
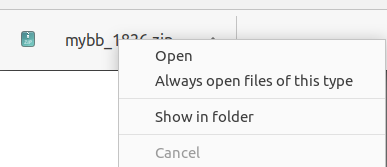
The file downloads:
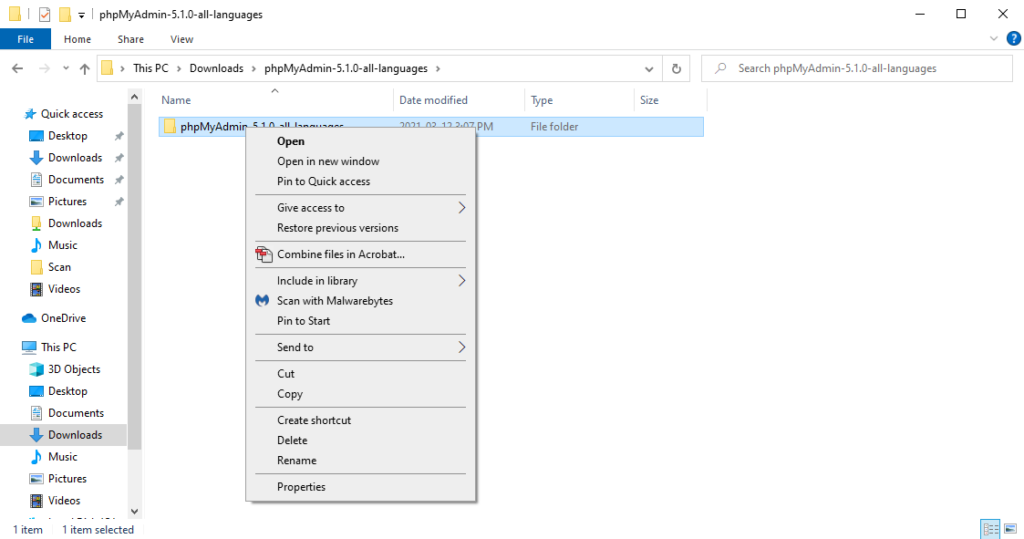
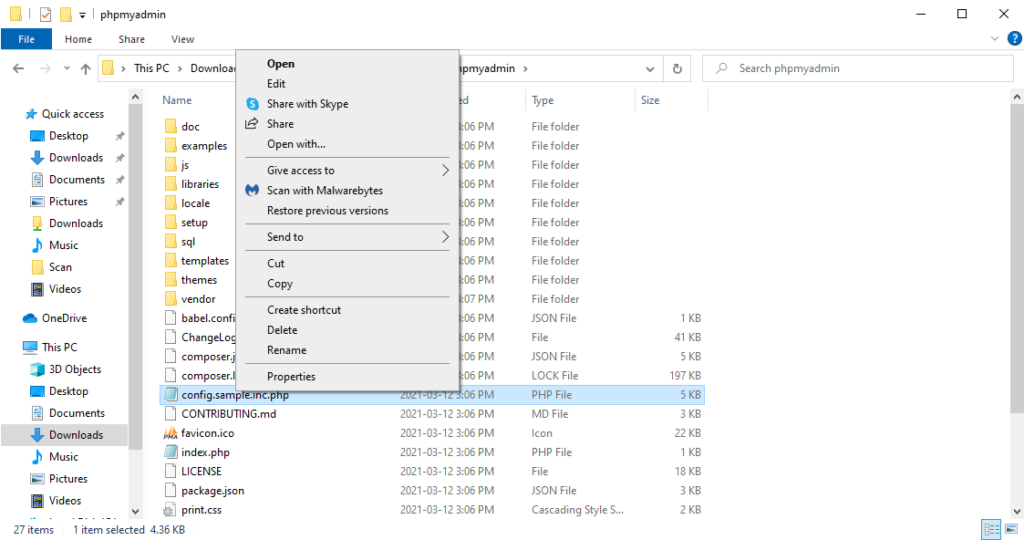
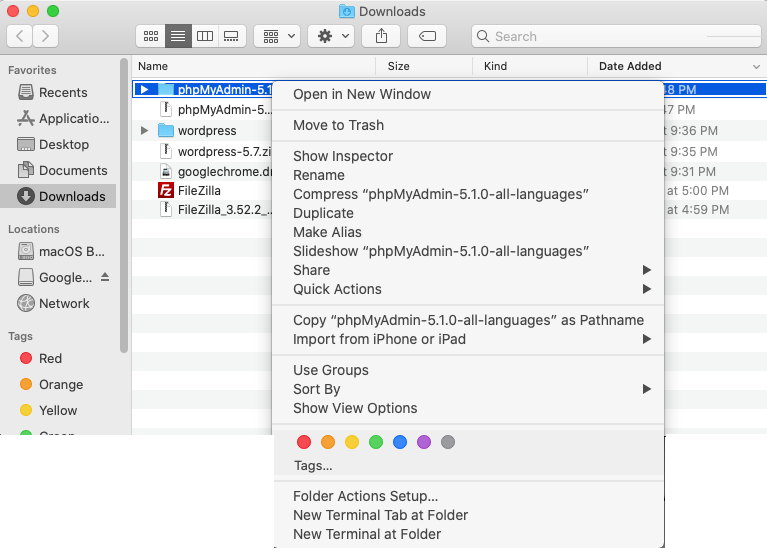
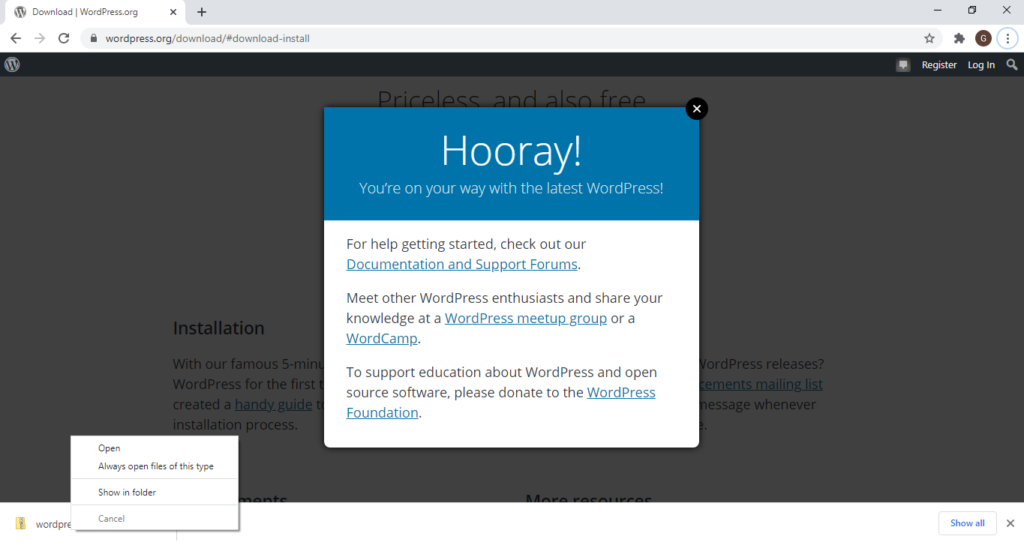
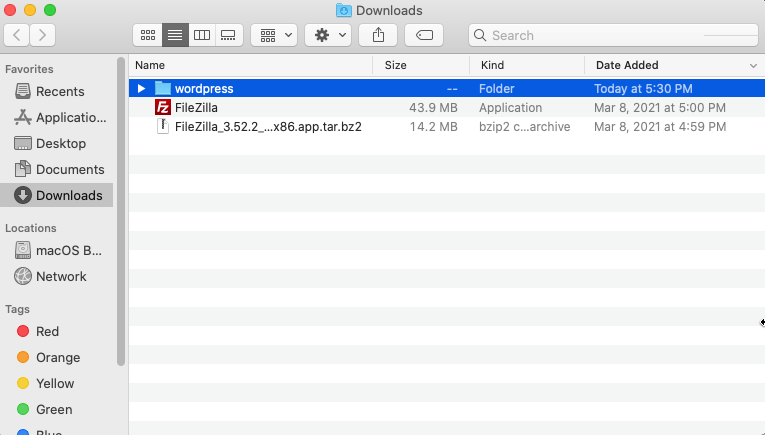
If you are using Chrome, right-click or command-click on the name of the file, select “Show in folder”:
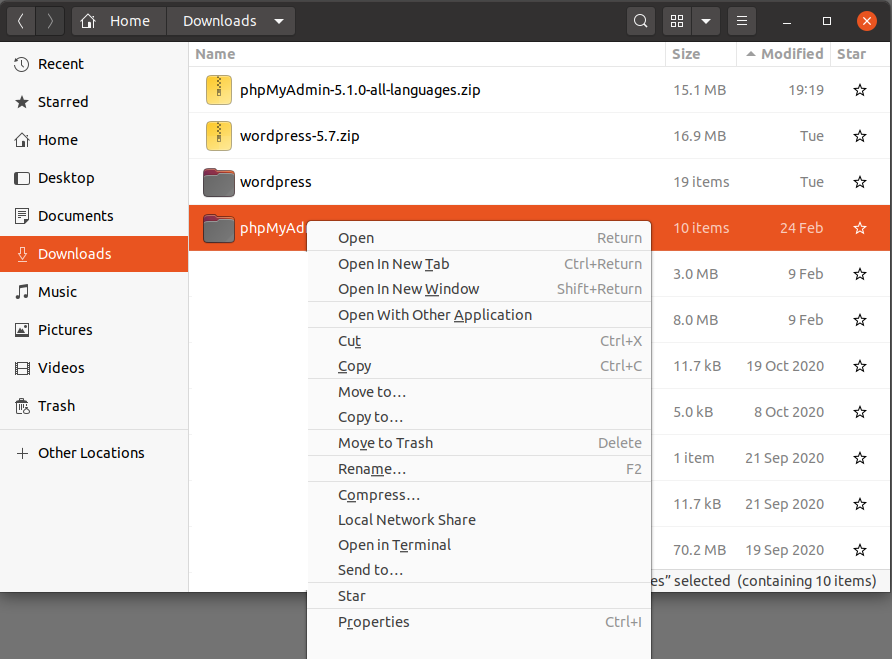
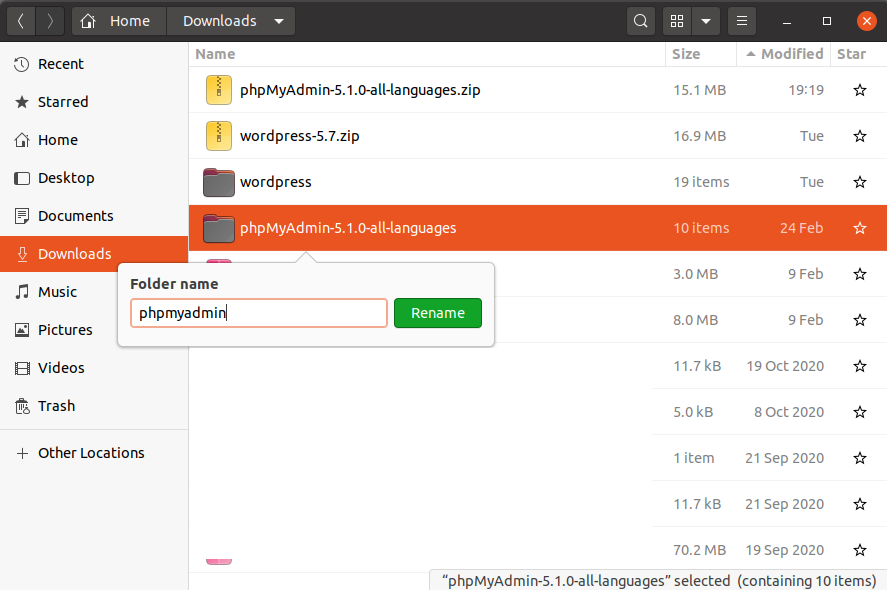
Uncompressing the MyBB zip file and renaming the Upload directory
If you need detailed instructions on how to uncompress zip files or rename directories on Windows, MacOS, or Linux
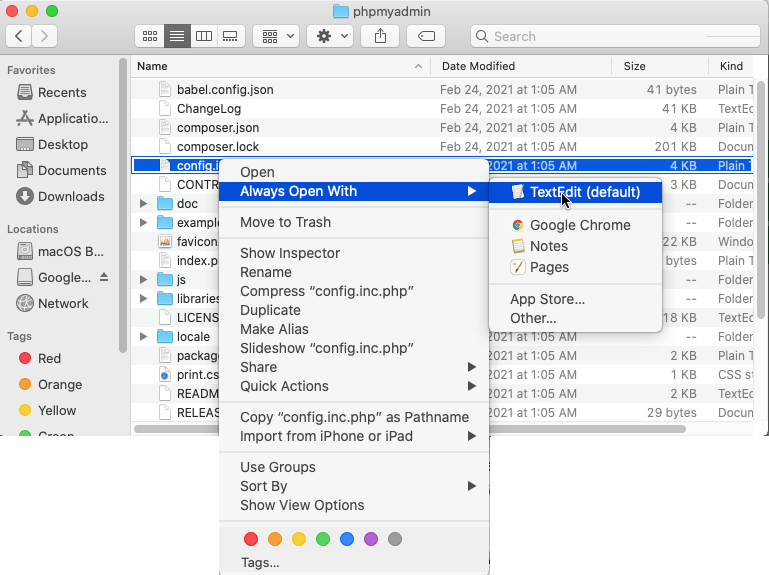
This chapter assumes that you have followed the steps in Chapter 8: Installing and configuring WordPress to create a website, and Chapter 9: Installing and configuring phpMyAdmin to manage MySQL databases. If you have not read those chapters, and you are not familiar with how to uncompress a zip file or rename a directory using your operating system, please consult those chapters.
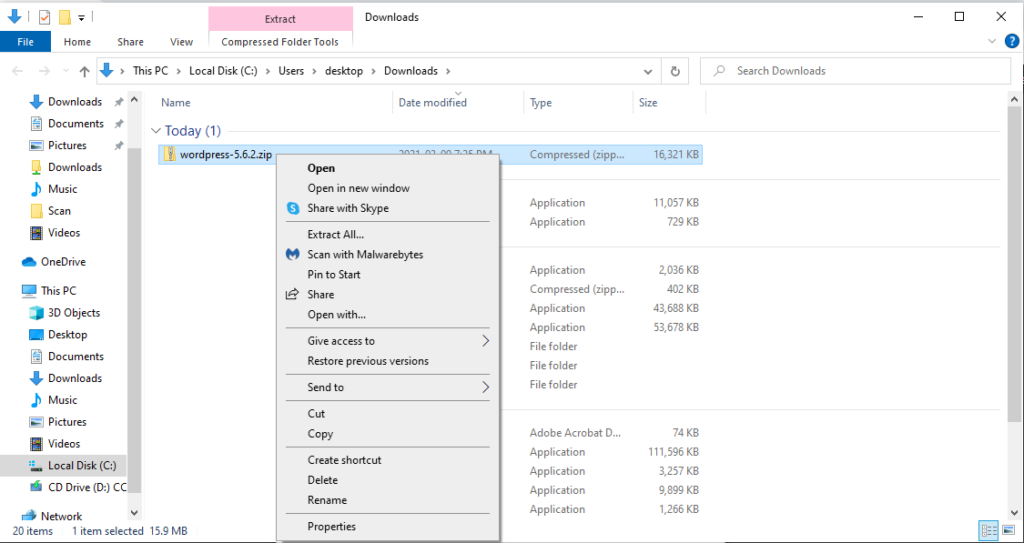
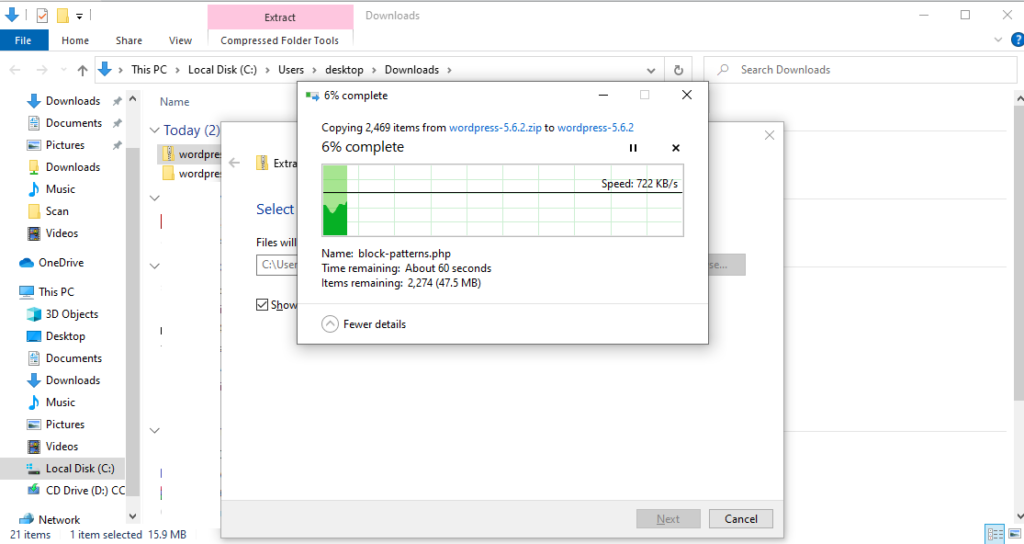
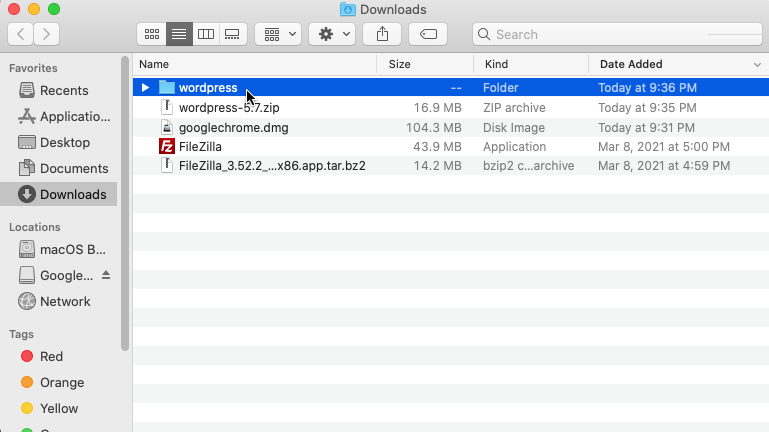
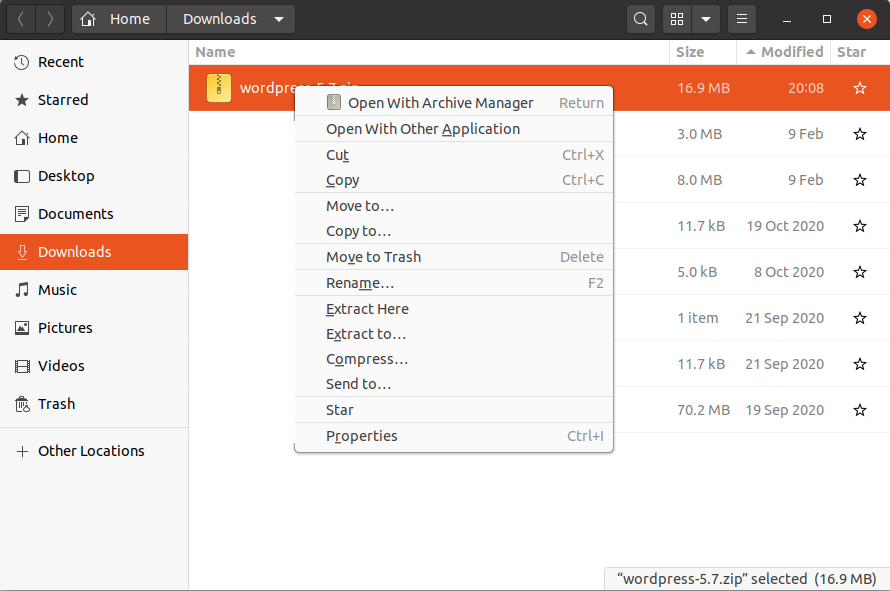
Uncompressing the mybb_xxxx.zip file
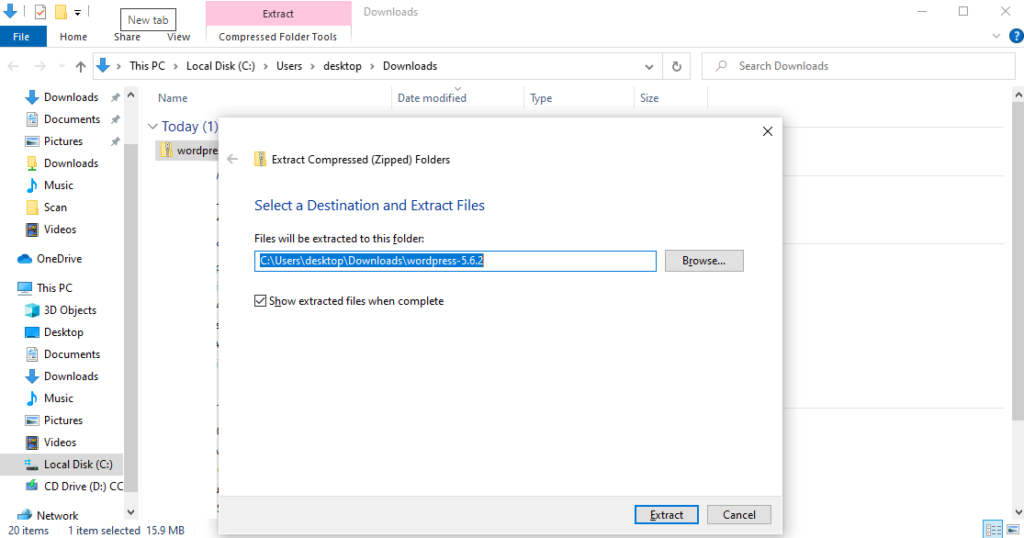
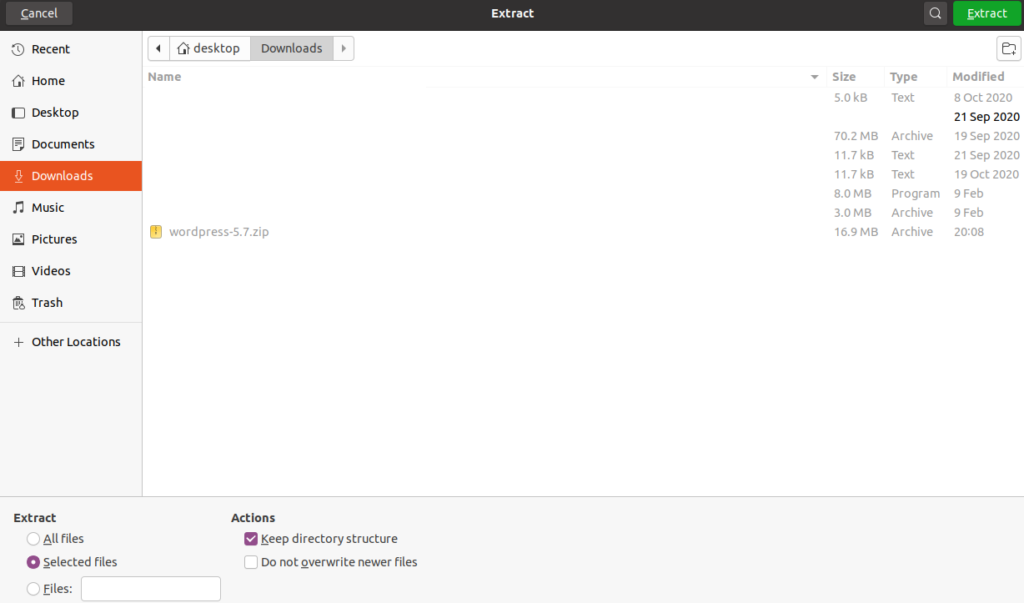
We need to uncompress the mybb_xxxx.zip file:
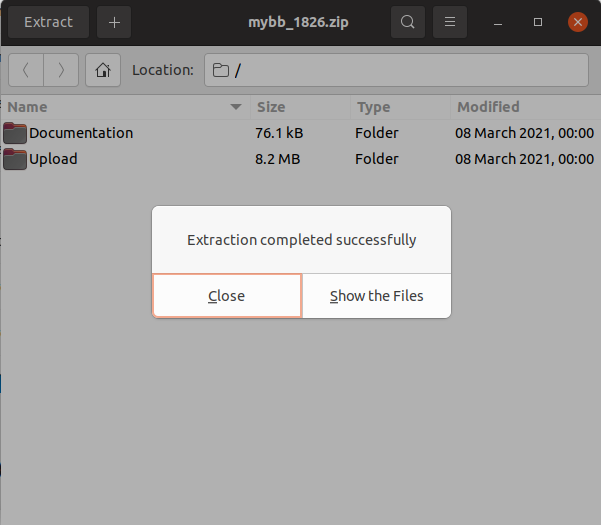
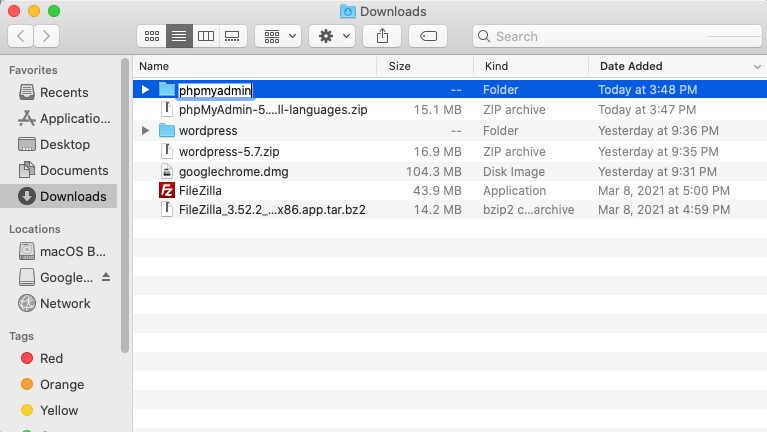
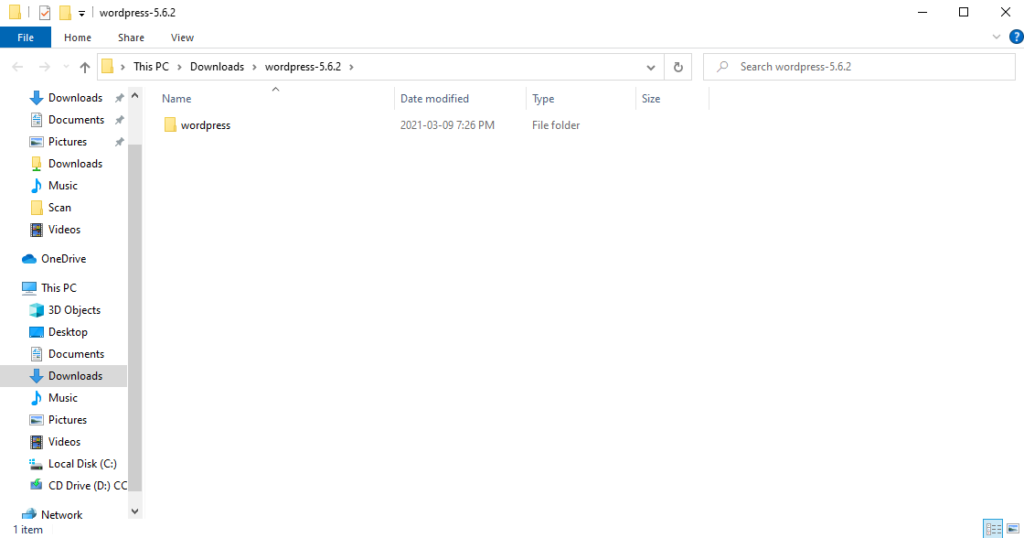
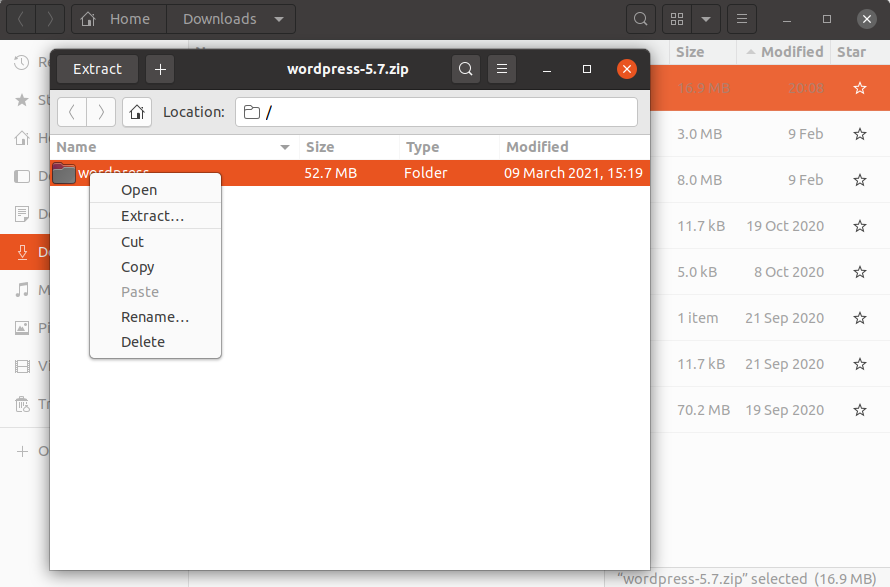
Uncompressing the zip file extracts 2 directories: “Documentation,” and “Upload”:
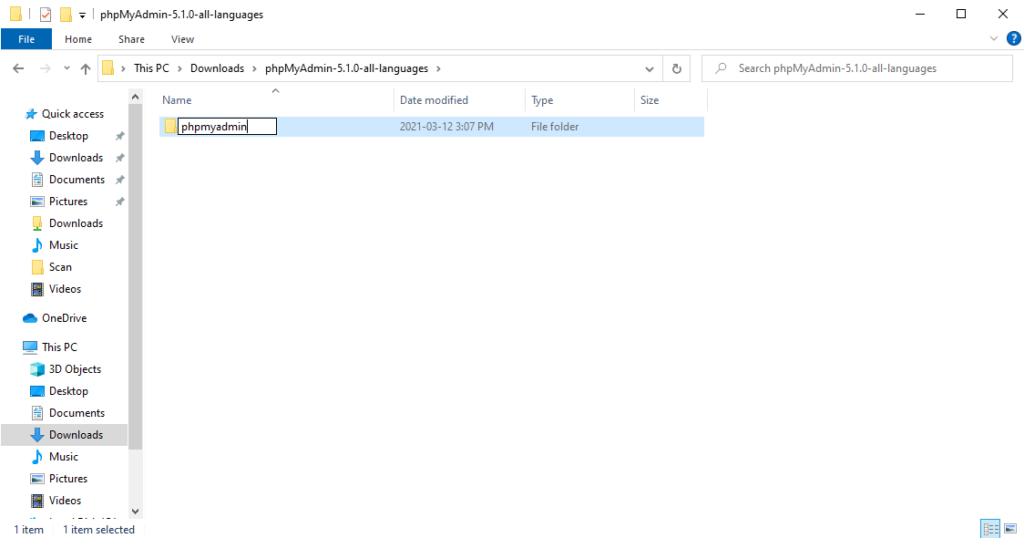
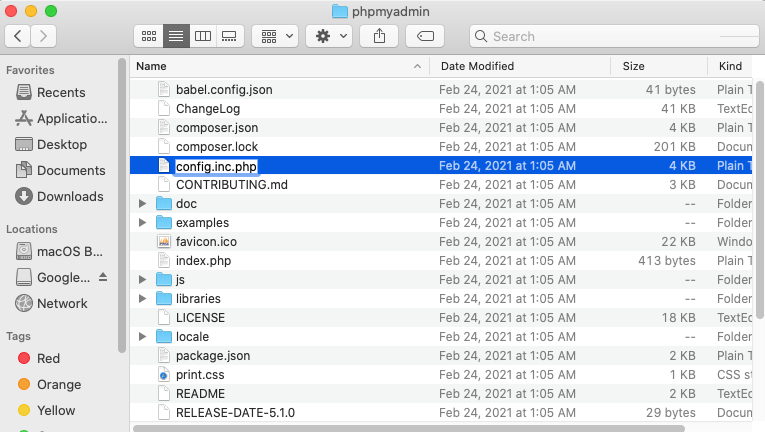
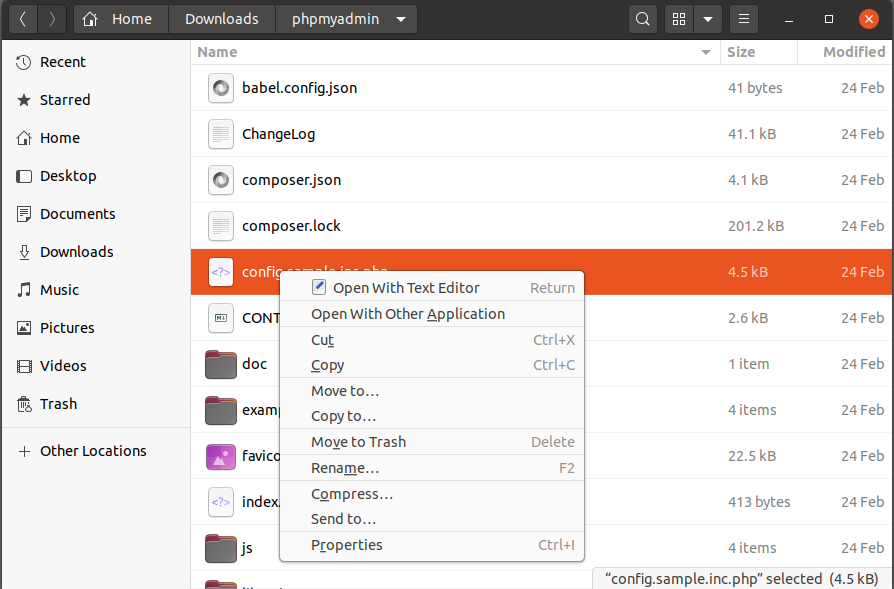
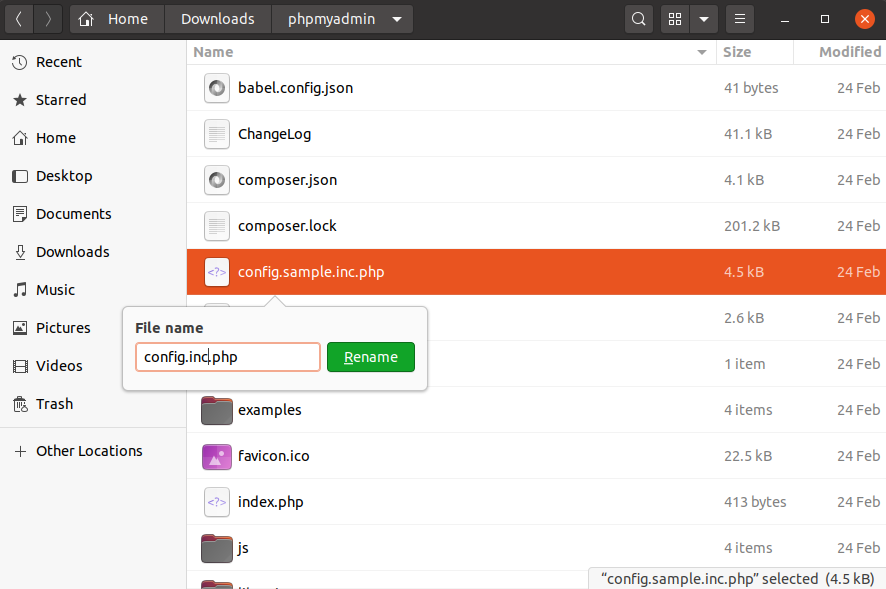
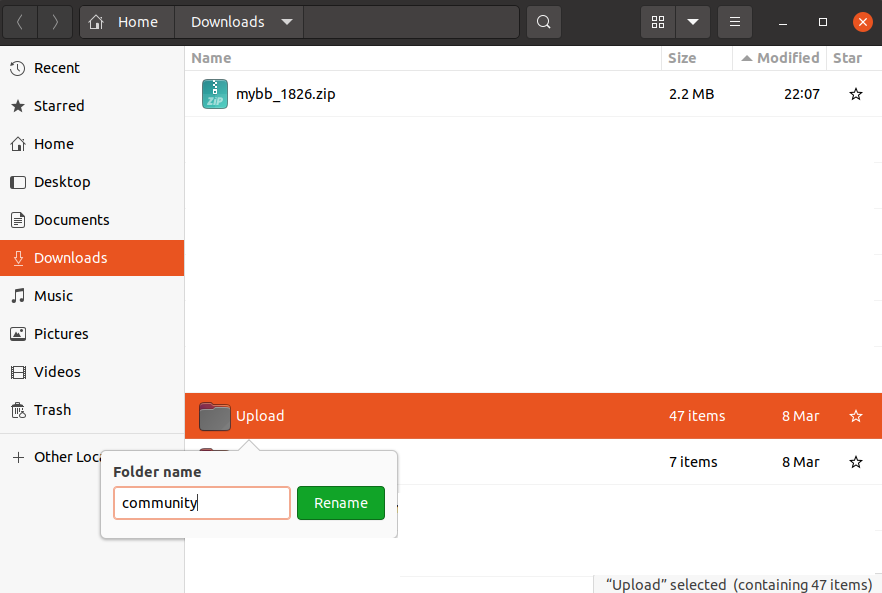
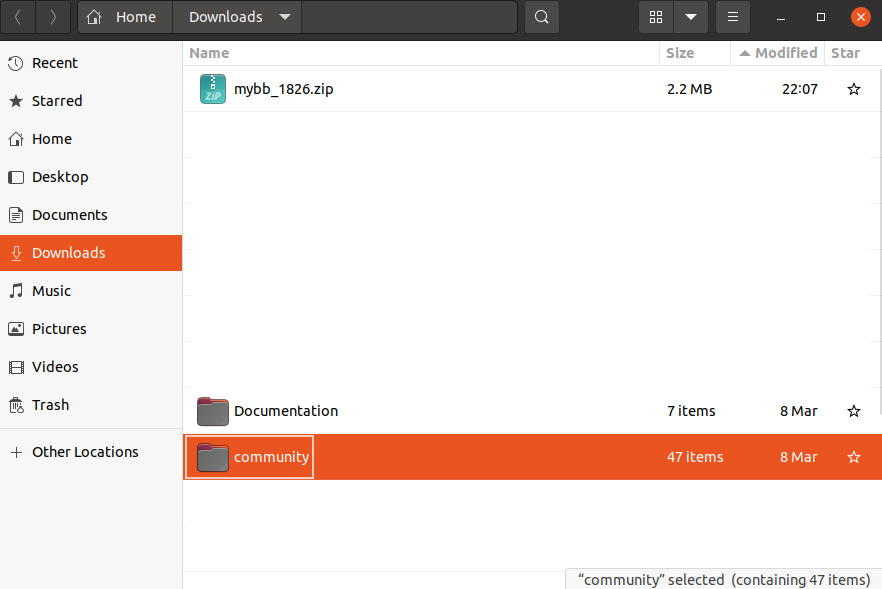
Renaming the directory named “Upload” to “community”
Rename the “Upload” directory to “community”:
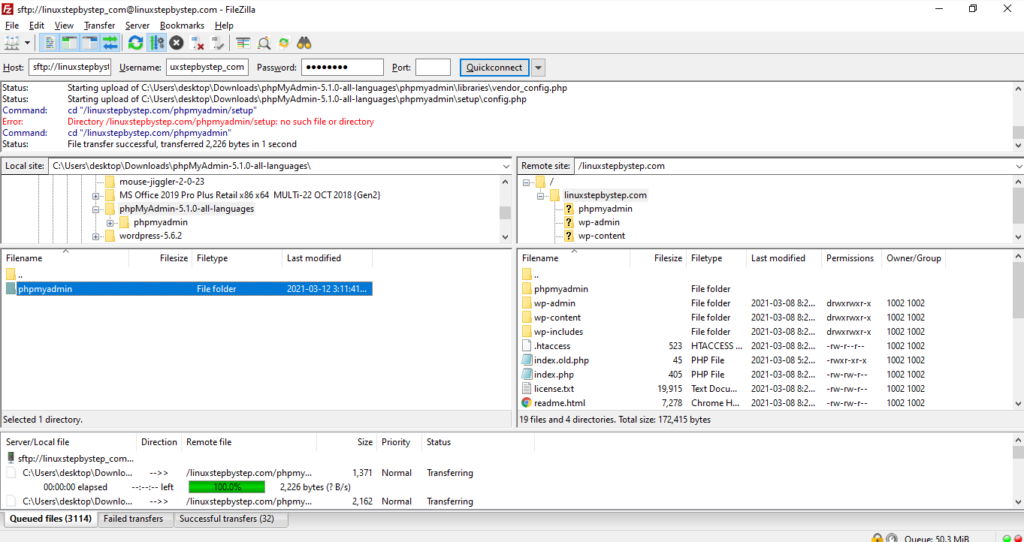
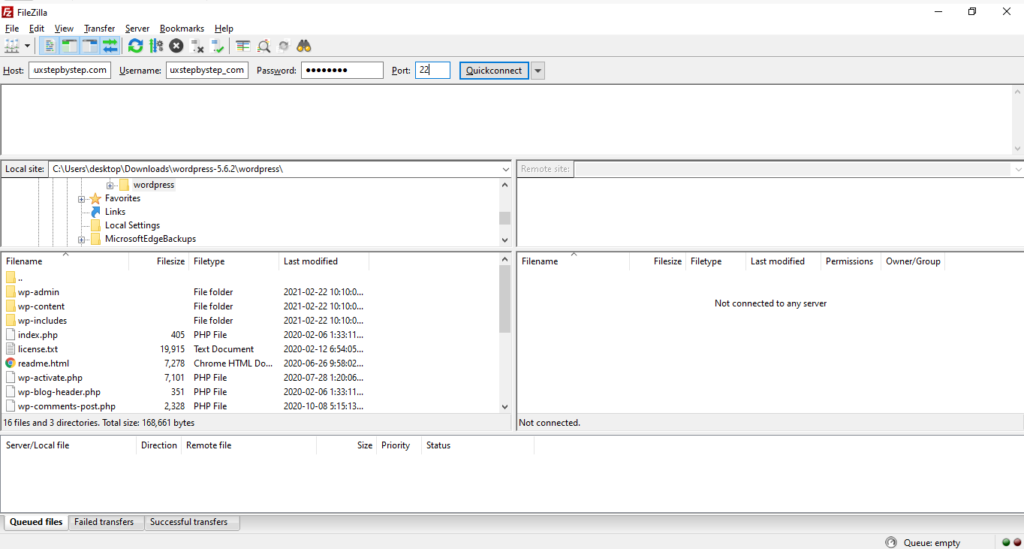
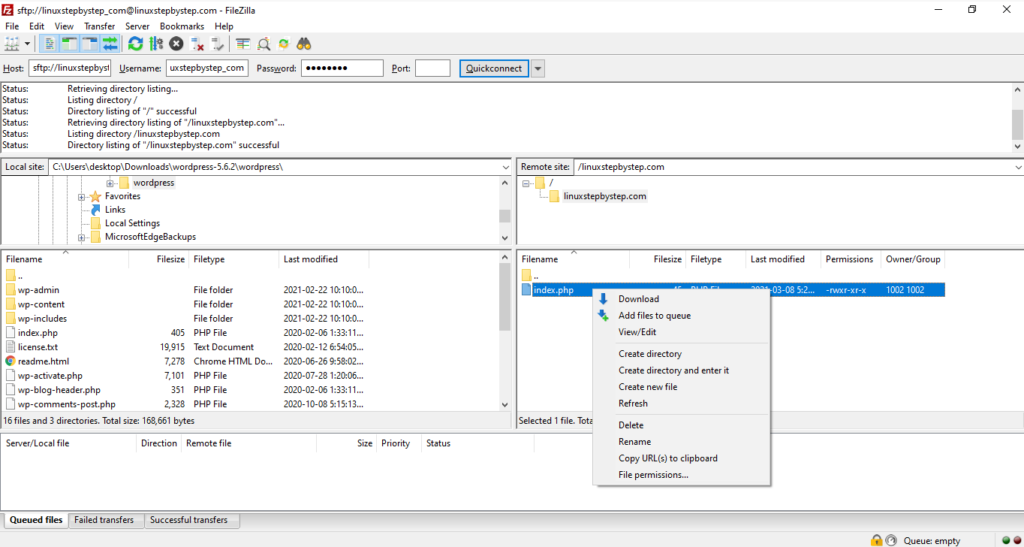
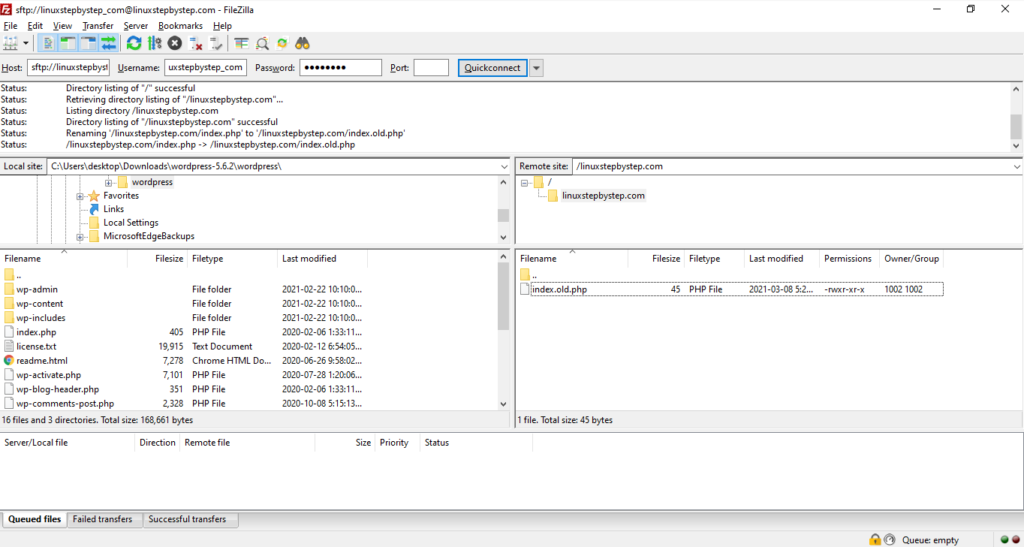
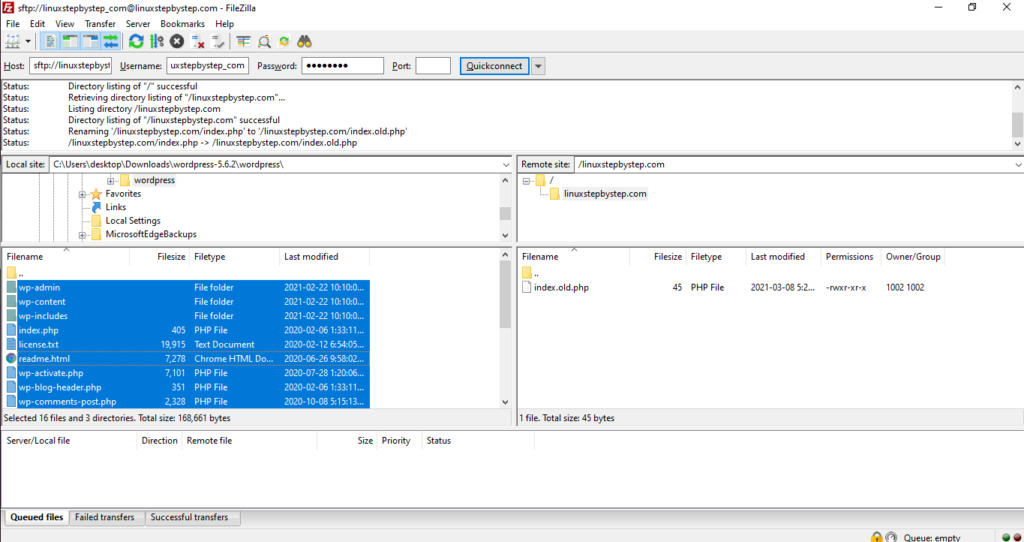
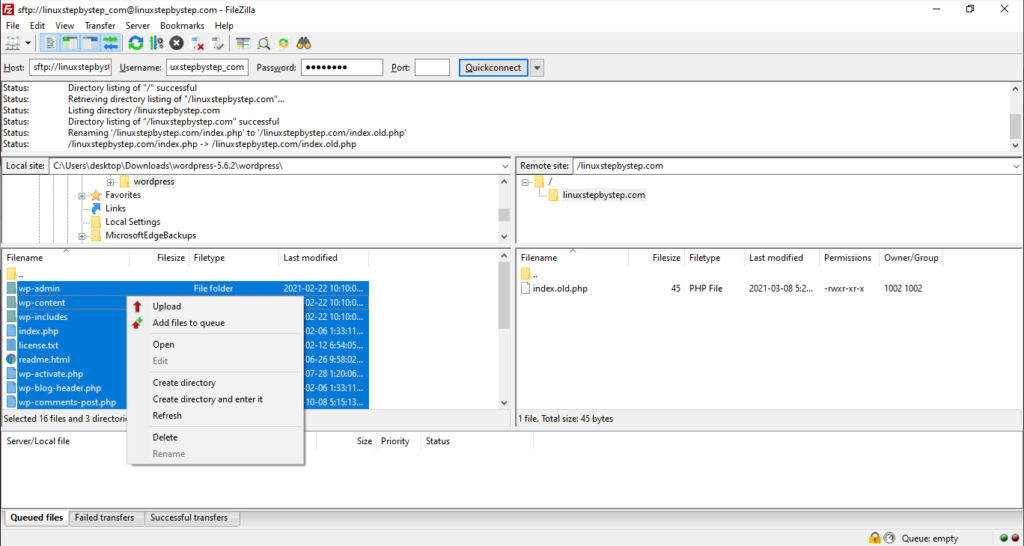
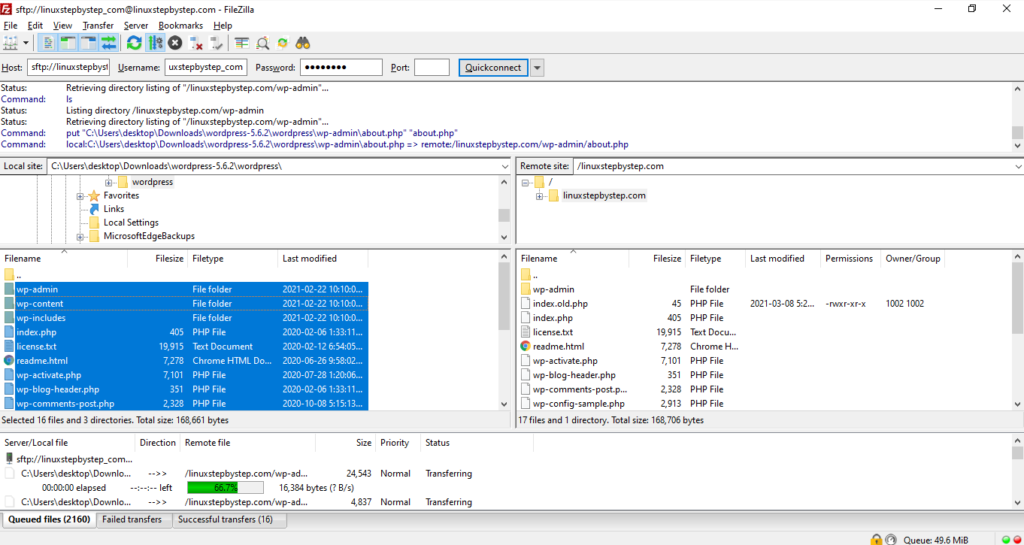
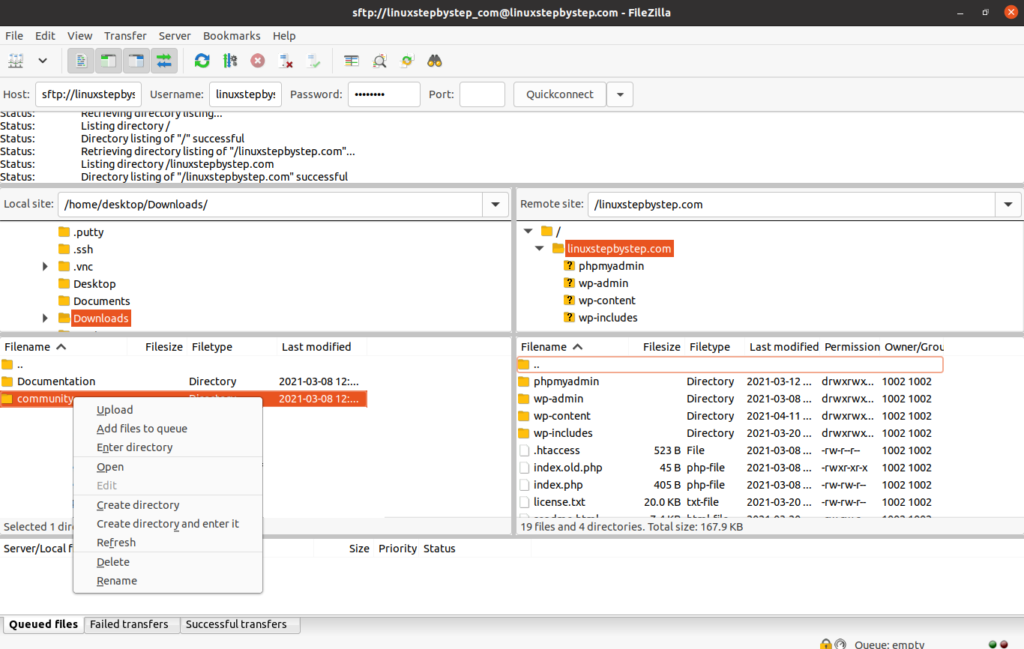
Using FileZilla to upload the community directory to the directory containing the documents for your website
We will use the FileZilla file transfer program to upload the directory renamed as “community” to the directory containing the documents for your website.
If you need detailed instructions on how to install and use FileZilla on Windows, MacOS, or Linux
This chapter assumes that you have read Chapter 7: Configuring the SSH server on an Ubuntu Linux cloud server to limit SFTP directory visibility within chroot jail directories, or that you are familiar with the FileZilla file transfer program.
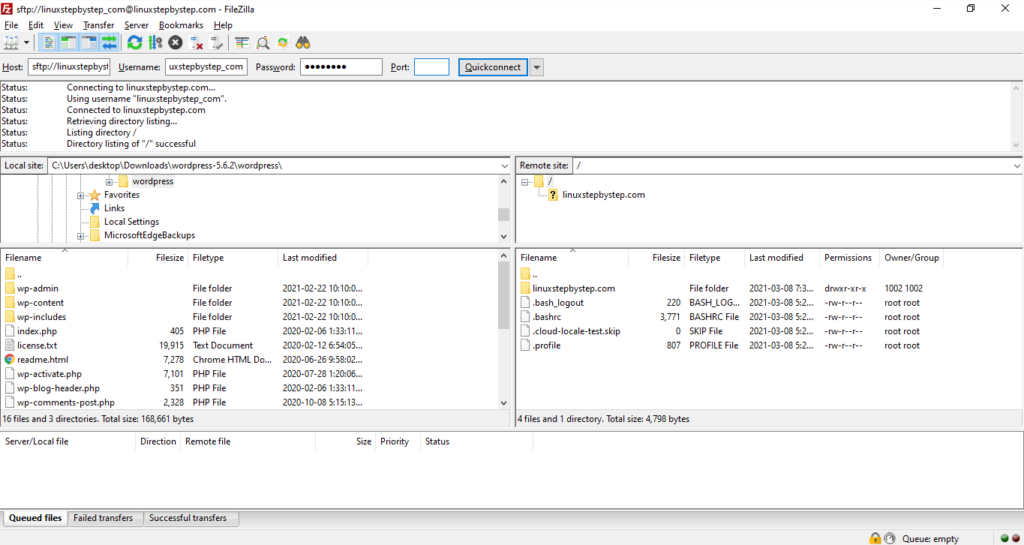
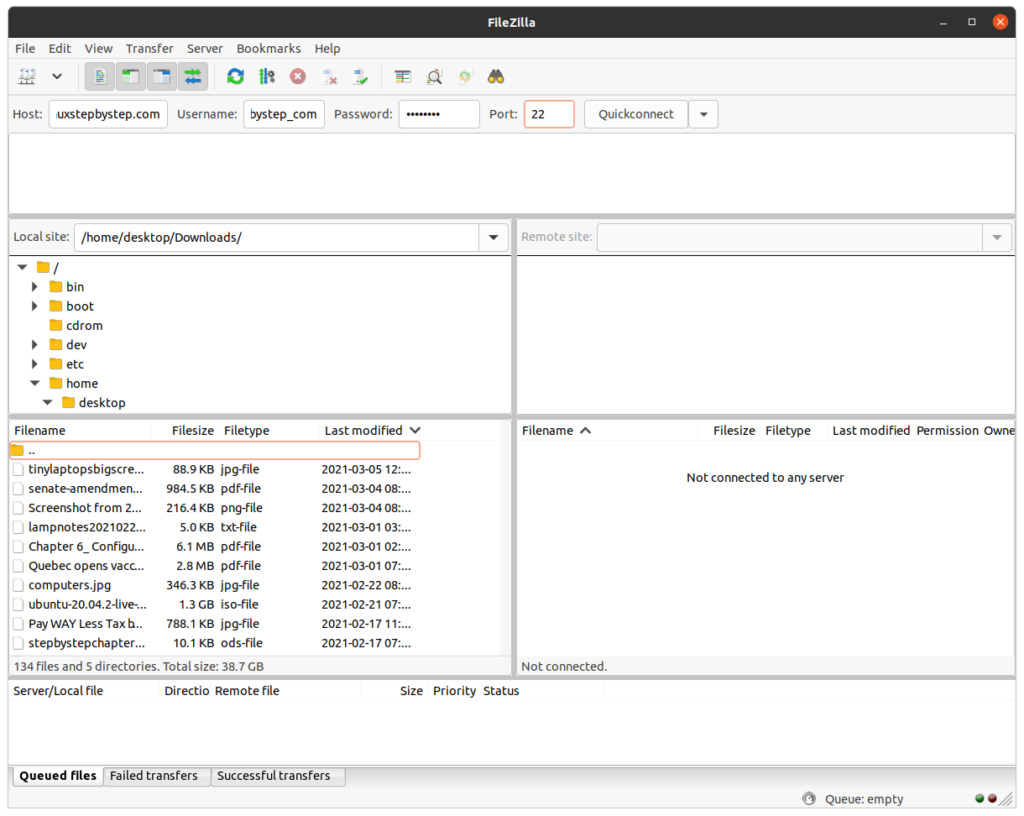
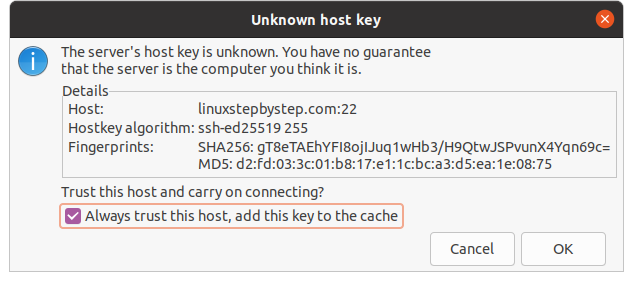
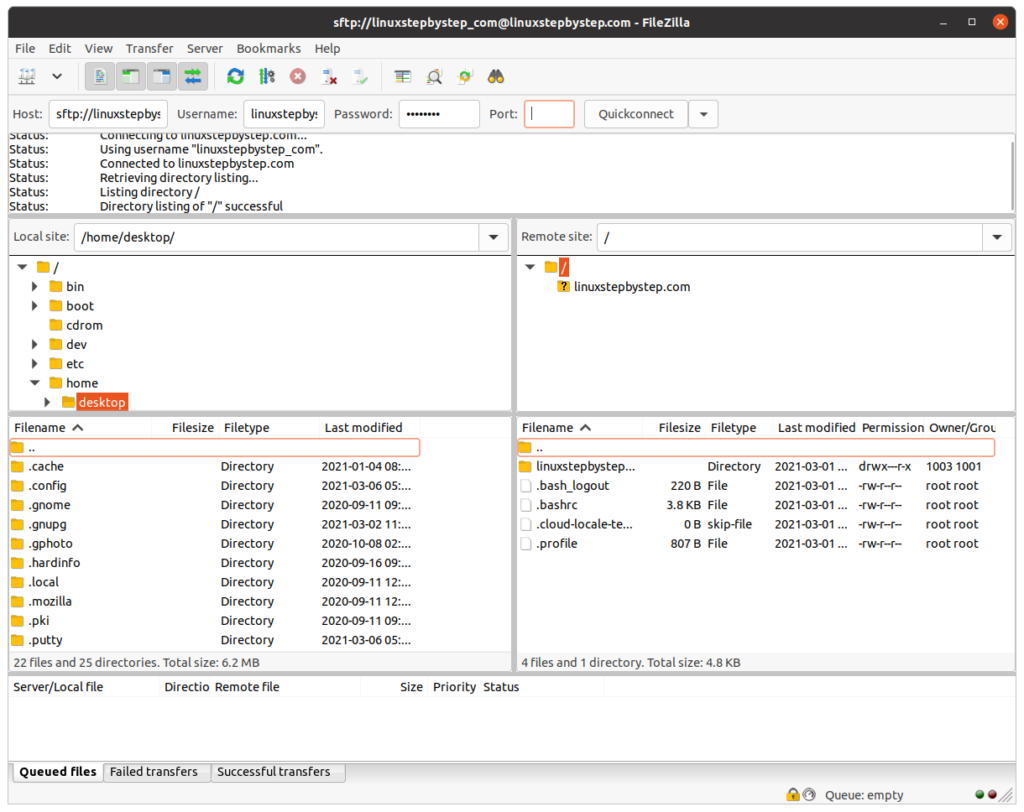
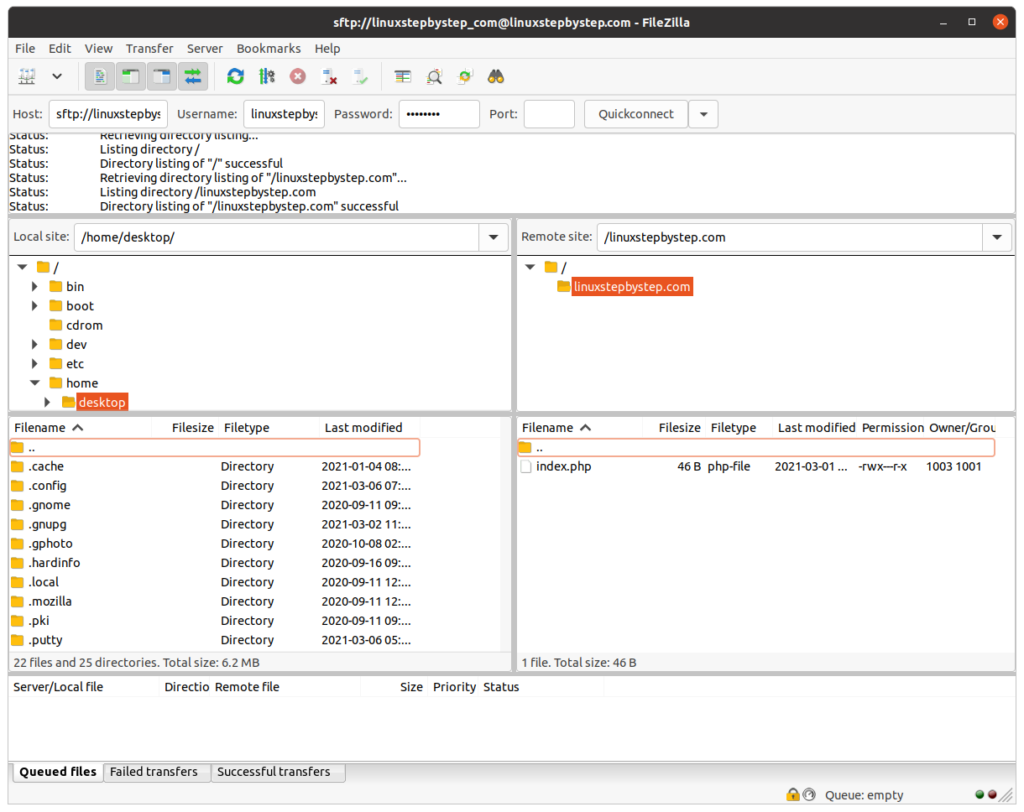
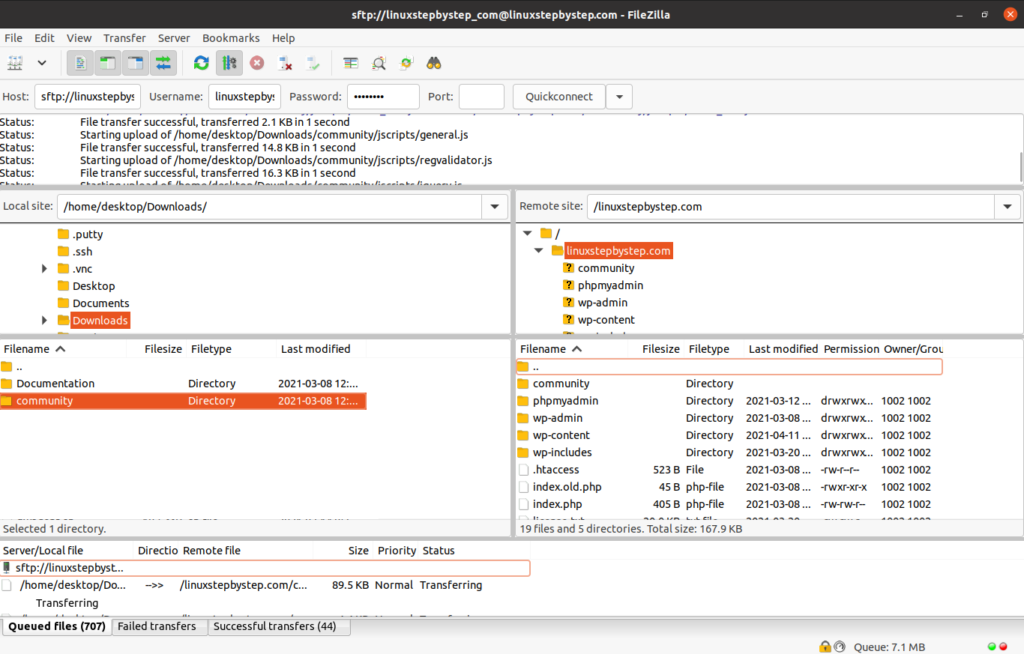
Using Filezilla, connect to the Ubuntu Linux cloud server you created in Chapter 3: Buying an Ubuntu Linux cloud server from Digital Ocean. On the right (remote) side, select the directory that contains the documents for your website. On the left (local) side, select the directory that contains the “community” directory. Right-click or command-click on the directory, select Upload:
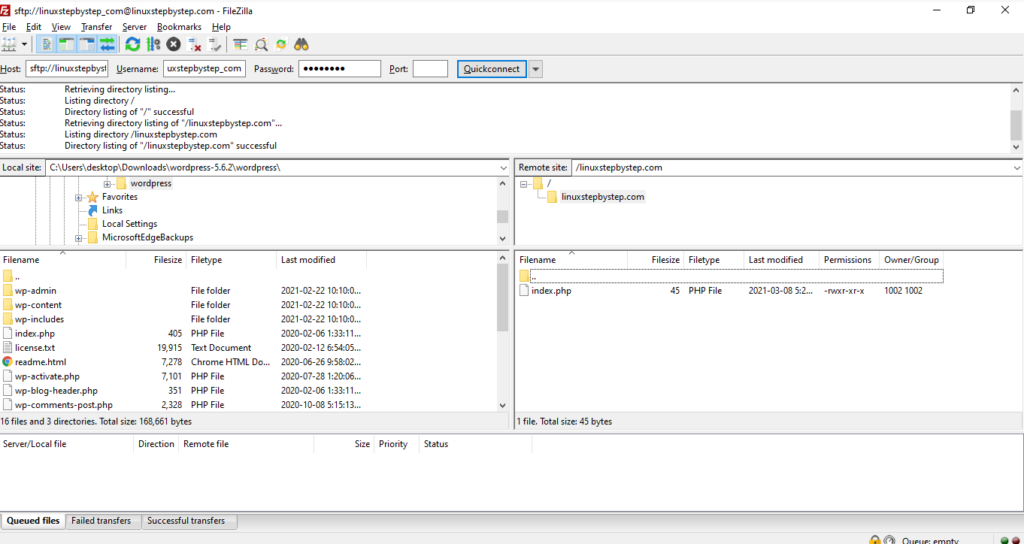
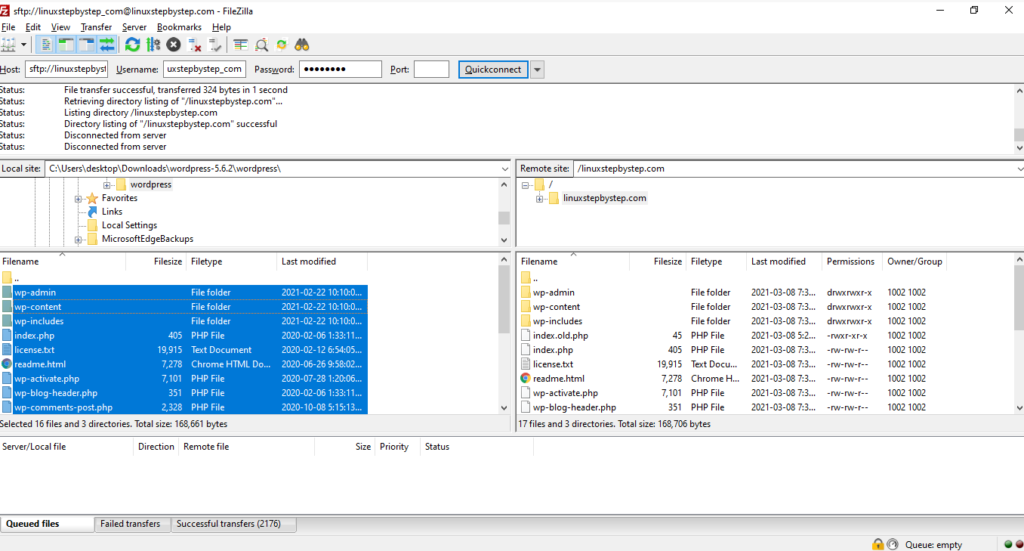
The transfer completes:
Installing the MyBB software using the MyBB installation wizard
For our example domain, we will visit:
https://linuxstepbystep.com/community
(substitute your domain name)
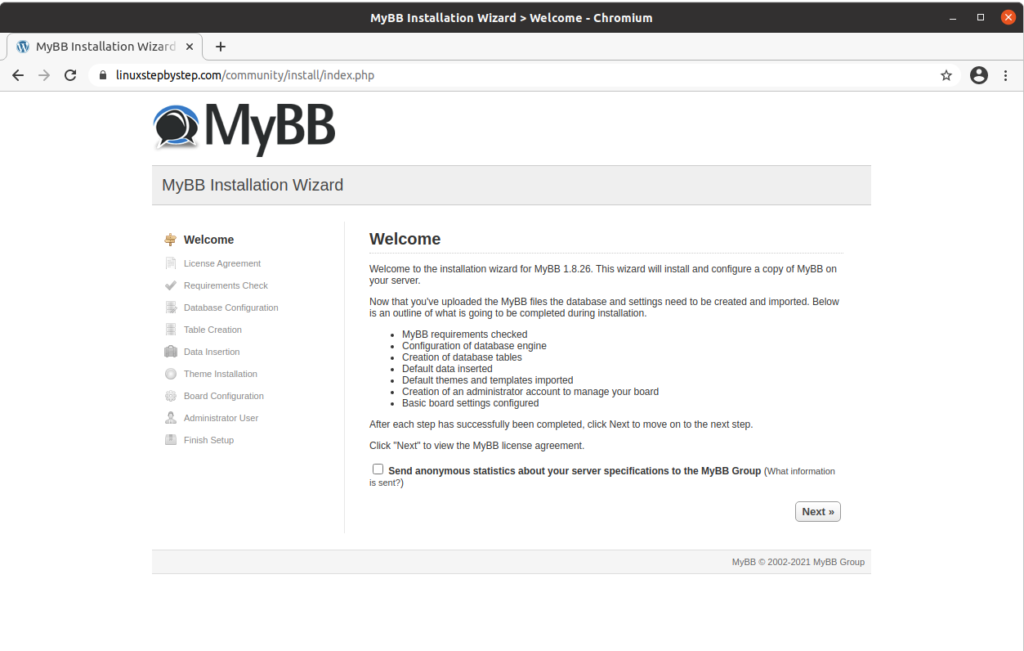
Click “Next”:
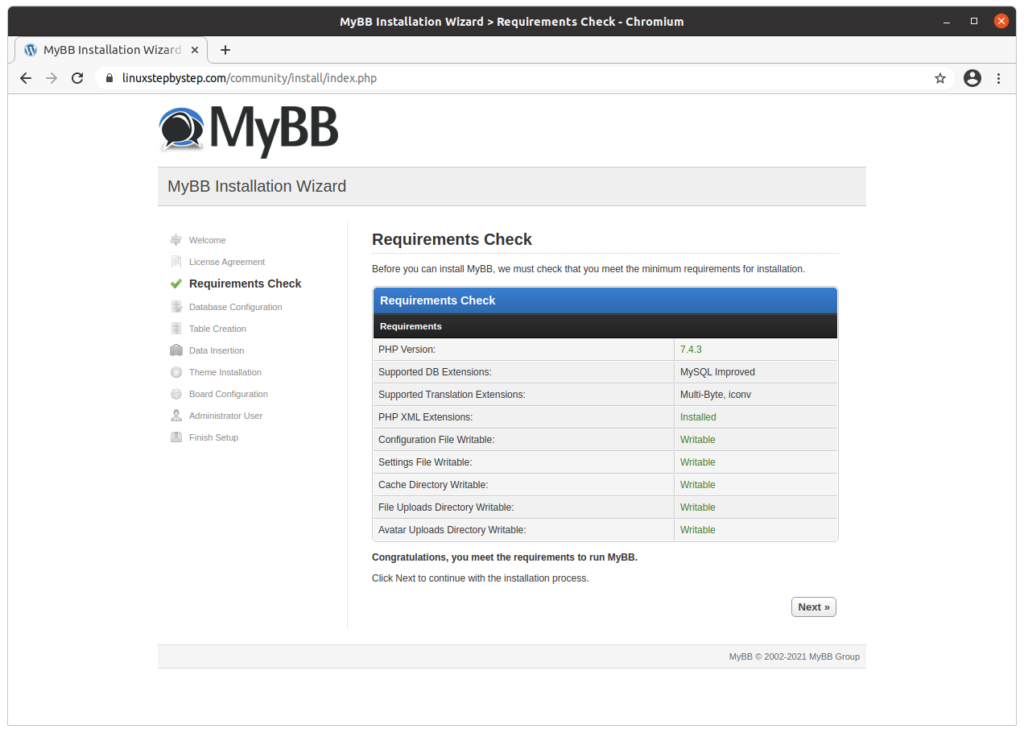
Click “Next”:

Click “Next”:
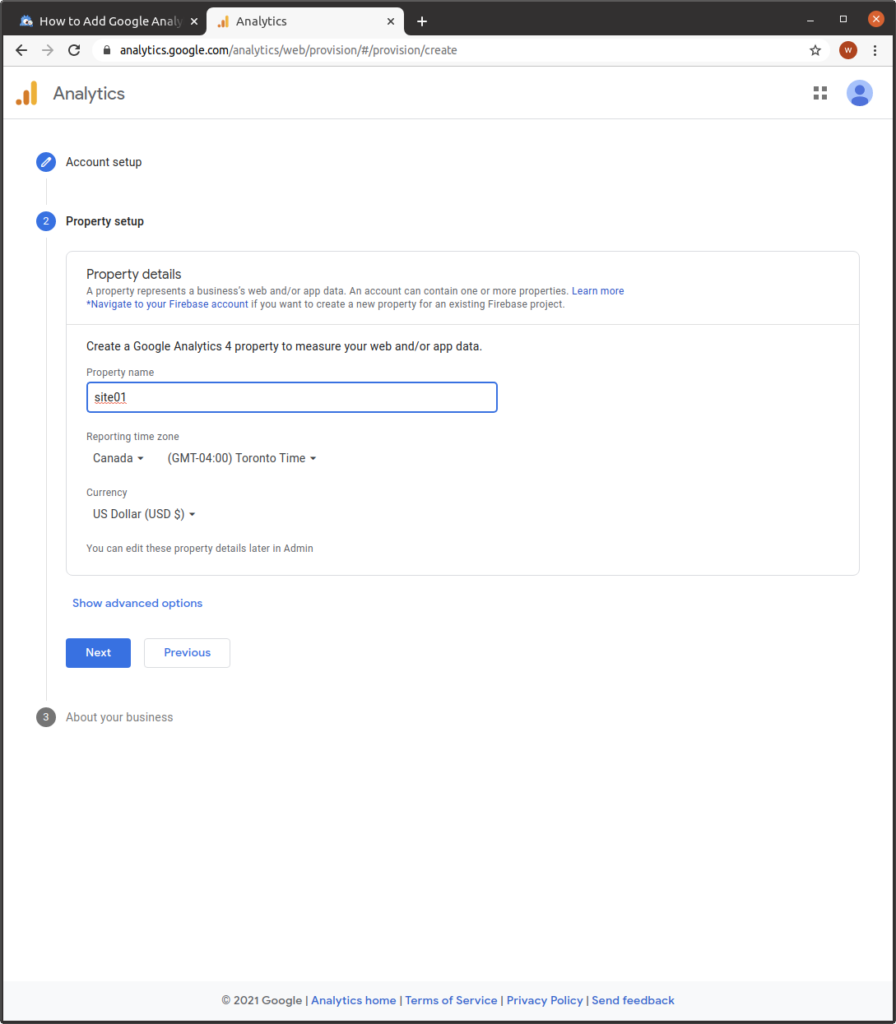
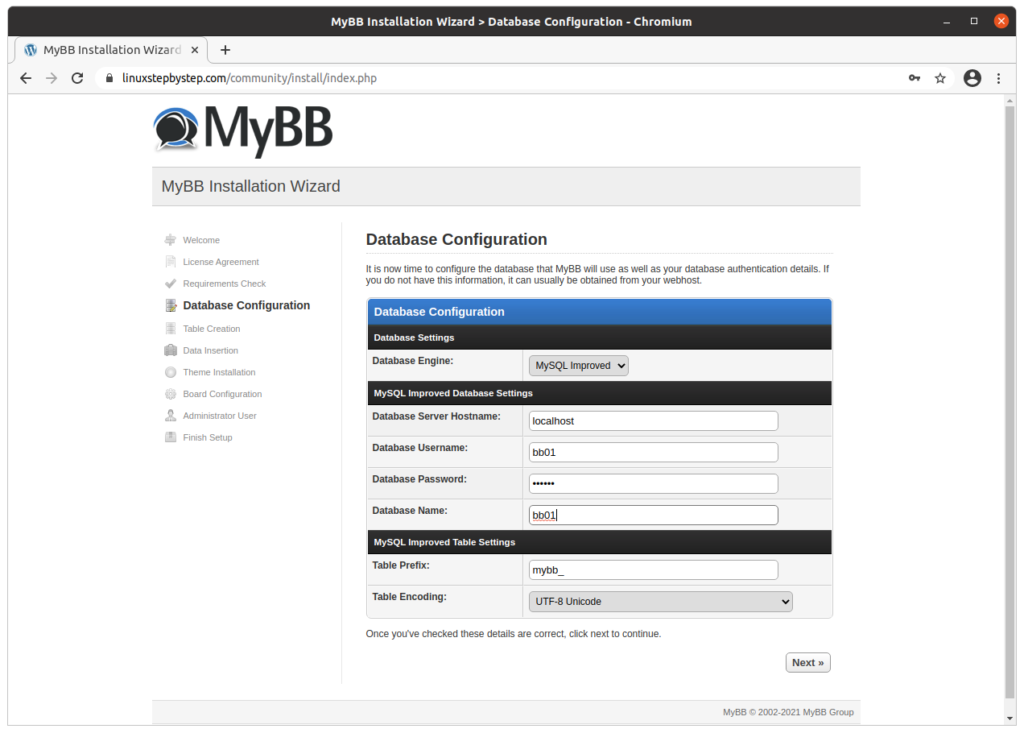
Complete the fields as show below. Click “Next”:
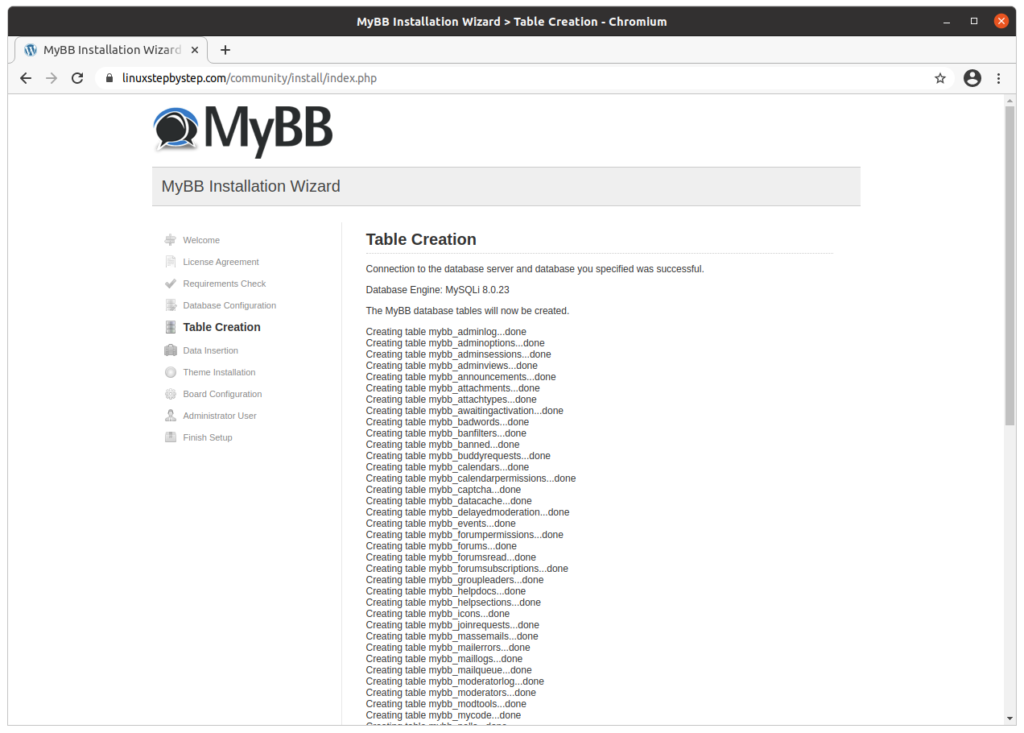
Scroll to the bottom of the web page. Click “Next”:
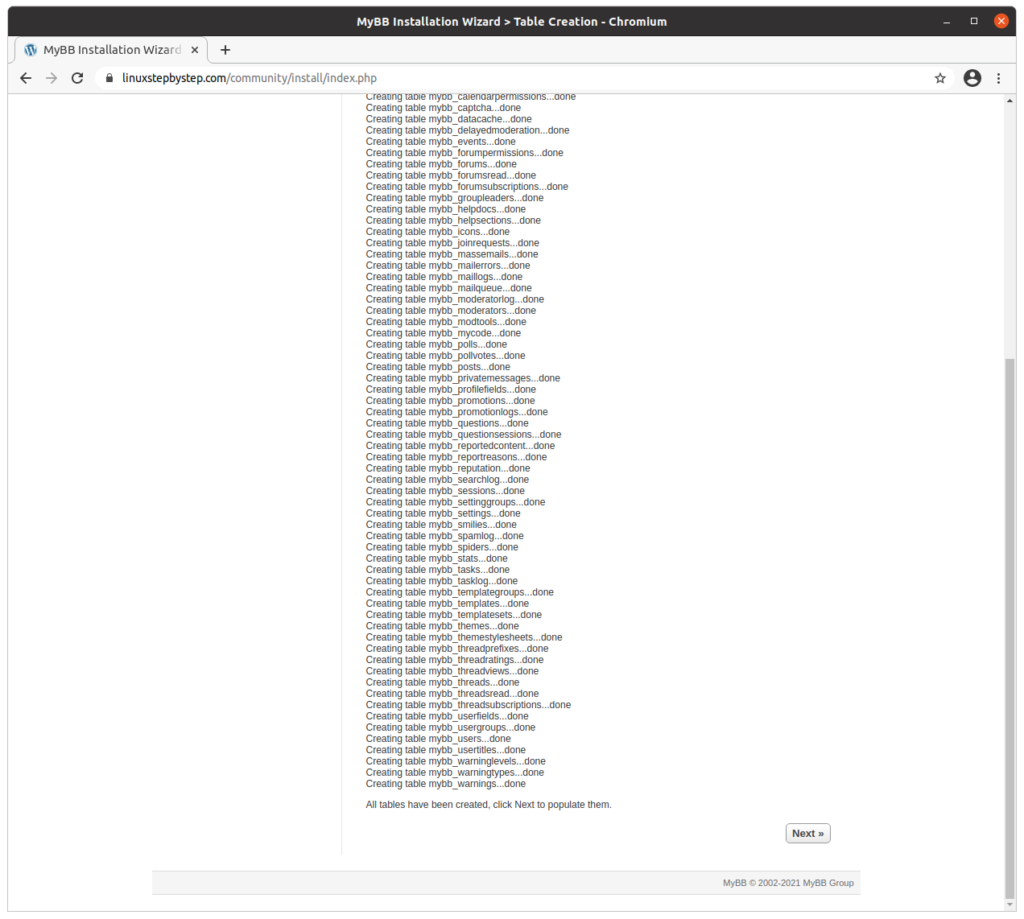
Click “Next”:
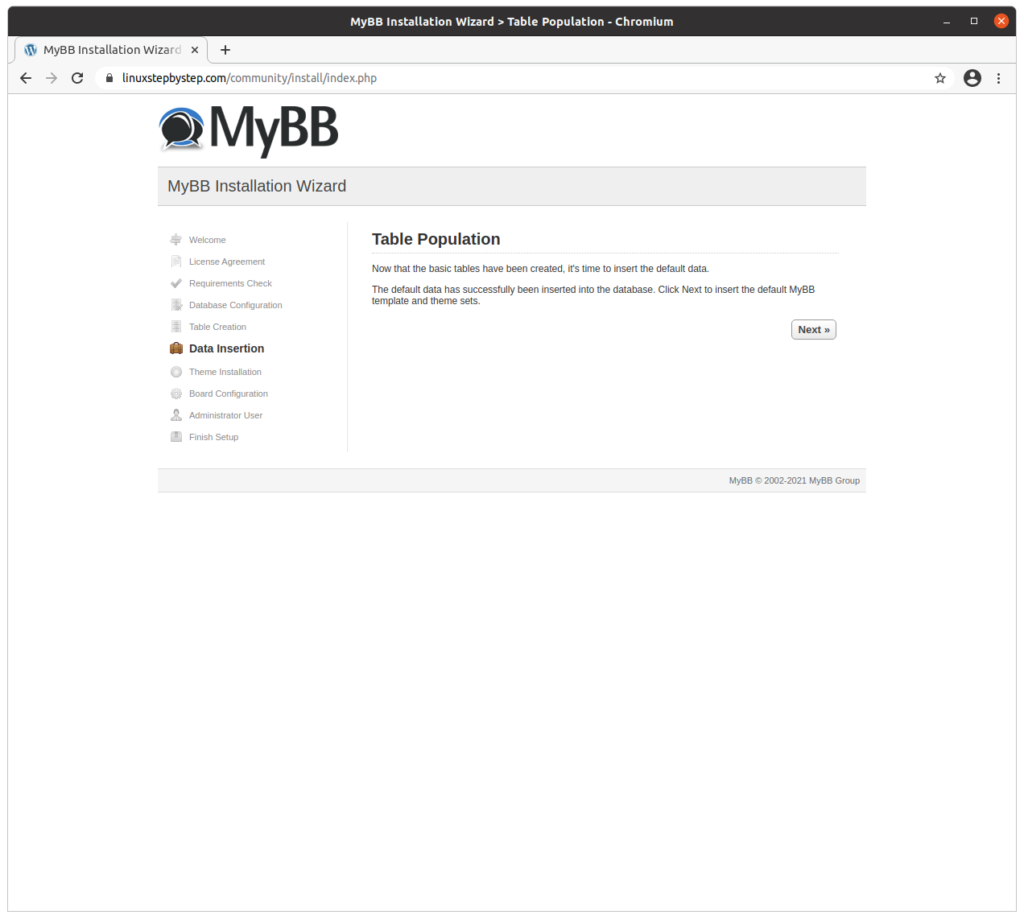
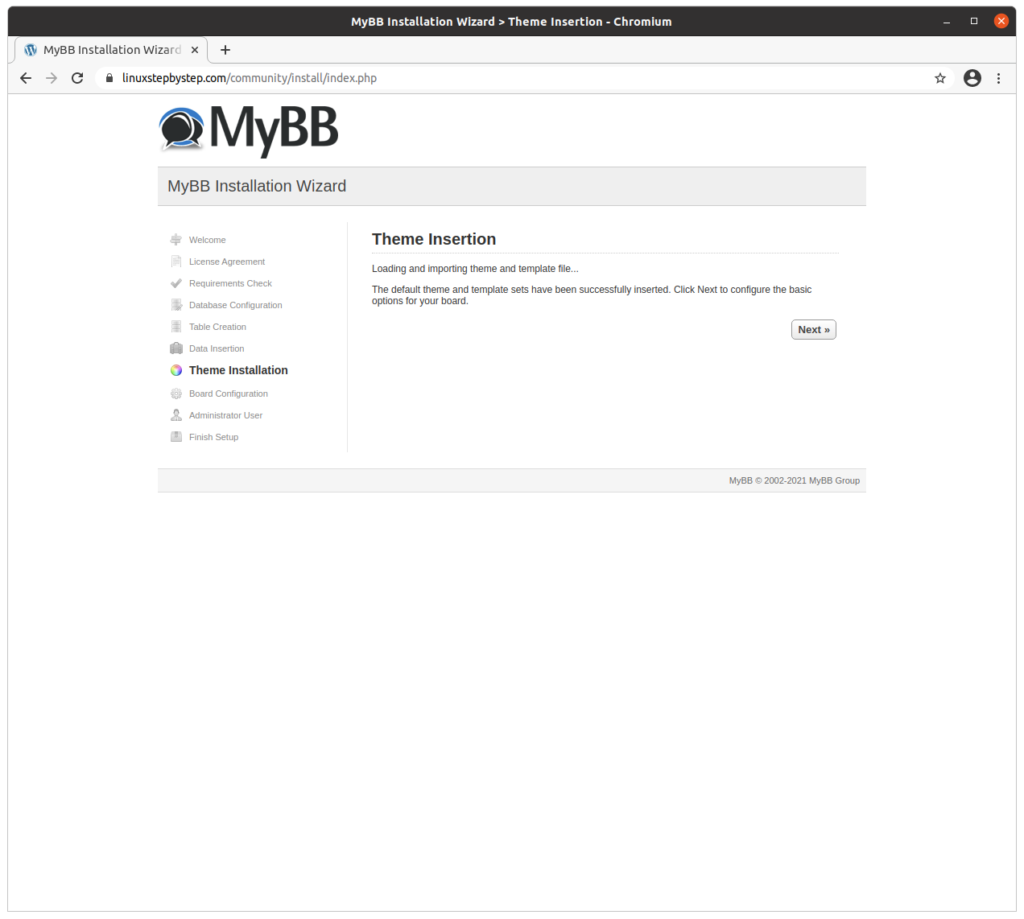
Click “Next”:
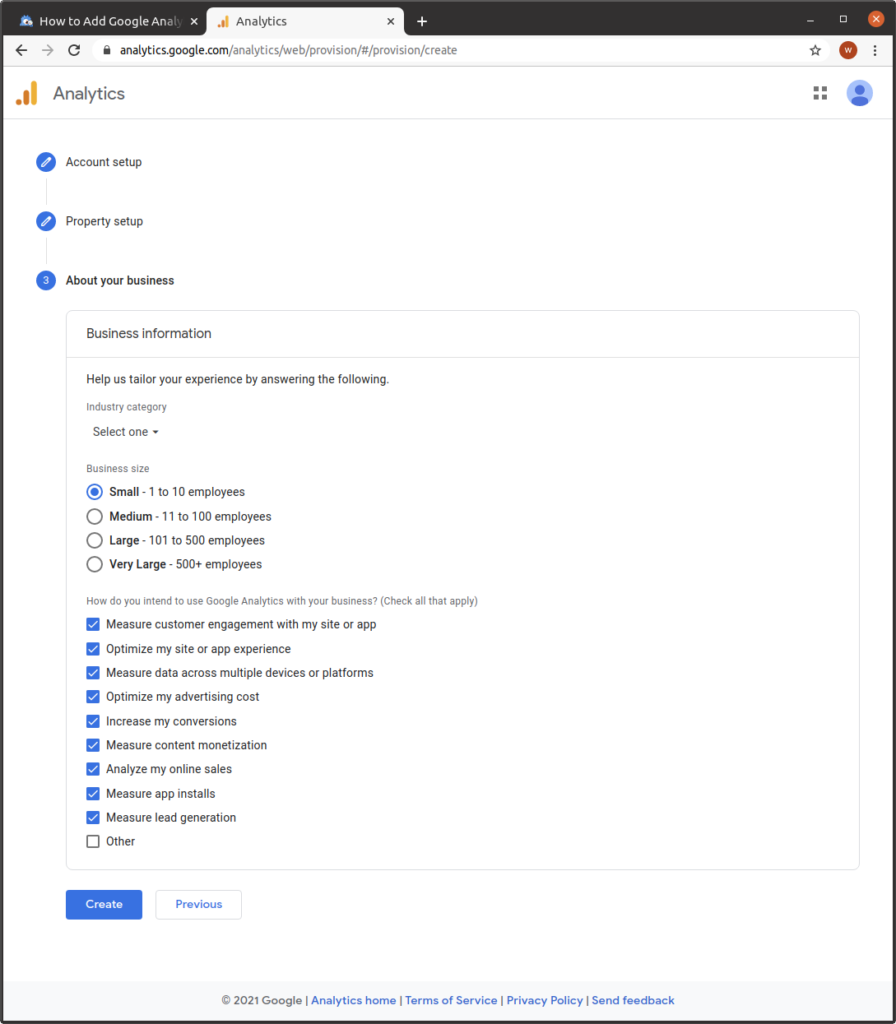
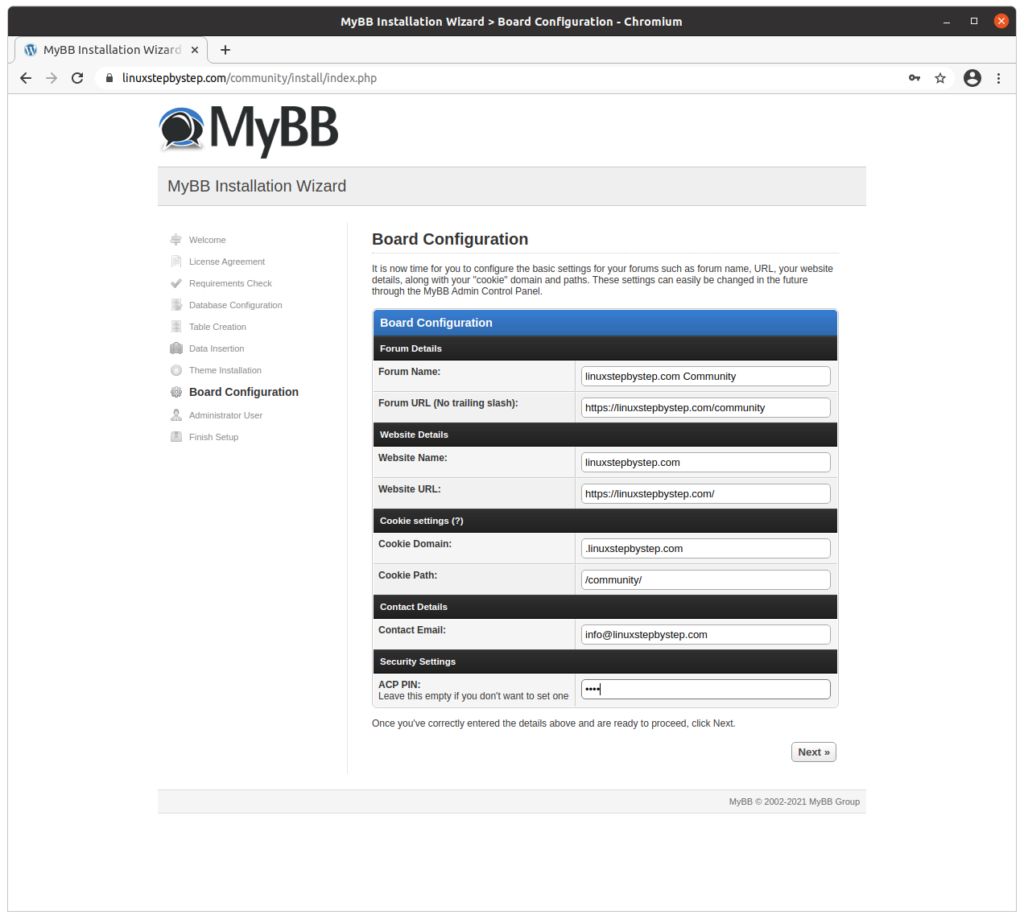
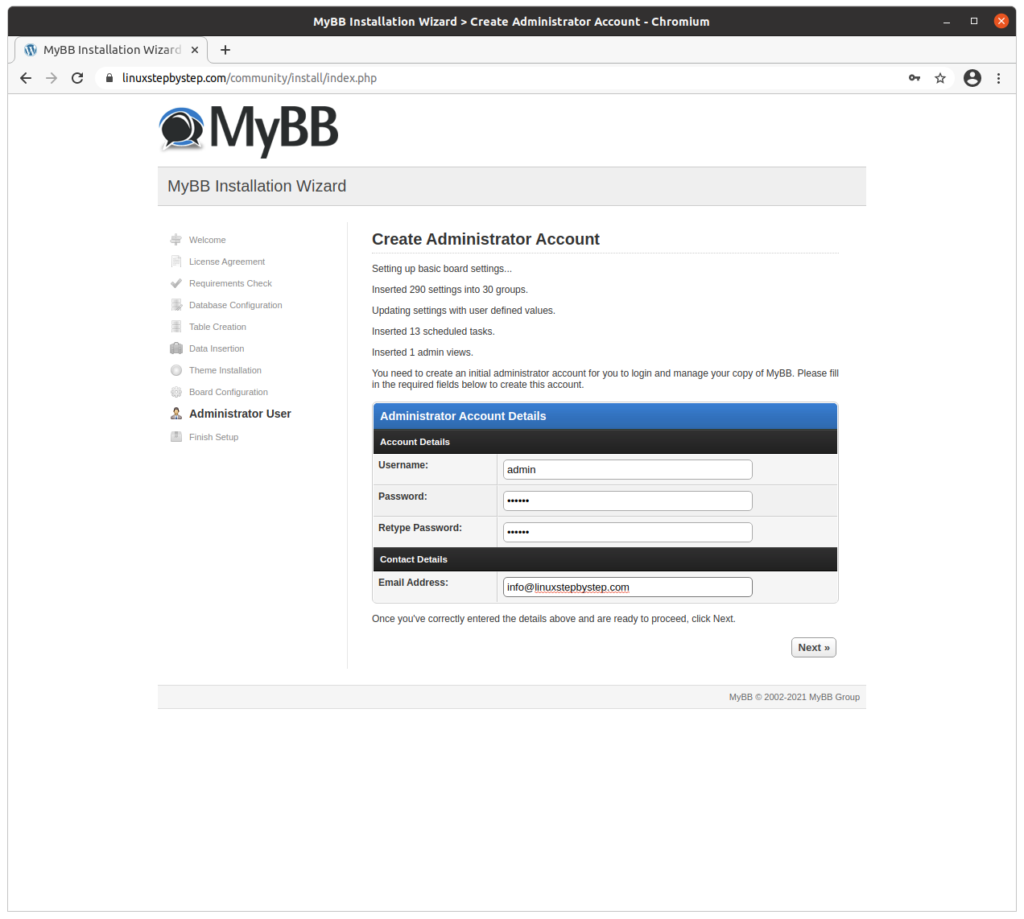
Complete the fields as show below. Click “Next”:
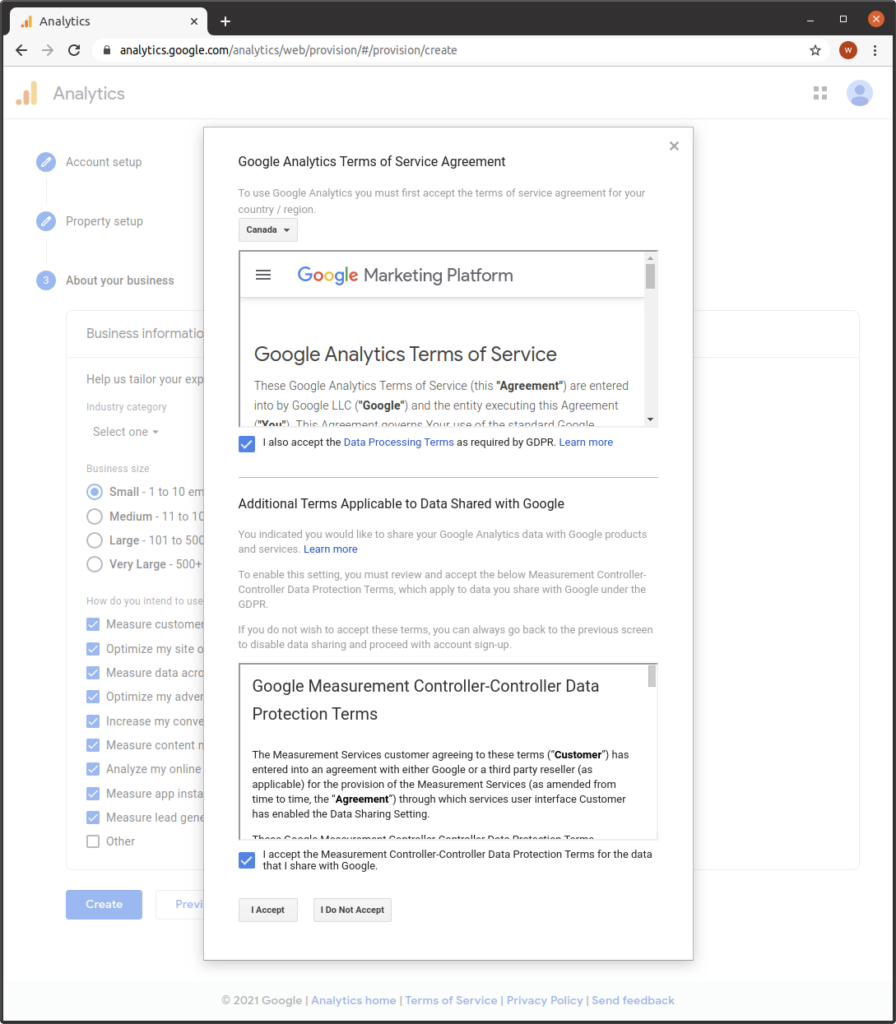
Complete the fields as show below. Click “Next”:
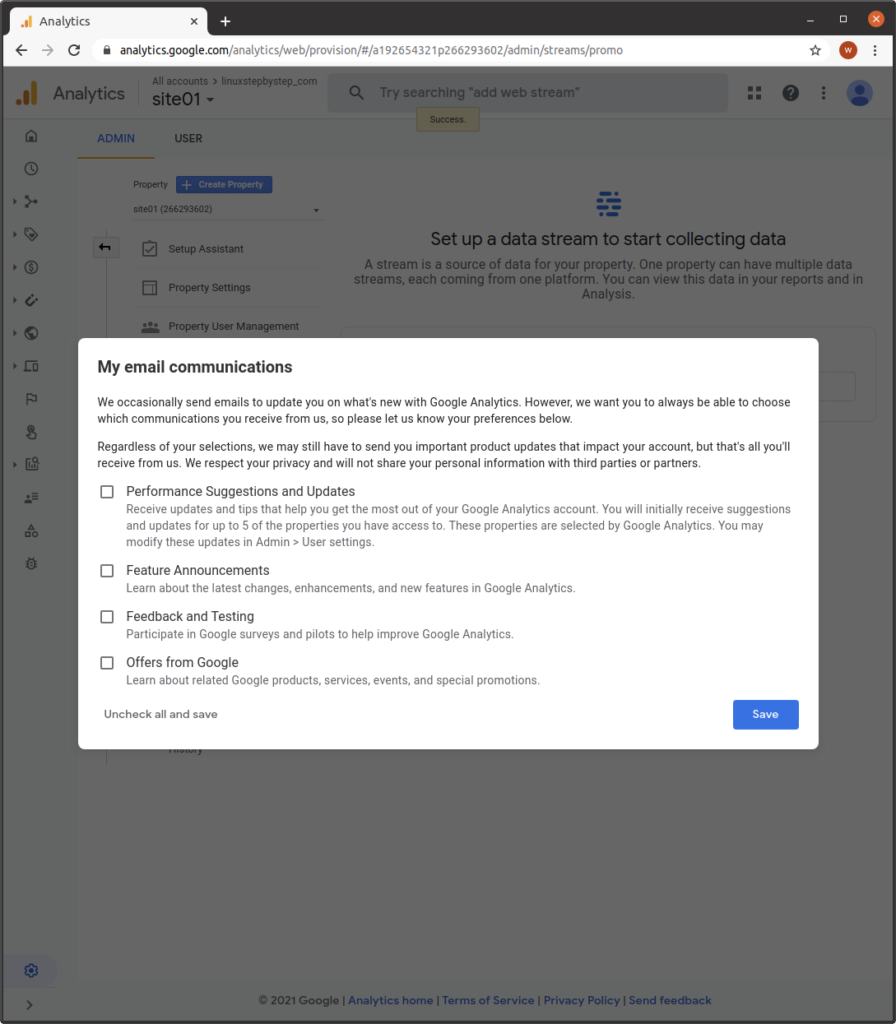
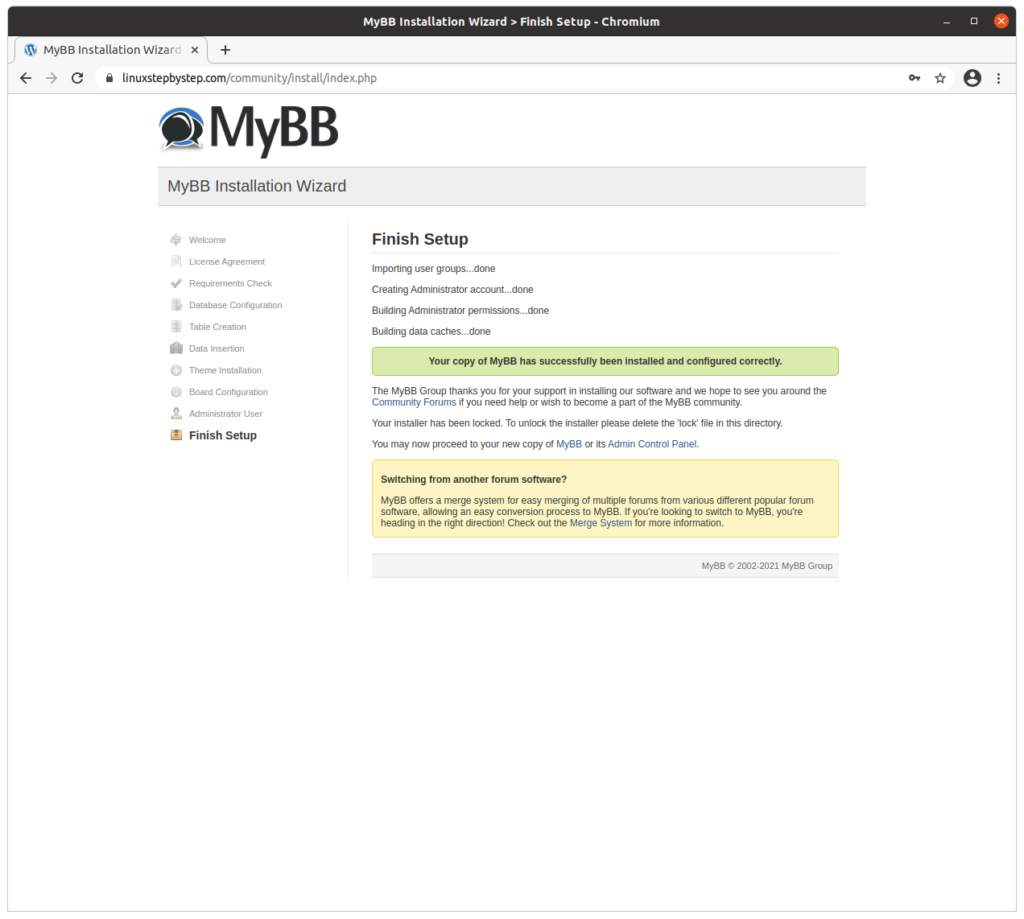
This screen will display when we have finished:
Visiting the community forum site
For our example domain, we will visit:
https://linuxstepbystep.com/community
(substitute your domain name)
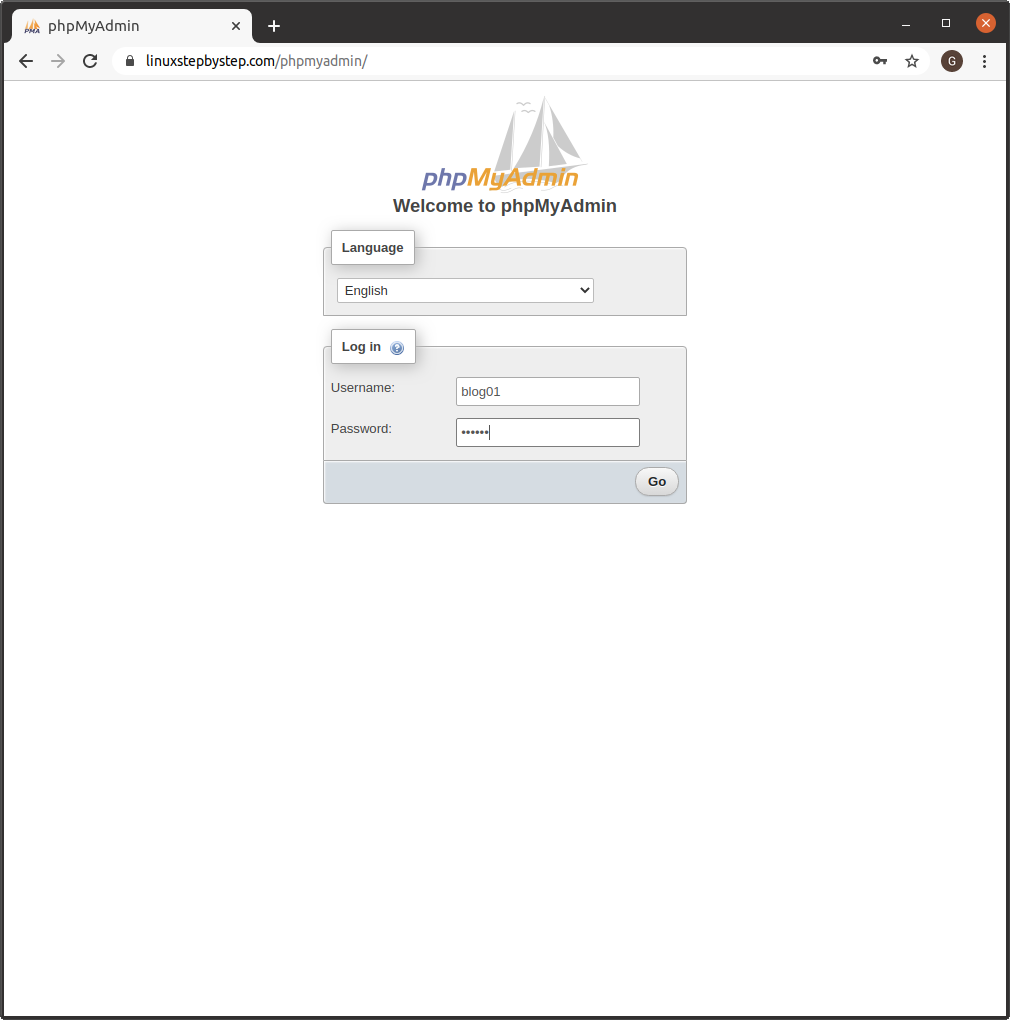
Logging into the admin account
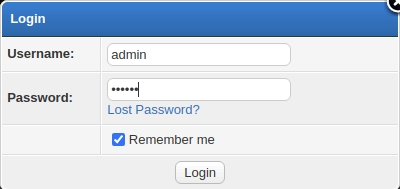
Enter the username and password for the admin user. Click “Login”:
Click on “Admin CP”:

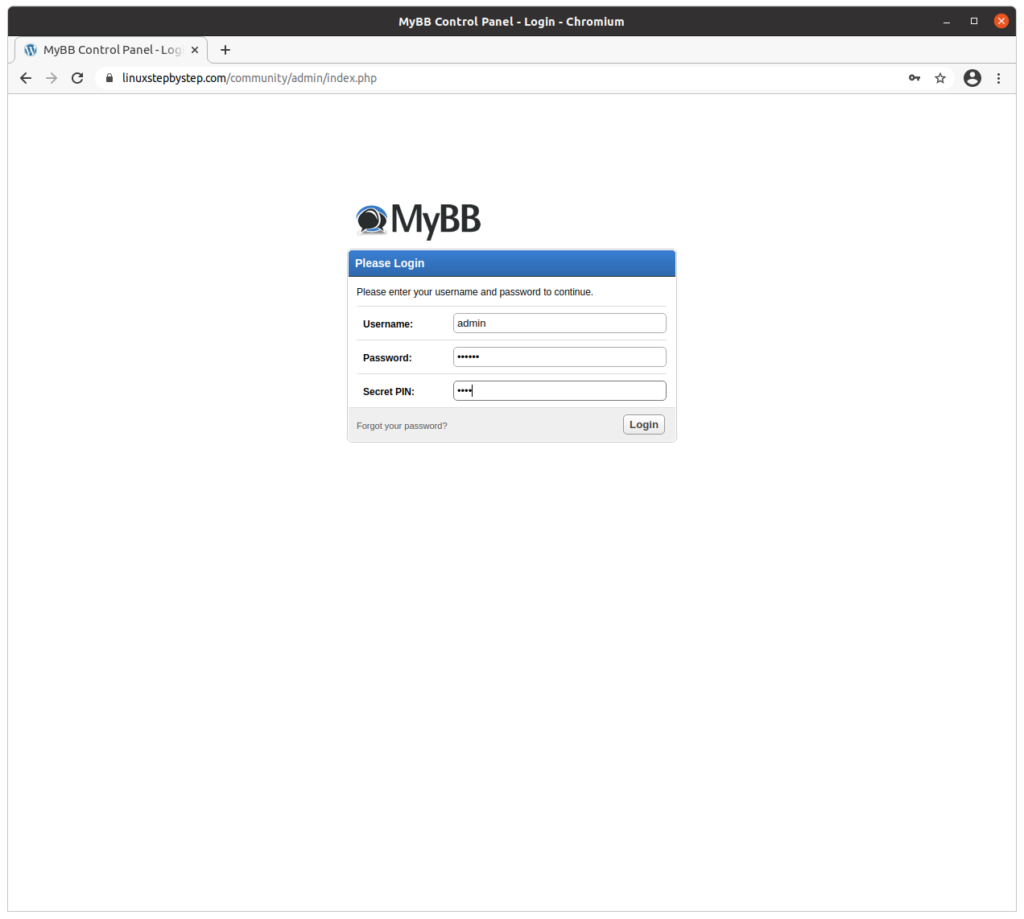
Enter the username and password for the admin user. Enter the secret PIN. Click “Login”:
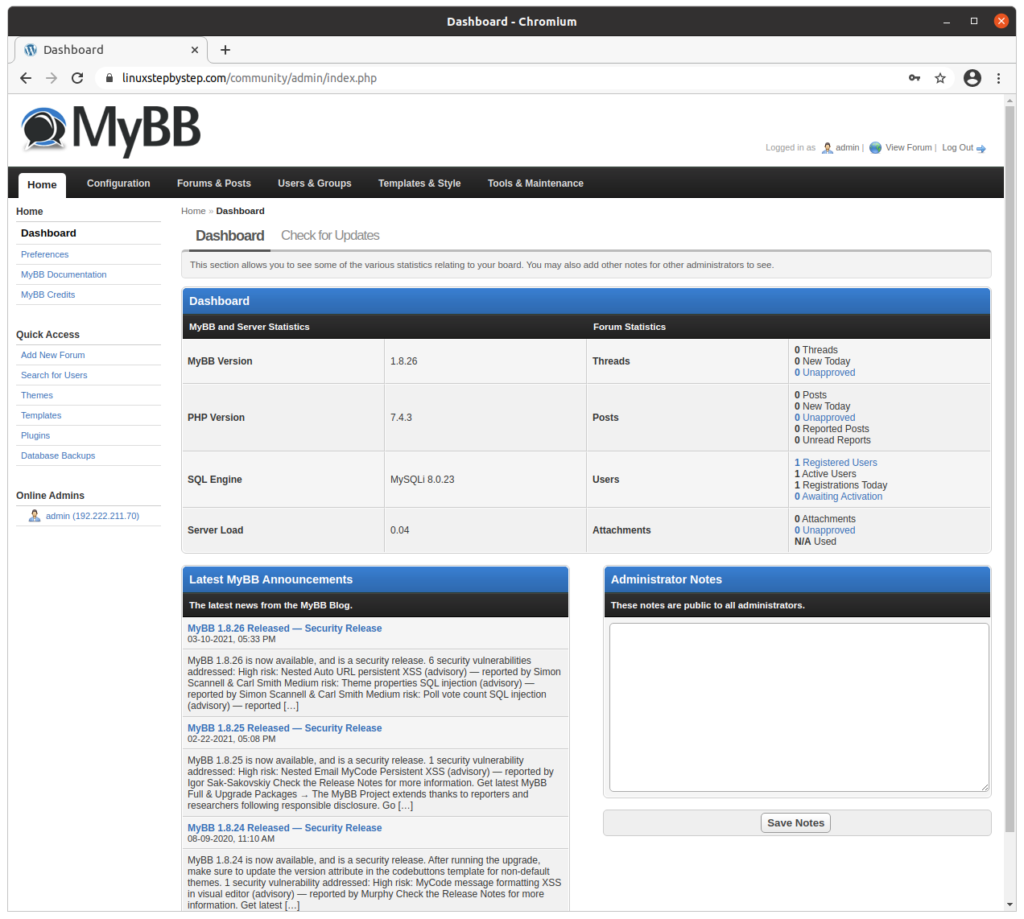
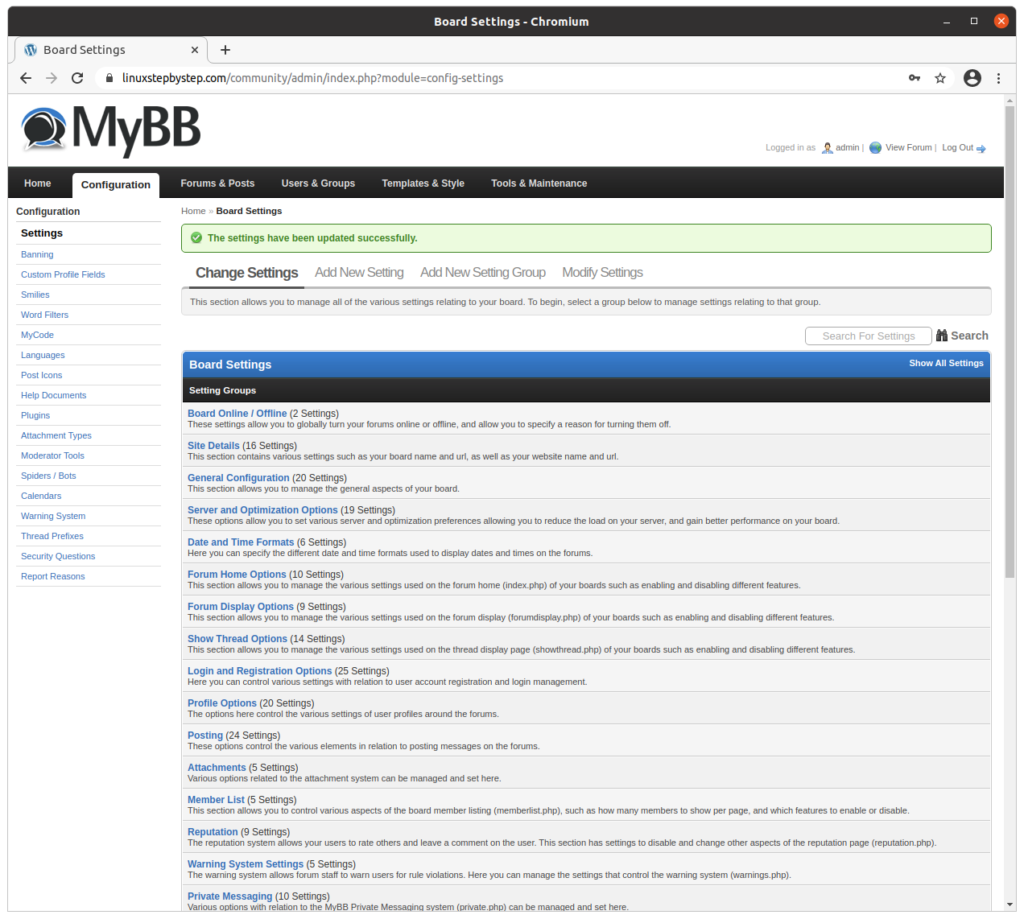
Configuring the MyBB community forum site
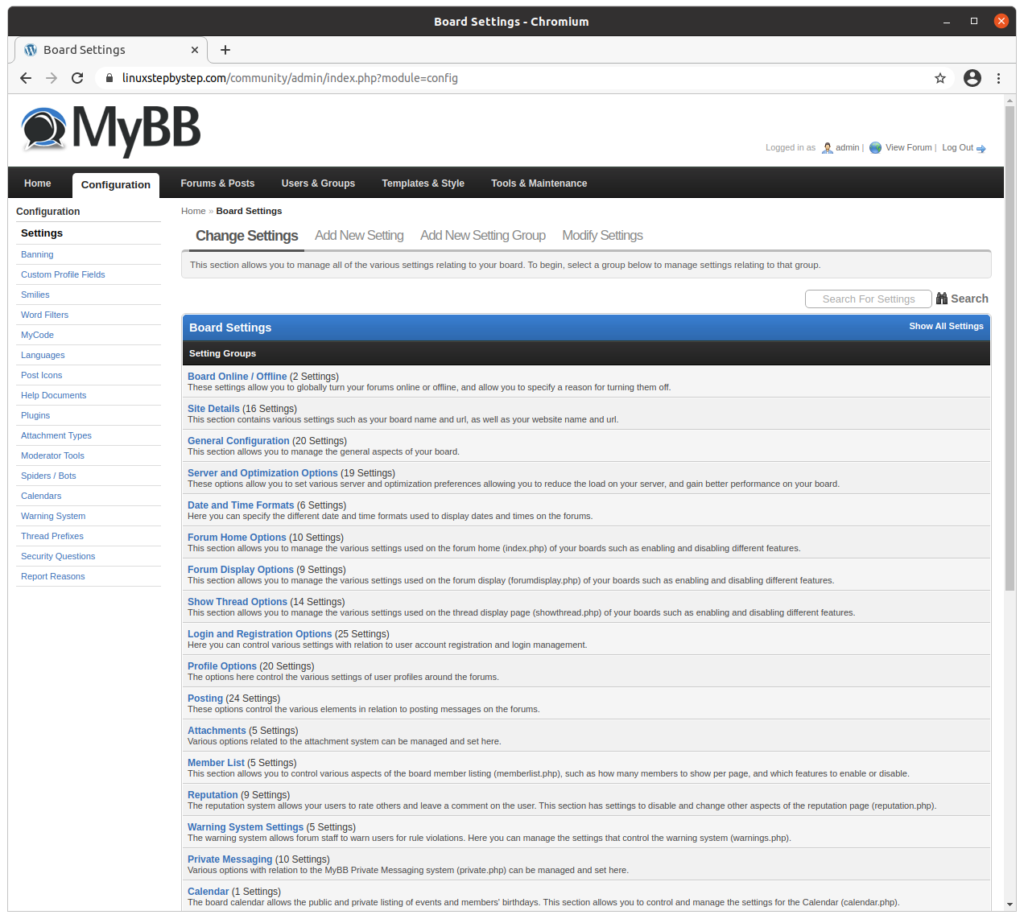
Click on “Configuration”:
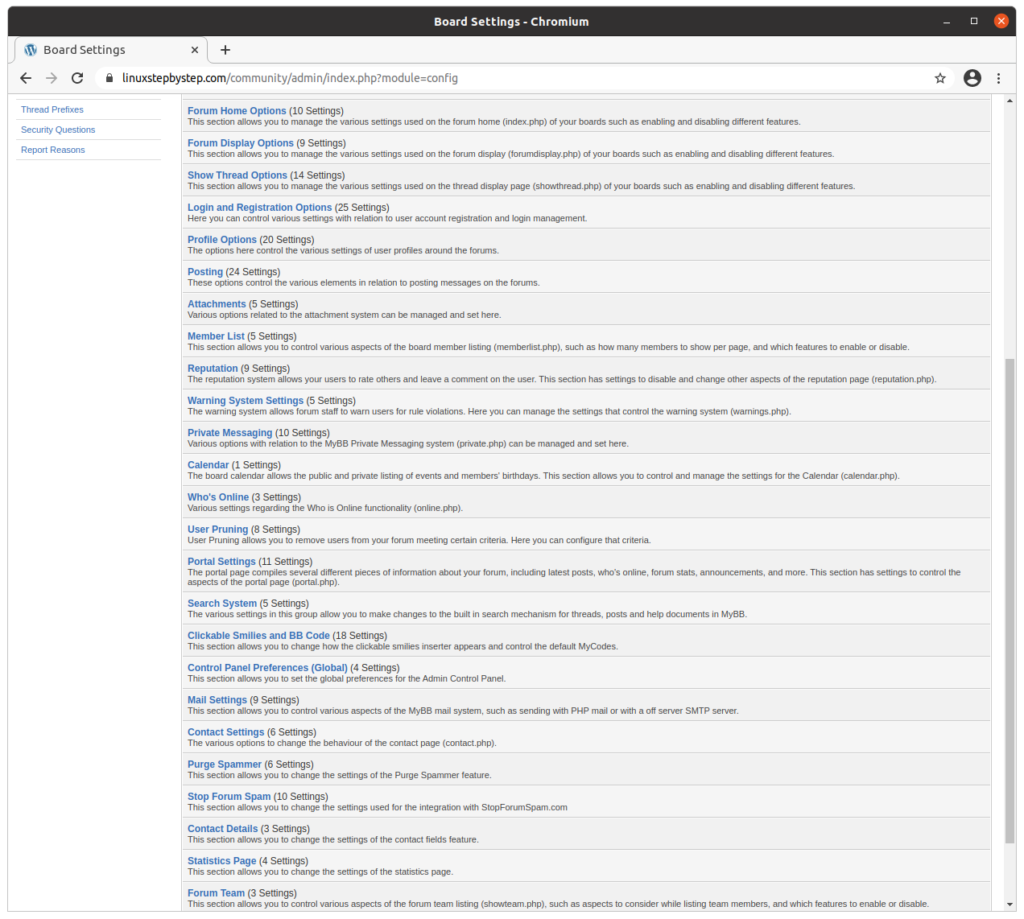
Scroll towards the bottom of the web page:
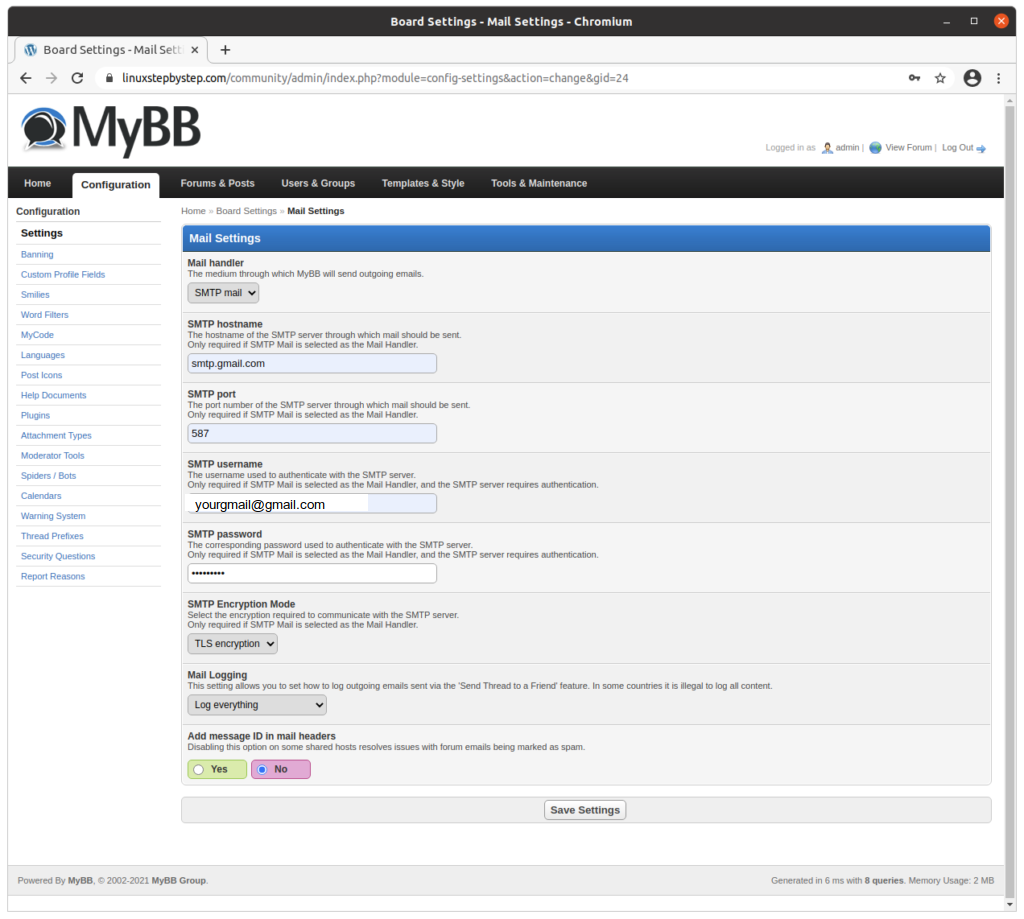
Click on “Mail Settings”:
Configure settings for “Mail handler”
Mail handler: select "SMTP mail"
SMTP hostname: smtp.gmail.com
SMTP port: 587
SMTP username: the address of the gmail account you selected or created earlier in this procedure
SMTP Encryption Mode: select "TLS encryption"
Click “Save Settings”:
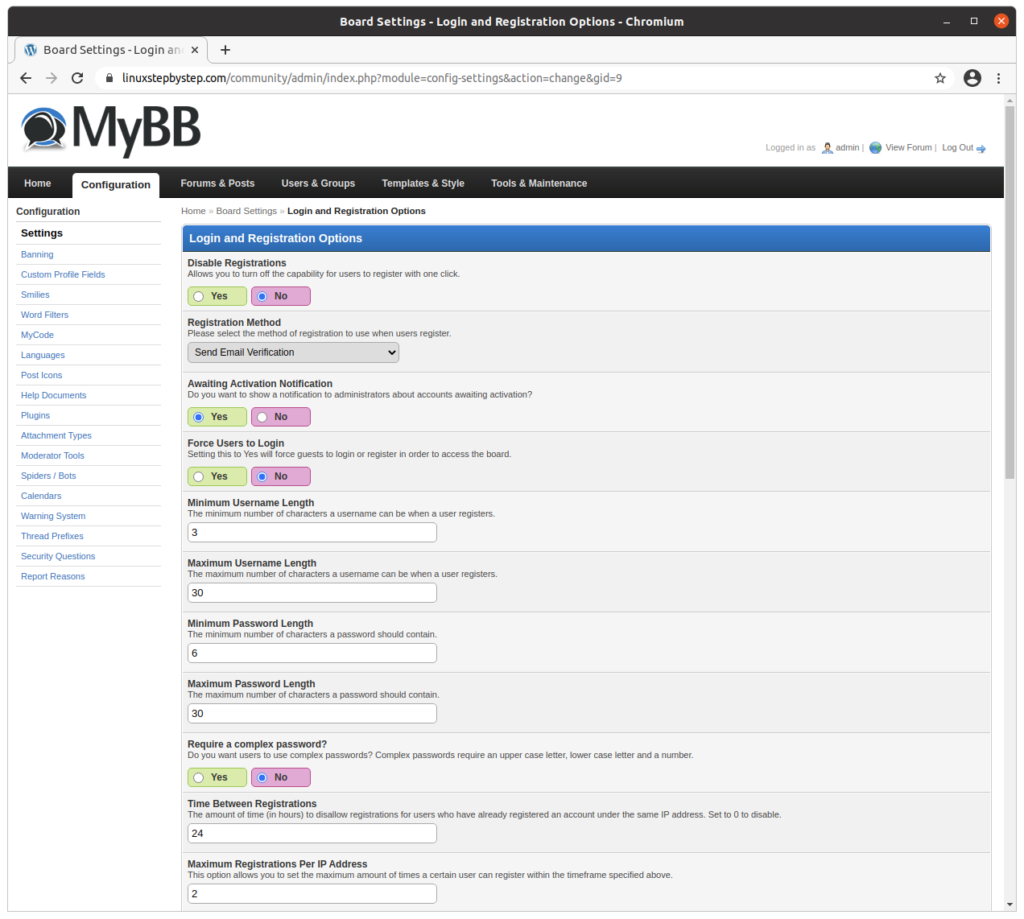
Click on “Login and Registration Options”:
For “Registration Method,” select “Send Email Verification”:
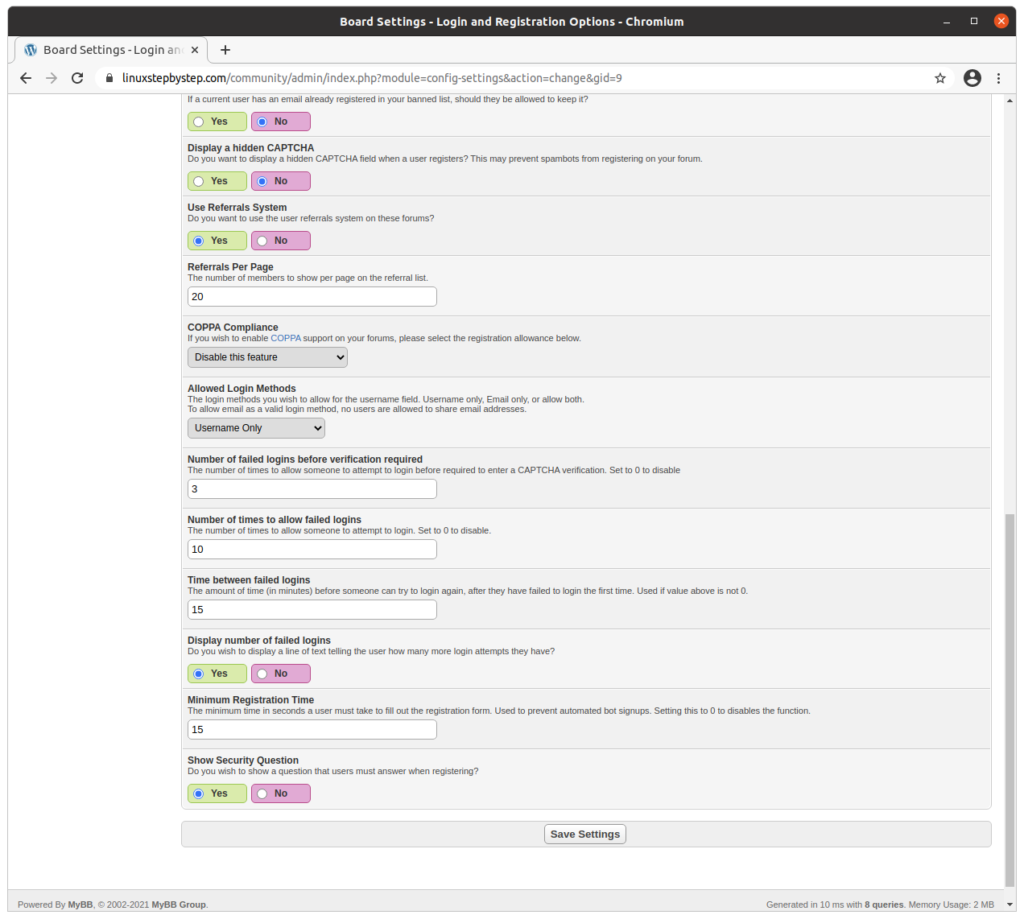
Scroll to the bottom of the web page. Click on “Save Settings”:
Registering as a new user on the community forum site
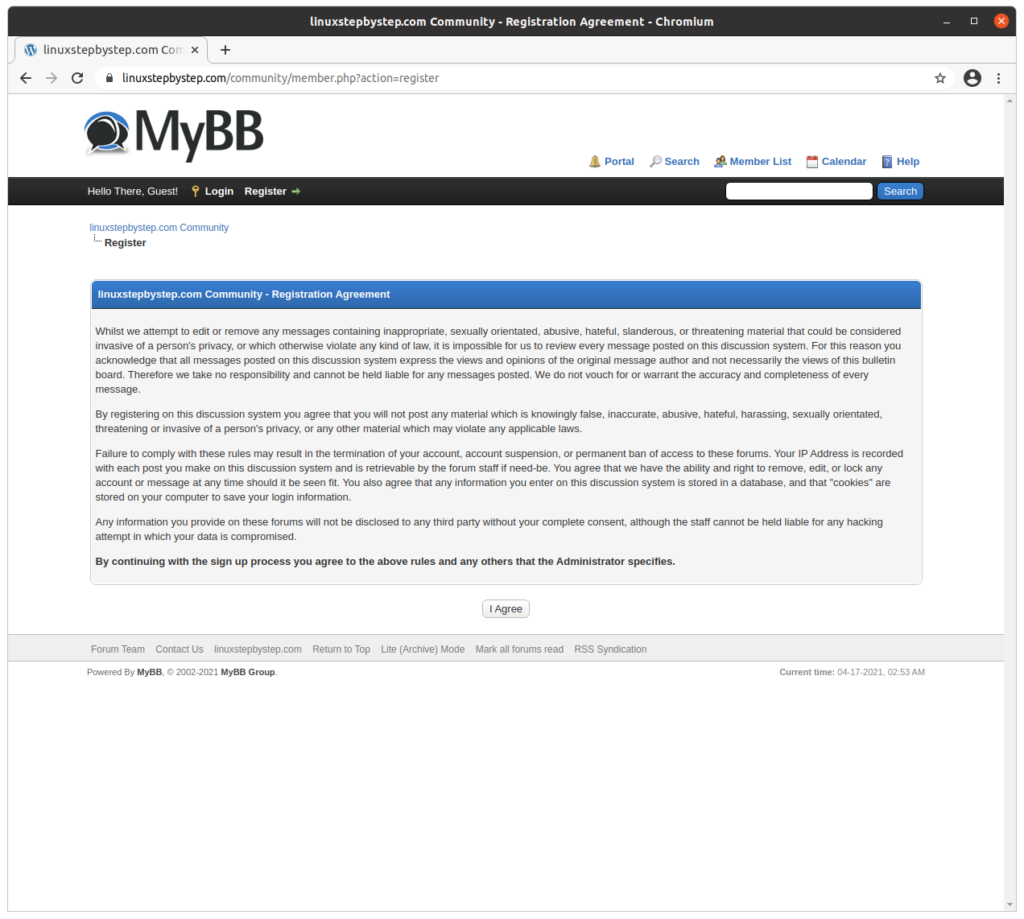
Use a web browser to visit the community forum site. Click on “Register.” On the page titled “Registration Agreement,” consider then if you decide click “I agree”:
Complete the fields as show in the example below. Click “Submit Registration!”:

MyBB displays this message:

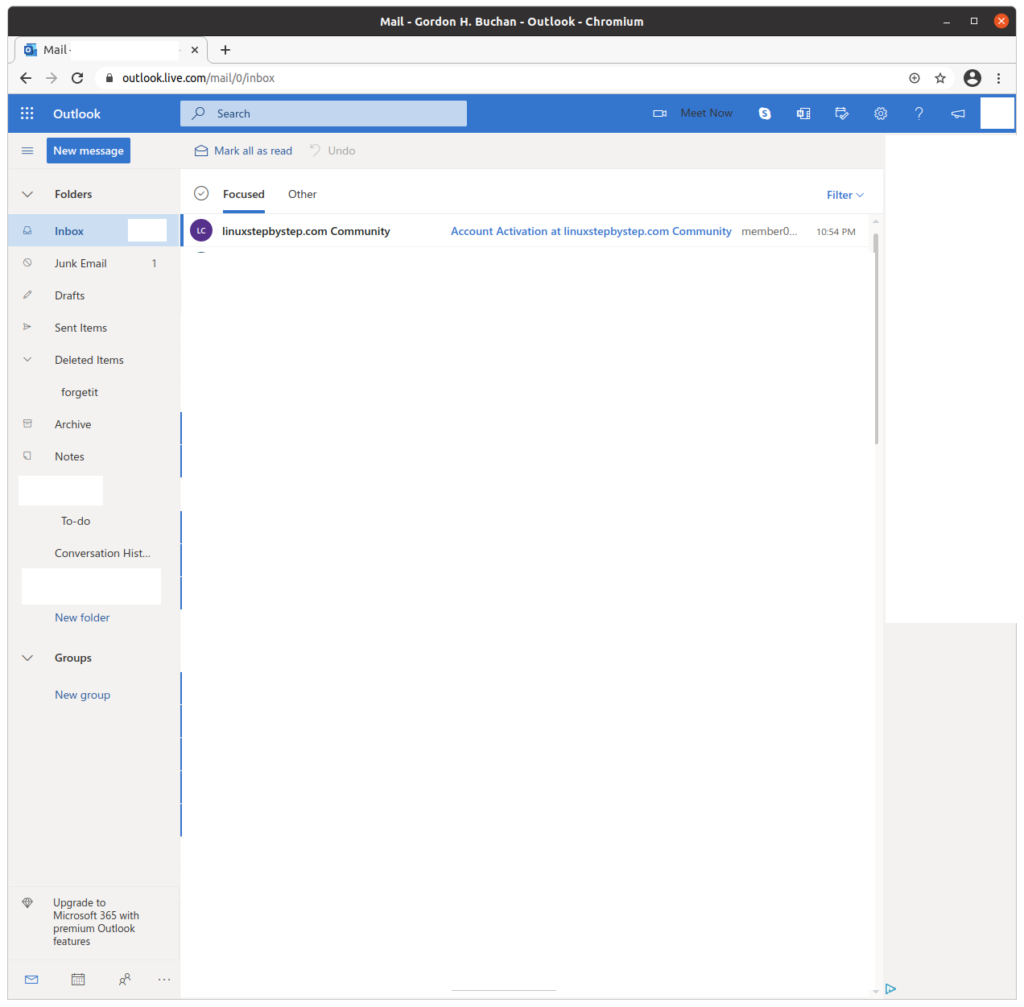
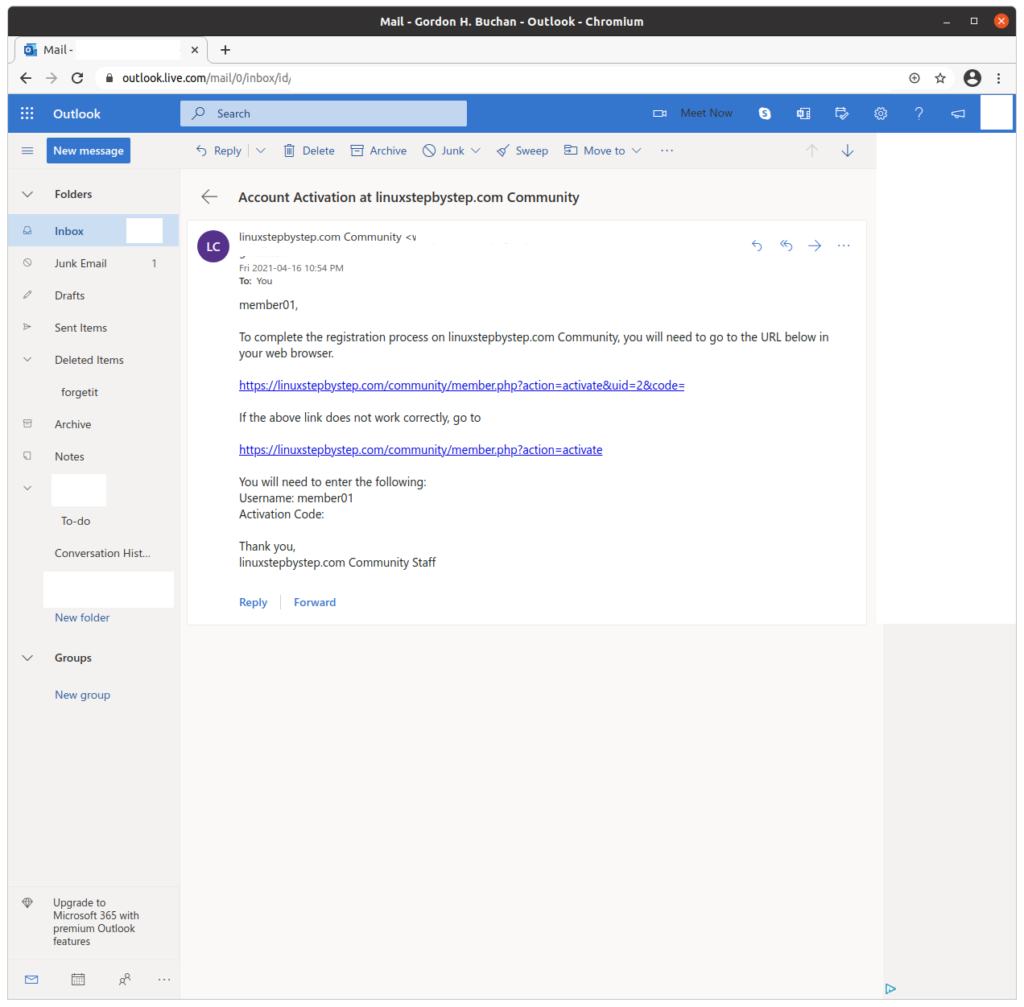
Check the email account you provided during registration. View the message sent by MyBB community forum site:
To activate your account, click on the link in the email:
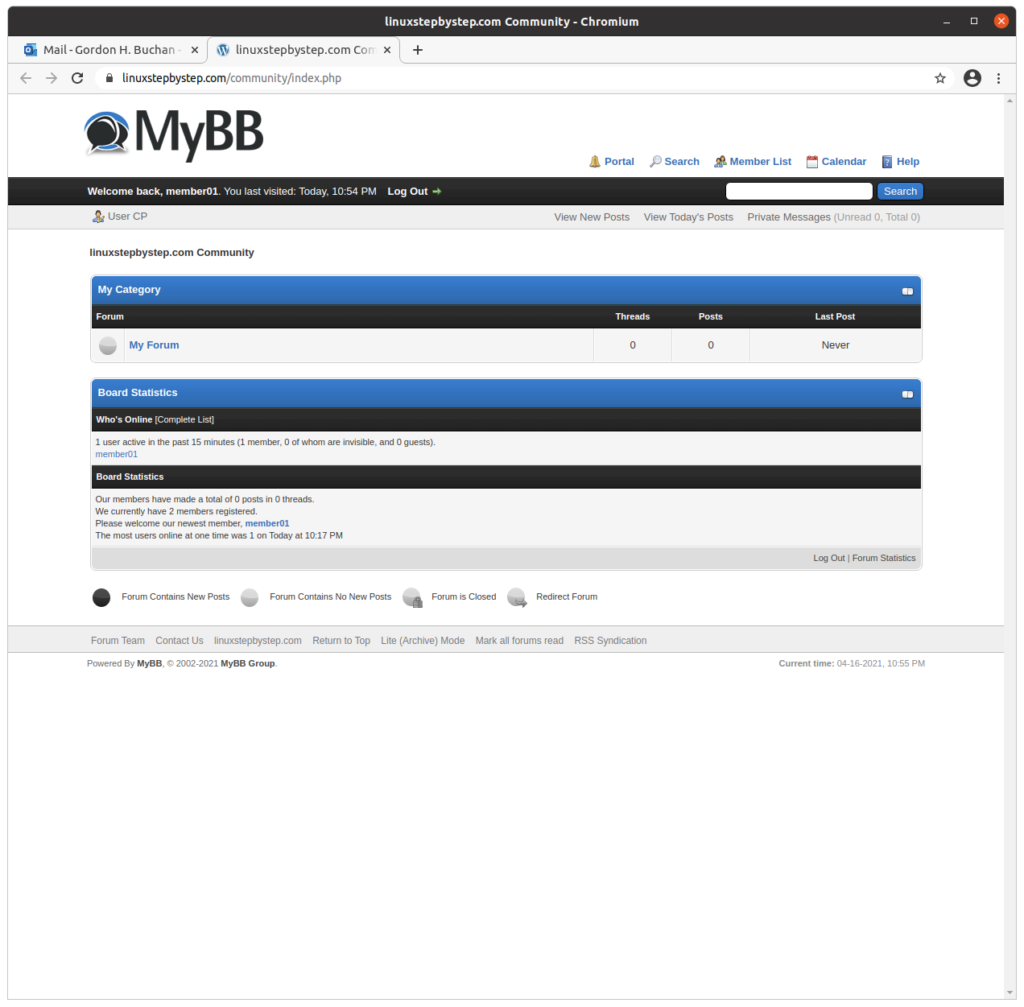
Welcome as a member:
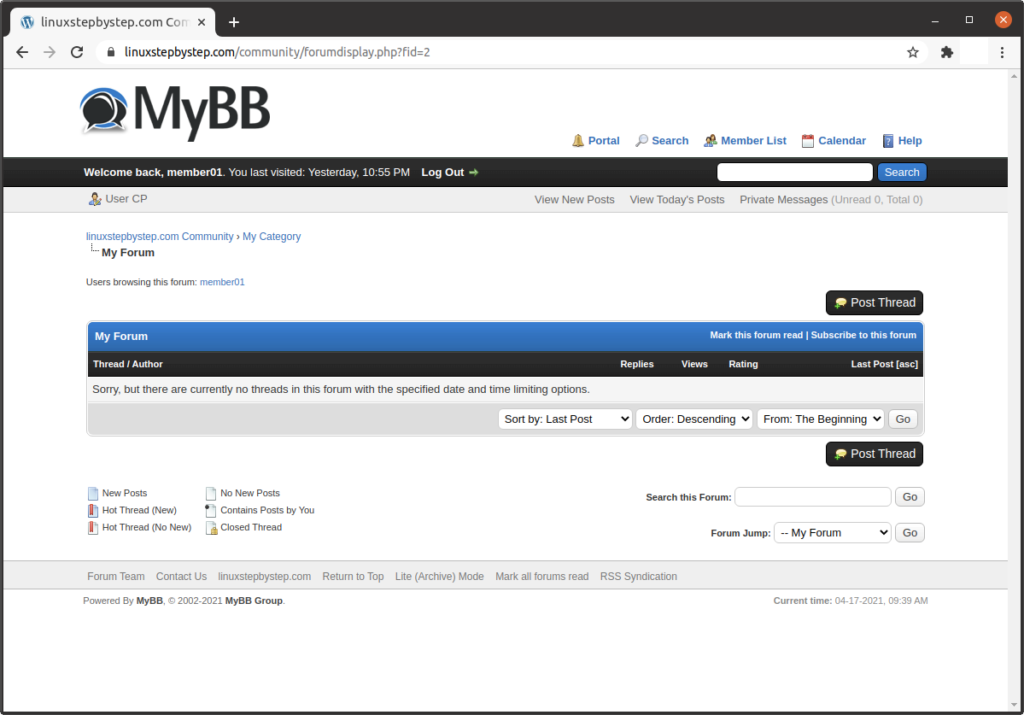
We will create a post. Click on “My Forum”:
Click on “Post Thread”:
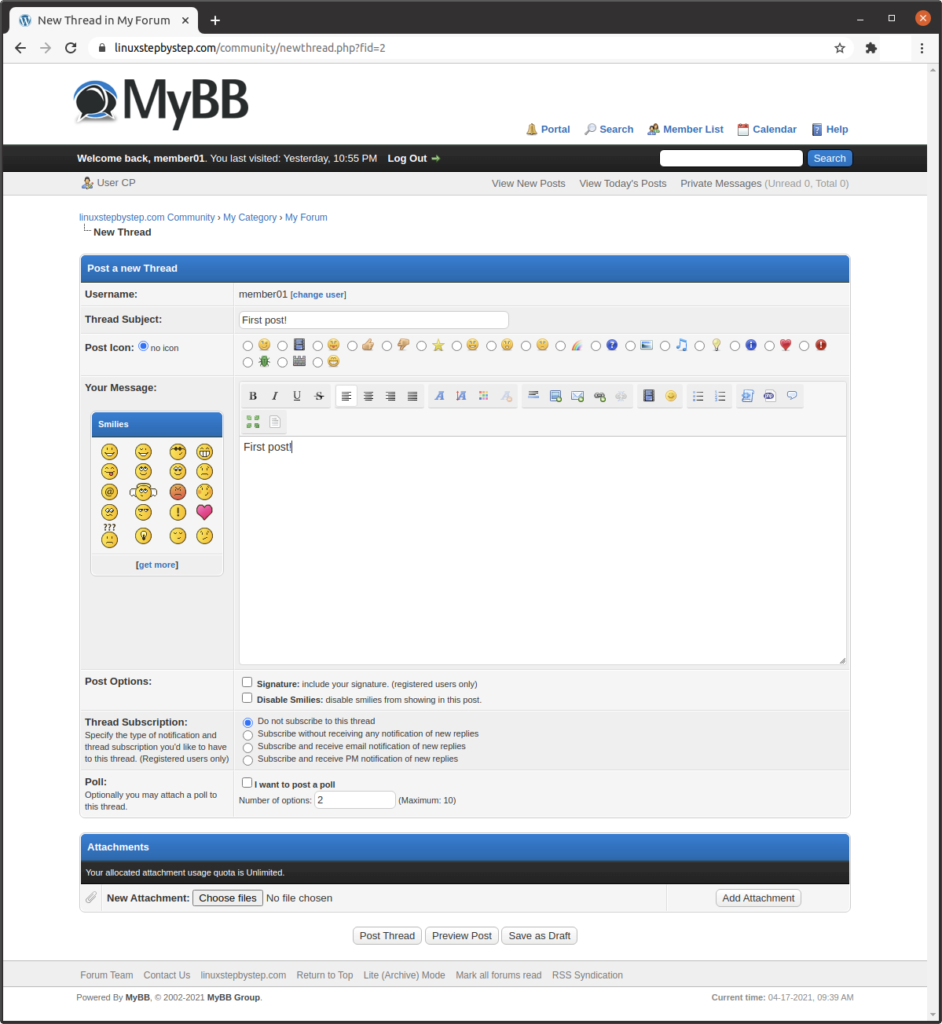
In the field “Thread Subject:” enter a subject.
In the field “Your Message:” enter the text of a message.
Click on “Post Thread”:
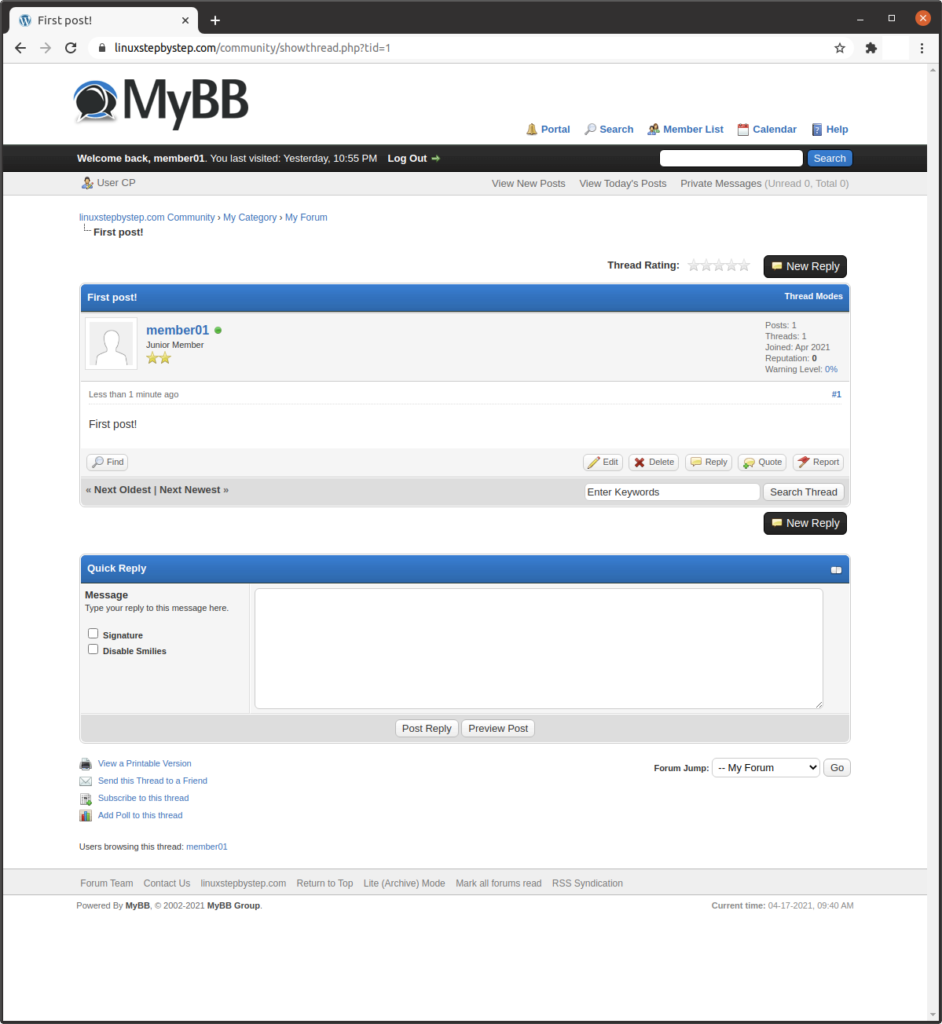
The message is displayed. Click on “My Category”:
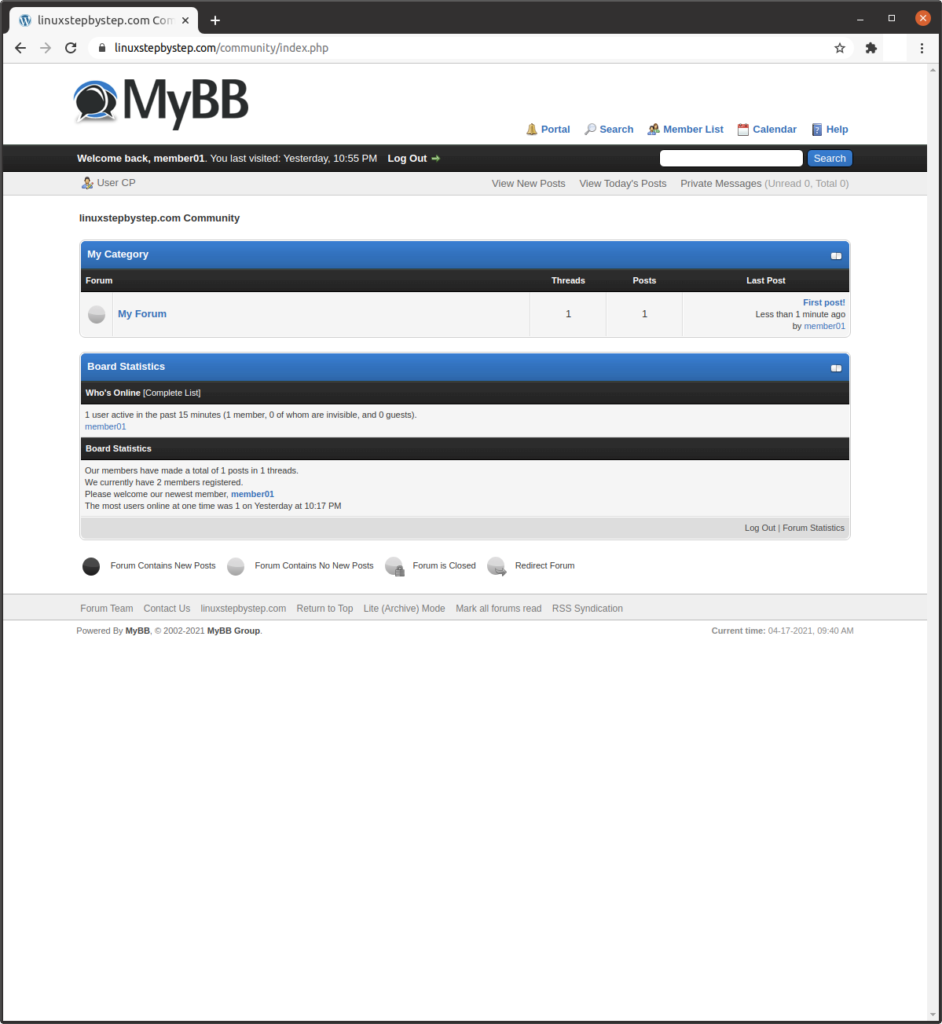
We now have 1 thread and 1 post:
Previous step: Chapter 12: Installing and configuring the WooCommerce plugin for WordPress to enable a shopping cart for transactions
Next step: Chapter 14: Installing and configuring Live Helper Chat to add text chat support to a website