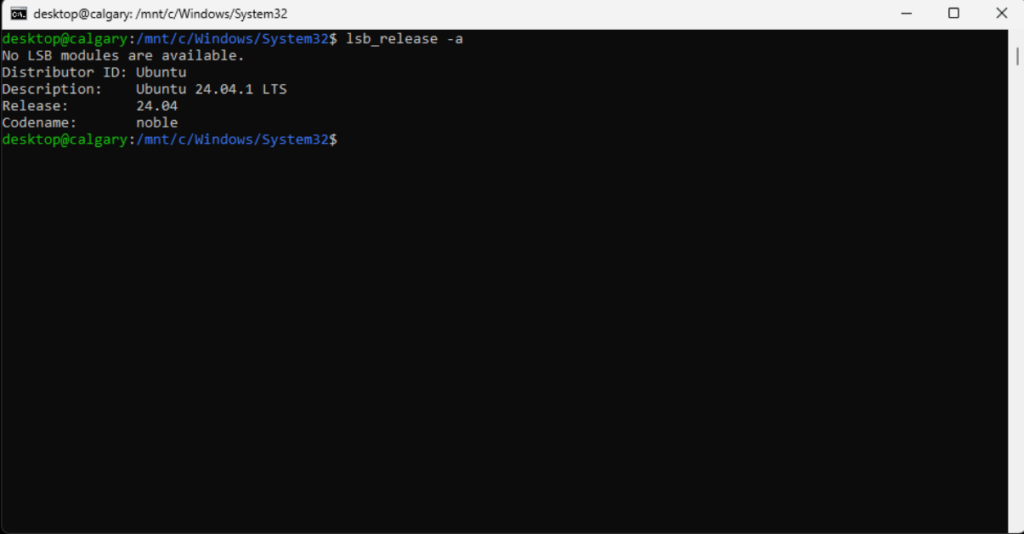
In this procedure we install and configure an OpenHands agent connected to an LLM inference service. The OpenHands agent is hosted on a virtual machine (VM) under virt-manager and is connected to an inference service backend hosted by DeepInfra, serving the model Qwen3.5-397B-A17B, via OpenHands’ built-in LiteLLM integration. Tested on Ubuntu Desktop 24.04 LTS (Noble Numbat).
Note re Ubuntu Desktop 26.04: At the time of this writing there was a bug in the remote desktop server, making Ubuntu Desktop 26.04 unsuitable for this exercise.
Understanding OpenHands
OpenHands is a coding agent designed for software engineering tasks: reading and editing files, running shell commands, writing and running tests, opening pull requests (PRs). It can also be given a procedure document and a target VM and asked to execute the installation via SSH from inside its sandbox.
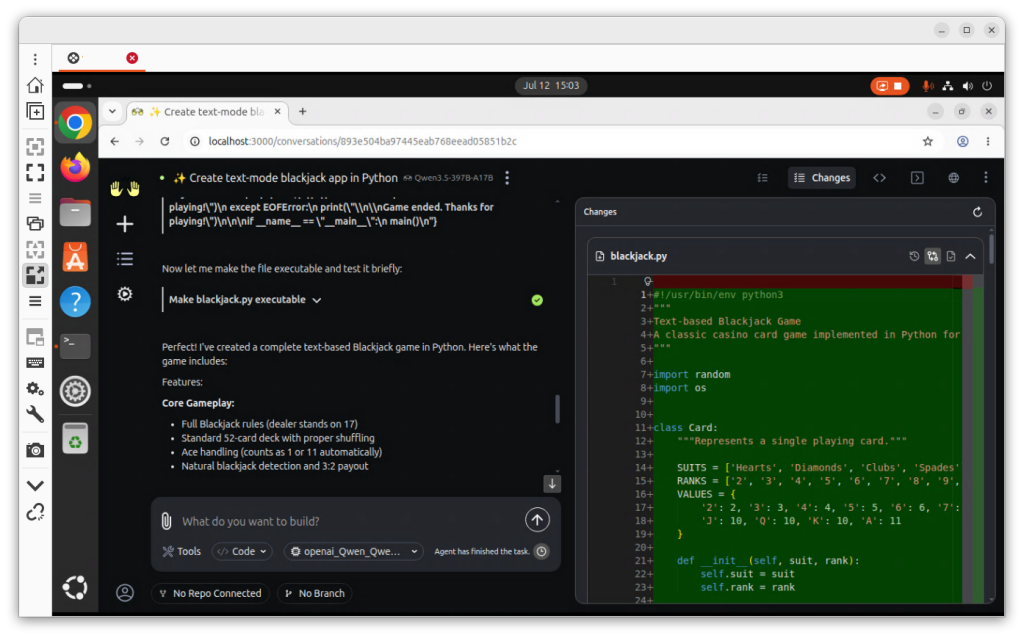
OpenHands web interface
Architecture
The architecture has two components. The controller process manages the agent loop and handles LLM abstraction via its built-in LiteLLM. The sandbox is a Docker container spawned per task: the agent’s code, shell commands, and file writes all run inside the sandbox, isolated from the host VM.
KVM host          →  openhands01  (Ubuntu Desktop VM)
                       ├─ OpenHands controller  (port 3000, web UI)
                       │    └─ Built-in LiteLLM → DeepInfra → Qwen3.5-397B-A17B
                       └─ Docker sandbox containers  (spawned per task)
OpenHands vs OpenClaw vs Hermes
OpenClaw: sysadmin agent, browser automation, SSH deployments, approval gates.
Hermes: sysadmin agent, cron scheduling, persistent memory, SSH backends, reusable skills.
OpenHands: coding agent, file editing, test running, SSH deployments from sandbox. Docker required. LiteLLM built in: no separate proxy needed. No skills system. No persistent memory across tasks. Reusable procedures are documents in the workspace directory.
Creating a DeepInfra account
OpenHands connects directly to DeepInfra through its built-in LiteLLM. You only need one API key.
Navigate to https://deepinfra.com and create an account.
Go to Dashboard → Billing / Credits → Add Credit. Add US $10.
Navigate to Dashboard → API Keys → Create API Key. Copy the key.
Verifying the key with curl
curl https://api.deepinfra.com/v1/openai/chat/completions \
  -H 'Authorization: Bearer YOUR_DEEPINFRA_KEY' \
  -H 'Content-Type: application/json' \
  -d '{
    "model": "Qwen/Qwen3.5-397B-A17B",
    "messages": [{"role": "user", "content": "Say hello in French."}]
  }'
Expected: valid JSON with a choices array. Do not proceed until this returns a valid response.
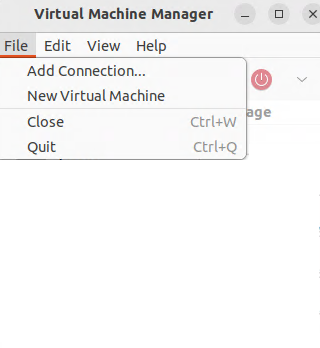
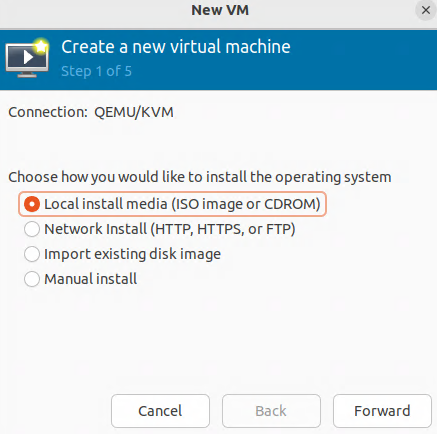
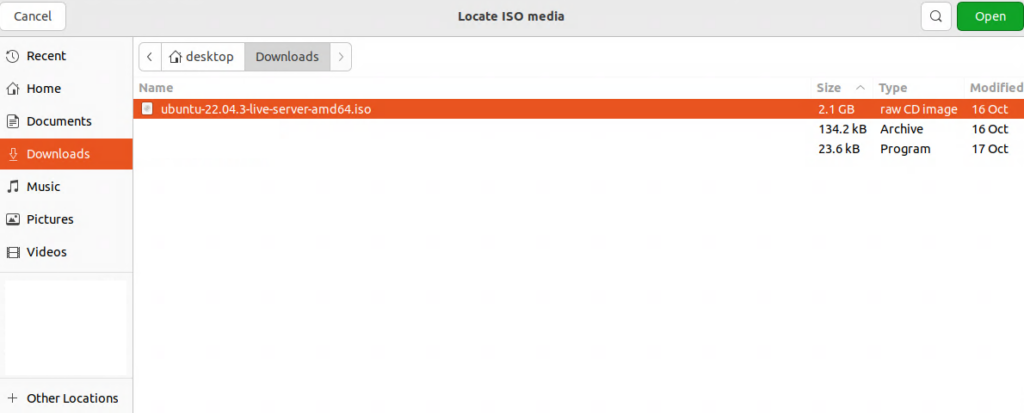
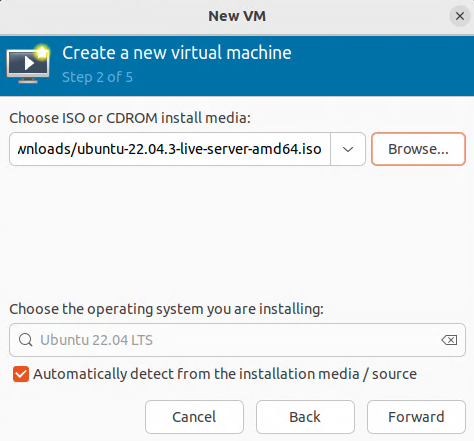
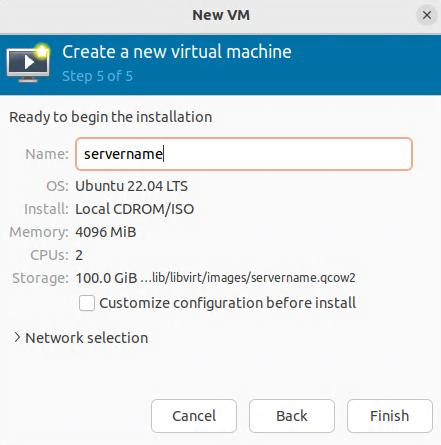
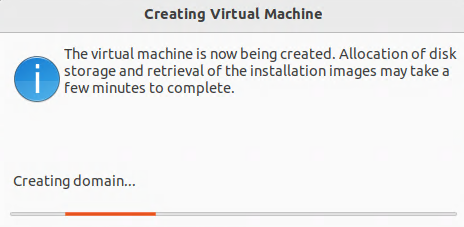
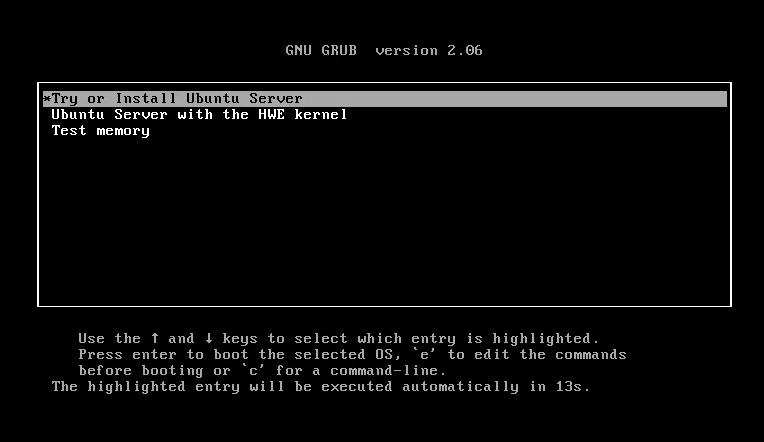
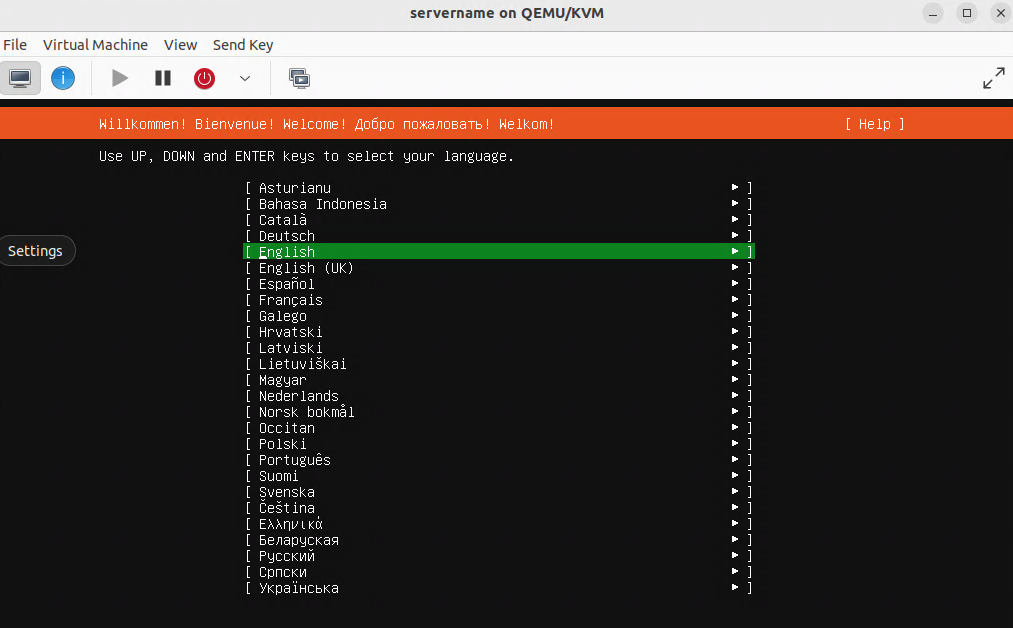
Creating the virtual machine
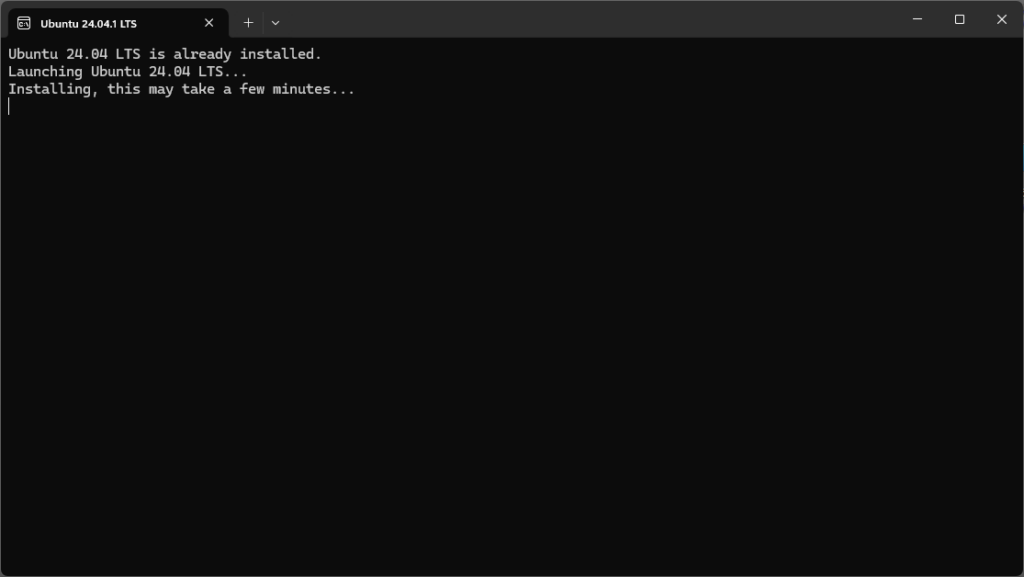
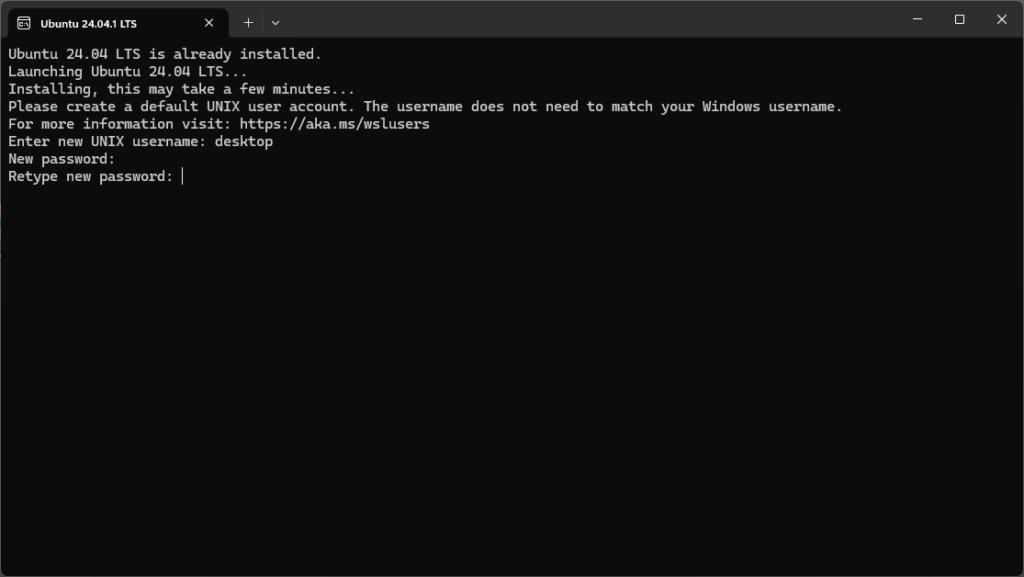
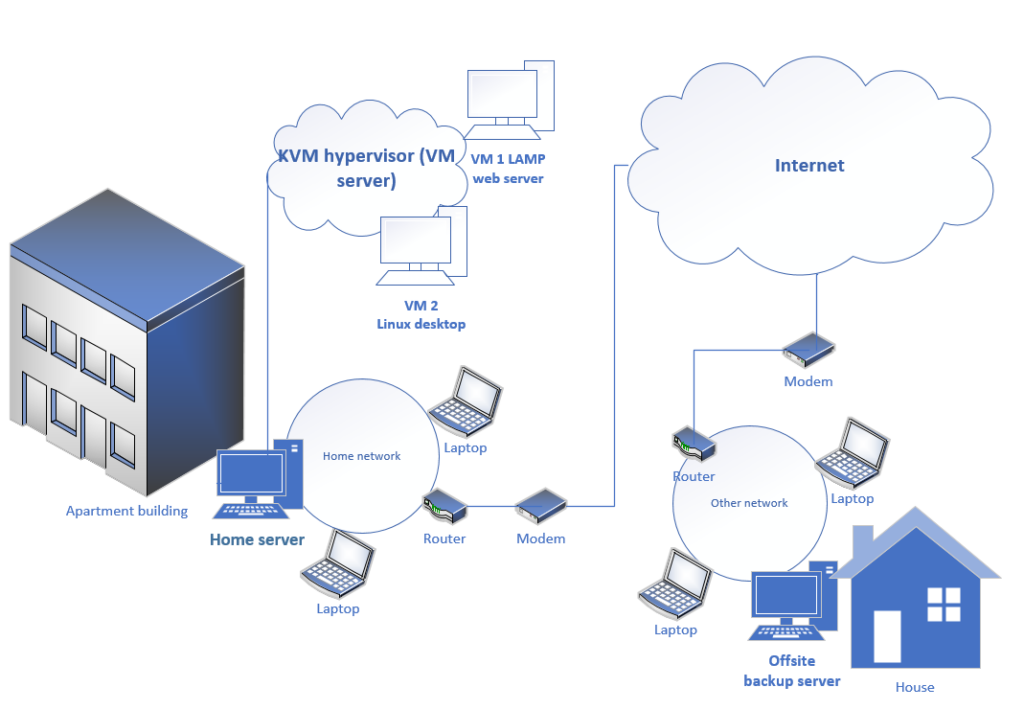
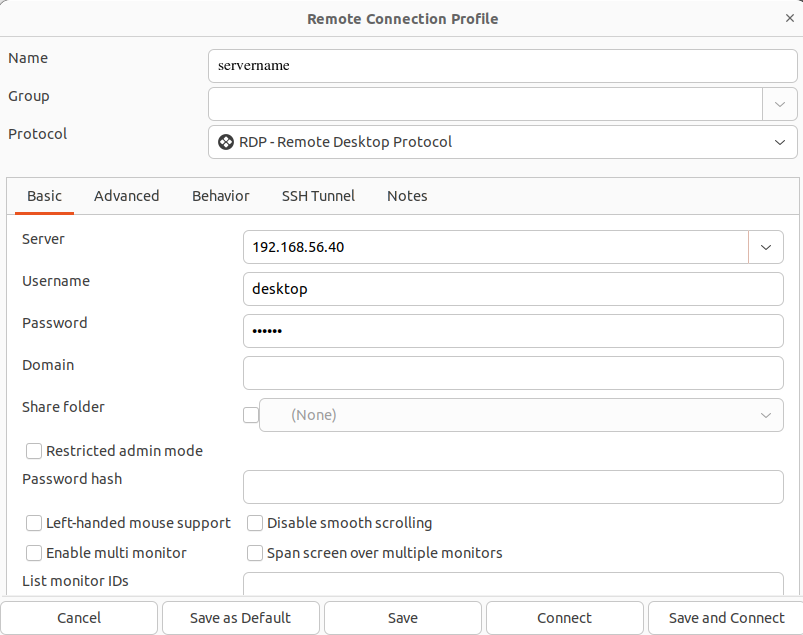
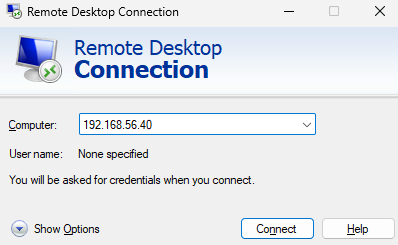
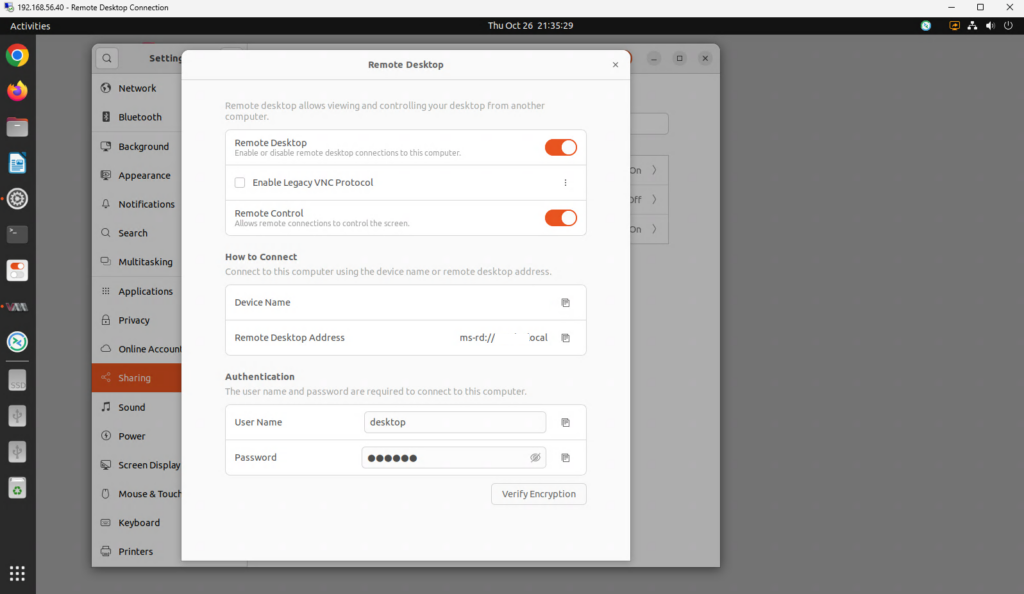
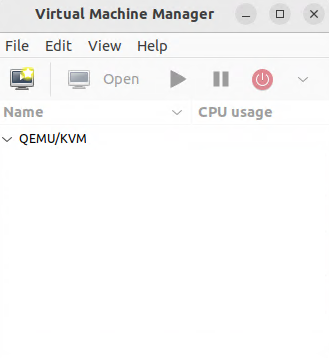
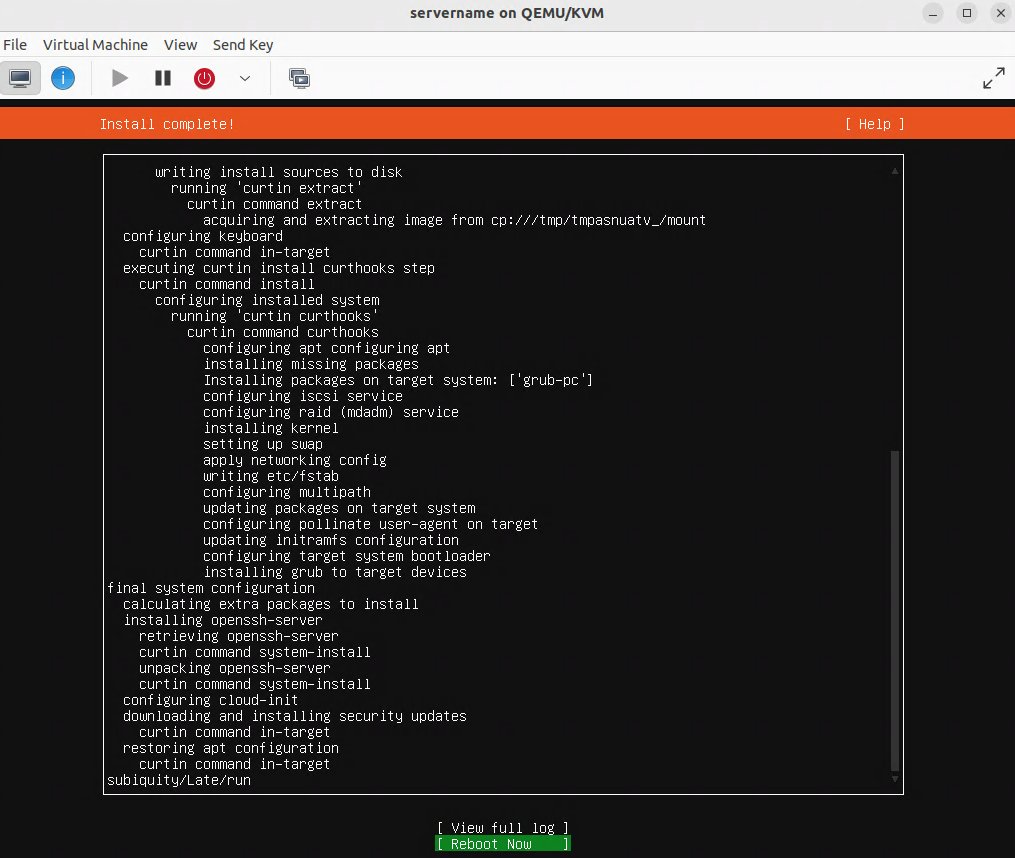
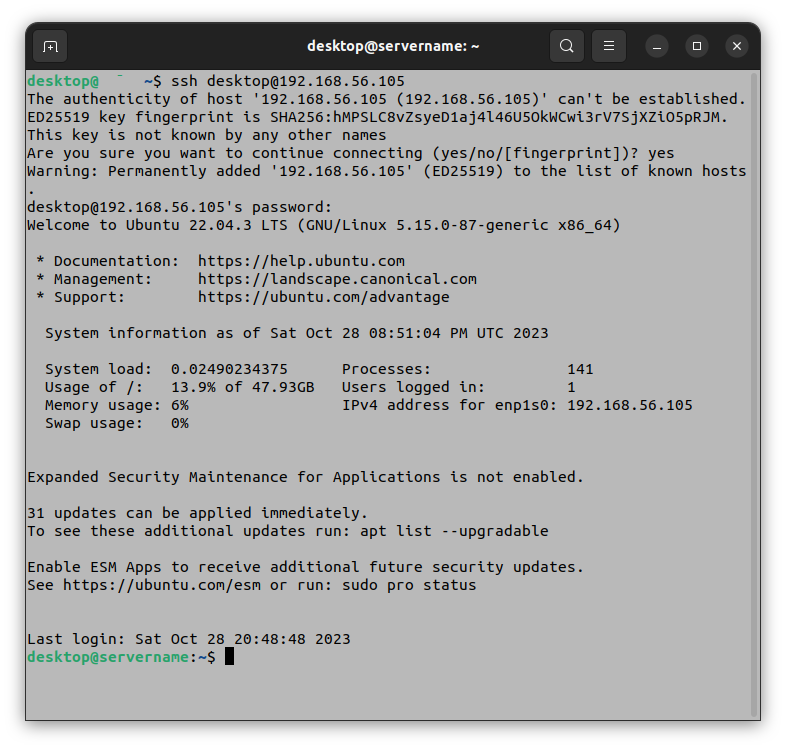
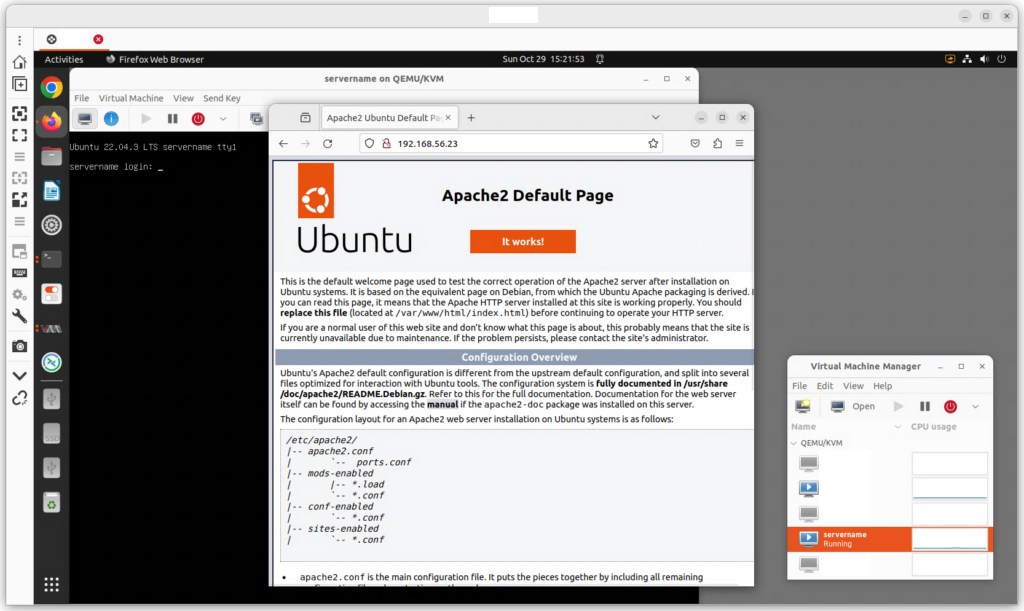
In this procedure, OpenHands runs inside an Ubuntu Desktop 24.04 (Noble Numbat) VM on a server running virt-manager/KVM/Qemu. You can use other virtualization platforms, such as VMware, Hyper-V, Proxmox, Parallels, or a cloud platform (VirtualBox is not recommended for performance reasons). Docker runs inside the VM. Ubuntu Desktop is used so you can watch the web UI on screen. The virtual machine is accessed by SSH and remote desktop software such as remmina.
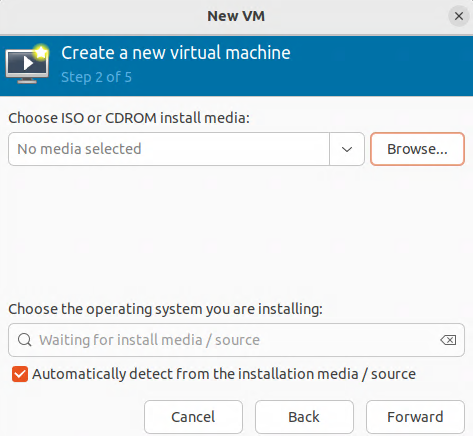
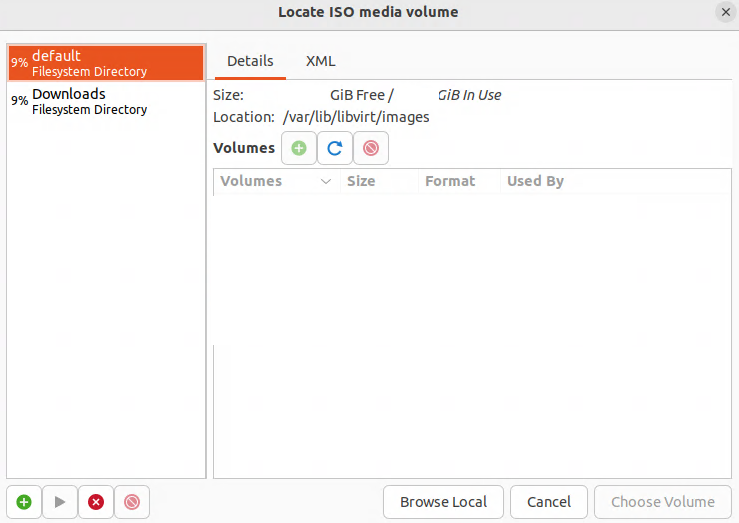
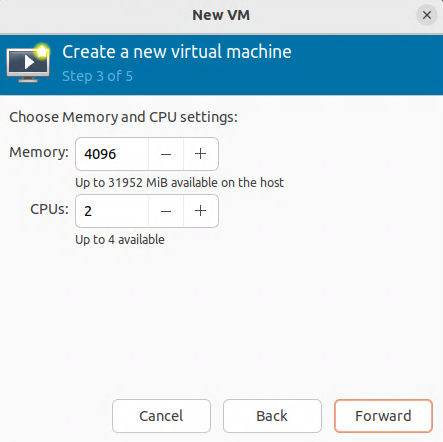
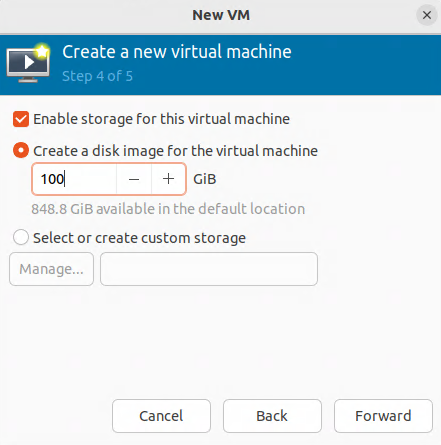
Specifications for the virtual machine
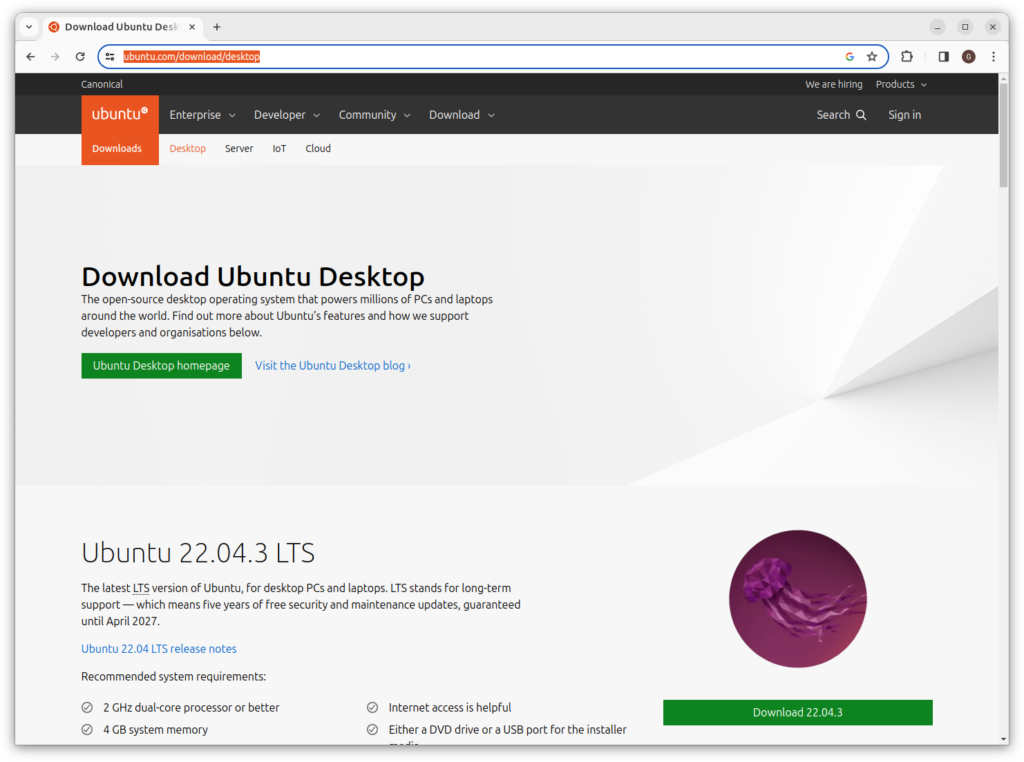
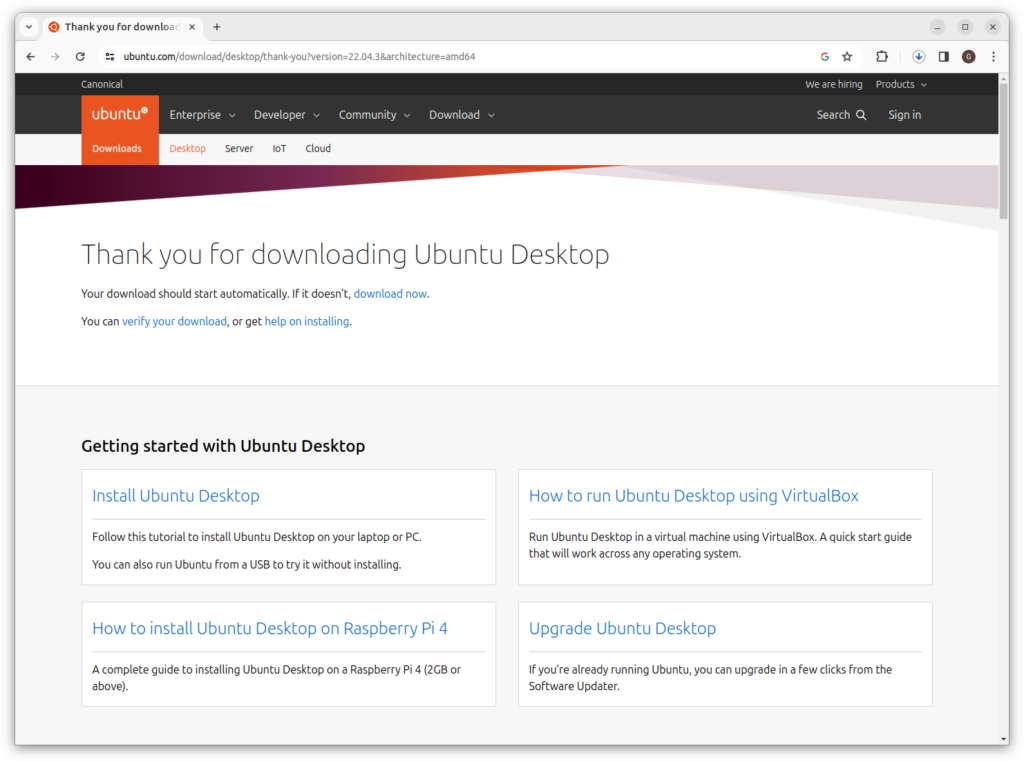
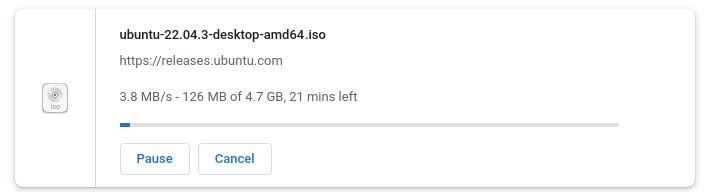
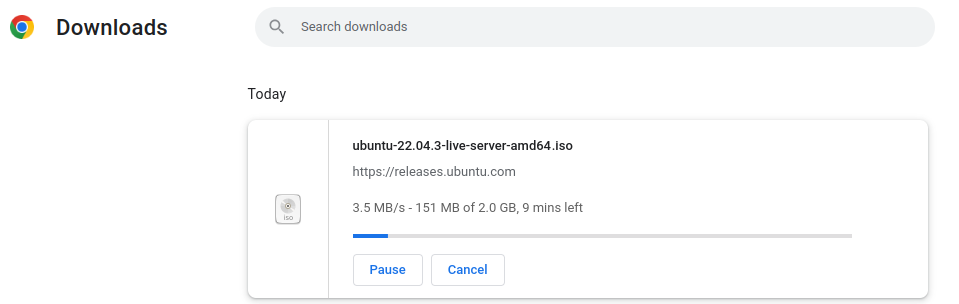
Ubuntu Desktop 24.04 ISO.
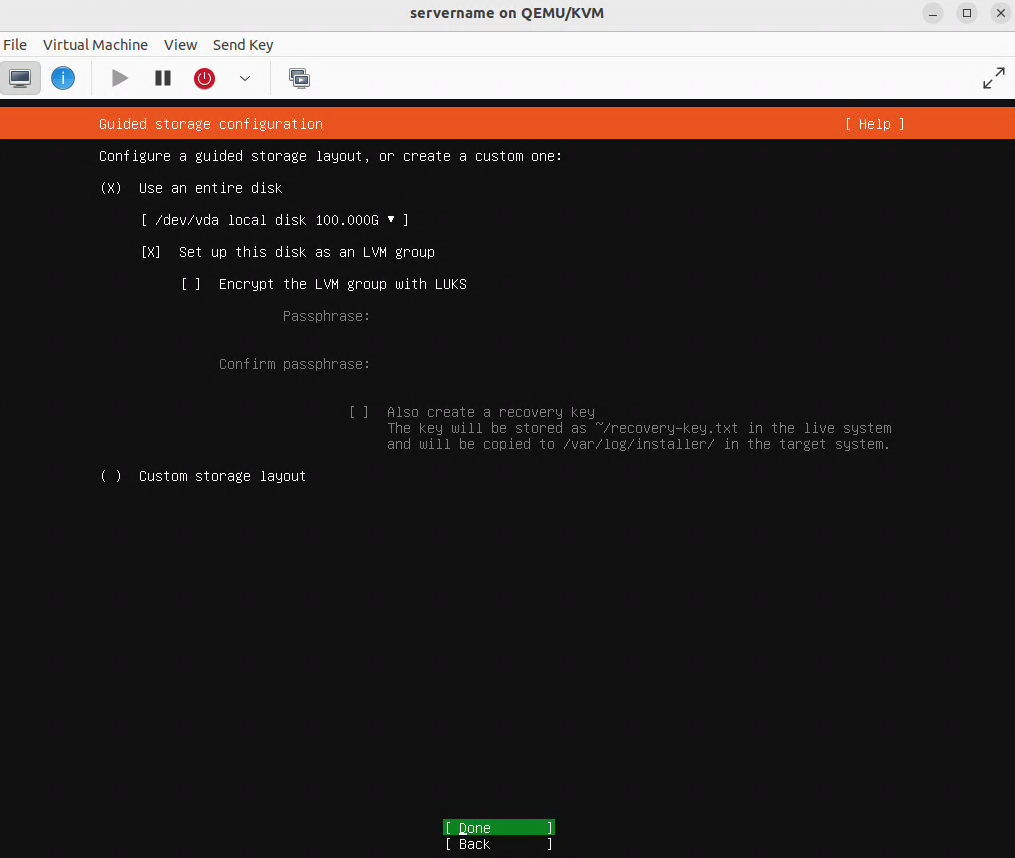
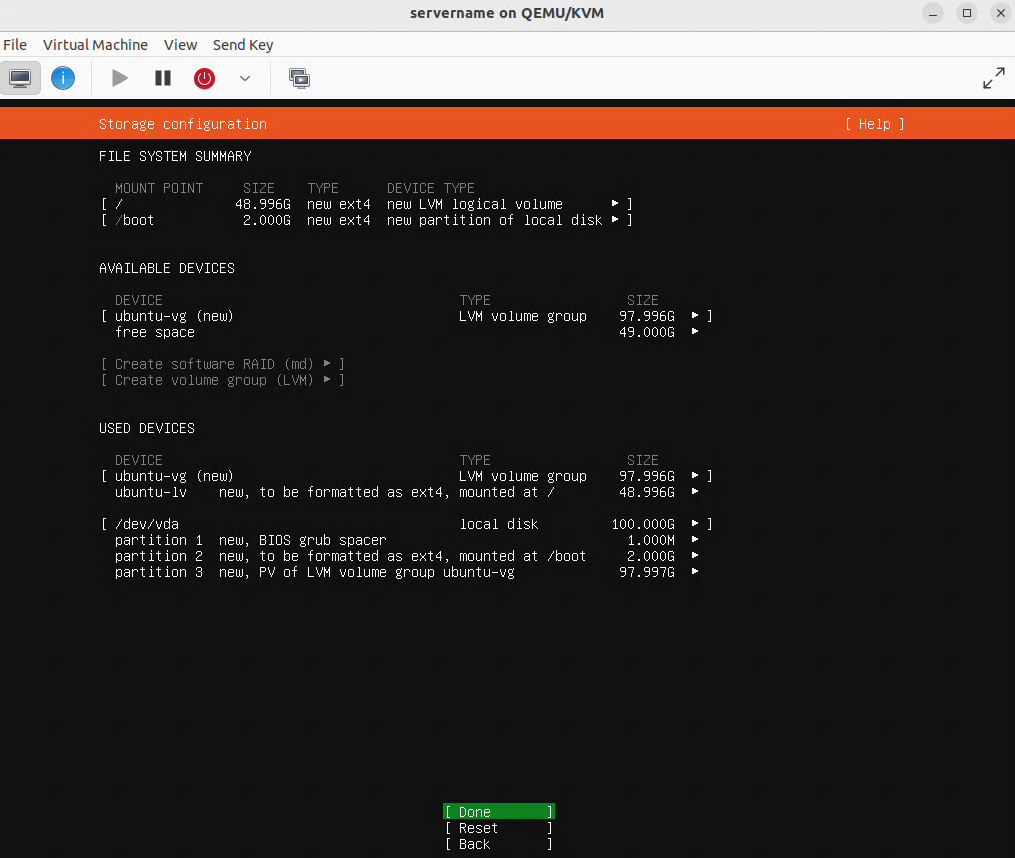
RAM: 16384 MB, CPU: 4 vCPU, Disk: 100 GB.
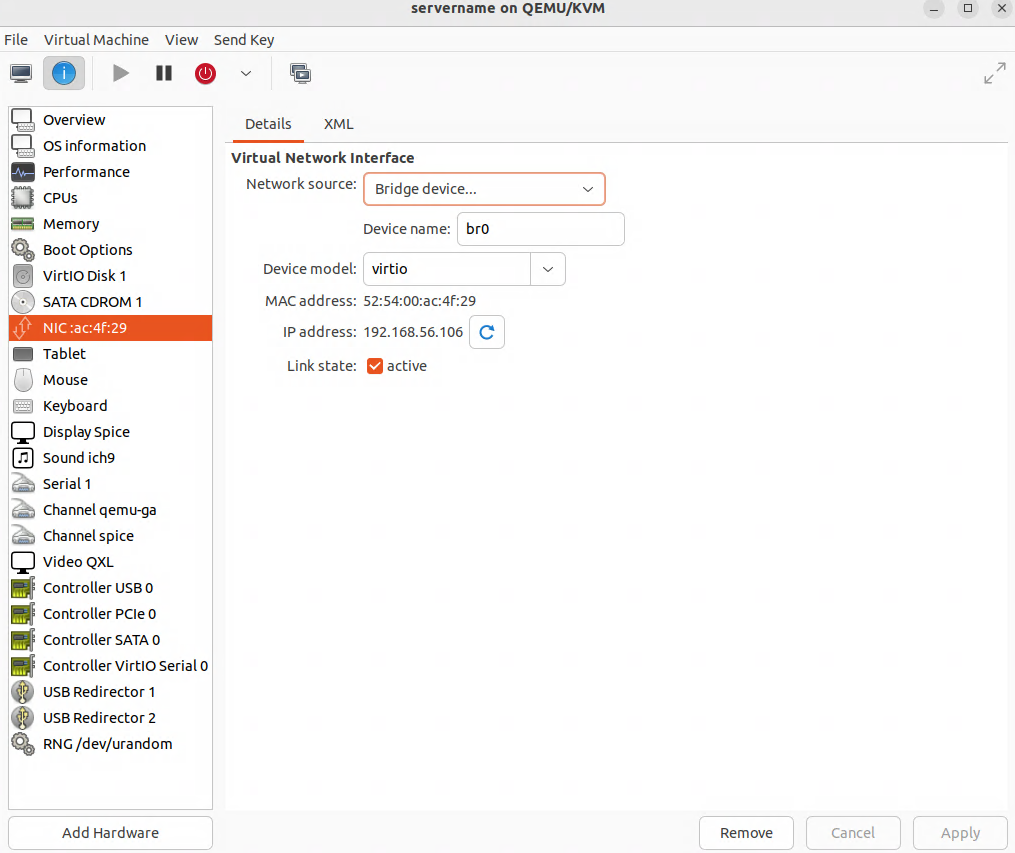
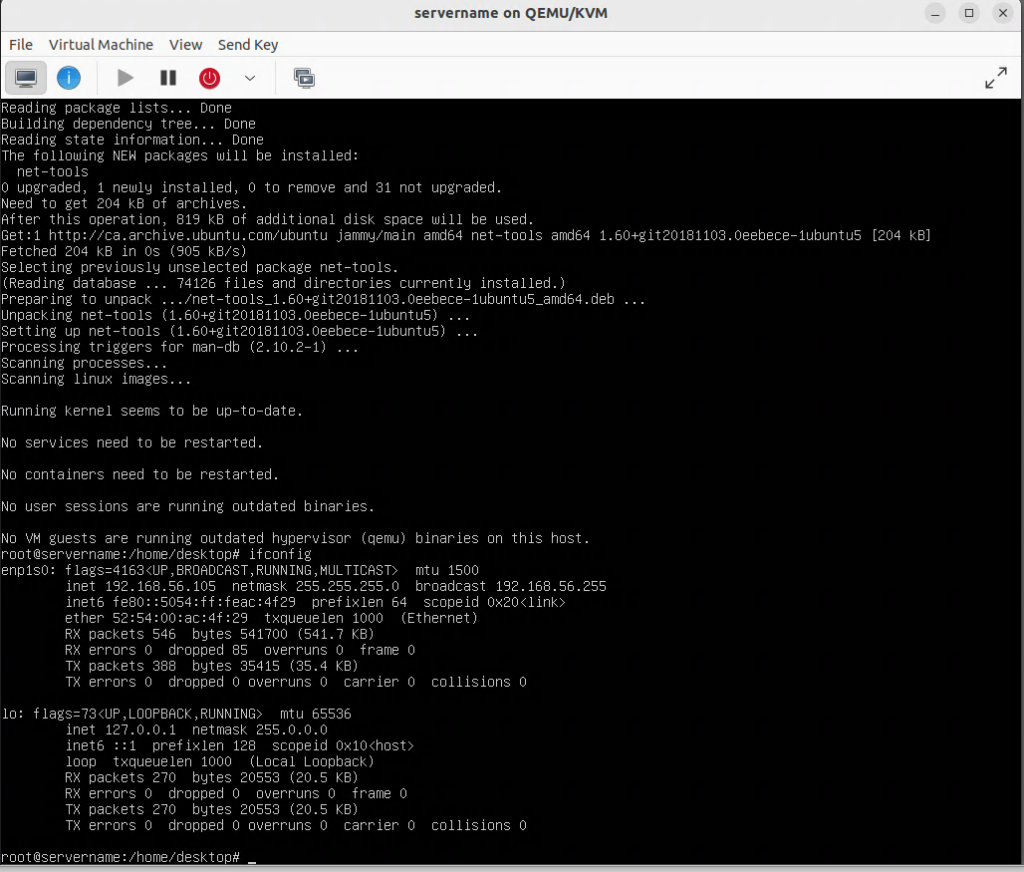
Hardware: CPU model host-passthrough, Disk bus VirtIO, NIC VirtIO bridged, Display Spice or QXL.
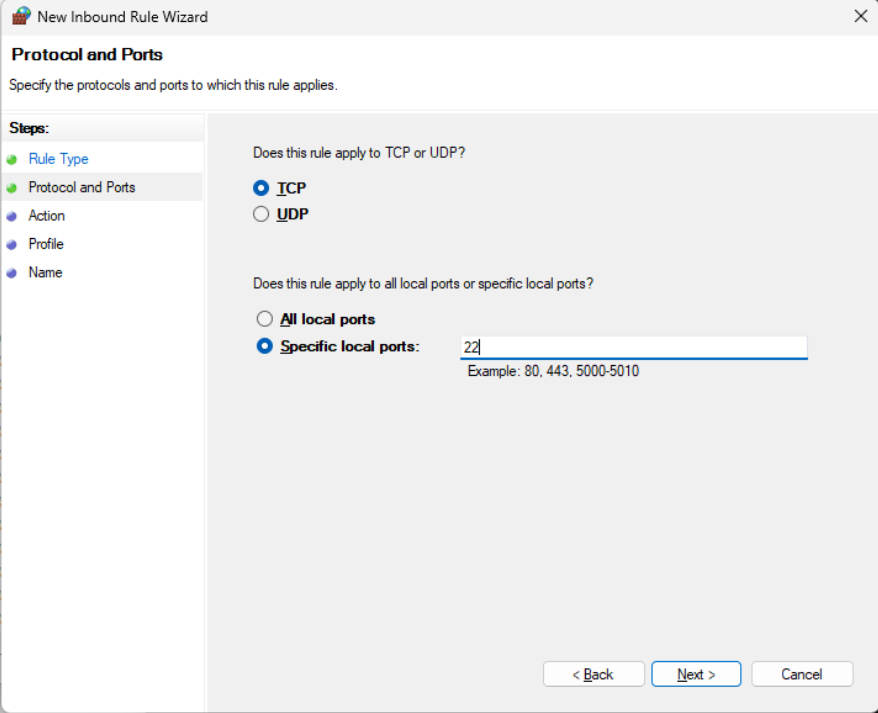
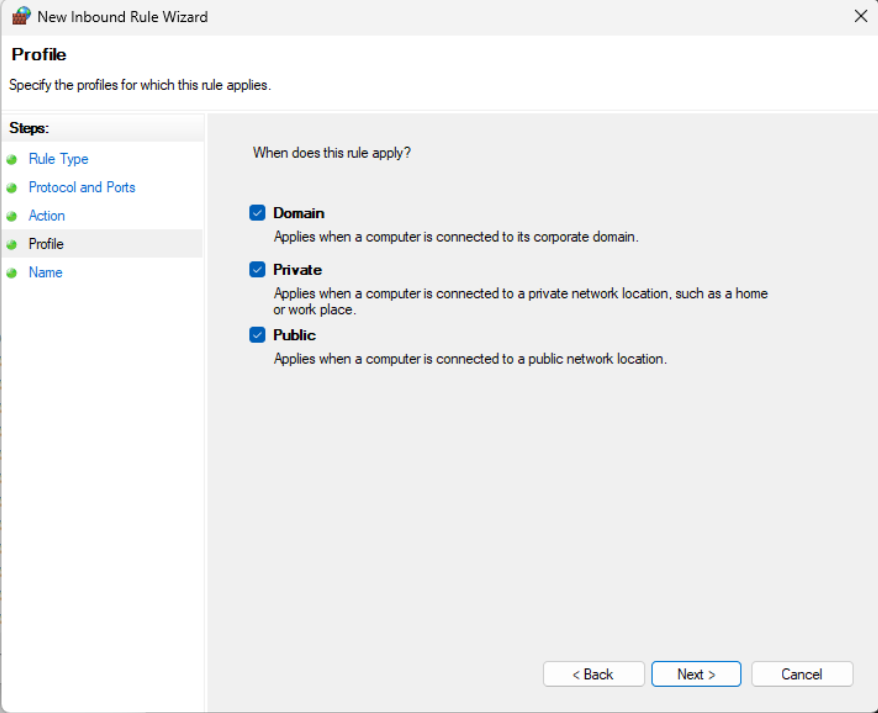
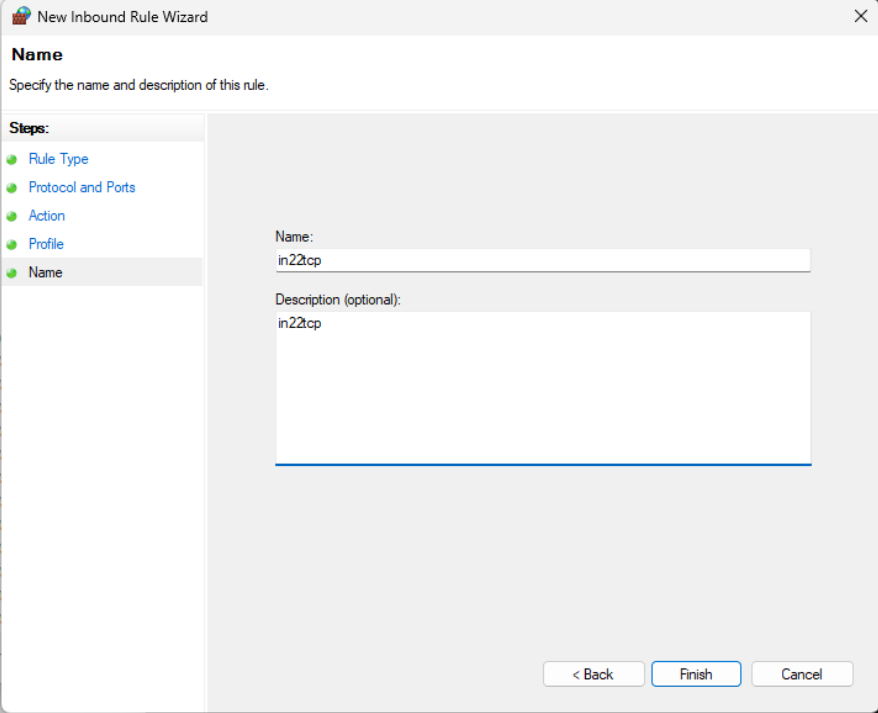
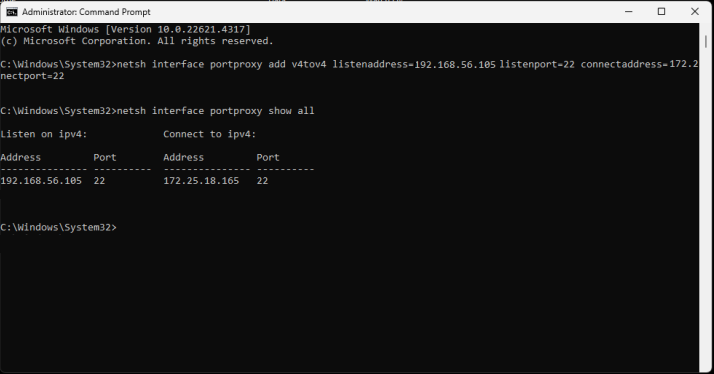
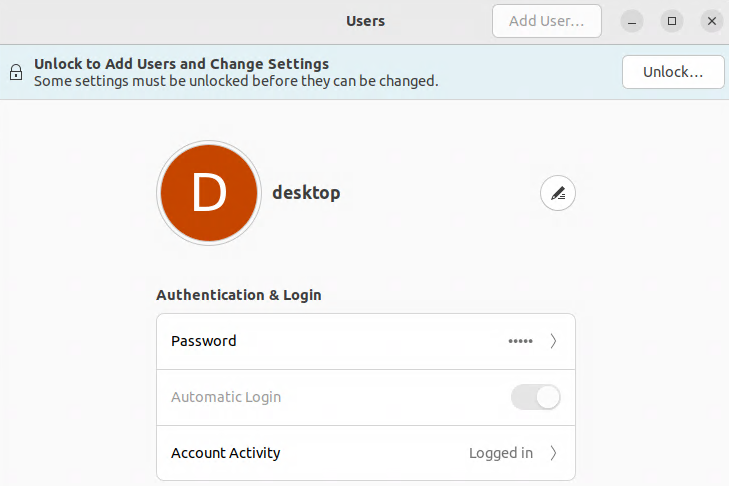
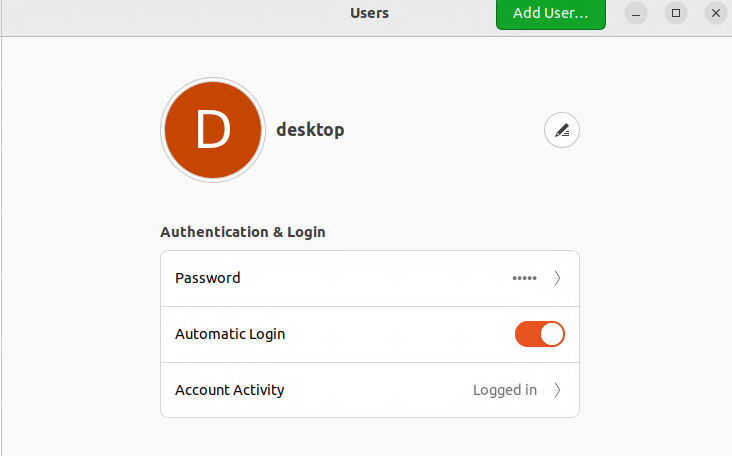
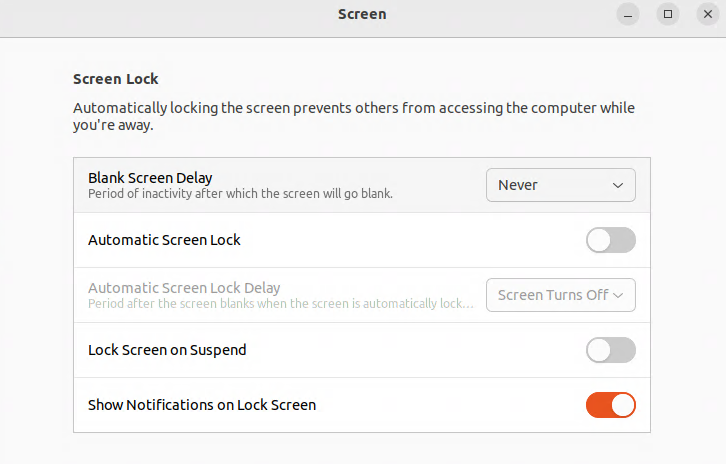
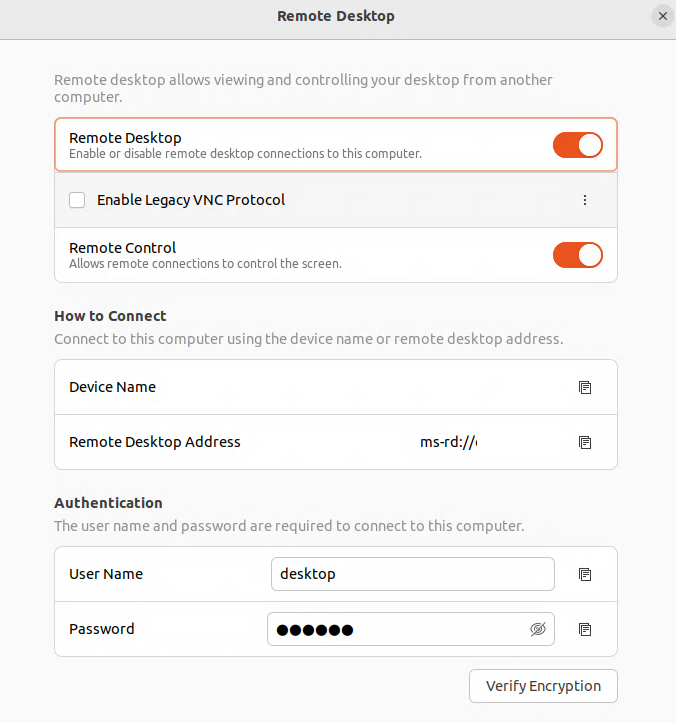
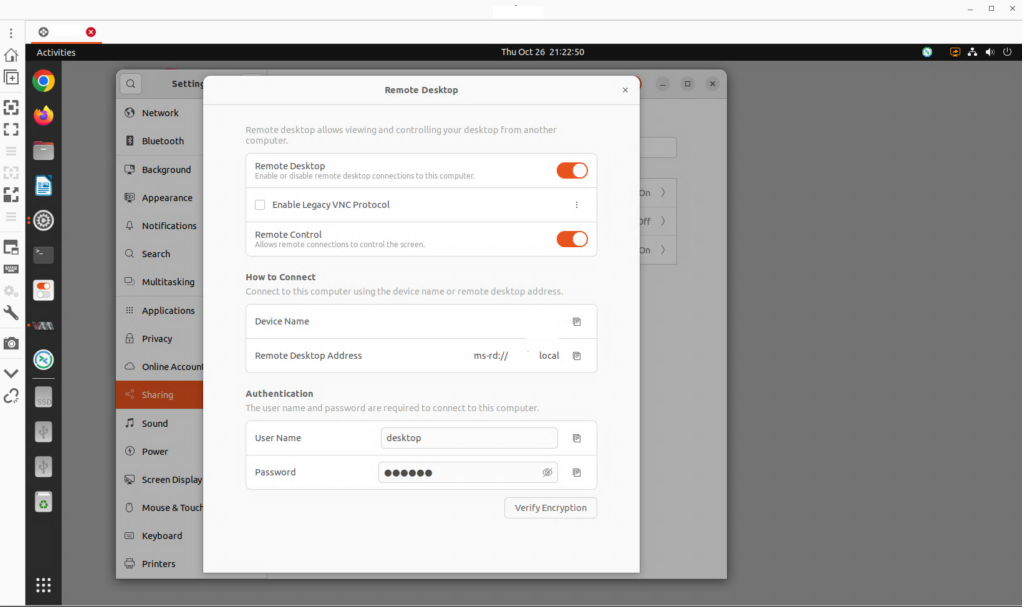
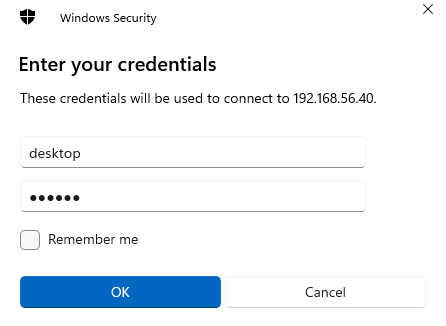
Notes: Configure the virtual machine with a static IP address, enable SSH and remote desktop access. enable auto-login and disable screen lock and screen timeouts. Hint: enter the command sudo ufw allow 3389/tcp to expose the remote desktop through the virtual machine’s firewall.
Creating a snapshot (“fresh-install”)
Create a snapshot called fresh-install. for virt-manager, the commands from the hypervisor host are:
(from the hypervisor host)

virsh shutdown openhands01 && virsh domstate openhands01
virsh snapshot-create-as openhands01 fresh-install \
  --description 'Clean Ubuntu Desktop, no packages' --atomic
virsh start openhands01
Setting up the base OS
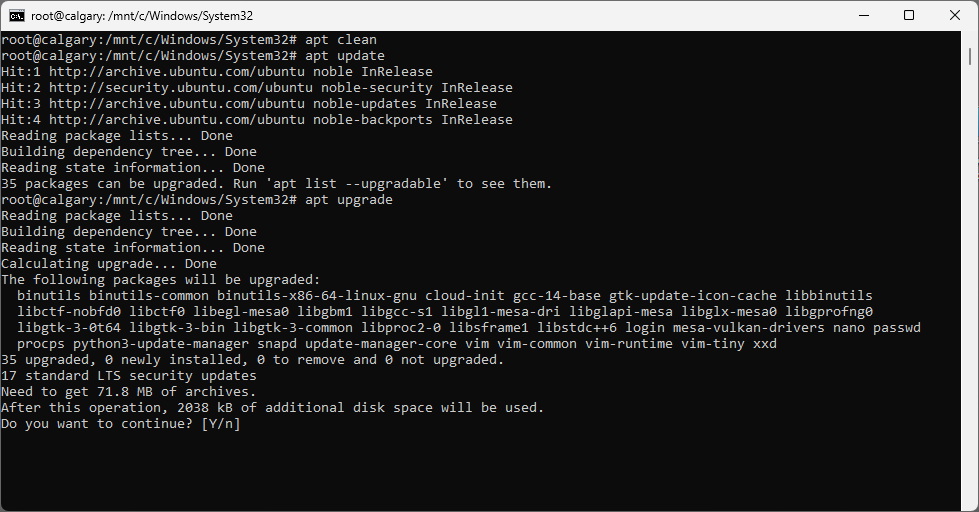
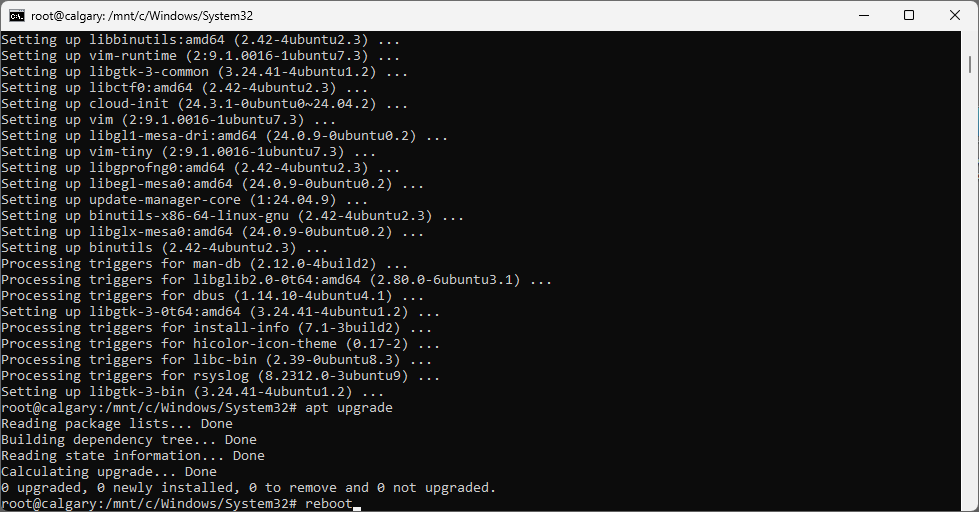
Updating the system
sudo apt update
sudo apt full-upgrade -y
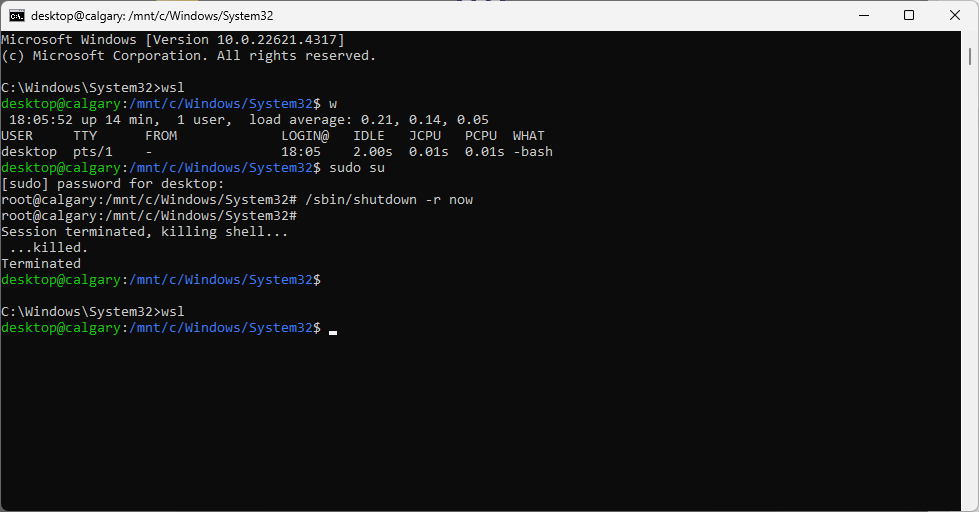
sudo reboot
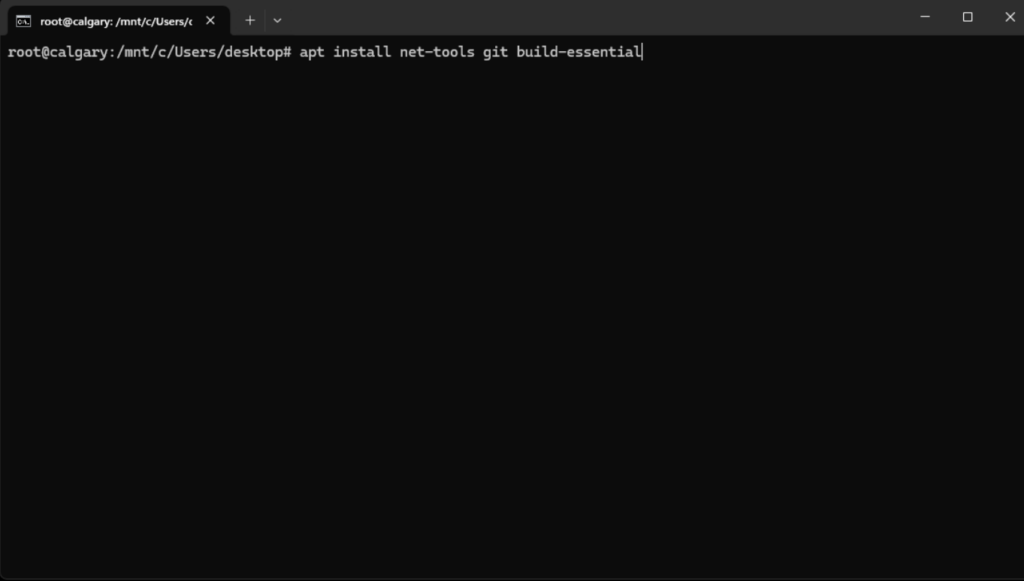
Installing dependencies
sudo apt install -y \
curl git jq htop tmux \
build-essential ca-certificates gnupg \
python3 python3-pip python3.12-venv \
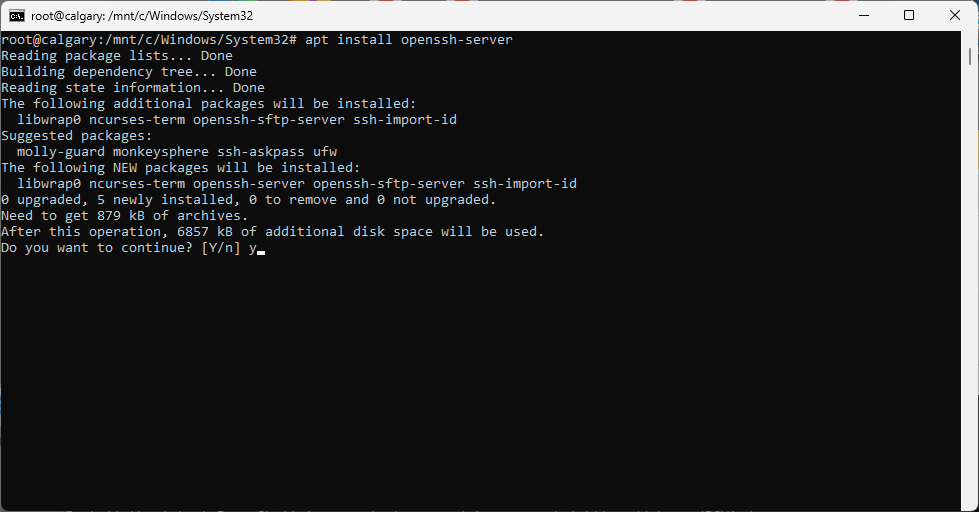
openssh-client openssh-server \
qemu-guest-agent
Installing Google Chrome
Do not install chromium-browser via apt: it installs a snap stub. Install the official Chrome deb:
wget https://dl.google.com/linux/direct/google-chrome-stable_current_amd64.deb
sudo dpkg -i google-chrome-stable_current_amd64.deb
sudo apt --fix-broken install -y
google-chrome --version
Enabling services and rebooting
sudo systemctl enable --now qemu-guest-agent
sudo systemctl enable --now ssh
sudo reboot
Creating a snapshot (“base-os”)
Create a snapshot called base-os. For virt-manager, the commands from the hypervisor host are:
(from the hypervisor)

virsh shutdown openhands01 && virsh domstate openhands01
virsh snapshot-create-as openhands01 base-os \
  --description 'Base OS packages installed, pre-Docker' --atomic
virsh start openhands01
Installing Docker
Docker is required. OpenHands spawns sandbox containers for each task via the Docker socket. Without it the agent loop fails immediately.
Installing Docker Engine
sudo install -m 0755 -d /etc/apt/keyrings
curl -fsSL https://download.docker.com/linux/ubuntu/gpg | \
  sudo gpg --dearmor -o /etc/apt/keyrings/docker.gpg
sudo chmod a+r /etc/apt/keyrings/docker.gpg

echo \
  "deb [arch=$(dpkg --print-architecture) \
  signed-by=/etc/apt/keyrings/docker.gpg] \
  https://download.docker.com/linux/ubuntu \
  $(. /etc/os-release && echo "$VERSION_CODENAME") stable" | \
  sudo tee /etc/apt/sources.list.d/docker.list > /dev/null

sudo apt update
sudo apt install -y docker-ce docker-ce-cli containerd.io docker-buildx-plugin
sudo systemctl enable --now docker
sudo docker run hello-world
Adding desktop to the docker group
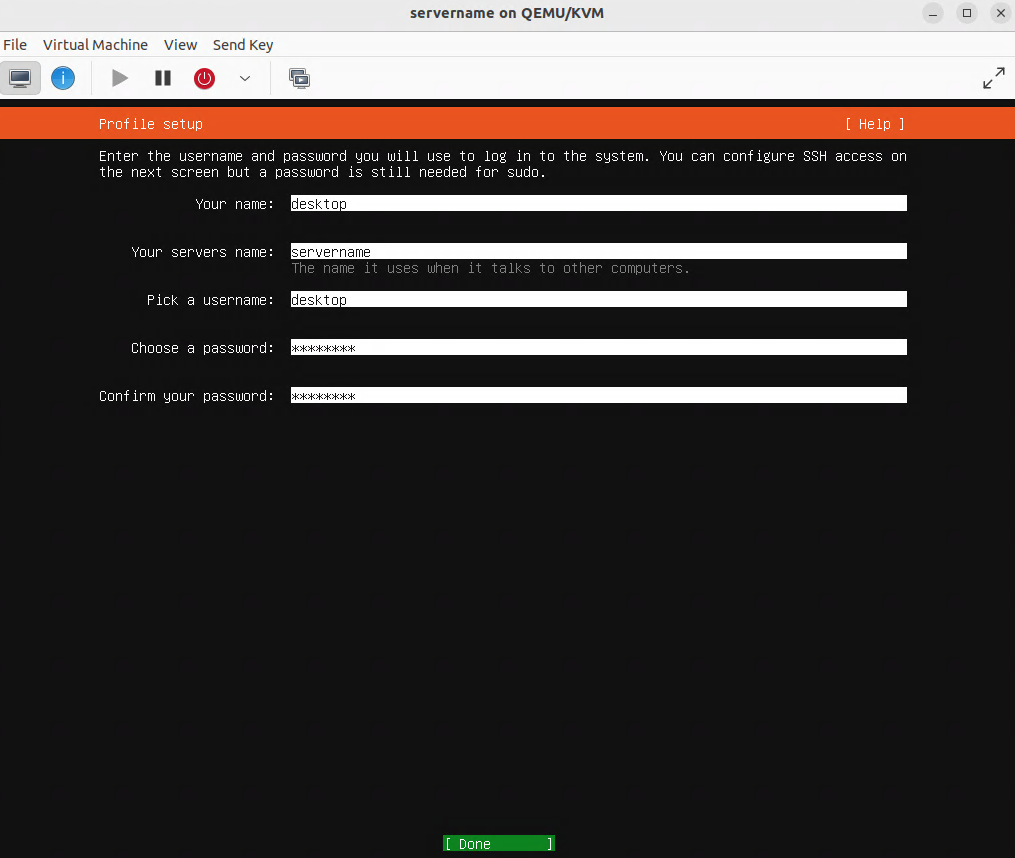
Note: this assumes that desktop is the username used to log in. change to another value as appropriate for your installation.
sudo usermod -aG docker desktop
Log out and back in is required
Docker group membership does not take effect in existing shell sessions. Log out of the desktop session completely and log back in. Verify with: docker run hello-world (no sudo). If you skip this step openhands serve will fail with permission denied on the Docker socket.
Creating a snapshot (“docker-installed”)
Create a snapshot called docker-installed. for virt-manager, the commands from the hypervisor host are:
(from the hypervisor host)

virsh shutdown openhands01 && virsh domstate openhands01
virsh snapshot-create-as openhands01 docker-installed \
  --description 'Docker installed and verified' --atomic
virsh start openhands01
Installing uv and OpenHands
OpenHands is installed via uv. Do not use pip install openhands-ai that is the legacy V0 SDK and will not work.
Installing uv
curl -LsSf https://astral.sh/uv/install.sh | sh
source ~/.bashrc
uv --version
Installing OpenHands
uv tool install openhands --python 3.12
openhands --version
Creating workspace and SSH directories
mkdir -p ~/openhands-workspace
mkdir -p ~/.openhands
mkdir -p ~/openhands-workspace/.ssh
Creating a snapshot (“openhands-installed”)
Create a snapshot called openhands-installed. For virt-manager, the commands from the hypervisor host are:
(from the hypervisor)

virsh shutdown openhands01 && virsh domstate openhands01
virsh snapshot-create-as openhands01 openhands-installed \
  --description 'OpenHands installed via uv, pre-config' --atomic
virsh start openhands01
Starting OpenHands for the first time
Run openhands serve once manually to pull the Docker images. This must happen in an interactive terminal session before the autostart is configured.
cd ~/openhands-workspace
openhands serve
On first run this pulls the openhands Docker image: several gigabytes. It will appear to hang at Pulling for several minutes. Wait for:
✅ Starting OpenHands GUI server...
The server will be available at: http://localhost:3000
Do not kill the process during image pull
The first run pulls several GB of Docker images. If it appears to hang at Pulling for 5-10 minutes this is normal. Wait for the startup confirmation before opening the web UI.
Open the web UI on the openhands01 desktop:
http://localhost:3000
How to access Settings
The gear icon in the sidebar navigates to a broken route (/automations) in this version: ignore it. Access settings directly at: http://localhost:3000/settings
Configuring the model
The Settings page appears on first launch. Navigate to Settings → LLM → Add LLM Profile →click the Advanced tab.
Entering the model details
| Field | Value |
| Custom Model | openai/Qwen/Qwen3.5-397B-A17B |
| Base URL | https://api.deepinfra.com/v1/openai |
| API Key | your_deepinfra_key_here |
Click Save Changes. Settings are stored in ~/.openhands/settings.json.
The openai/ prefix is required
The openai/ prefix tells LiteLLM to use the OpenAI-compatible request format. Without it, LiteLLM auto-detects the wrong format and produces cryptic 400 errors. Always enter openai/Qwen/Qwen3.5-397B-A17B.
Remember: the Advanced tab is the correct choice.
Testing the connection
Start a new conversation and send:
Say hello in French.
Expected: Bonjour. The first response may take 30-60 seconds while the sandbox container starts. If the agent produces no response at all, see next section.
Streaming troubleshooting
If the agent produces no response or an empty response, DeepInfra’s streaming implementation may be causing empty SSE responses. Add disable_streaming = true to ~/.openhands/config.toml:
nano ~/.openhands/config.toml
[llm]
disable_streaming = true
Restart OpenHands and test again. If disable_streaming = true resolves it, leave it in place, it has no effect on agent capability.
To restart:
# Ctrl+C in the terminal running openhands serve, then:
openhands serve
Persisting across reboots
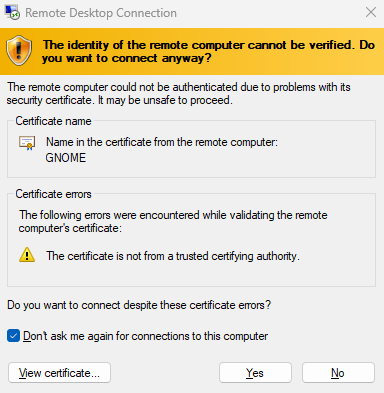
openhands serve calls docker run -it which requires an interactive TTY. Neither rc.local nor systemd services provide a TTY at boot time: both fail with ‘cannot attach stdin to a TTY-enabled container’. The reliable solution for a Desktop VM accessed via RDP is a GNOME desktop autostart entry, which fires when the desktop session starts and has a proper TTY context.
Creating the autostart entry
Stop openhands serve first (Ctrl+C), then:
mkdir -p ~/.config/autostart
nano ~/.config/autostart/openhands.desktop
Paste the following:
Note: this assumes that desktop is the username used to log in. change to another value as appropriate for your installation.
[Desktop Entry]
Type=Application
Name=OpenHands
Exec=/home/desktop/.local/bin/openhands serve
Hidden=false
NoDisplay=false
X-GNOME-Autostart-enabled=true
Why desktop autostart and not rc.local or systemd
openhands serve uses docker run -it which requires a controlling terminal. rc.local and systemd both start without a terminal and fail immediately. The GNOME autostart mechanism runs after the desktop session initialises: it has a full terminal environment and docker run -it succeeds.
Rebooting and verifying
sudo reboot
Log back into openhands01 via RDP. Wait one minute for OpenHands to start automatically, then verify:
docker ps | grep openhands
curl http://localhost:3000
Open the web UI at http://localhost:3000 and confirm the model responds.
Creating a snapshot (“openhands-configured”)
Create a snapshot called openhands-configured. For virt-manager, the commands from the hypervisor host are:
(from the hypervisor)

virsh shutdown openhands01 && virsh domstate openhands01
virsh snapshot-create-as openhands01 openhands-configured \
  --description 'OpenHands configured, working, reboot-verified' --atomic
virsh start openhands01
Watching the browser work
OpenHands browser automation runs via Playwright inside the Docker sandbox container. There is no visible Chrome window on the openhands01 desktop: the sandbox has no display. All browser activity is observable through the web UI event log, where every navigation, click, and screenshot appears inline in the conversation.
There is no browser toggle in Settings, browser capability is built into the sandbox and always available in this version.
Testing browser automation
Start a new conversation in the web UI and submit:
Go to https://example.com and tell me the page title and main heading.
Watch the event log on the right side of the UI. You should see browser_navigate, browser_snapshot, and the page content returned inline.
No visible Chrome window: this is expected
OpenHands browser automation is headless inside the Docker sandbox. This is different from Hermes and OpenClaw where Chrome opens visibly on the desktop. The web UI event log and inline screenshots give full visibility into what the agent is doing.
Giving the sandbox SSH access to a remote VM
When OpenHands SSHes to a remote VM, the connection runs from inside the sandbox container. The sandbox needs a key that the target trusts as root. Place the key inside the workspace directory: mounted into the sandbox at /workspace: and authorize it on the target before starting the task.
Generating a dedicated key pair
ssh-keygen -t ed25519 -C 'openhands-sandbox' \
  -f ~/openhands-workspace/.ssh/openhands_sandbox
# Press Enter twice: no passphrase
Authorizing the key on the target VM
ssh-copy-id -i ~/openhands-workspace/.ssh/openhands_sandbox.pub root@192.168.x.x

# Verify passwordless root access
ssh -i ~/openhands-workspace/.ssh/openhands_sandbox root@192.168.x.x 'uname -a'
Root access via SSH key
The sandbox needs root on the target to install packages, configure services, and write to system directories. This key is scoped to OpenHands sandbox use: revoke it from authorized_keys on the target when the deployment is complete.
Pre-populating known_hosts
Pre-populate to prevent SSH host key prompts stalling the agent mid-task:
ssh-keyscan -H 192.168.x.x >> ~/openhands-workspace/.ssh/known_hosts
chmod 600 ~/openhands-workspace/.ssh/known_hosts
Running a deployment task
Provide to OpenHands a procedure document and a target VM and let it execute the installation.
Placing the procedure in the workspace
cp /path/to/procedure.md ~/openhands-workspace/
The task prompt
Submit this in the web UI: the prompt must be entirely self-contained since each sandbox starts fresh with no memory:
Read the procedure in /workspace/procedure.md.

Connect to the target VM:
  Host: 192.168.x.x
  User: root
  SSH key: /workspace/.ssh/openhands_sandbox
  Known hosts: /workspace/.ssh/known_hosts

Execute the procedure exactly as written.
Verify each step succeeds before continuing.
If a step fails, stop and report the error.

When complete, provide a full status report:
what was installed, current state of each service,
and any issues encountered.
Self-contained prompts are mandatory
Each OpenHands task starts in a fresh sandbox with no memory of prior sessions. Include the target host, SSH key path, and procedure reference in every prompt.
Running a first coding task
Create a test file and give the agent a scoped coding task to verify the full stack:
cat > ~/openhands-workspace/utils.py << 'EOF'
def add(a, b):
    return a + b

def multiply(a, b):
    return a * b
EOF
In the web UI, submit:
Add docstrings to both functions in utils.py.
Write a test file test_utils.py with pytest tests for both functions.
Run the tests and confirm they pass.
Watch the event log. You should see the agent read utils.py, write docstrings, create test_utils.py, and run pytest inside the sandbox. Files are visible in ~/openhands-workspace on the host after the task completes.
Verifying that the system survives a reboot
After the autostart is configured (section 9), reboot survival is automatic: log in via RDP and OpenHands starts. Confirm:
# Docker starts on boot
systemctl is-enabled docker   # Expected: enabled

# Autostart entry is in place
cat ~/.config/autostart/openhands.desktop
After any reboot, log back in via RDP, wait one minute, then:
docker ps | grep openhands
curl http://localhost:3000
Known issues and fixes
| Symptom | Fix |
| Gear icon in sidebar shows 404 Not Found | The gear icon links to /automations which does not exist in this version. Access settings at http://localhost:3000/settings instead. |
| openhands serve hangs at Pulling for several minutes | Normal on first run: the Docker image is several GB. Wait for the startup confirmation. |
| pip install openhands-ai works but openhands command not found | openhands-ai is the legacy V0 SDK. Use: uv tool install openhands –python 3.12 |
| Docker permission denied without sudo | Run: sudo usermod -aG docker desktop: then log out and back in completely. |
| ~/.openhands owned by root, permission errors | Caused by a previous sudo openhands run. Fix: sudo chown desktop:desktop ~/.openhands |
| Agent produces no response from DeepInfra | Add disable_streaming = true to the [llm] section of ~/.openhands/config.toml and restart openhands serve. |
| Cryptic 400 error from DeepInfra | Missing openai/ prefix. Use openai/Qwen/Qwen3.5-397B-A17B not Qwen/Qwen3.5-397B-A17B. |
| rc.local or systemd service fails with ‘cannot attach stdin to a TTY-enabled container’ | openhands serve hardcodes docker run -it which requires a TTY. Neither rc.local nor systemd provides one. Use the GNOME desktop autostart approach in section 9 instead. |
| OpenHands does not start after reboot | Check the autostart entry exists: cat ~/.config/autostart/openhands.desktop. The autostart only fires when you log into the desktop session via RDP: OpenHands is not running before login. |
| SSH host key prompt stalls the agent mid-task | Pre-populate known_hosts: ssh-keyscan -H <target-ip> >> ~/openhands-workspace/.ssh/known_hosts |
| Sandbox cannot find SSH key | The key must be inside ~/openhands-workspace/ it is mounted at /workspace/ in the sandbox. Keys elsewhere are not visible to the agent. |
Snapshot reference
| Snapshot | Created after |
| fresh-install | Ubuntu Desktop installed, no packages |
| base-os | All apt packages installed, pre-Docker |
| docker-installed | Docker installed and verified |
| openhands-installed | OpenHands installed via uv, pre-config |
| openhands-configured | Model configured, working, reboot-verified |
Maintaining the system ongoing
| Task | Frequency |
| Check DeepInfra dashboard for spend | Weekly |
| Rotate DeepInfra API key via Settings → LLM → Advanced, restart openhands serve | Every 90 days |
| Upgrade OpenHands: uv tool upgrade openhands check release notes first | Monthly |
| Prune unused Docker images: docker image prune -f | Monthly |
| Revoke sandbox SSH keys from target VMs after deployments complete | After each deployment |
| Snapshot openhands01 after any significant config change | As needed |
Daily usage
OpenHands starts automatically when the gnome desktop session is started at bootup with autologin. Open a browser on the openhands01 desktop and navigate to http://localhost:3000.
To hand the agent a procedure document and a target VM:
# Place the procedure in the workspace
cp procedure.md ~/openhands-workspace/

# Pre-populate known_hosts for the target
ssh-keyscan -H 192.168.x.x >> ~/openhands-workspace/.ssh/known_hosts

# Open http://localhost:3000 and submit the task prompt
For a project session:
cd ~/myproject
openhands serve --mount-cwd
Mounts the current directory into the sandbox as /workspace. Use this for quick one-off sessions with a specific project without copying files into the workspace directory.