
After upgrading from Ubuntu 20.10 to Ubuntu 21.04, screen sharing (VNC server) is no longer functioning correctly.
Update 2023/11/02: on Ubuntu 22.04, in some situations, the x11vnc server will start on port 5901/tcp, rather than the default 5900/tcp, even if legacy VNC support is disabled.
x11vnc is an effective replacement for Vino and gnome-remote-desktop
This post describes how to install x11vnc, and describes how to create a script that runs at Gnome desktop login that invokes x11vnc with the necessary command line options.
Vino was replaced by gnome-remote-desktop, but gnome-remote-desktop does not function correctly in Ubuntu 21.04
Vino, the VNC server previously used by Gnome, has been deprecated. Vino has been replaced by gnome-remote-desktop, but as currently integrated, gnome-remote-desktop does not function correctly in Ubuntu 21.04.
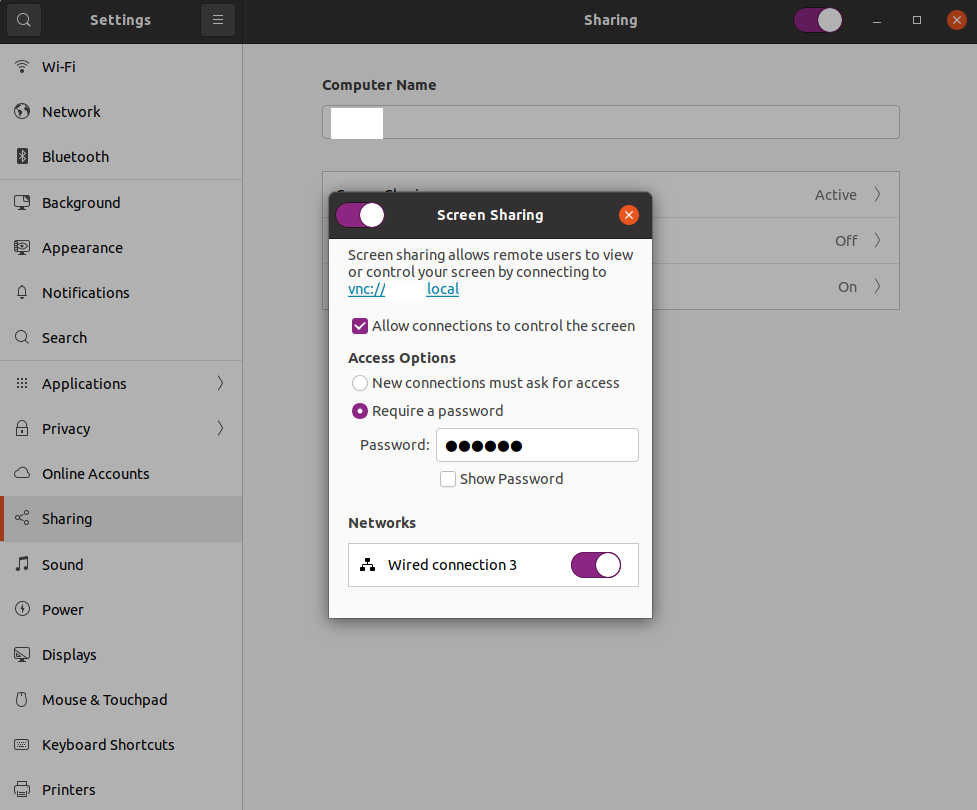
When configured using the standard Gnome control panel settings (Settings, Sharing, Screen Sharing):
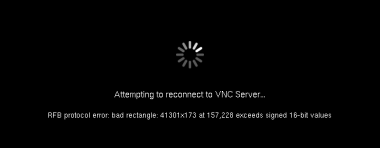
This is the error that appears when trying to connect, in both xorg and wayland:
This is a good reminder of why one should use an LTS release for production servers
A good suggested practice is to run LTS releases on production servers, but run recent releases on workstation laptops. This allows for issues to be identified and workarounds devised before the next LTS release, in case the problem persists in the next LTS release.
Why would one want to access the Graphical User Interface (GUI) desktop of a Linux server?
For some server tasks, it is helpful to be able to access the GUI desktop of the server via a remote viewer. For example, you may need to install a GUI operating system as a guest, and access its GUI desktop from the console of your server’s GUI desktop.

Disabling Wayland
Wayland is an alternative to the xorg windows system. One day, it will be terrific. For now, it does not work with x11vnc or other important applications like TeamViewer.
sudo su
cd /etc/gdm3
nano custom.conf
# Uncomment the line below to force the login screen to use Xorg
WaylandEnable=false
reboot
A reminder about the firewall and opening port 5900/tcp
From a shell window, enter the following commands:
sudo su
ufw allow 5900/tcp
ufw allow 5901/tcp
exit
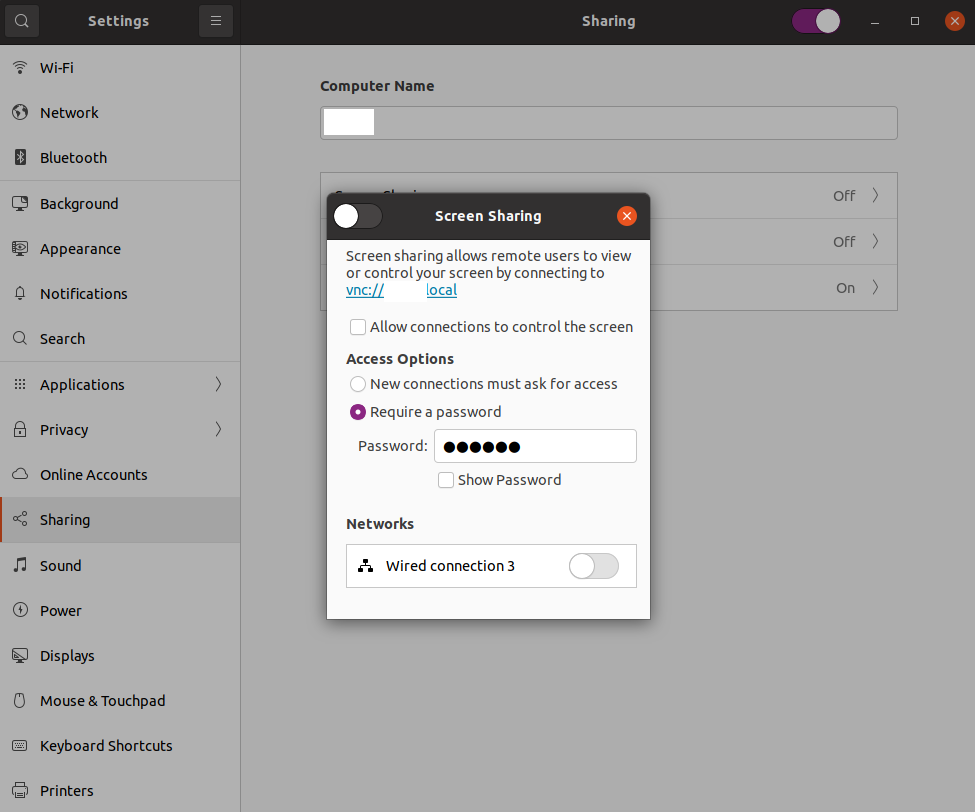
Disabling the existing (broken) screen sharing server
Settings, Sharing, Screen Sharing:
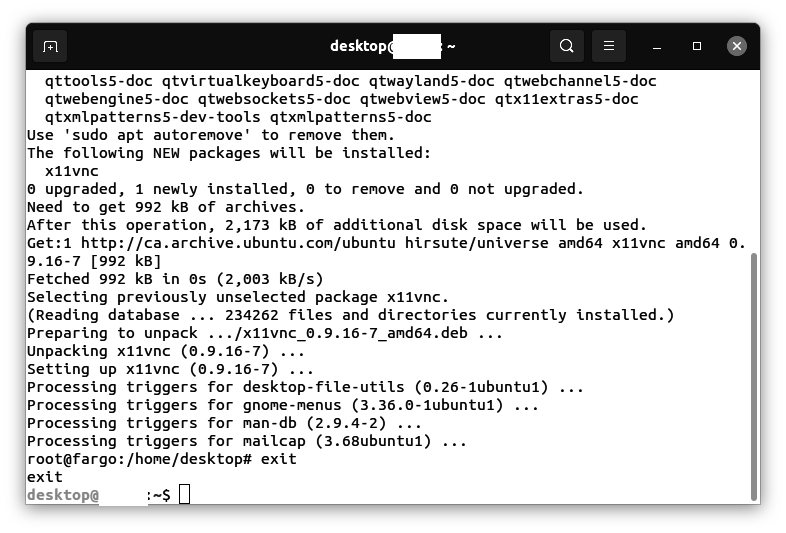
Installing the x11vnc package
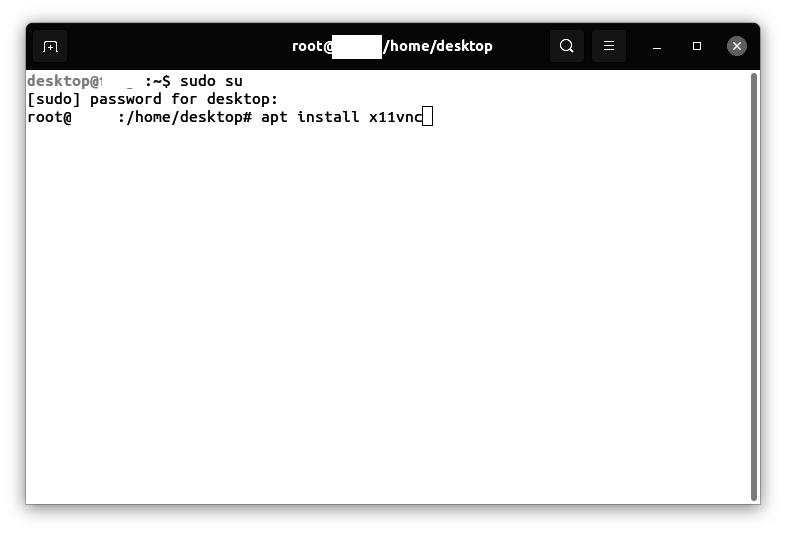
From a shell window, enter the following commands:
sudo su
apt install x11vnc
exit
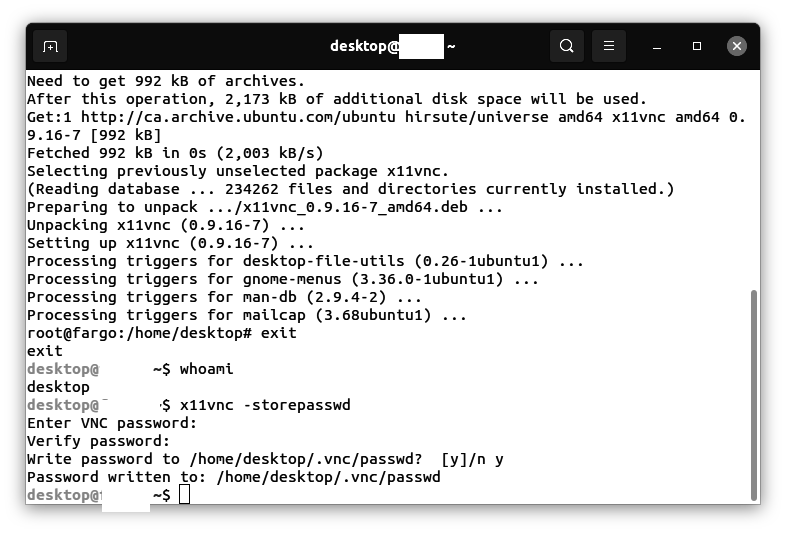
Creating a password for x11vnc
From a shell as the user that owns the Gnome desktop session, enter these commands. When prompted, supply a password:
whoami
x11vnc -storepasswd
A friendly warning about security
Different situations can accept different levels of risk. The VNC protocol as implemented, sends data as cleartext over a network connection. This may be acceptable over a local area network, particularly if you have VLAN segmentation and good wifi encryption enabled on your house Local Area Network (LAN).
Do not even consider sending this kind of unencrypted traffic over the public Internet. Use a VPN, or redirect the connection via SSH tunnelling.
Starting the server manually
From a shell as the user that owns the Gnome desktop session, enter these commands. When prompted, supply a password:
whoami
x11vnc -display :0 -forever -shared -rfbauth /home/desktop/.vnc/passwd
Testing the x11vnc screen sharing server
Determining the IP address of your computer
From a shell window, enter the following commands:
sudo su
apt install net-tools
ifconfig
exit
(Note: the command:
ip a
provides an equivalent result. But ifconfig is easier to read.)
Connecting to the server from a client
From another computer on the same local area network, connect to the IP address of the machine on which x11vnc is running. Attempt to connect using a VNC client such as RealVNC, tightvnc, or remmina:

Creating a script that contains the x11vnc command line options
From a shell as the user that owns the Gnome desktop session, enter these commands:
cd ~
whoami
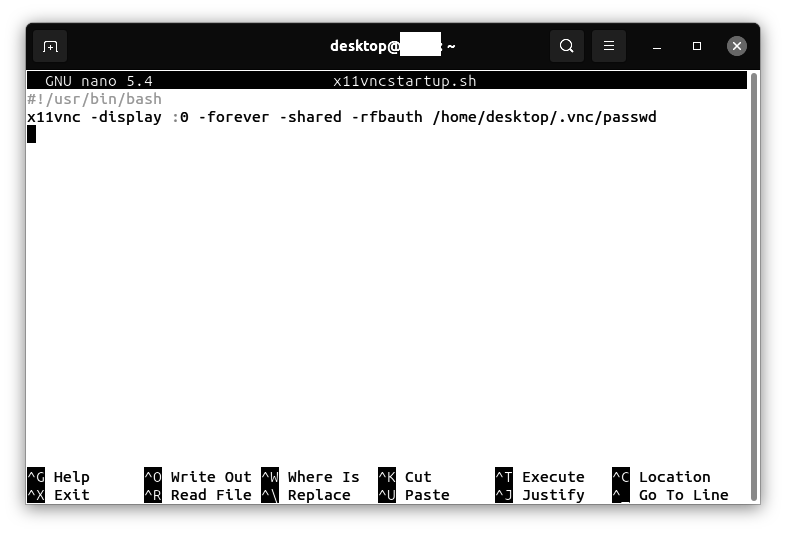
nano x11vncstartup.sh
Enter this text. Press Control-X to save and exit:
#!/usr/bin/bash
x11vnc -display :0 -forever -shared -rfbauth /home/desktop/.vnc/passwd
Enter this command:
chmod 755 x11vncstartup.sh
Testing the script manually
From a shell as the user that owns the Gnome desktop session, enter these commands:
cd ~
./x11vncstartup.sh
Test as described earlier in the section “Testing the x11vnc screen sharing server.”
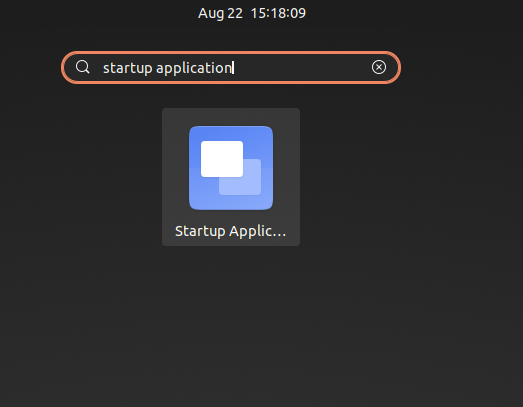
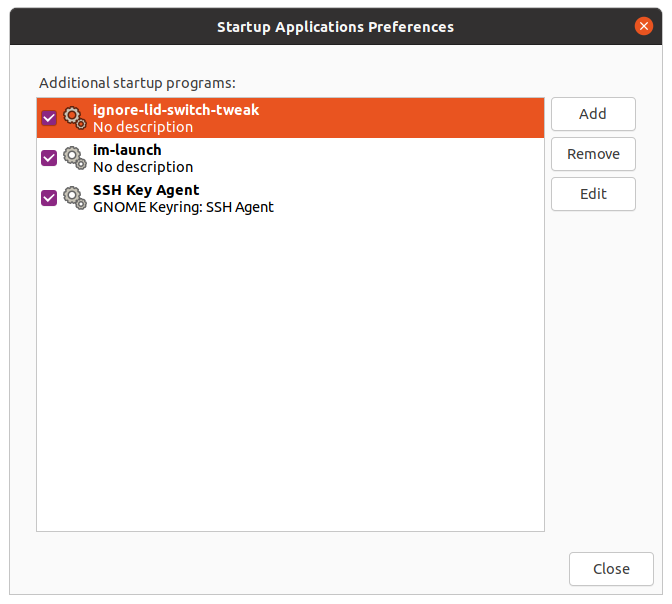
Adding the script to Startup Applications
Go to Show Applications. search for “startup applications,” click on its icon:
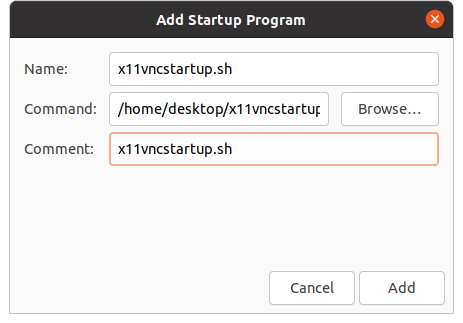
Click Add:
Name: x11vncstartup.sh
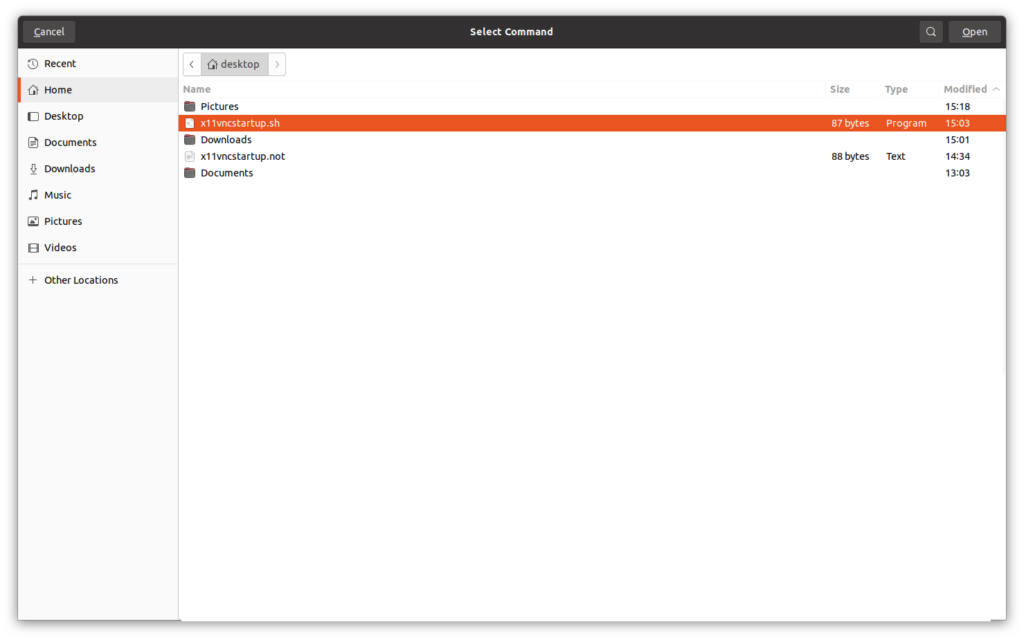
Click the “Browse…” button. Select the file x11vncstartup.sh, Click “Open”:
Comment: x11vncstartup.sh
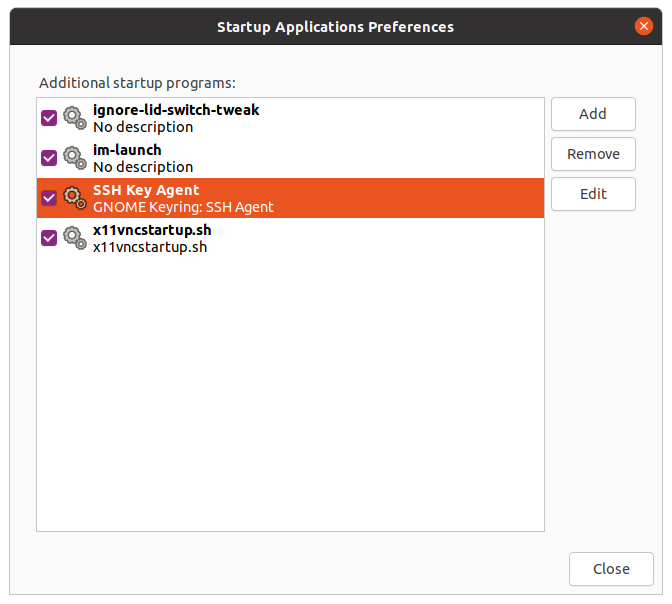
Click on “Add”:
Click on “Close”:
Testing that x11vnc was started as a script in “Startup Applications”
Reboot the computer. Log into the computer’s desktop.
Test as described earlier in the section “Testing the x11vnc screen sharing server.”