
Previous step Chapter 17: Using subdomains to host multiple websites under a single domain name
Web presence step by step is a series of posts that show you to how to build a web presence.
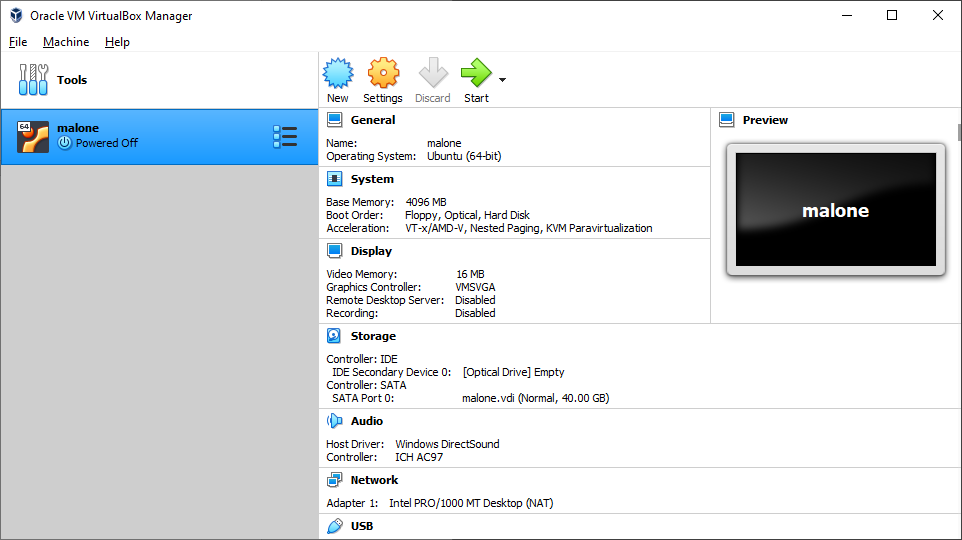
This post describes how to install Linux as a virtual machine (VM) guest on a Windows computer, by installing a program called VirtualBox.
Installing Linux as a VM guest allows you to explore Linux as a desktop or server operating system from an existing Windows computer, without reformatting.
VirtualBox is a hypervisor
The software that enables a computer to host a virtual machine as a guest is called a hypervisor. The hypervisor we will install in this blog post is called VirtualBox, an open source application available free of charge.
Using a virtual machine (VM) guest as a web, database, or file sharing server for local development and testing
A VM guest performs well in server roles likes web, database, and file sharing. VMs can be used for offline development and testing of websites and web-based applications, which are later deployed to public-facing web servers.
A VM guest can be used to deploy an internal or public-facing server with an application such as WordPress or Nextcloud.
Should you use a VirtualBox VM guest server for production?
Probably not. VirtualBox is great for testing, experiments, learning. However, if you are going into production, to run an essential task for a business, you should consider a more formal deployment using a platform like Linux KVM or Windows Server Hyper-V for an internal deployment, or to a public cloud like Digital Ocean or AWS for a public-facing deployment.
Who should consider using a VirtualBox VM guest server?
VirtualBox enables people to experiment with Linux, without making a commitment to modifying their existing Windows computer.
VirtualBox is great for students — anyone learning software development can host their own fully-functioning Linux server, allowing them to build prototype servers, containers, and software development environments.
Using a VM guest as a graphical user interface (GUI) desktop
A VM guest can function as a graphical desktop, allowing you to use the guest operating system in a sized window, or in full-screen mode. For example, you can connect to another network via VPN from a VM guest, while the host computer running Windows remains connected to its original network.
Limitations of a VM guest GUI desktop
VMs have some limitations: they are not well-suited to GPU-intensive tasks like video editing software or gaming, for example. YouTube video will be choppy.
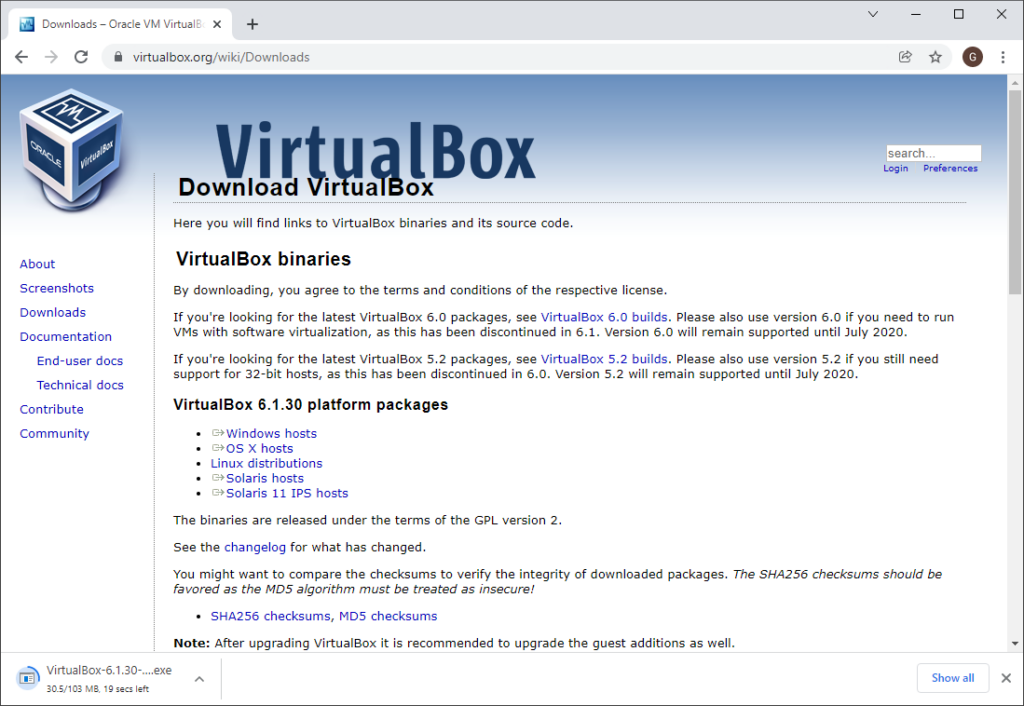
Downloading VirtualBox
https://www.virtualbox.org/wiki/Downloads
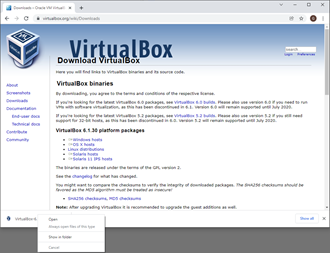
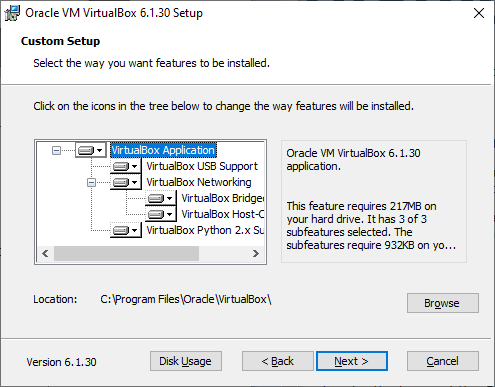
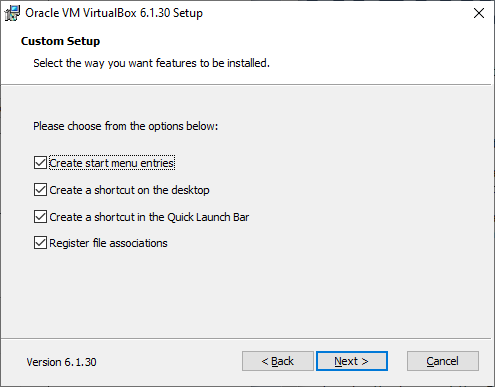
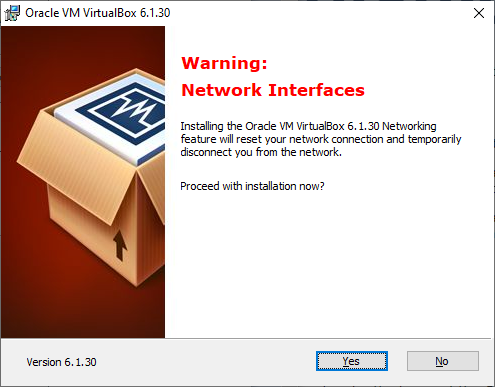
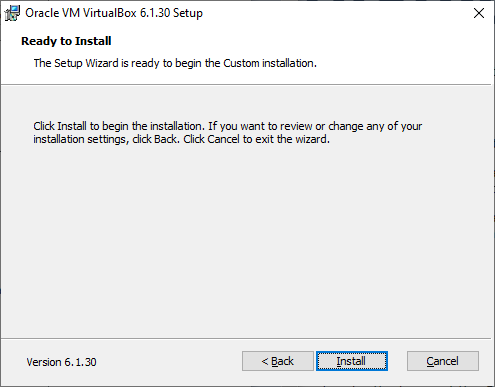
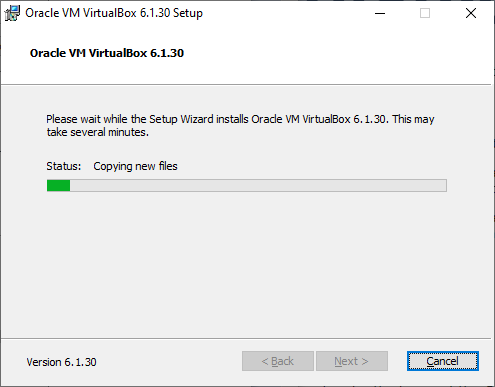
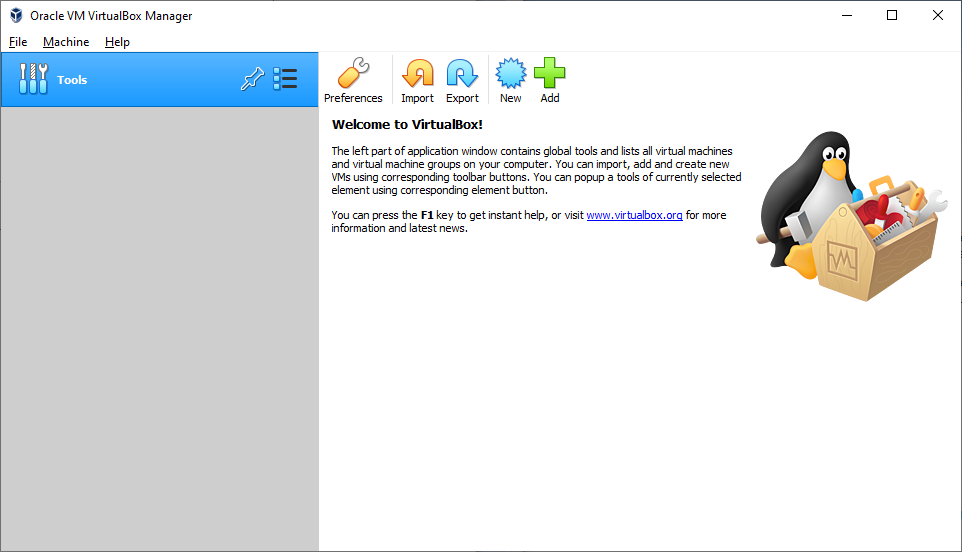
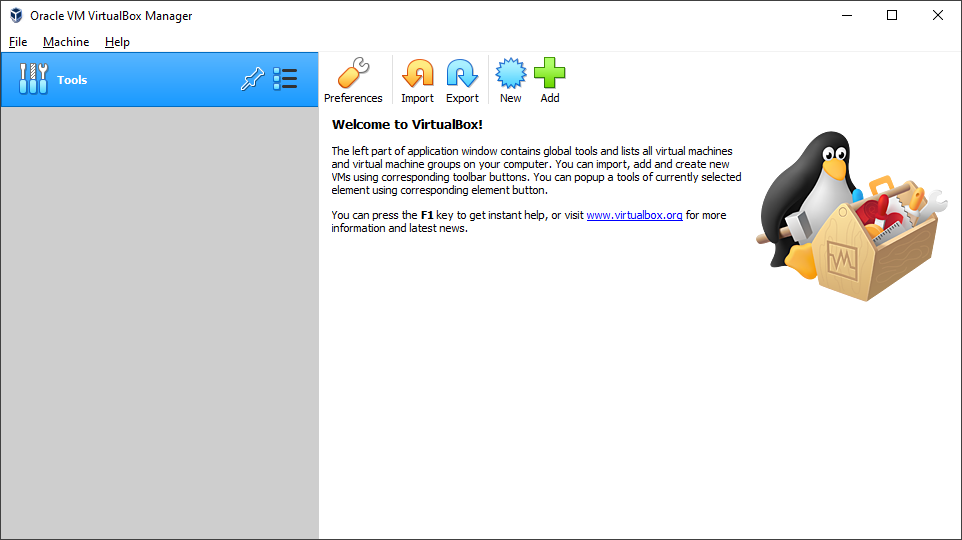
Installing VirtualBox


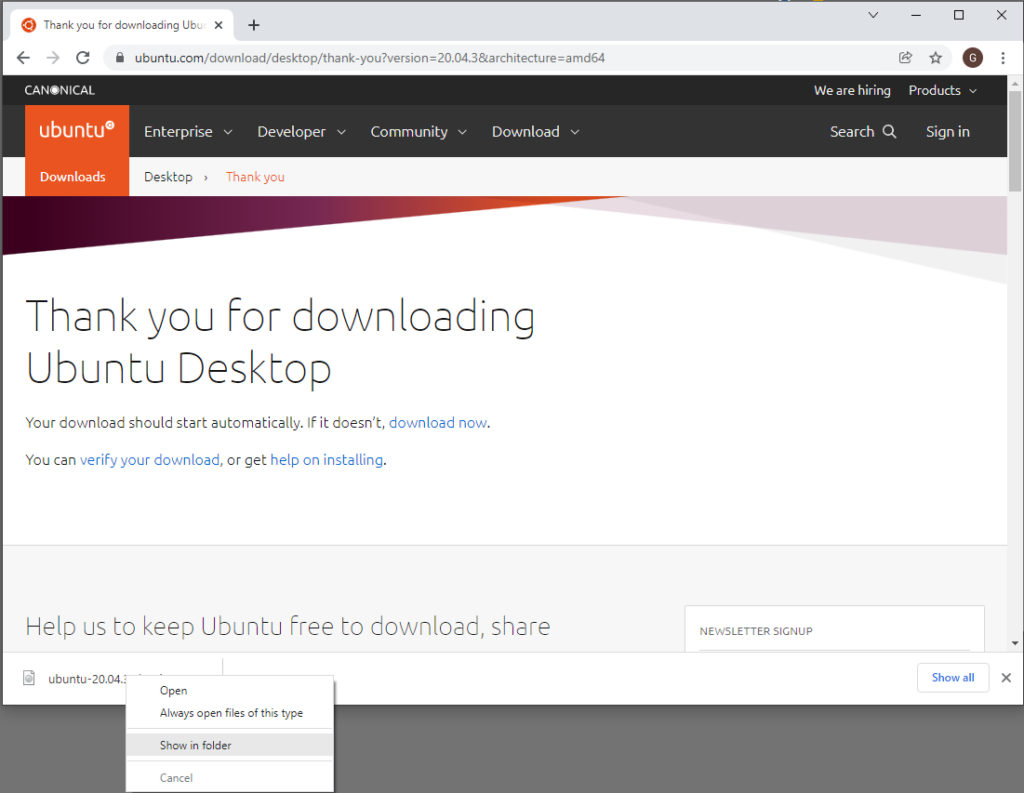
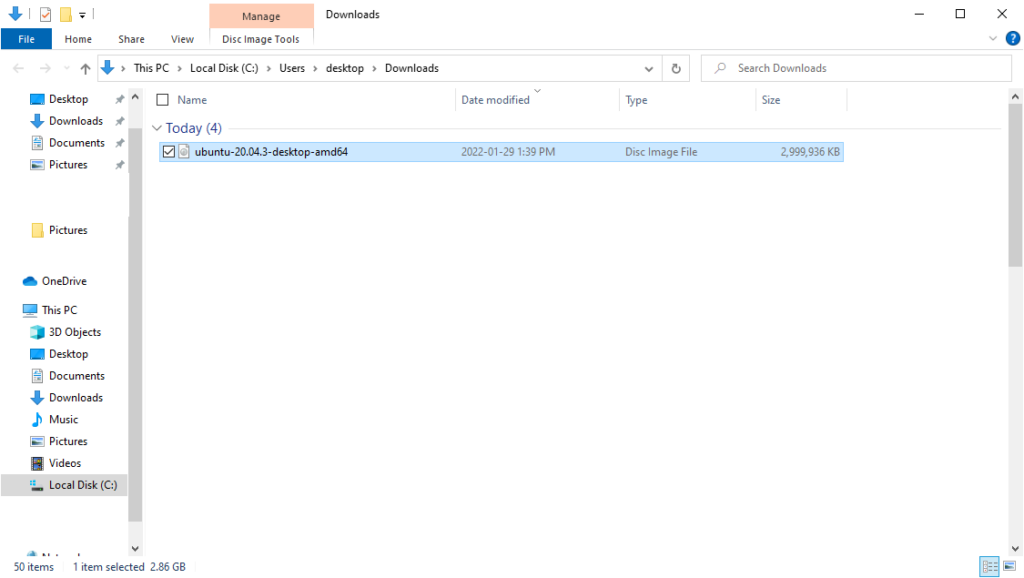
Downloading Ubuntu desktop Linux
https://ubuntu.com/download/desktop


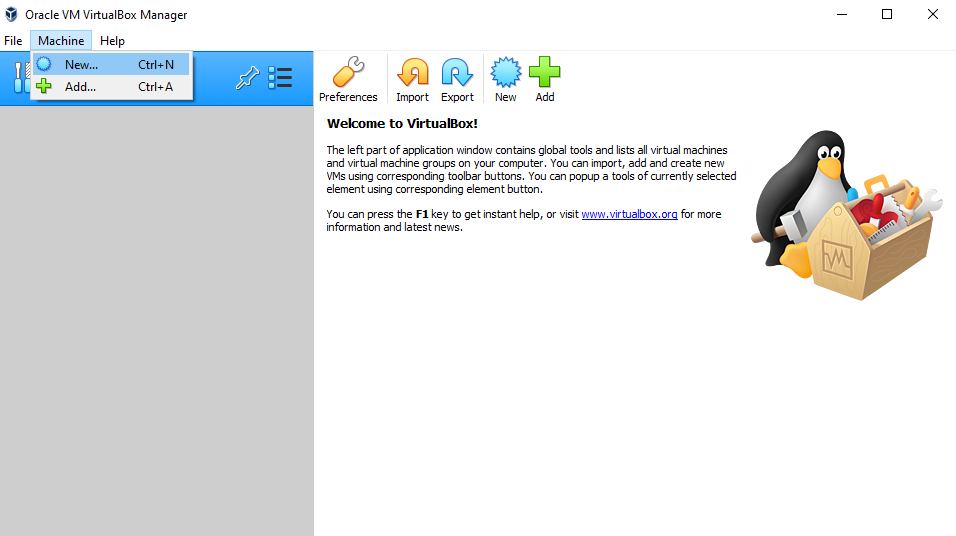
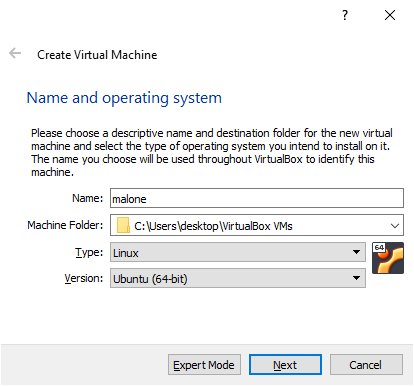
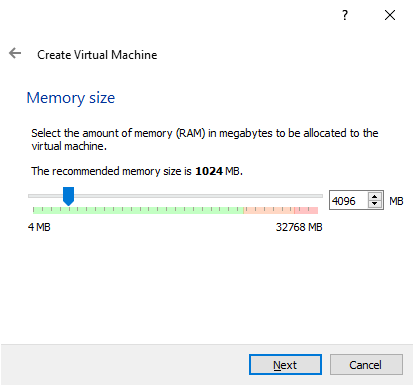
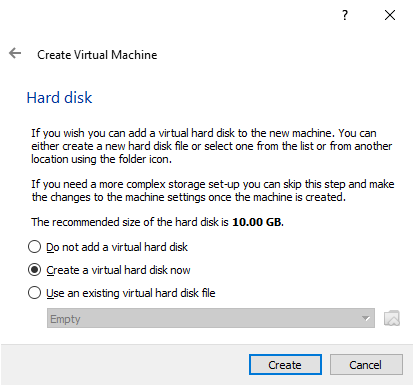
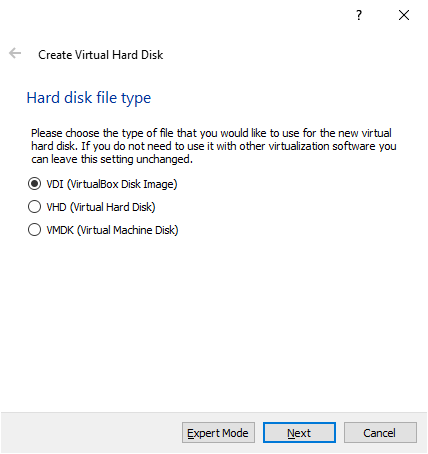
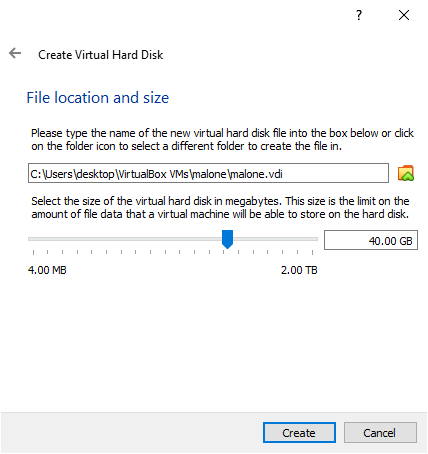
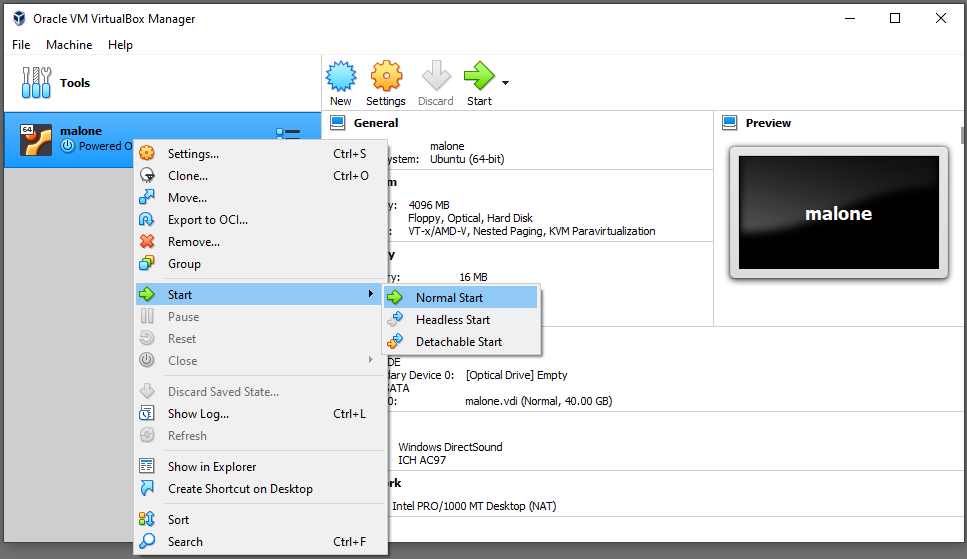
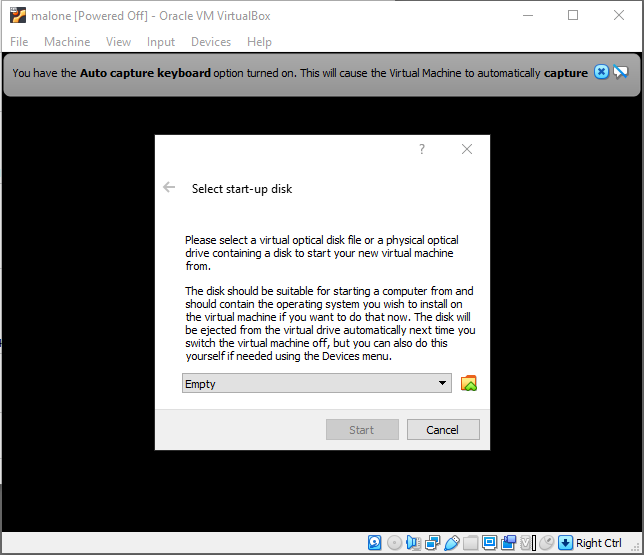
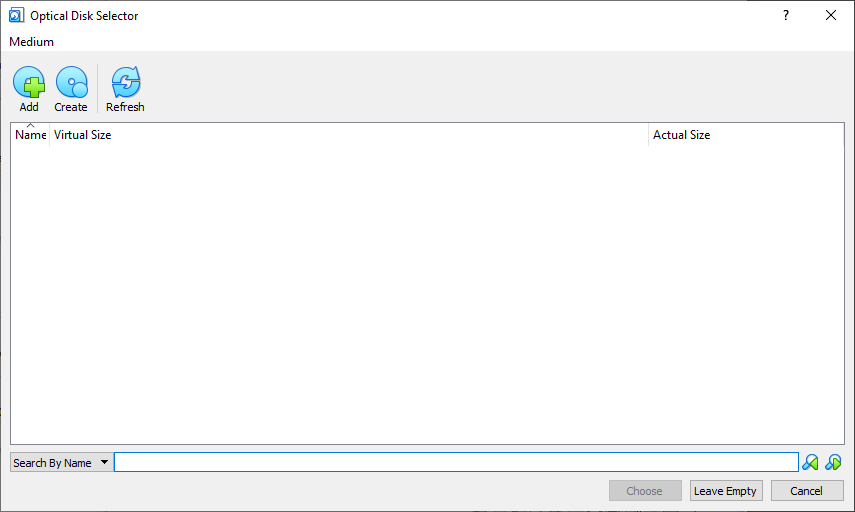
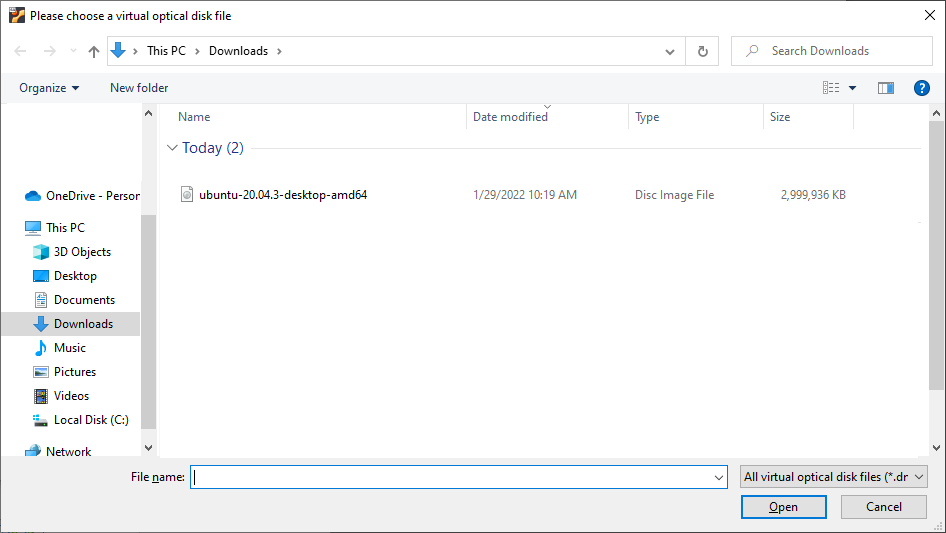
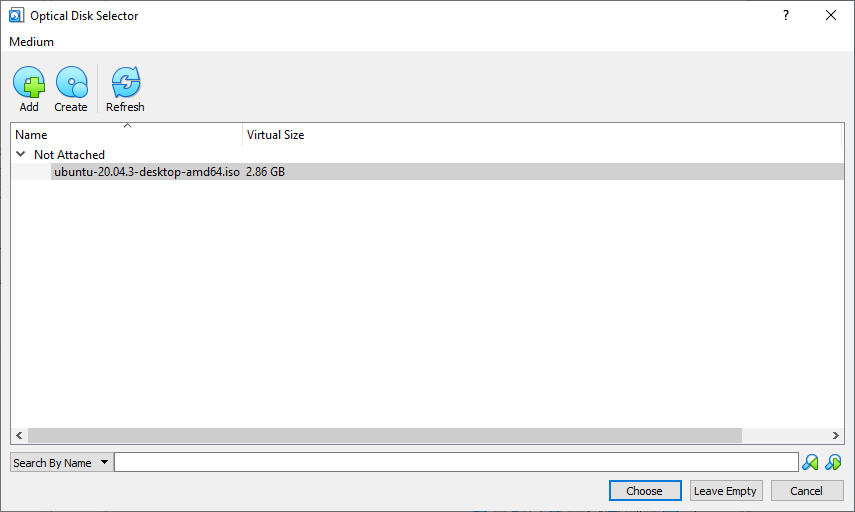
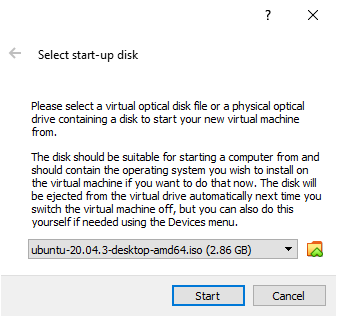
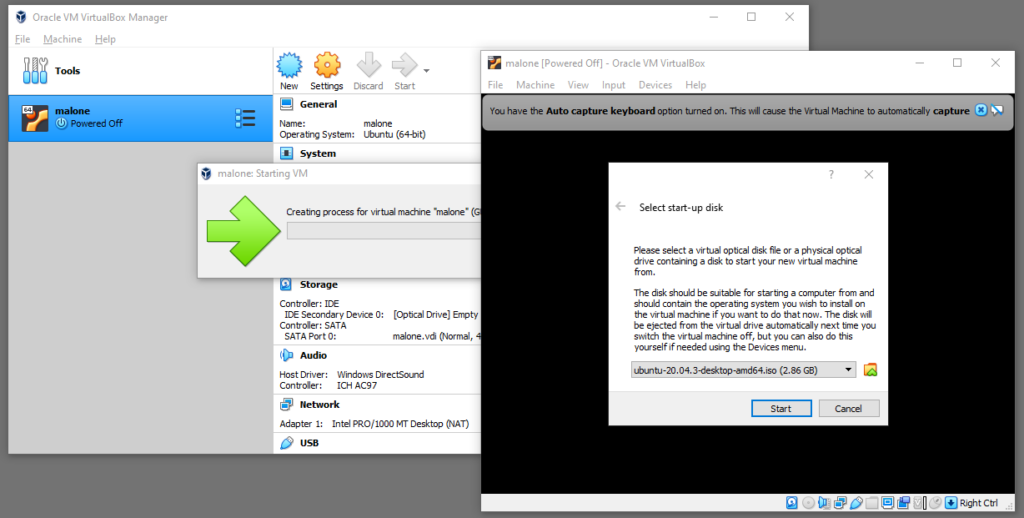
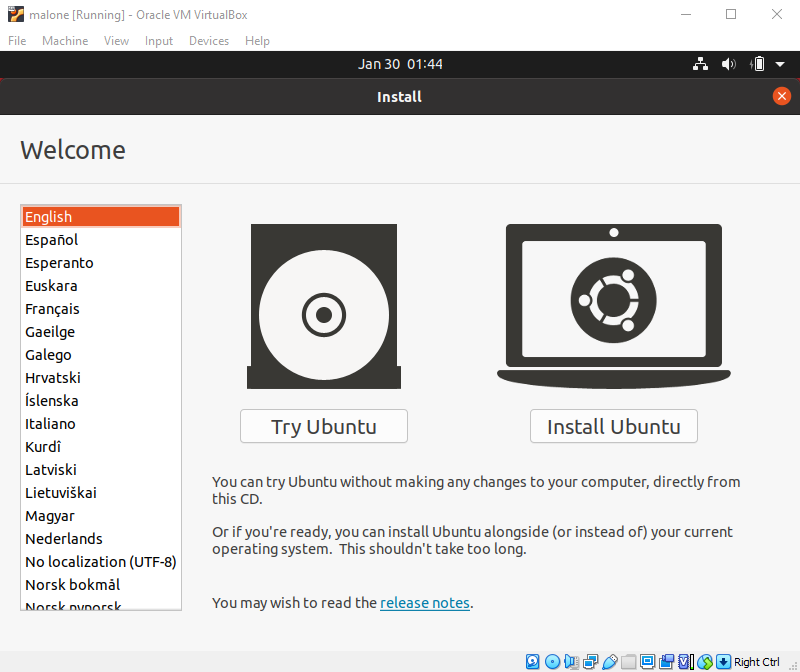
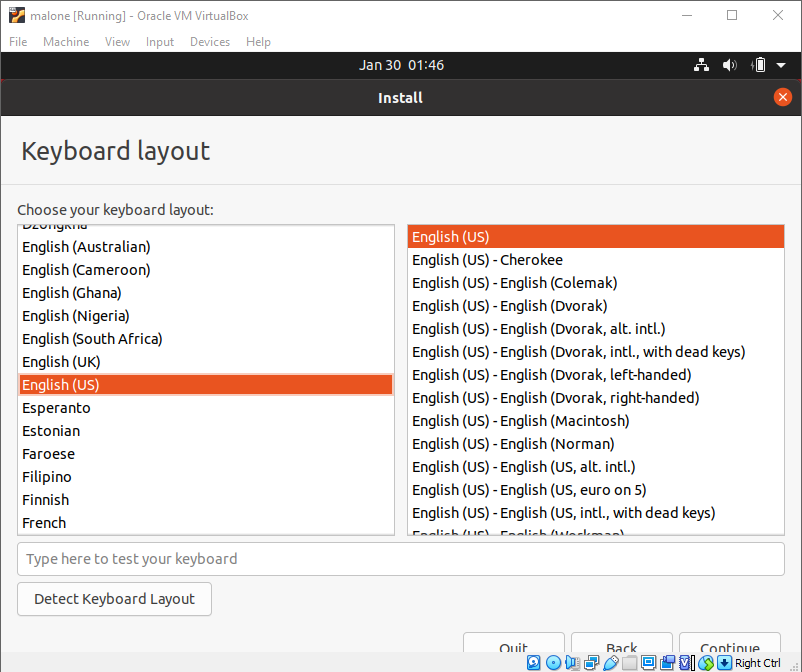
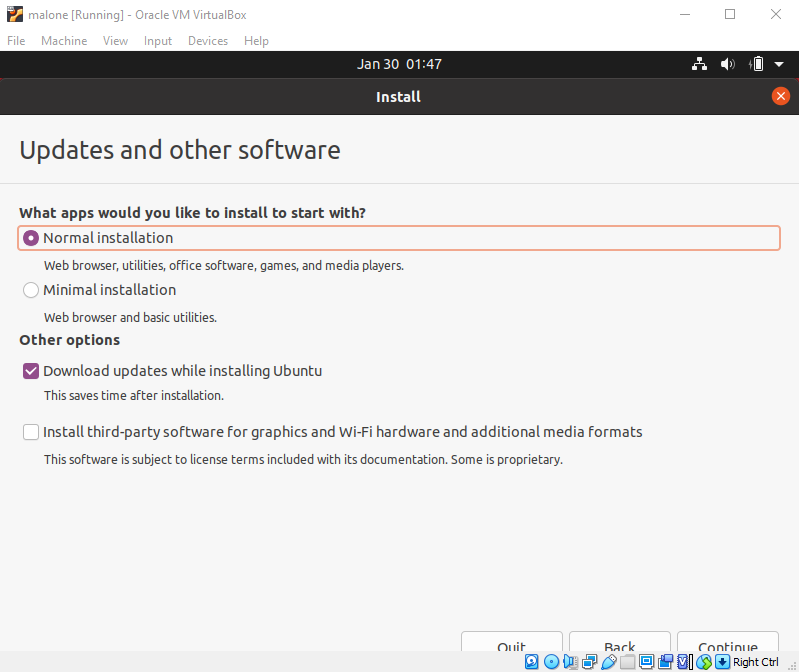
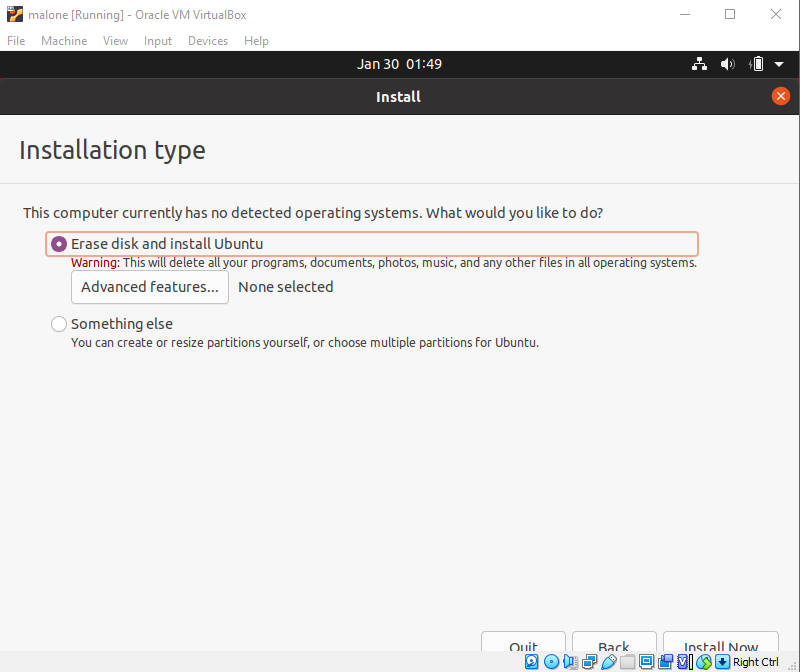
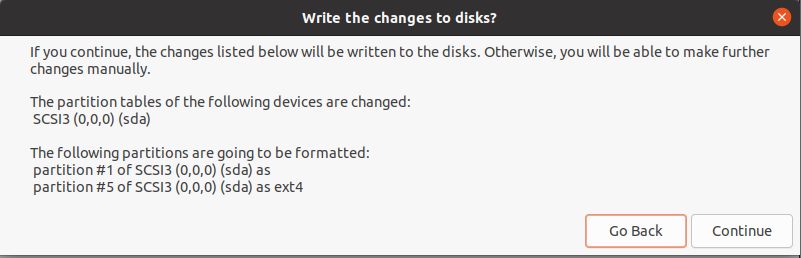
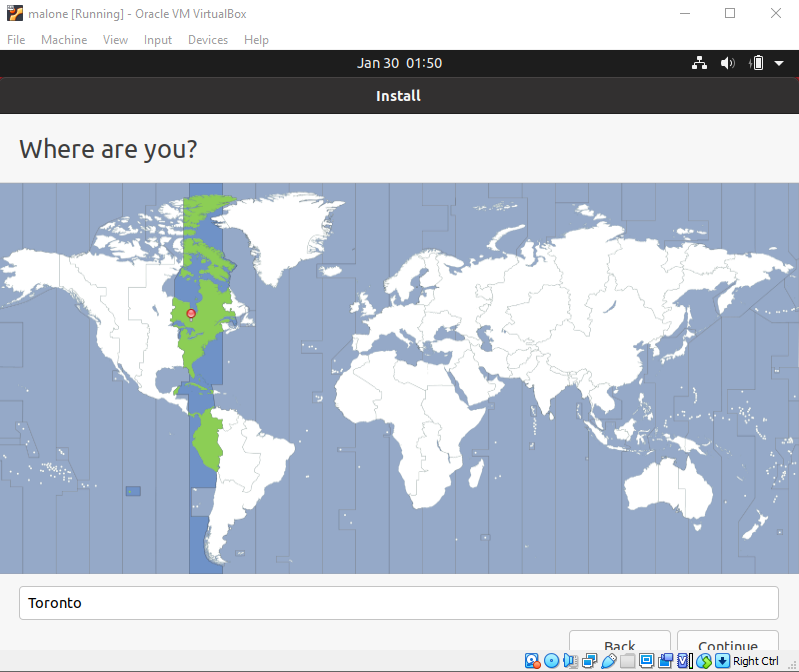
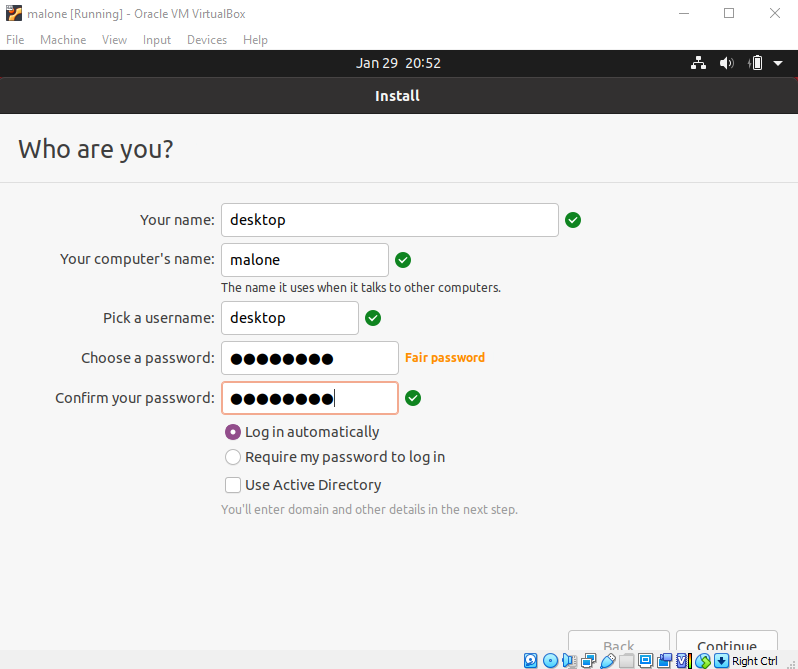
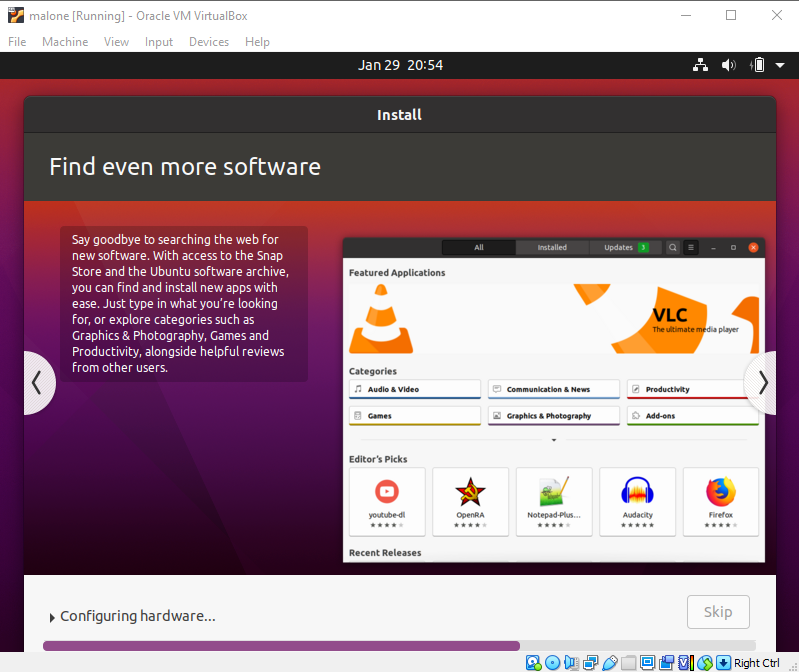
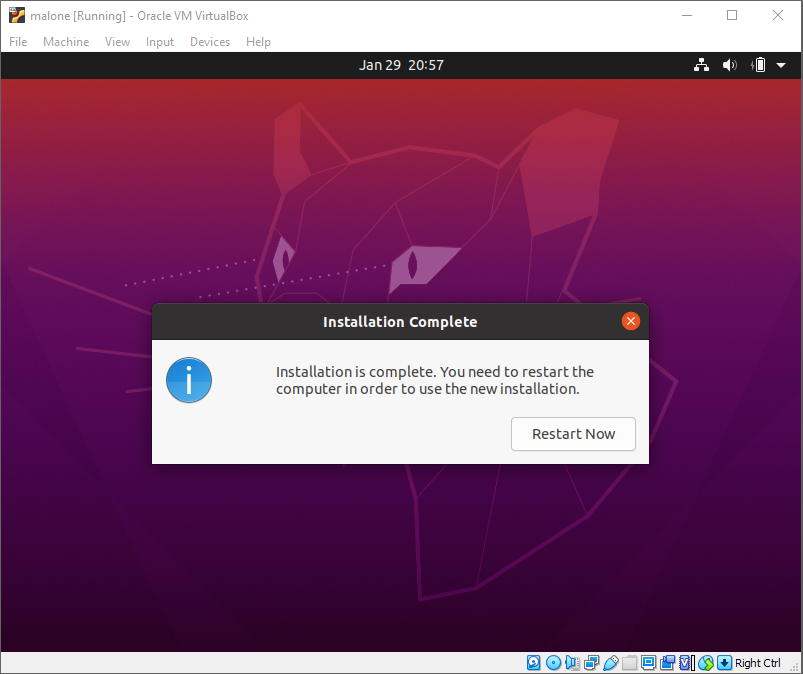
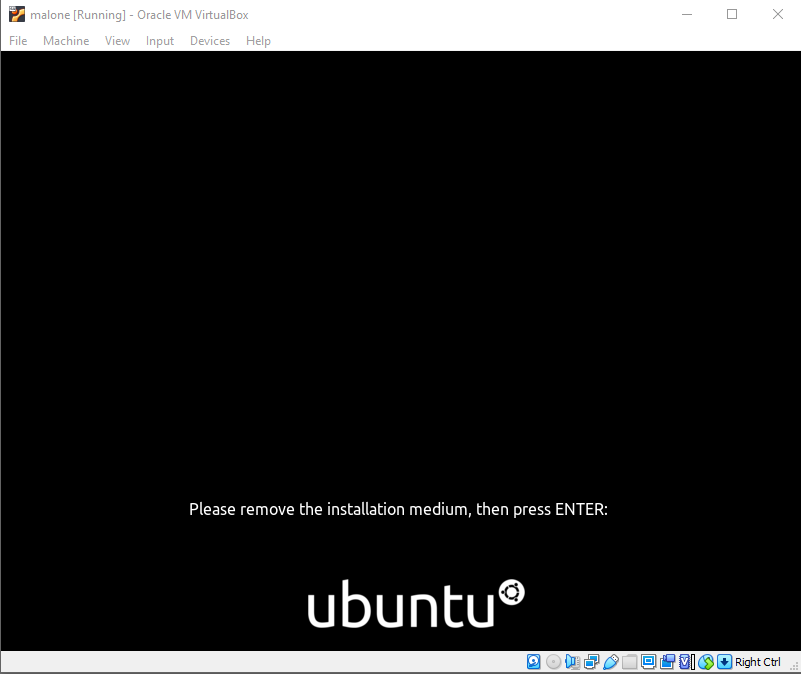
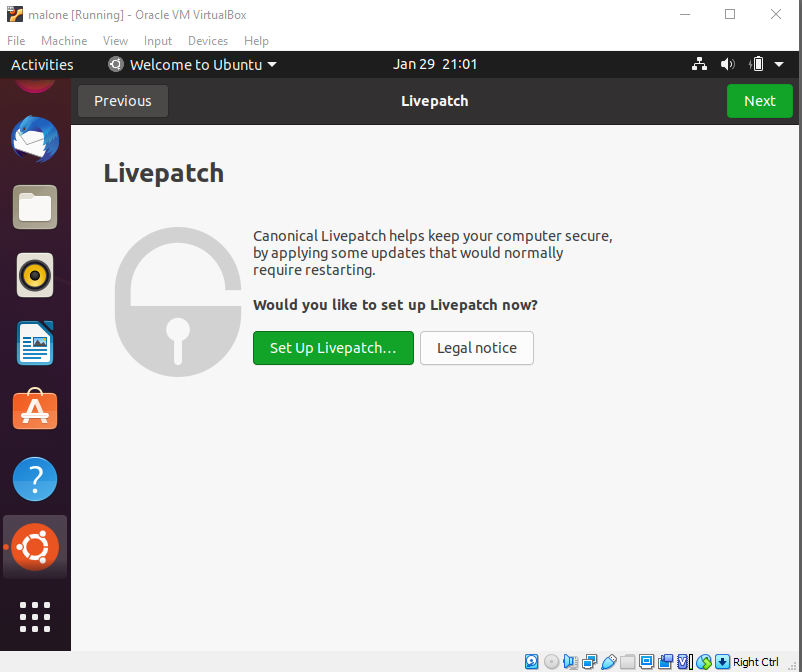
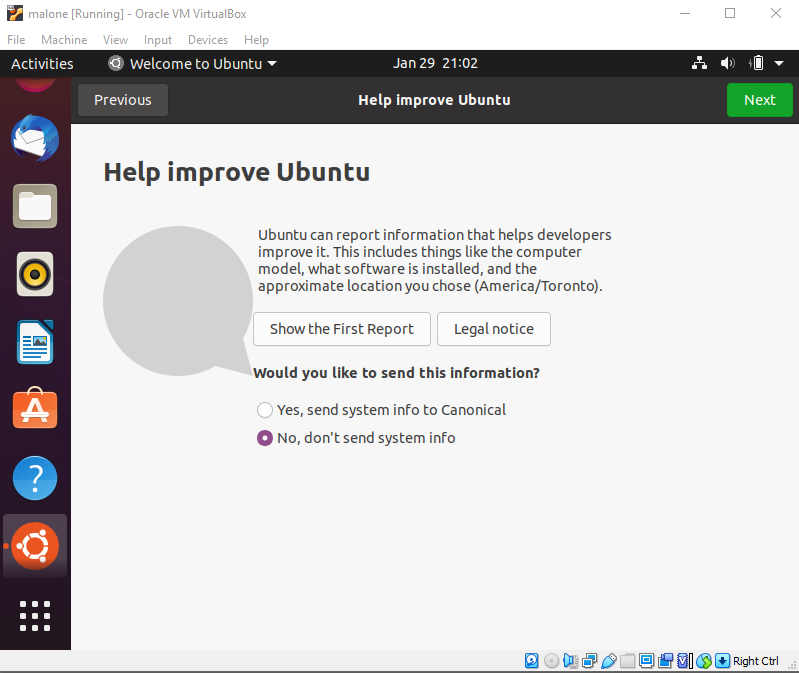
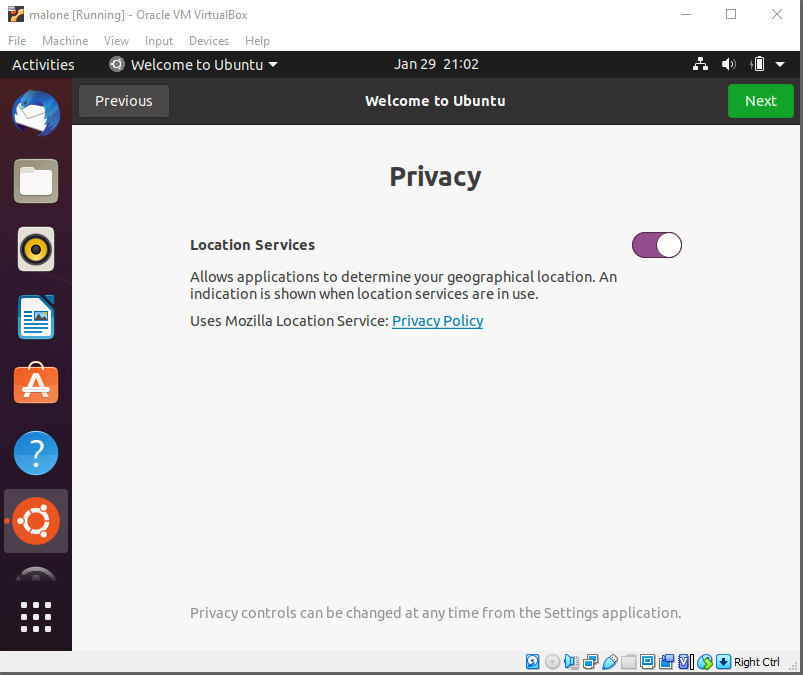
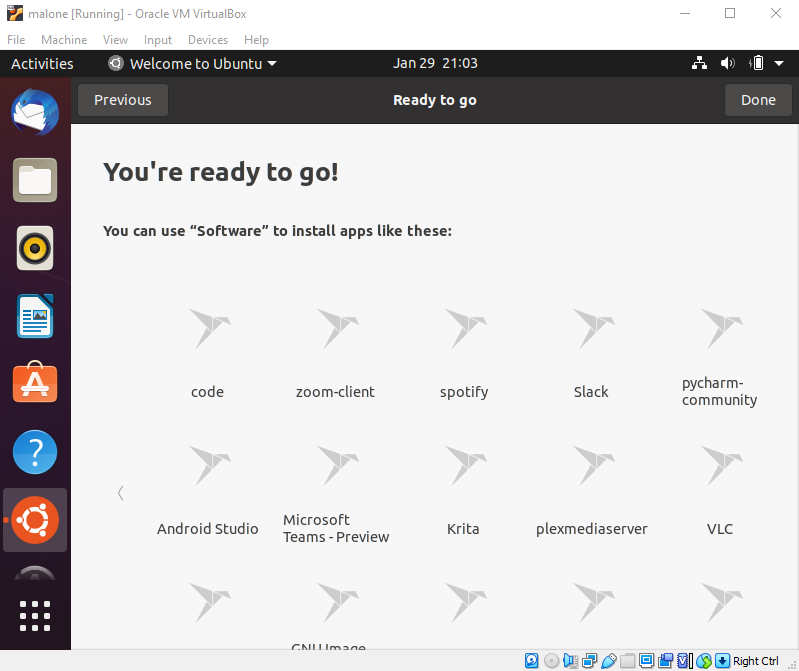
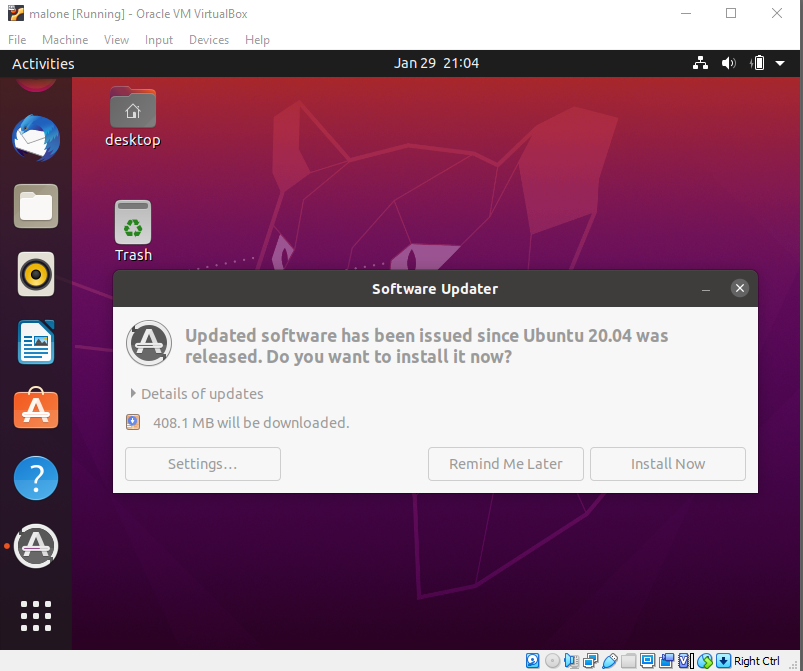
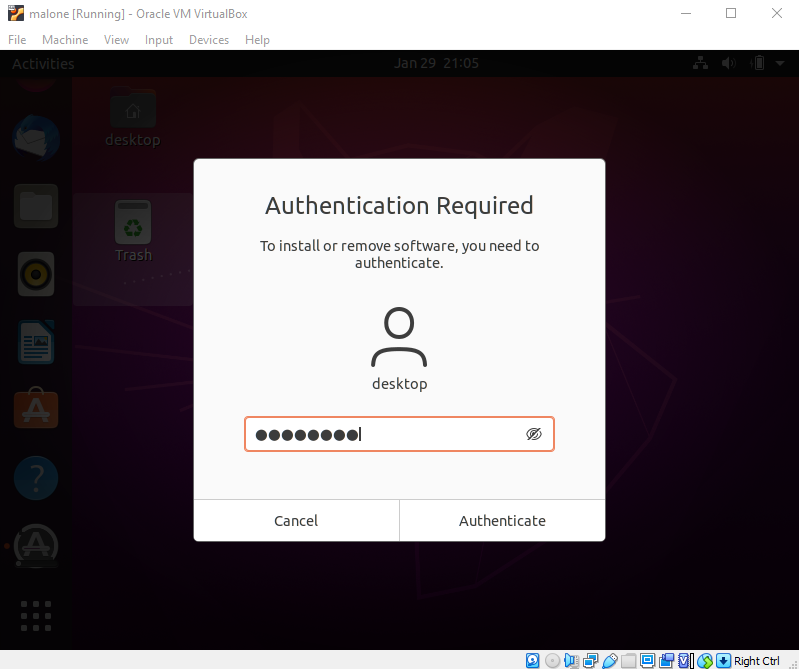
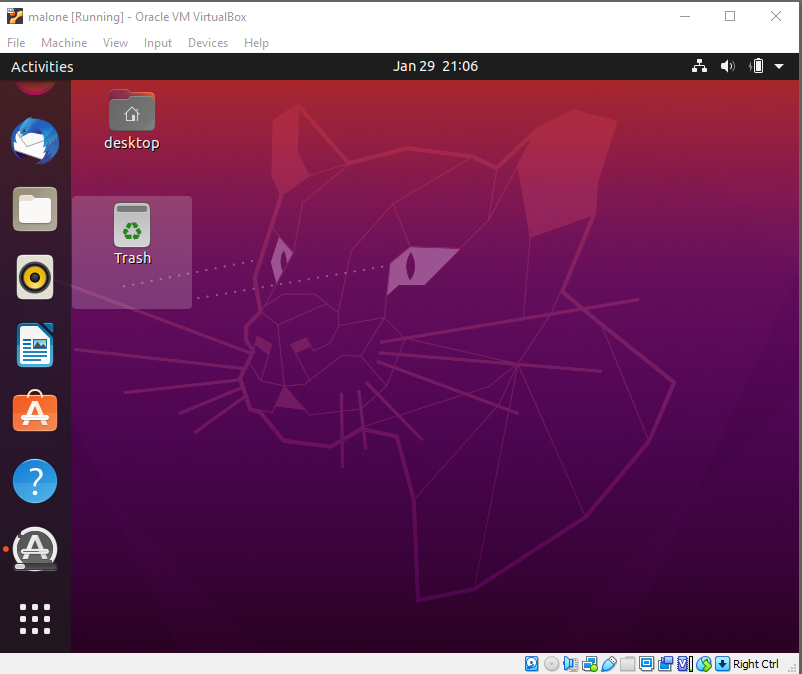
Installing Ubuntu desktop Linux as a guest VM under VirtualBox


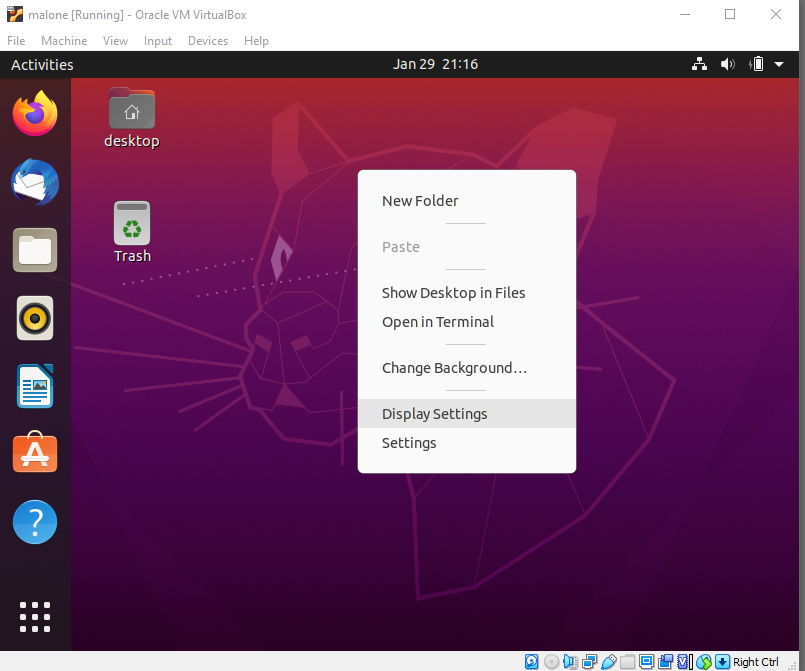
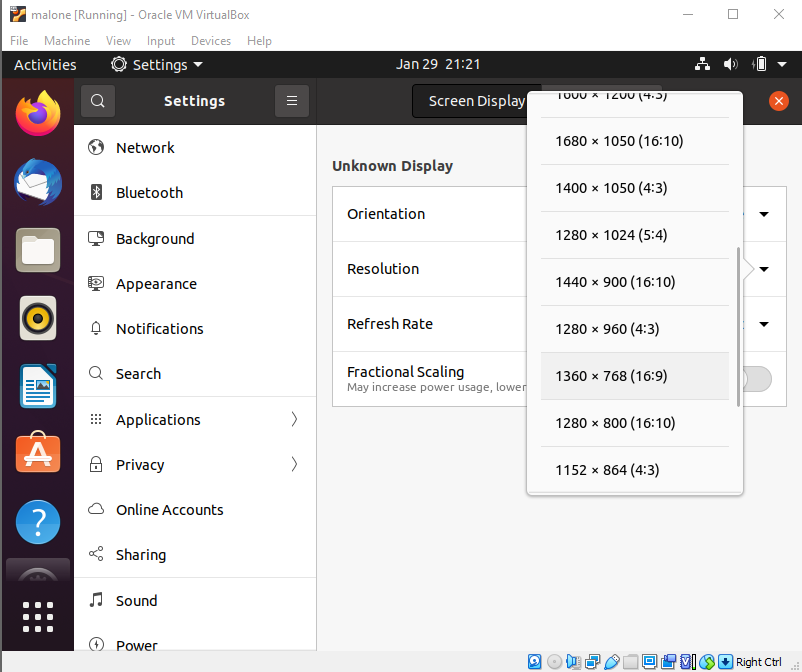
Adjusting resolution


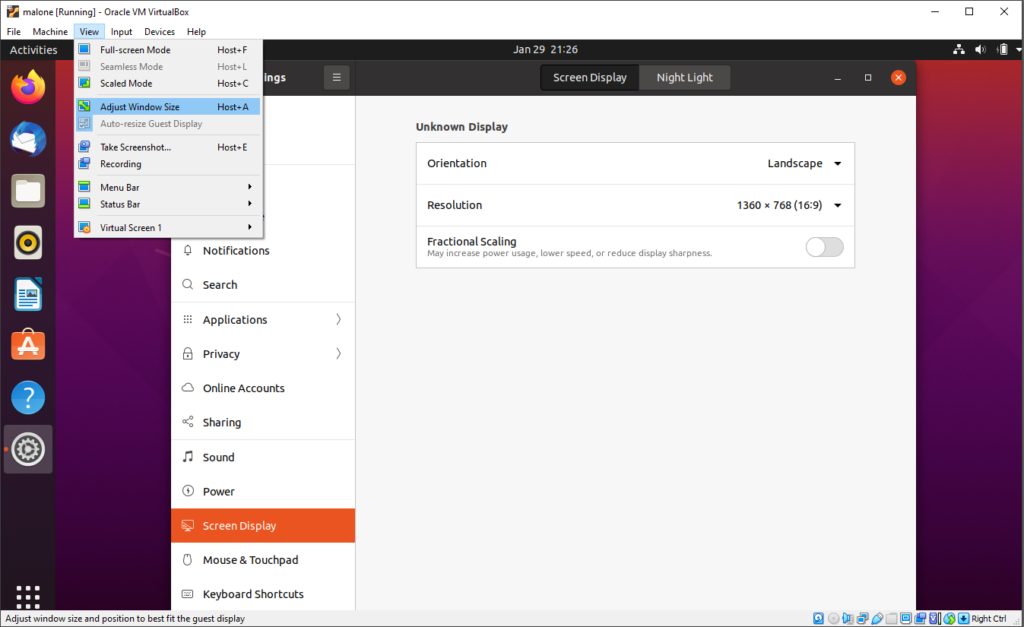
Adjusting window size
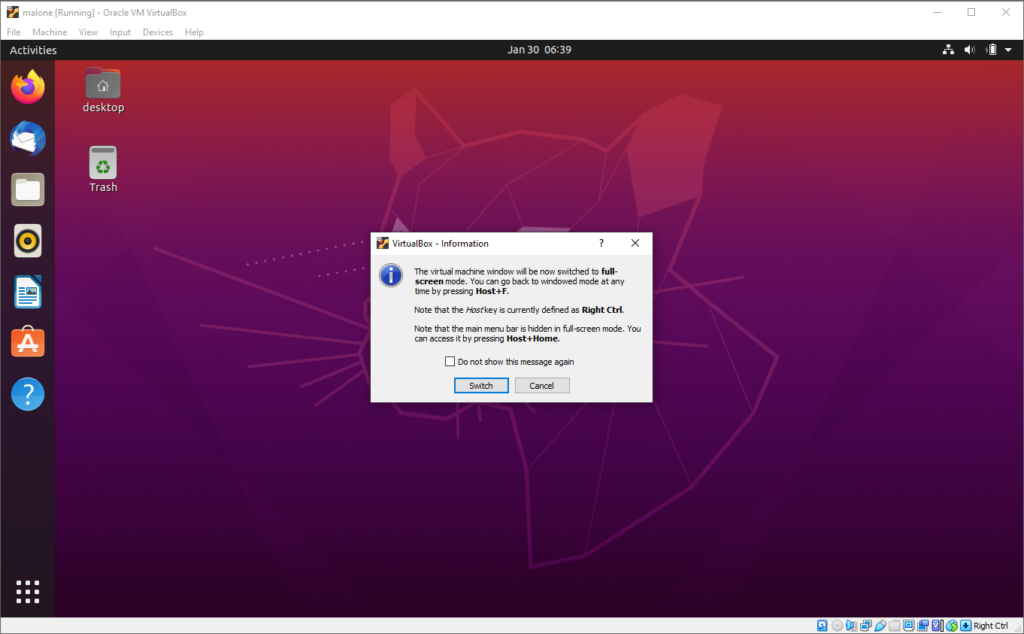
Switching to full screen mode
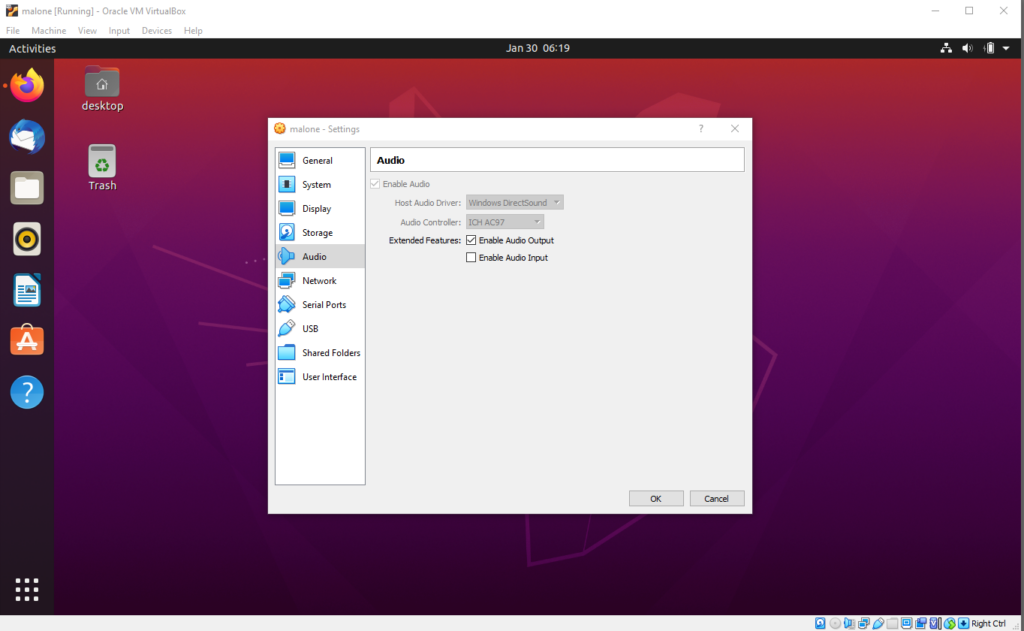
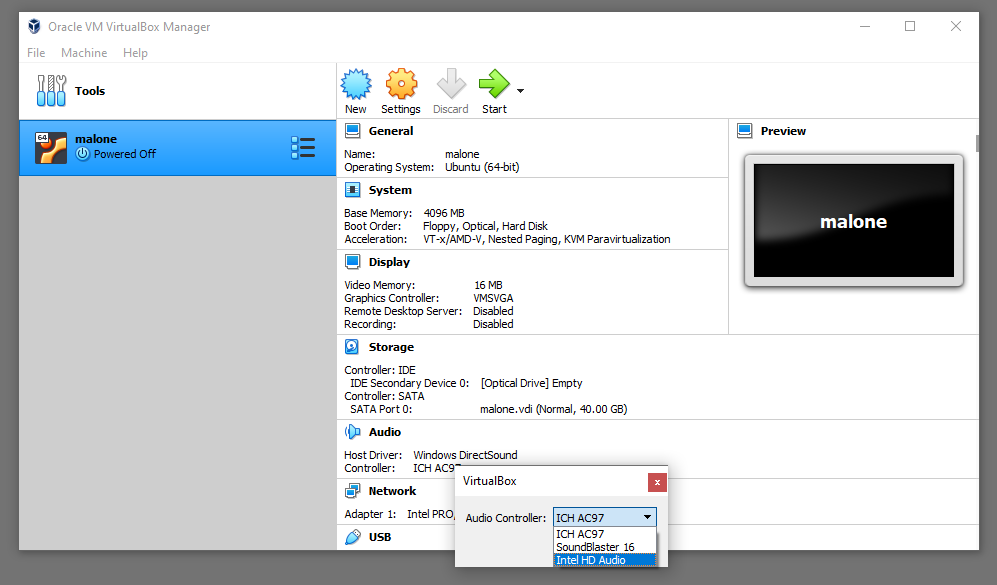
Enabling audio
Network considerations at the hypervisor level
Understanding communications between the host and the VM guest
The VM guest running under VirtualBox is a distinct and separate computer from the machine that hosts it. VirtualBox enables network communication between the VM guest and the Internet, via the network connection of the host.
VirtualBox also enables network communication between the VM guest and the host. For example, if you have a web server running on your VM guest, you can connect to it from your host’s desktop using a web browser or a terminal program like KiTTY for SSH.
Understanding the difference between network address translation (NAT) mode vs bridge mode
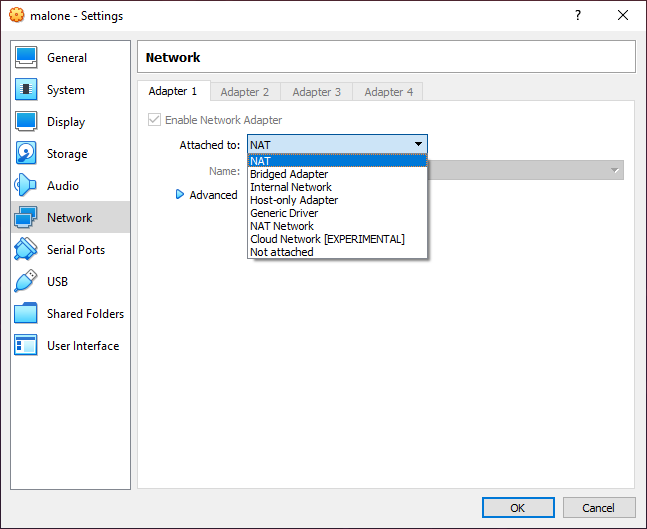
Network address translation (NAT) mode
By default, a VM guest is created with a network adapter configured to connect to the Internet via the Internet connection of its host.
A host can communicate with a VM guest via a NAT mode network connection
The host and the VM guest are able to communicate with each other. Computers other than the host cannot see or initiate a network connection with the VM guest.
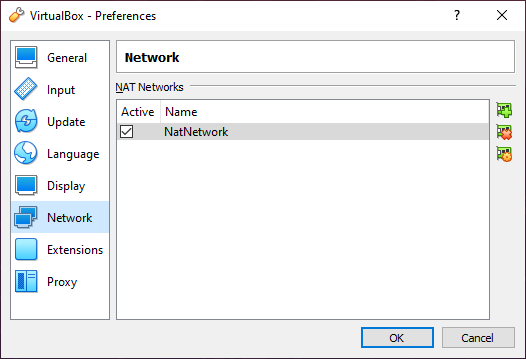
Creating a NAT network to permit communications between the host and the VM guest
Making a VM guest visible and accessible to other computers on the network to which the host is connected
A VM guest can be made visible and accessible to other computers on the network via a bridge mode network connection, or via port forwarding.
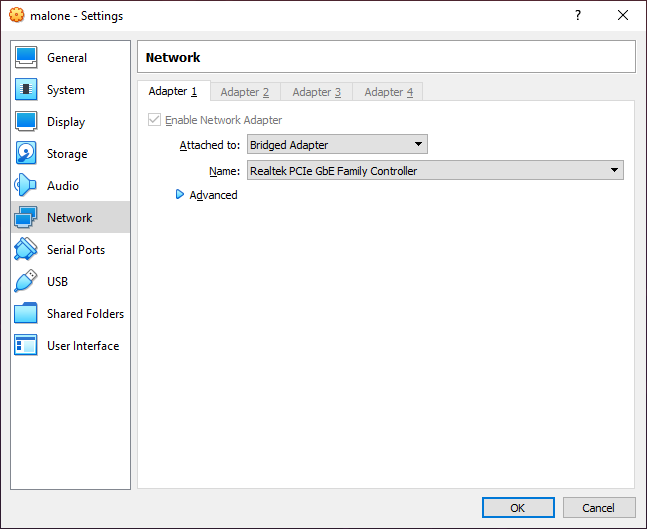
Bridge mode
The network adapter for a VM guest can be configured in “bridge mode” which permits the VM to connect directly to the same network as the host. In this mode, a VM guest can request an IP address or use an IP address in the same subnet as the host and other computers connected to the same network.
A host cannot communicate with a VM guest via a bridge mode network connection
Due to the way that a bridge mode connection is configured to use the network connection of the host, the link permits communication between the VM guest and the outside world, but not between the VM guest and the host itself.
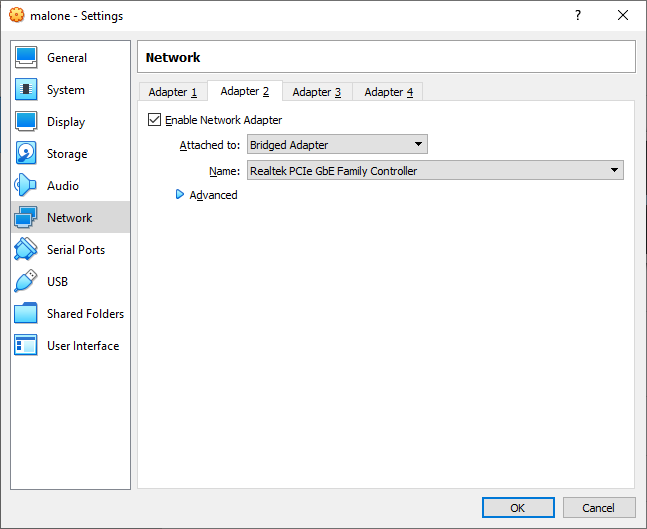
Adding an additional network adapter
(Note: the VM must be powered down in order to add a network adapter.)
Understanding port forwarding
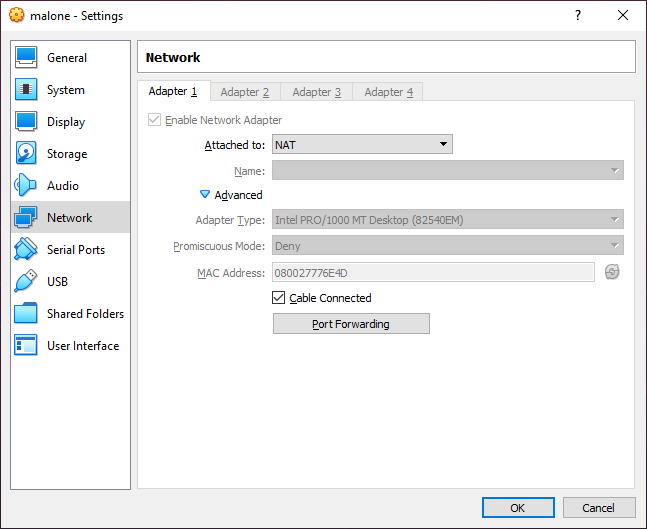
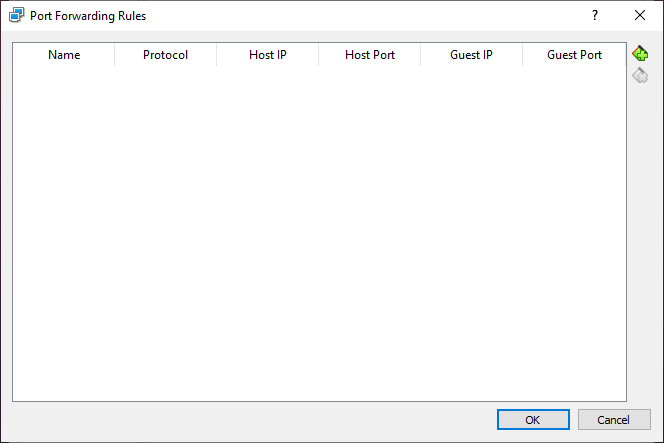
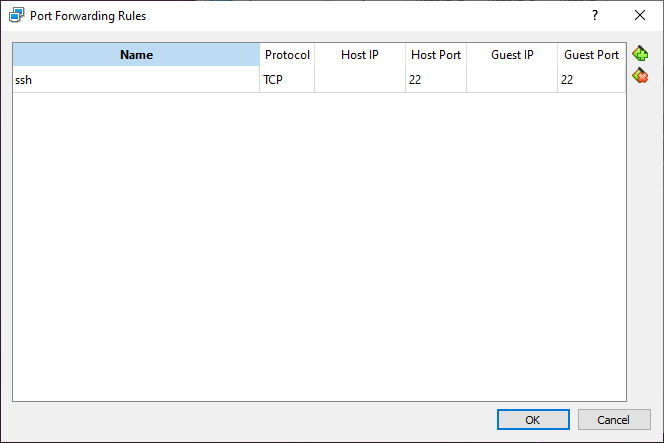
VirtualBox will offer to open a hole on the host’s firewall. Click on “Allow access”:

Network considerations at the VM guest level
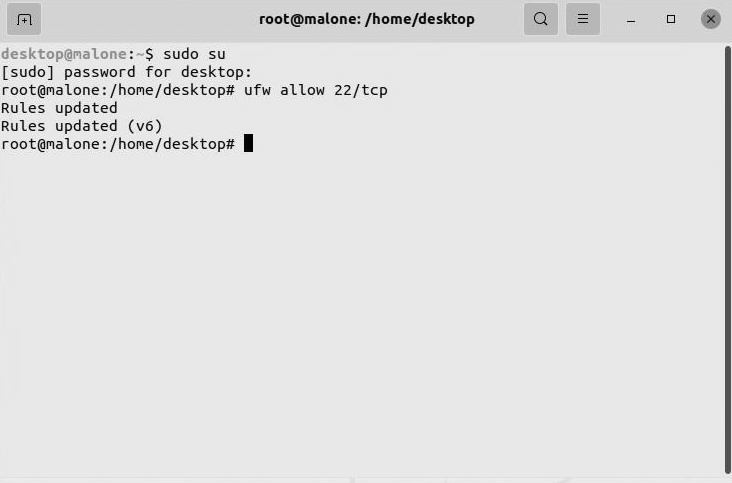
Allowing a port exception in the firewall
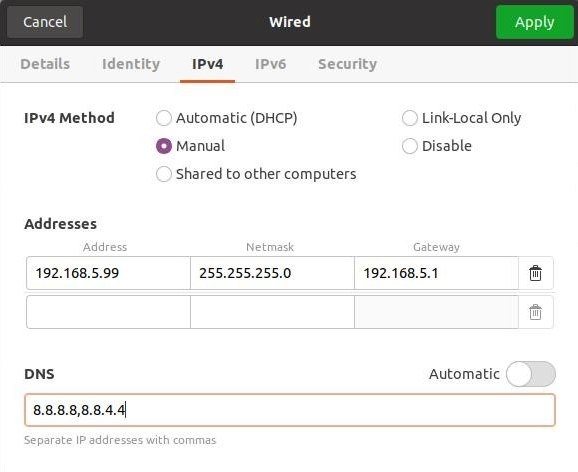
Setting a static IP address
Installing and starting the SSH terminal server

Enabling remote desktop access with x11vnc
To enable remote desktop access, please refer to this post: Installing x11vnc to replace broken screen sharing on Ubuntu 21.04.
Previous step Chapter 17: Using subdomains to host multiple websites under a single domain name