
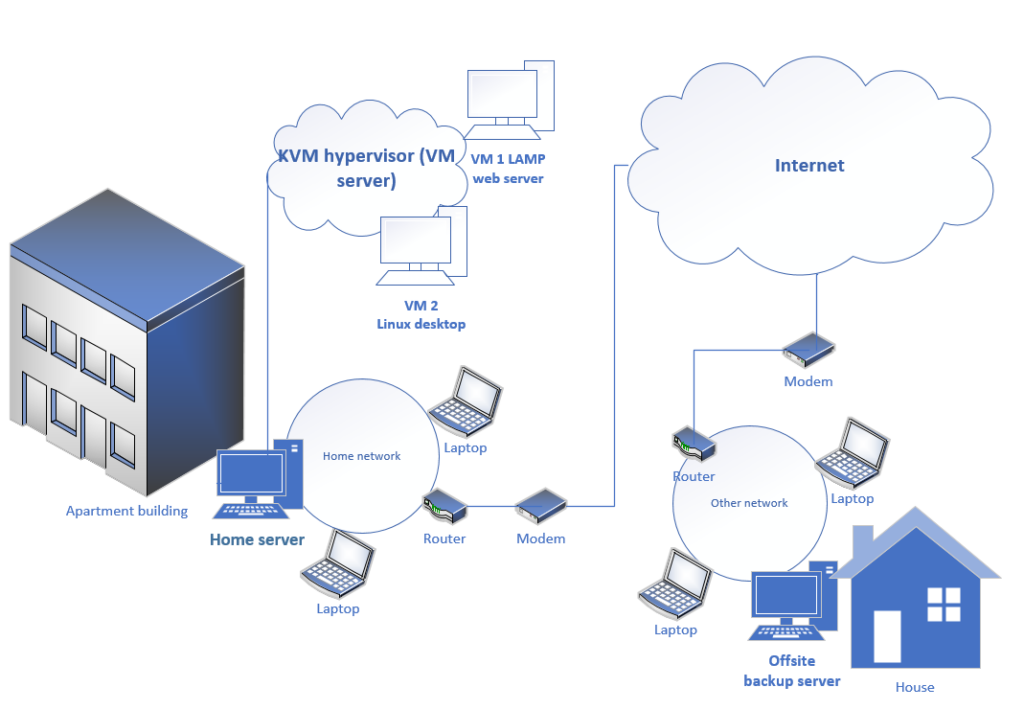
In this post, we build a home server using Ubuntu Desktop Linux that includes a Samba network file server, an OpenVPN virtual private network (VPN), and a KVM hypervisor hosting virtual machine (VM) guests including a Linux/Apache/MySQL/PHP web server. In addition, we build an offsite backup server using Fedora Server Linux, and link the offsite backup server to the home server via a WireGuard secure network tunnel.
Tasks for the home server
The home server will perform the following tasks:
- Samba network file server
- OpenVPN server
- KVM hypervisor to host virtual machine (VM) guests
- LAMP web server in a VM
- Wireguard public-facing host to client connection to offsite backup server
Hardware for the home server
As the home server will host virtual machine guests, I need a certain level of performance, so I bought a refurbished circa 2017 computer for C$403 (US$294). CPU performance can affect OpenVPN performance, so the VPN server will benefit from a stronger CPU as well.
The home server is a small form factor (SFF) desktop circa 2017:
- Dell OptiPlex 5050 SFF (circa 2017)
- i7-7700 CPU
- 32GB DDR4 RAM
- 1TB SATA SSD
Formatting and configuring the home server with Ubuntu Desktop 22.04 LTS
I formatted the home server with Ubuntu Desktop 22.04 LTS.
Why choose Ubuntu Desktop instead of Ubuntu Server?
For the home server, I wanted the option of a graphical user interface (GUI) desktop for use at console, and via remote desktop. A GUI desktop is also more convenient for the creation and management of KVM virtual machine guests using the virt-manager GUI, (and avoids the need for SSH tunnel forwarding and an X11 server to reach a headless server).
Formatting in UEFI mode
With modern hardware, I like to use UEFI mode for disk booting. Although we do not need a multiple-boot menu for this server, it is easier to construct a multiple-boot menu using grub when booting in UEFI mode. This is the default on a post-2016 motherboard, but it is worth looking at the BIOS when you first lay hands on a machine.
Connecting using wired Ethernet
We need a wired Ethernet connection for the home server, as we want to create a bridge mode adapter (br0) so that virtual machine (VM) guests can have IP addresses in the host networking subnet.
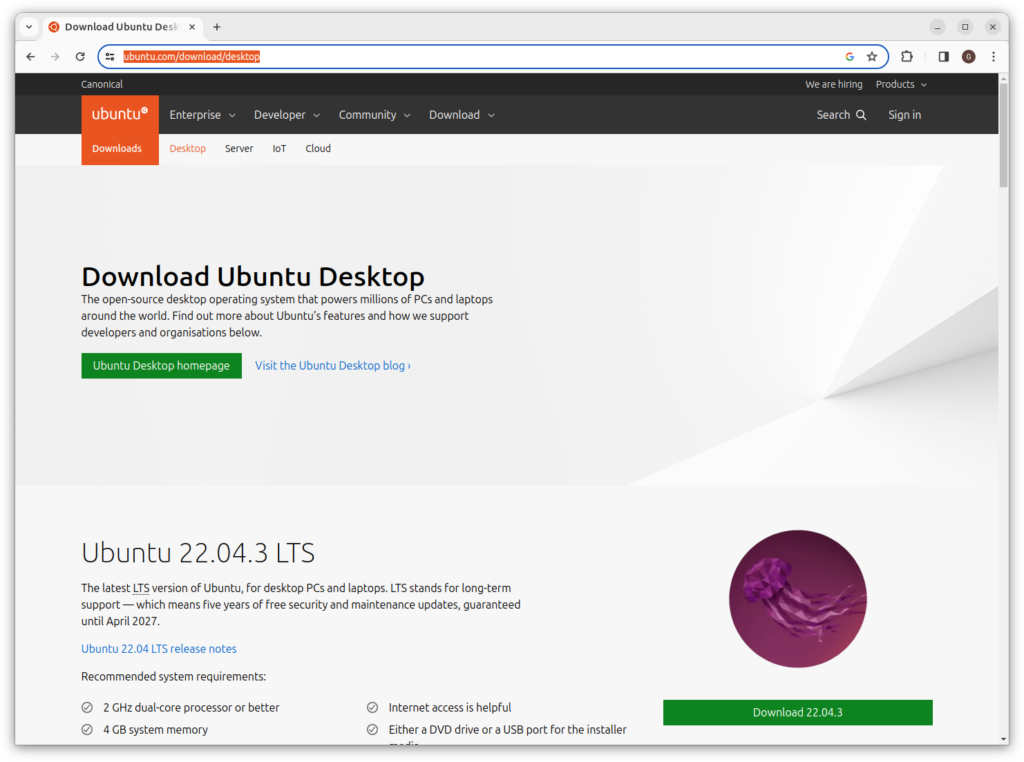
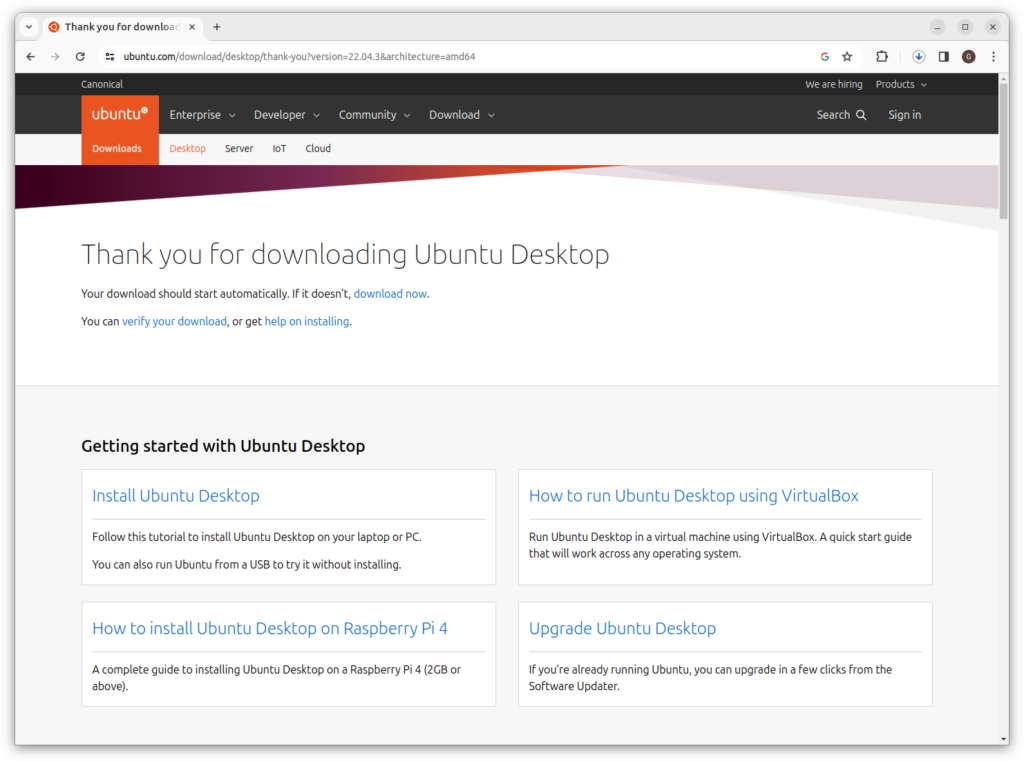
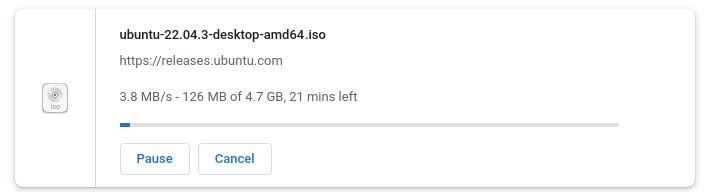
Downloading Ubuntu desktop Linux
https://ubuntu.com/download/desktop

Using the Rufus USB utility under Windows to write the installer
If you are writing the installer to a USB using Windows, consider using Rufus:
Installing Ubuntu on the home server
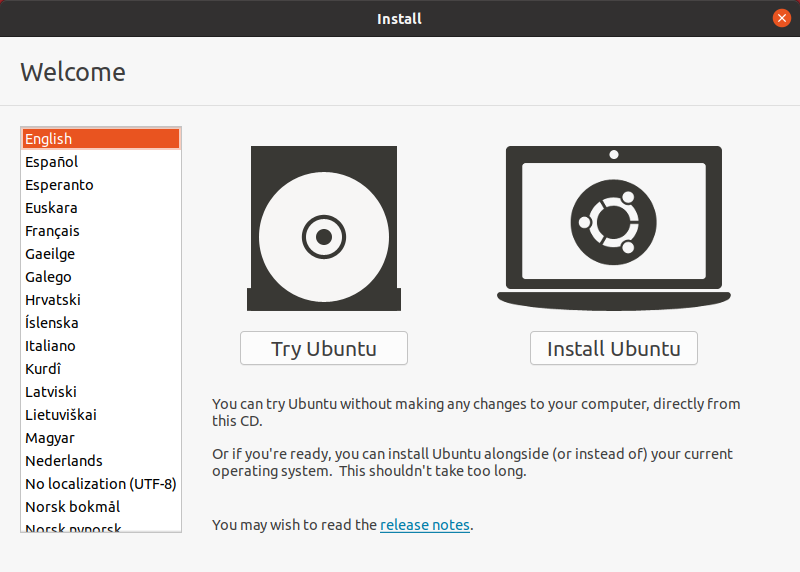
Click on “Install Ubuntu”:
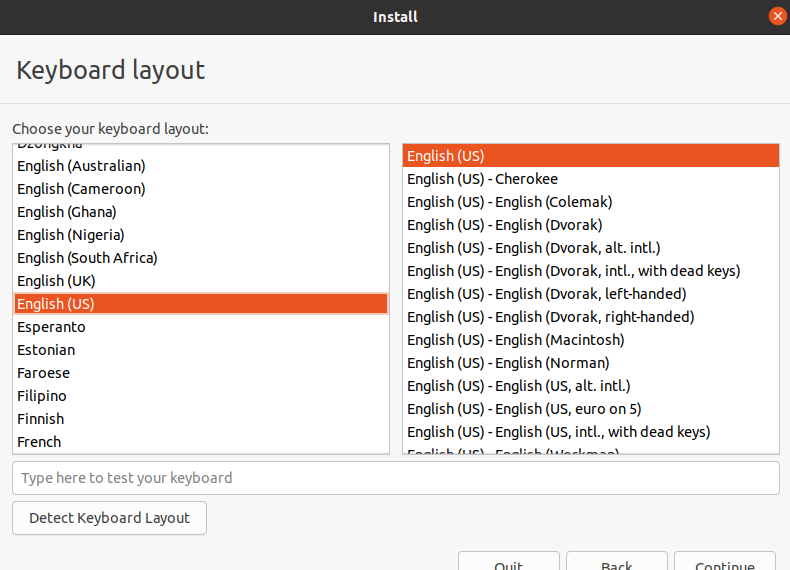
Click on “Continue”:
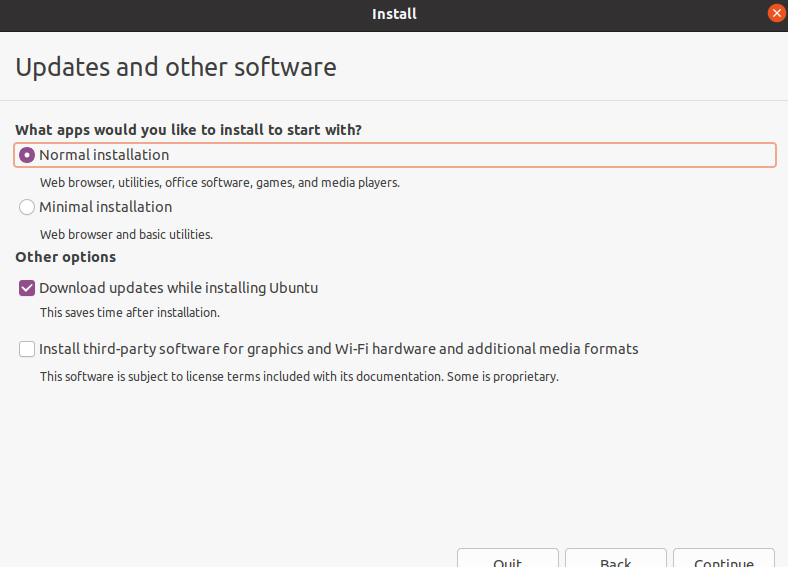
Click on “Continue”:
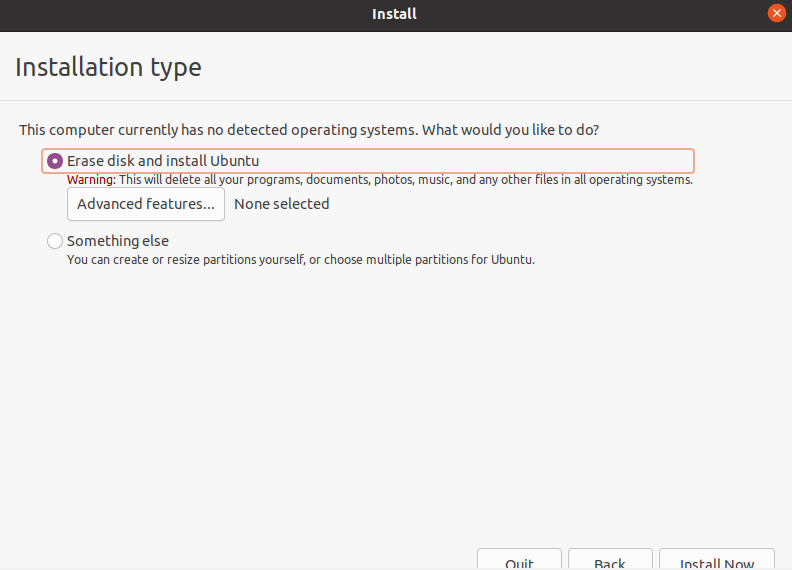
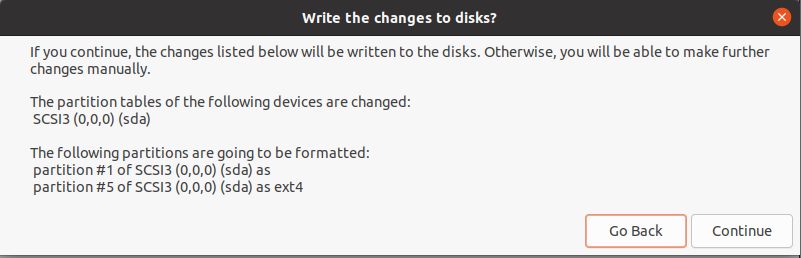
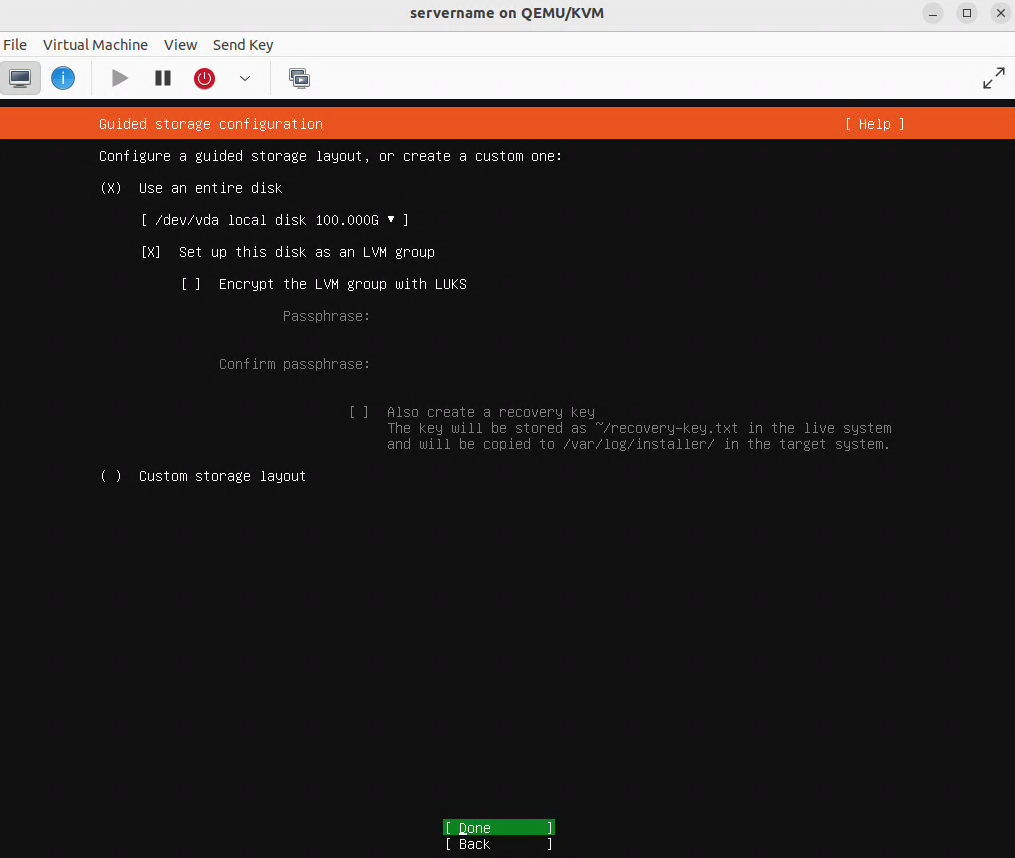
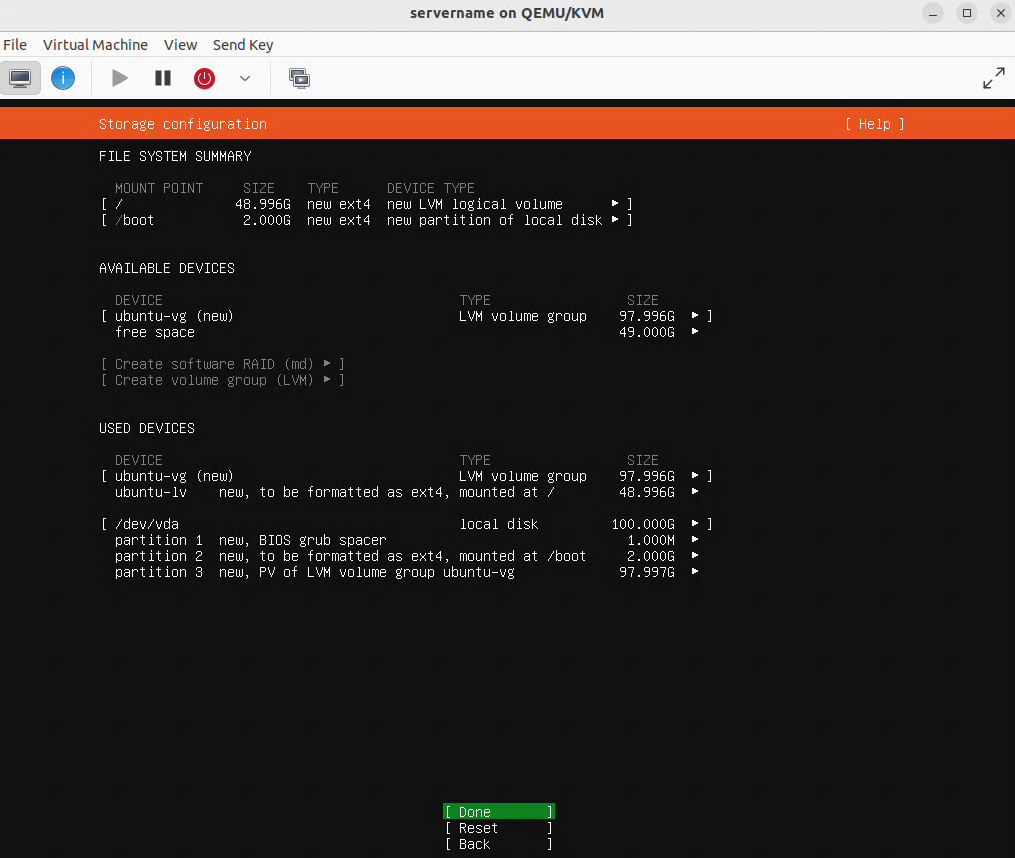
Click on “Install Now”:
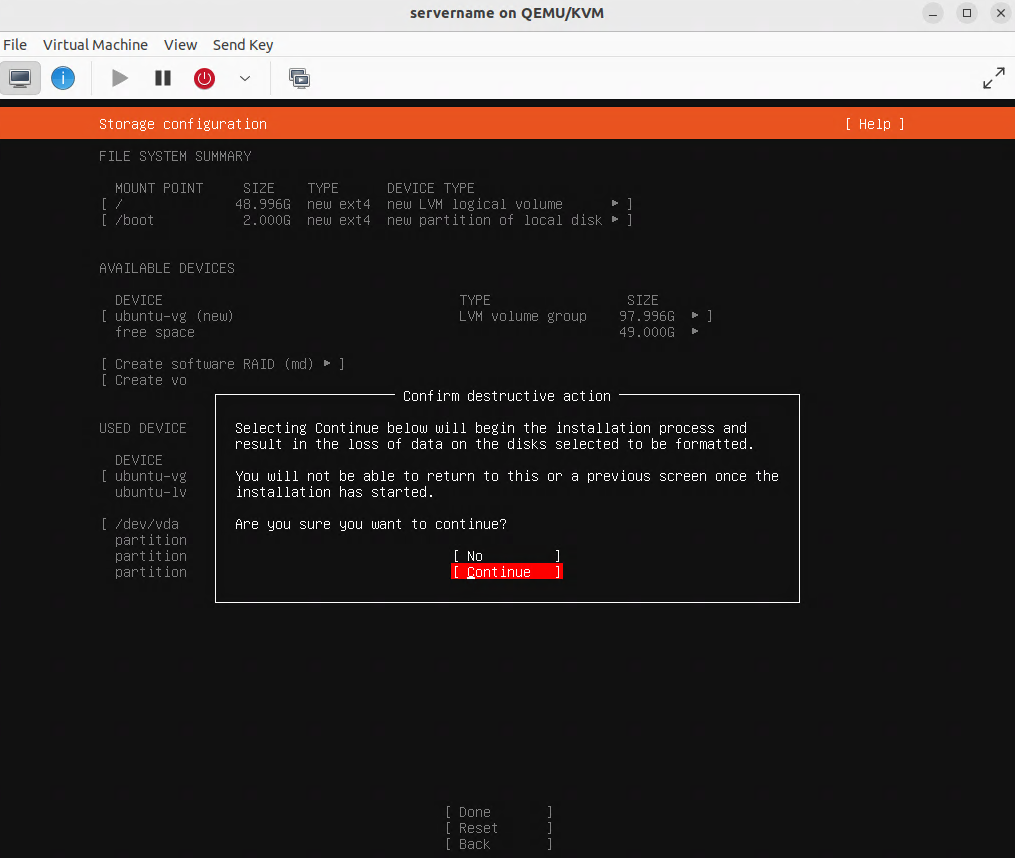
Click on “Continue”:
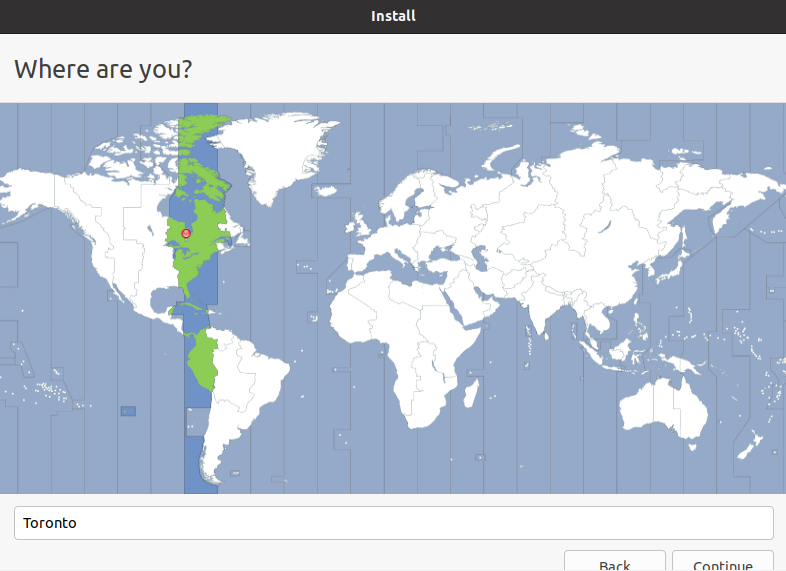
Select a time zone. Click “Continue”:
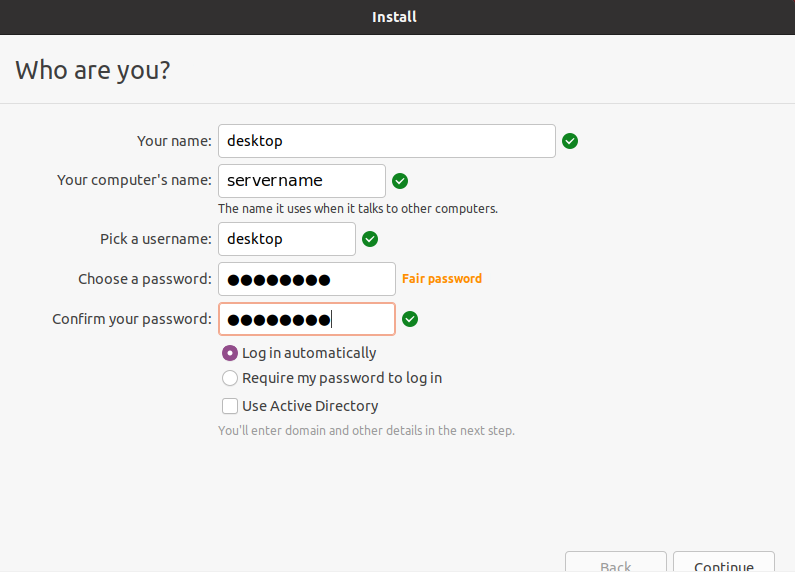
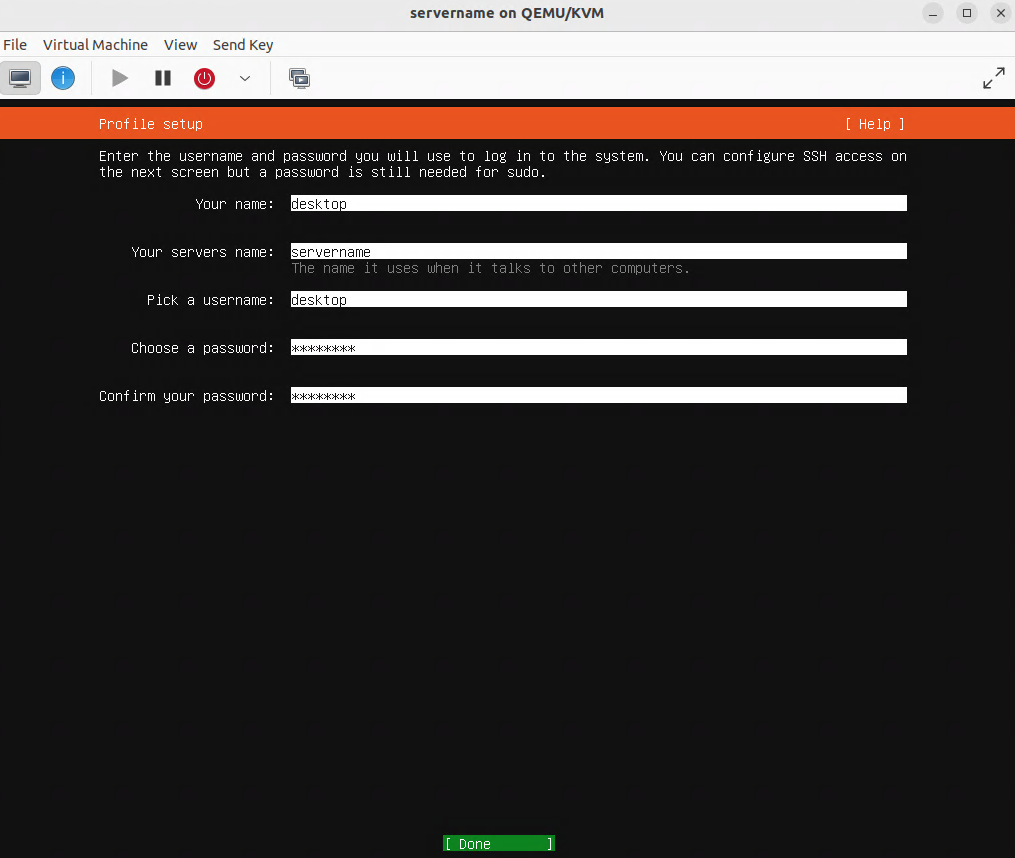
Complete the fields as needed, then click on “Continue”:
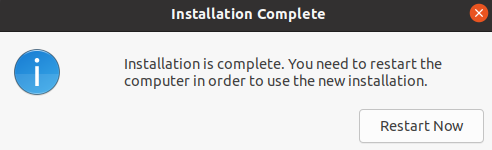
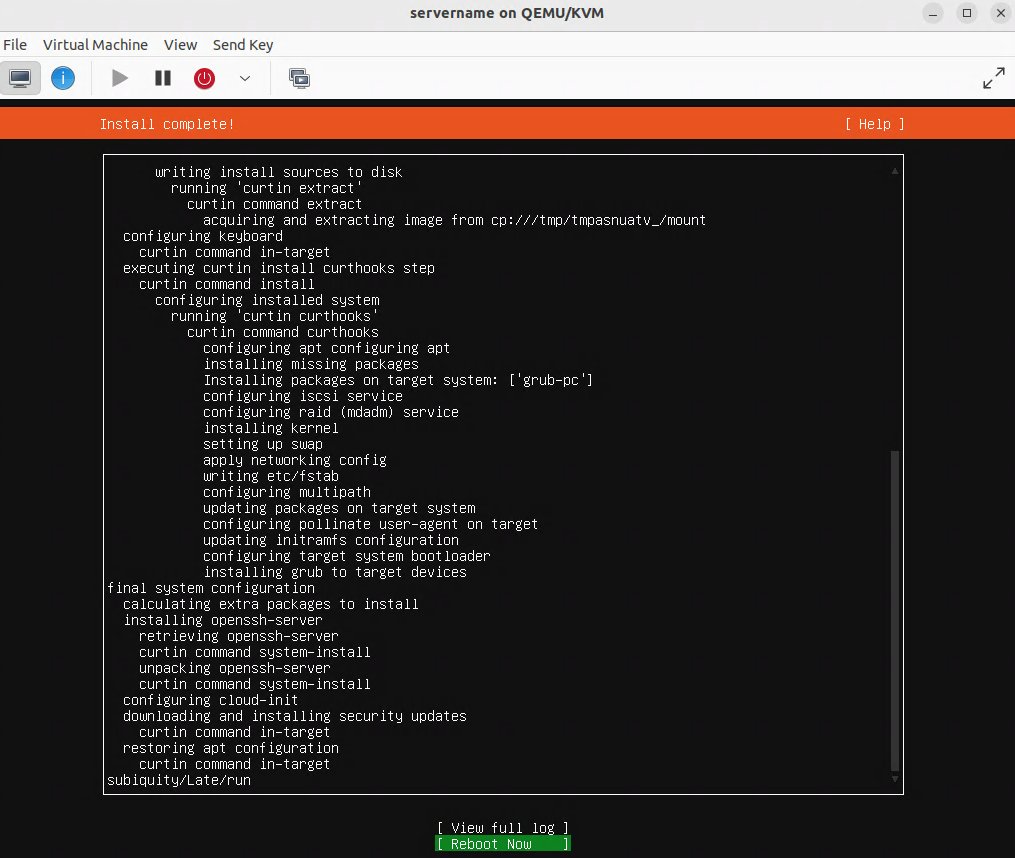
Click on “Restart Now”:
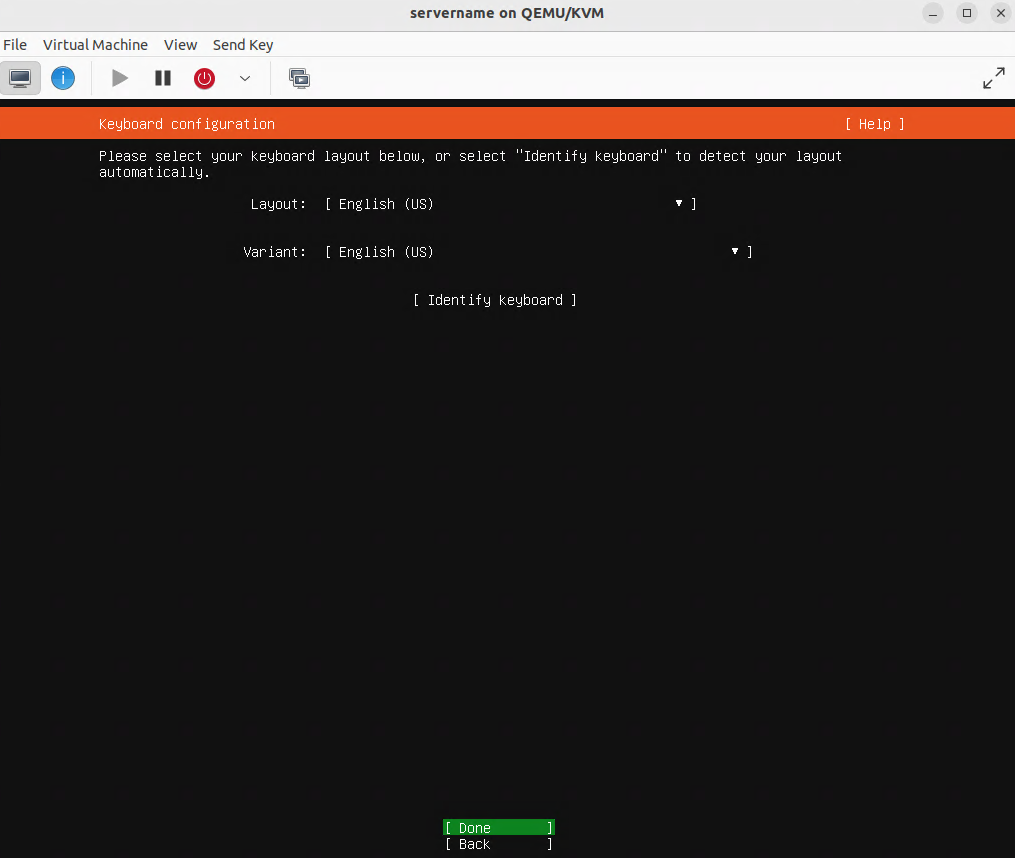
Press the ENTER key on your keyboard:

Using the nmcli command to create a bridge mode adapter (br0)
Because we are working on an Ubuntu desktop, we will use the nmcli command to create a bridge mode adapter (br0).
Open a terminal window. Enter the following commands:
sudo su
apt install net-tools bridge-utils
ifconfig
Look at the information displayed by the ifconfig command. Identify the name of the wired Ethernet connection. The name may be “eth0” or a string such as “enp0s31f6”
Use the value you identified above and use it in place of ethernet_name.
Enter the following commands:
nmcli con add ifname br0 type bridge con-name br0
nmcli con add type ethernet ifname ethernet_name master br0
nmcli con up br0
nmcli con show
brctl show
Using the nmcli command to set a static IP address on the bridge mode adapter (br0)
Although the br0 adapter appears in the Gnome Settings control panel, its IP address cannot be set using this graphical user interface (GUI). We can set the IP address and other IPV4 values of a br0 adapter using the nmcli command.
Enter the following commands:
nmcli con modify br0 ipv4.addresses 192.168.56.40/24 ipv4.gateway 192.168.56.1 ipv4.method manual
nmcli con modify br0 ipv4.dns "8.8.8.8 8.8.4.4"
nmcli con down br0 && sudo nmcli con up br0
con show br0
Understanding the bridge networking device (br0) and its relationship with the Ethernet adapter
The bridge networking device (br0) is a wrapper around the Ethernet adapter. The br0 adapter replaces the Ethernet adapter.
Configuring the desktop user to login automatically
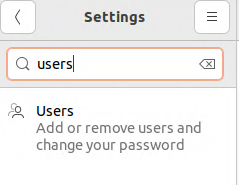
From the Ubuntu Desktop, Start the Settings application. Click on the search icon and search for “users”:
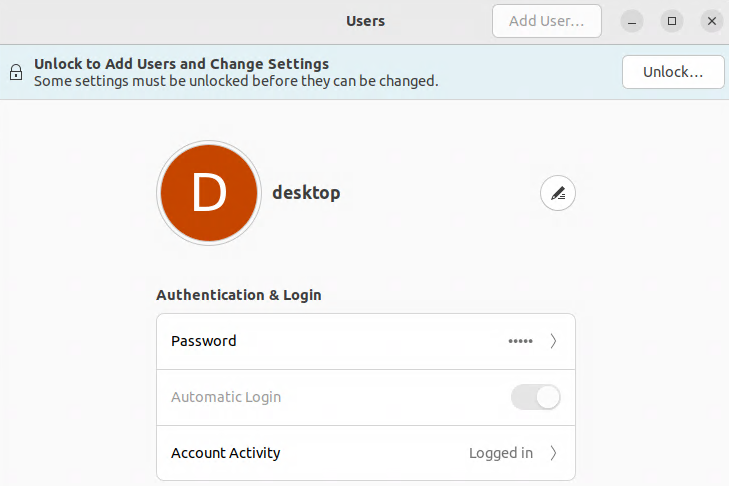
Click on “Unlock…”:
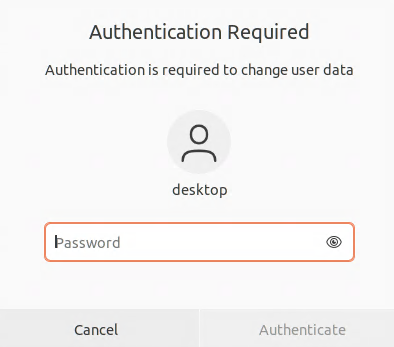
When prompted, enter the password for the user that owns the desktop session:
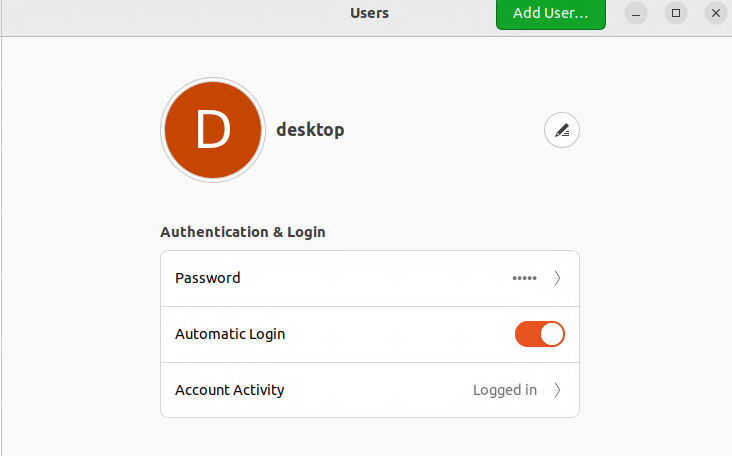
Enable “Automatic Login”:
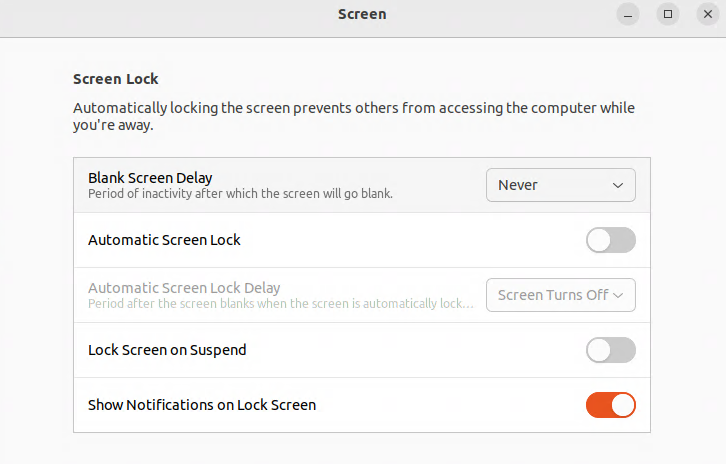
Setting Blank Screen Delay to Never and Disabling Automatic Screen Lock
In the Settings application, go to Privacy, then Screen. Change “Blank Screen Delay” to “Never”. Disable “Automatic Screen Lock”:
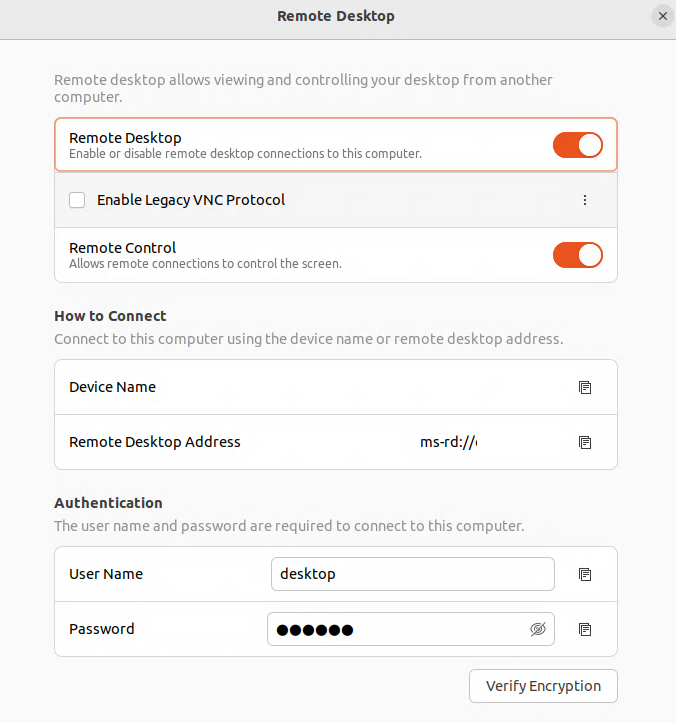
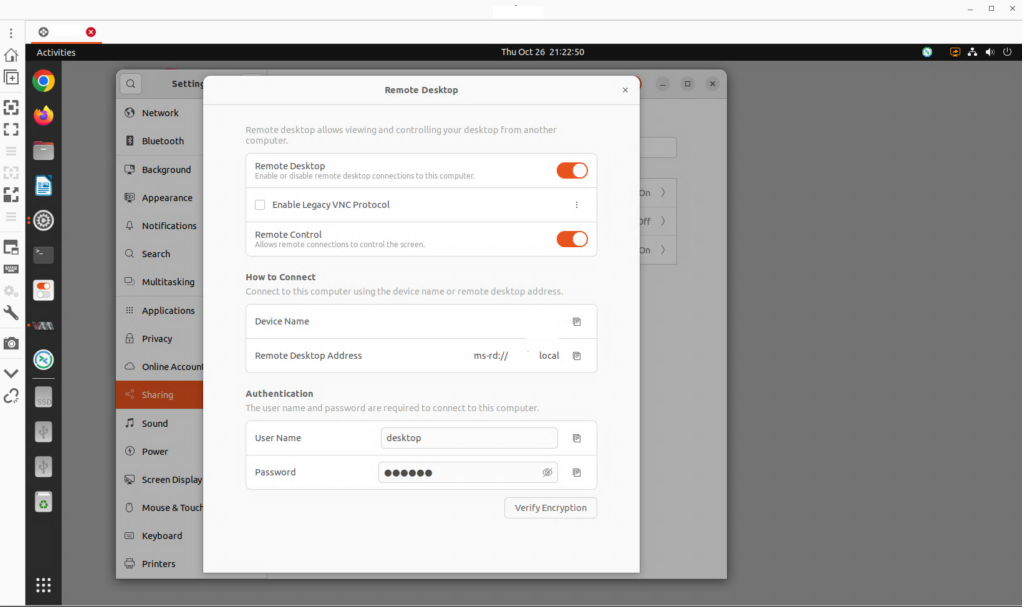
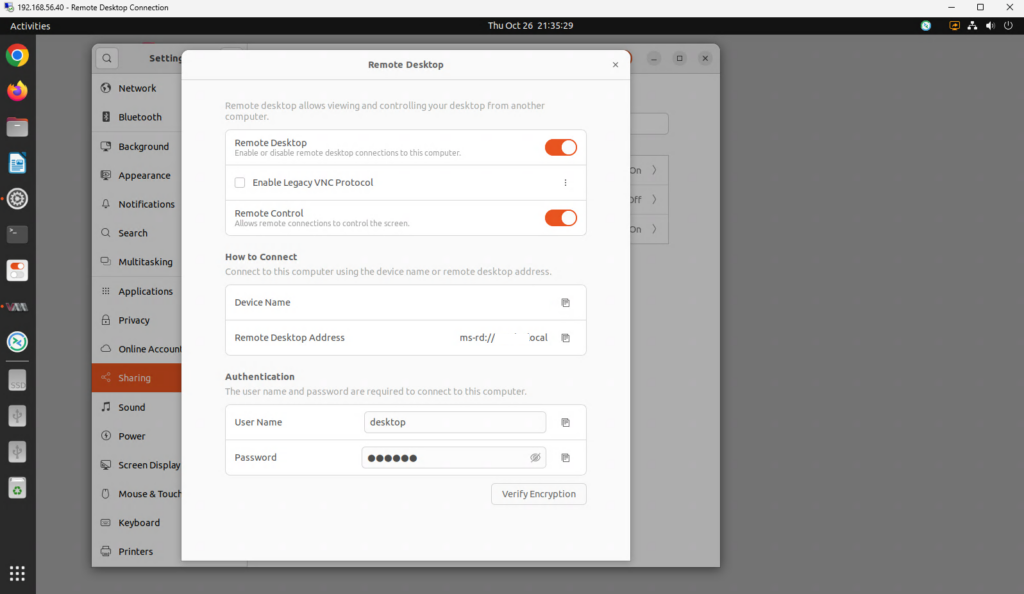
Enabling Remote Desktop Sharing
In the Settings application, go to Sharing, then go to “Remote Desktop”. Enable “Remote Desktop”. Enable “Remote Control”. Provide values for “User Name” and “Password”
Creating a firewall exception for the remote desktop port
Open a terminal window. Enter the following commands:
sudo su
ufw allow 3389/tcp
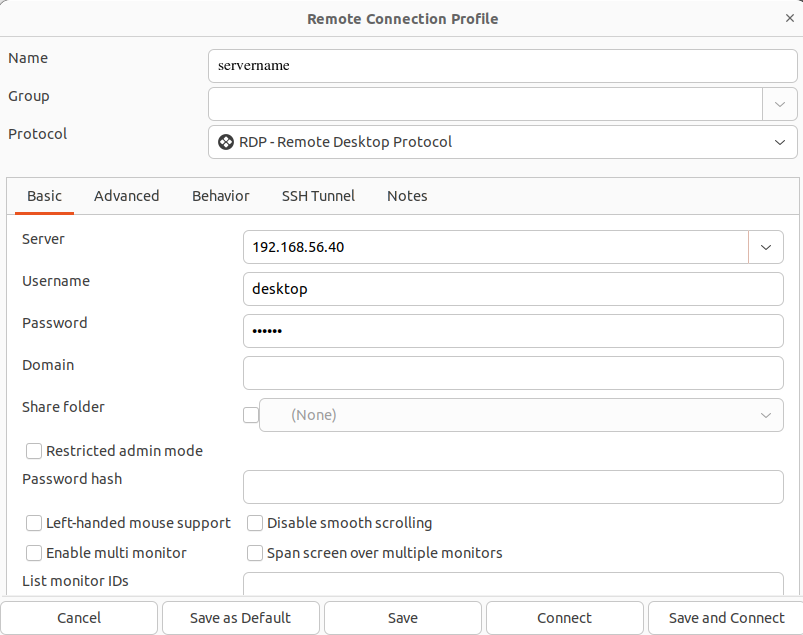
Testing Remote Desktop access to the home server from a Linux desktop
Use the Remmina program and select the RDP protocol. Complete the fields as necessary for your installation, then click on “Save and Connect”:
Testing Remote Desktop Sharing from a Windows 11 Pro desktop
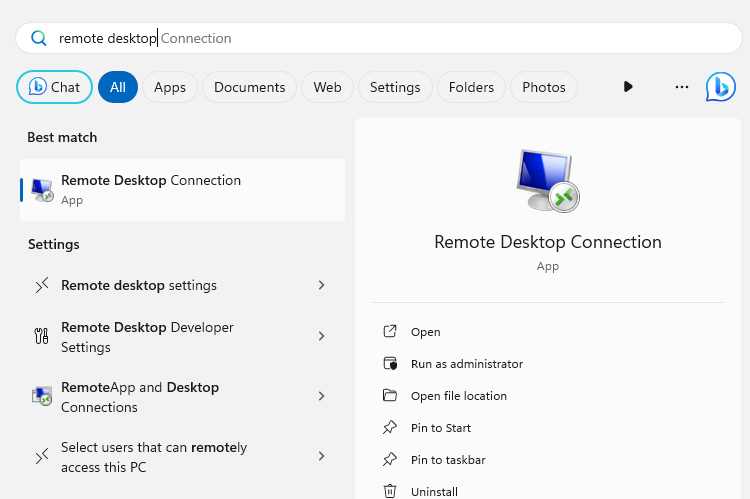
Click on the Start button. Enter the text “remote desktop”. Click on the icon for “Remote Desktop Connection”:
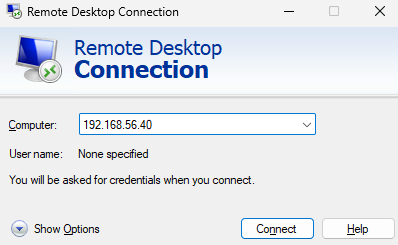
Enter the IP address of the home server. Click “Connect”:
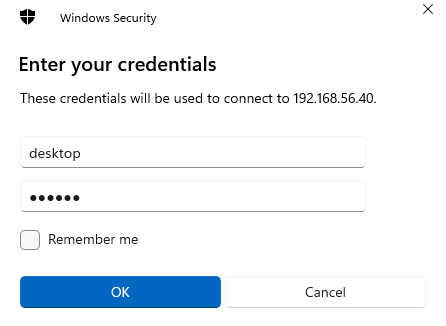
Enter the username and password you specified in the Settings application on the home server under Sharing | Remote Desktop:
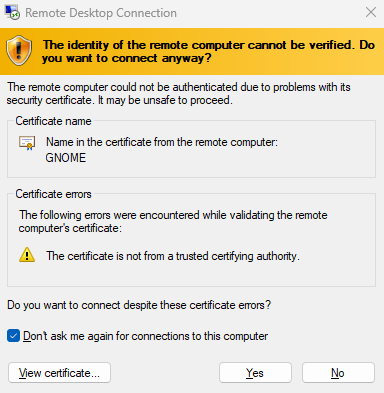
Check the box “Don’t ask me again for connection to this computer”. Click on “Yes”:
Considering VNC as an alternative to Remote Desktop (RDP)
If you have difficulty connecting to the home server using a Windows remote desktop client, consider using VNC:
Installing x11vnc to replace broken screen sharing on Ubuntu 21.04
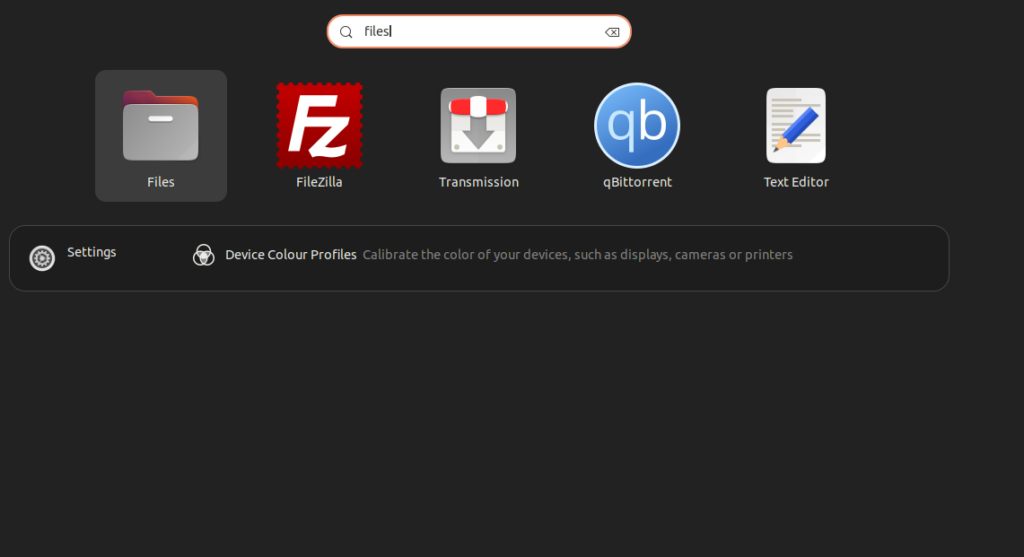
Creating a network file share using the Files (Nautilus) program
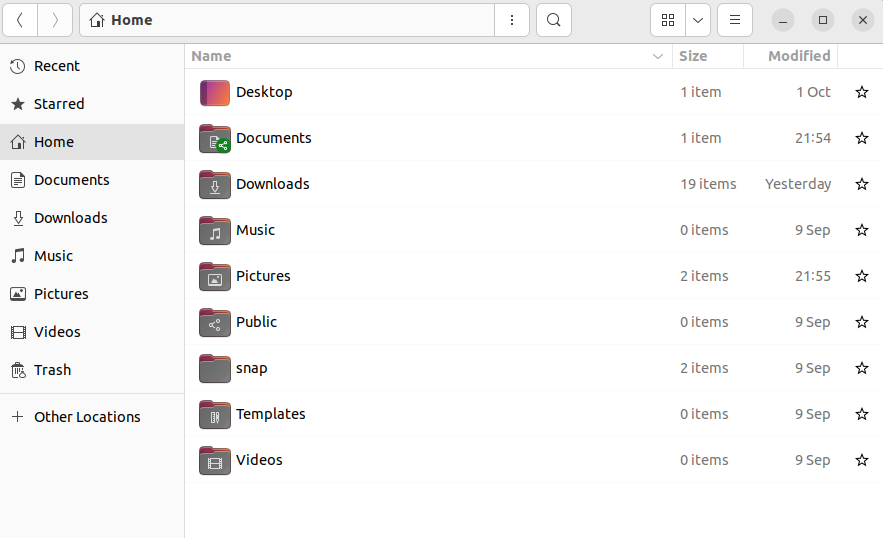
From the home server’s desktop, start the Files (Nautilus) program:

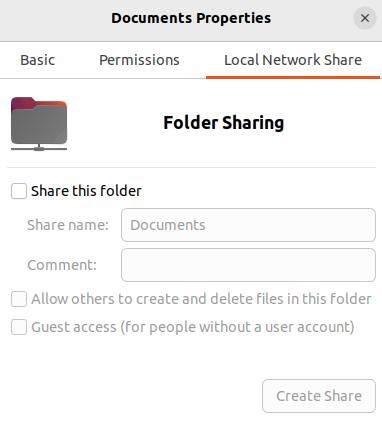
Right-click on “Documents”. Click on “Properties”:

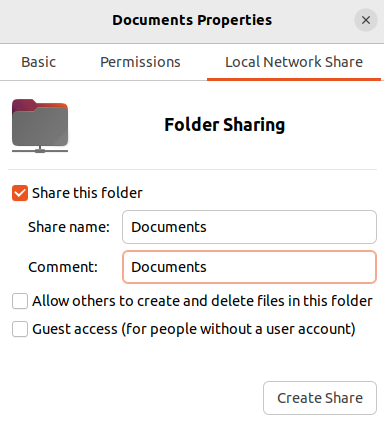
Click on “Local Network Share”. Check the box “Share this folder”:
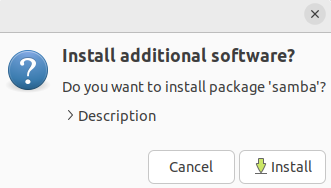
Click on “Install service”:
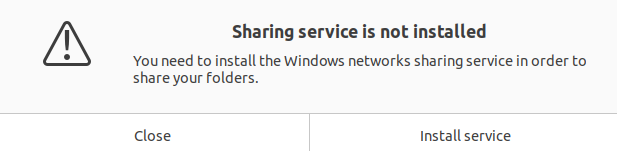
Click on “Install”:
Enter the password for the user that owns the desktop on the home server. Click Authenticate:

Check the box “Share this folder”. Enter a value for the “Comment” field. Click on “Create Share”:
Installing the Samba program on the home server
Open a terminal window. Enter the following command:
apt install samba
Creating a network file share using Samba
Open a terminal window. Enter the following commands:
sudo su
cd /etc/samba
nano smb.conf
Use the nano text editor to modify the Samba configuration file:
[global]
workgroup = WORKGROUP
security = user
passdb backend = tdbsam
map to guest = Bad User
log file = /var/log/samba/%m.log
max log size = 50
dns proxy = no
[share01]
path = /mount2/share01
create mask = 0644
directory mask = 0755
writable = yes
browseable = yes
valid users = @share01
force group = share01
[share02]
path = /mount2/share02
create mask = 0644
directory mask = 0755
writable = yes
browseable = yes
valid users = @share02
force group = share02
Save and exit the file.
Restarting Samba
Enter the following command:
systemctl restart samba
Adding users to the groups share01 and share02
groupadd share01
groupadd share02
usermod -aG share01 username
usermod -aG share02 username
Using the smbpasswd command to create a Samba username to match the desktop username
Open a terminal window. Enter the following commands. Replace username with the user that owns the desktop on the home server. When prompted, provide a value for the password:
sudo su
smbpasswd -a username
Creating a firewall exception for the network file sharing (CIFS) port
Enter the following command:
ufw allow 137,138,139,445/tcp
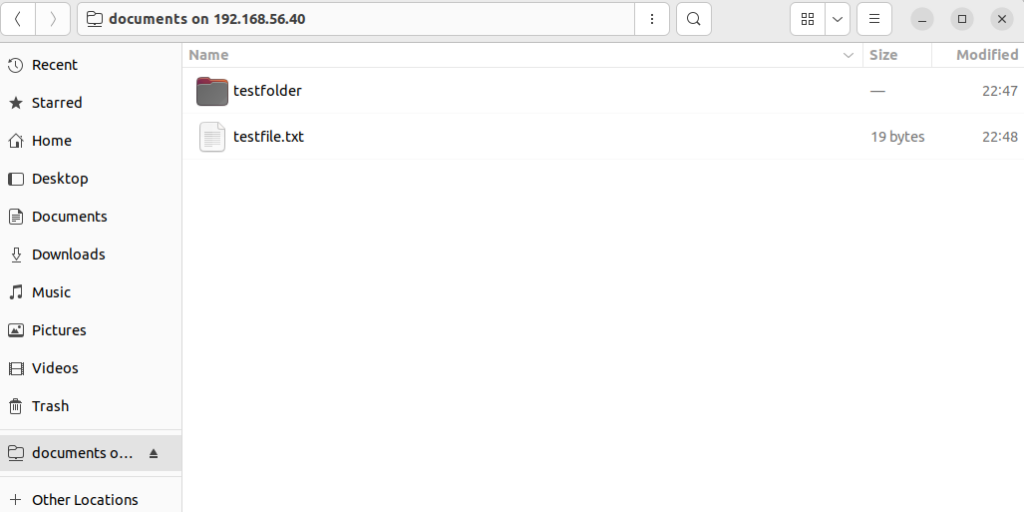
Testing the network file share using the Files (Nautilus) program
In the Files (Nautilus) application, click on “+ Other Locations”:
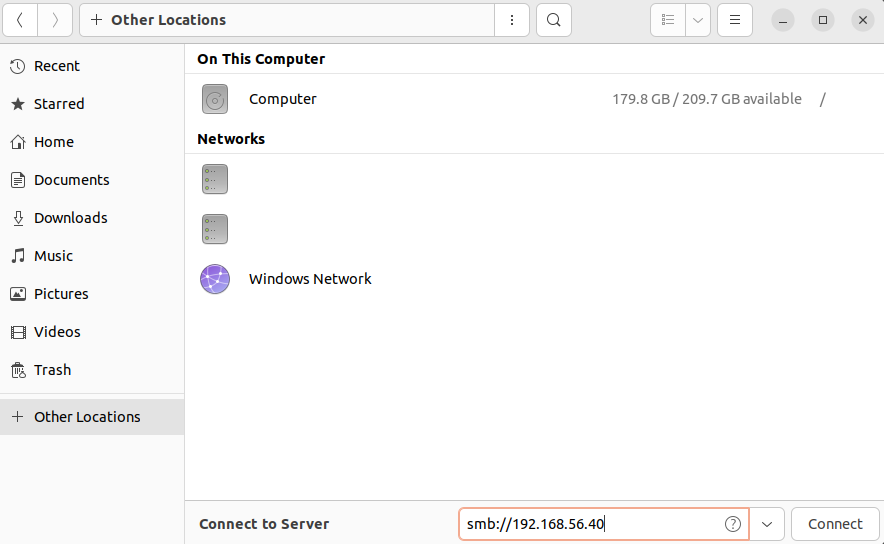

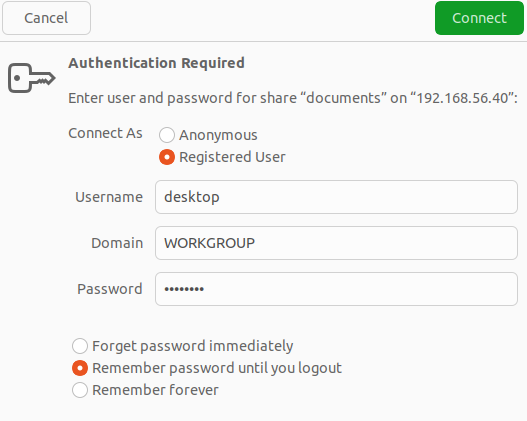
Select “Registered User”. Provide a value for “Username”. For Domain, put “WORKGROUP”. Provide a value for “Password”. Click on “Connect”:
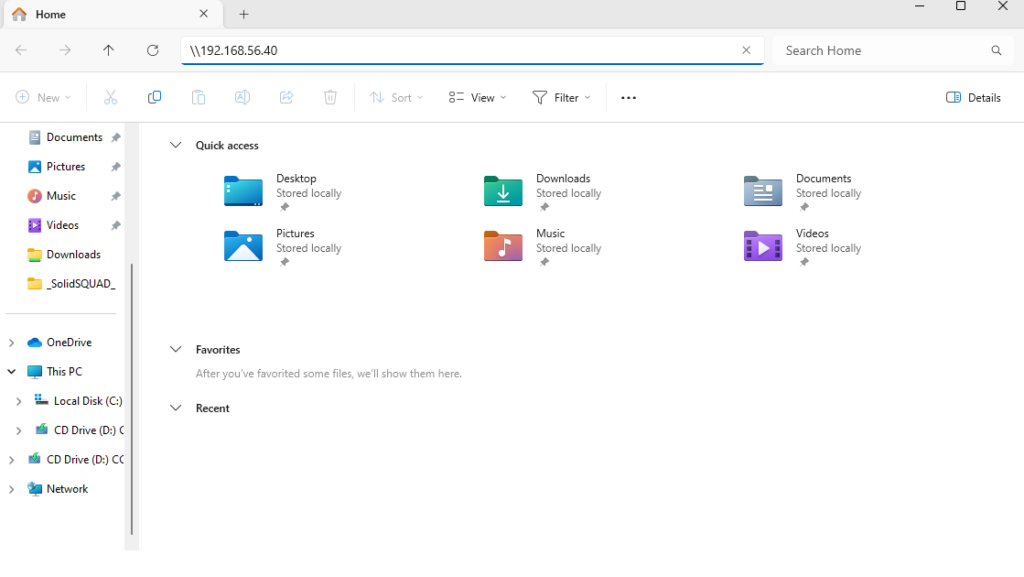
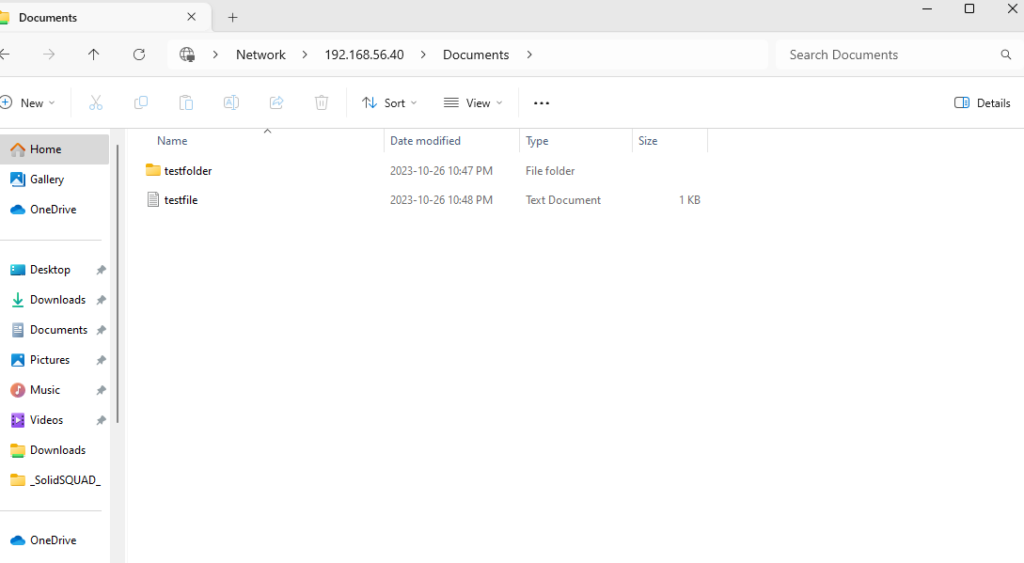
Testing the network file share using File Explorer in Windows 11 Pro
From the File Explorer application in Windows 11 Pro, enter the address of the server in the address bar. Prefix the address with “\\” as in “\\192.168.56.40” for the following example. Enter the IP address of your home server:
Advanced applications of Samba including Active Directory authentication
For a detailed discussion about Samba and advanced topics including Active Directory authentication, refer to Integrating open source software in the enterprise Chapter 1: Creating a network file share with Linux and Samba authenticating against Active Directory
Installing a few utilities on the home server
Open a terminal window. Enter the following commands:
sudo su
apt install iptraf-ng finger wireguard virt-manager build-essential
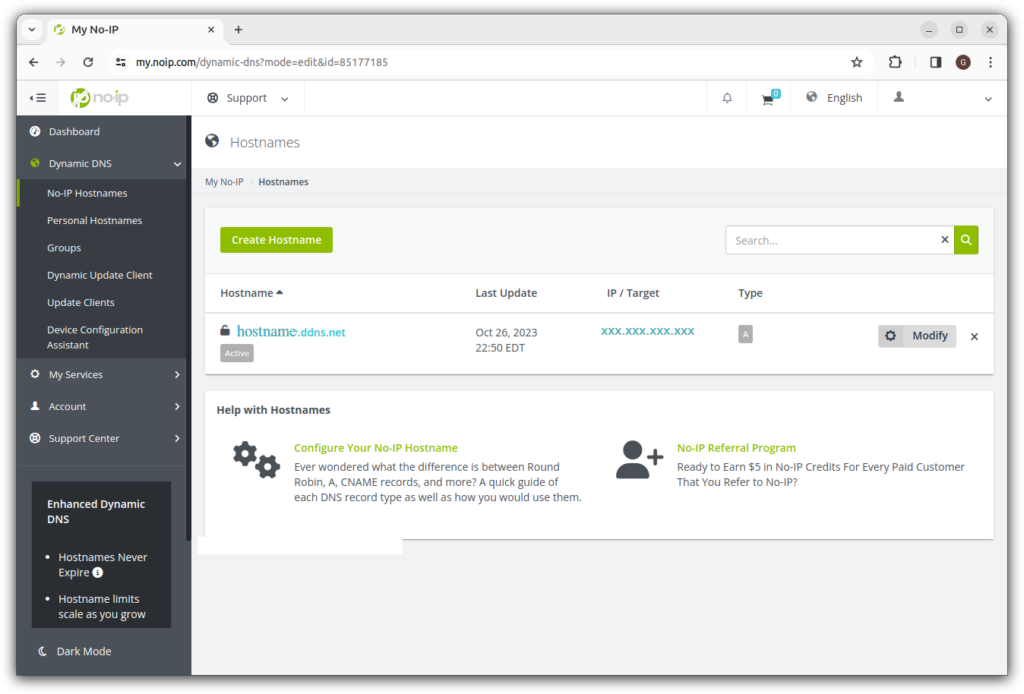
Registering a persistent host name with noip.com
Visit the website noip.com
Create a free account. Create a hostname. Click on “Dynamic Update Client”:
Installing the noip dynamic update client (DUC)
Follow the instructions provided by noip.com to install the noip dynamic update client (DUC):
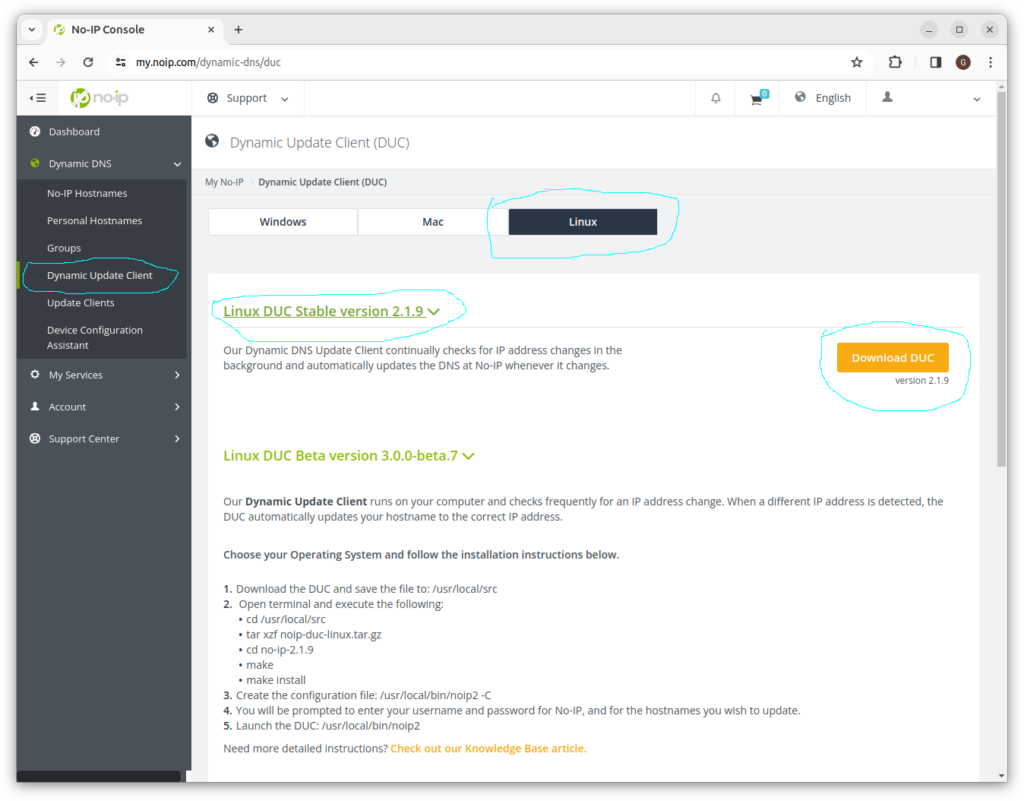
Enter the following commands in the terminal window. Use the version number in place of x.xx:
cd /usr/local/src
tar xzf noip-duc-linux.tar.gz
cd no-ip-x.xx
make
make install
Creating the /etc/rc.local startup script and adding the noip DUC command to the /etc/rc.local startup script
Open a terminal window. Enter the following commands:
sudo su
cd /etc
nano rc.local
Use the nano text editor to add the following text:
#!/usr/bin/bash
# persistent host name
/usr/local/bin/noip2
exit 0
Save and exit the file.
Enter the following commands:
chmod 755 rc.local
systemctl start rc-local
systemctl enable rc-local
Declaring a CNAME record in DNS to map a subdomain to the IP address of the persistent host name
If you have a registered domain name, and you have access to the DNS control panel for that domain, you can declare a CNAME record in DNS to map a subdomain to the ip address of the persistent hostname. For example, the GoDaddy DNS control panel allows the following kind of CNAME declaration:

This creates the subdomain servername.example.com, which will ping to the same IP address as persistenthostname.ddns.net
In this case we have set the time-to-live (TTL) value to 1 hour, so the IP address of the CNAME host would be updated once per hour. Many DNS providers block the option of declaring a CNAME to the apex (@) host of a domain. You can still host a subdomain, for example:
https://servername.example.com
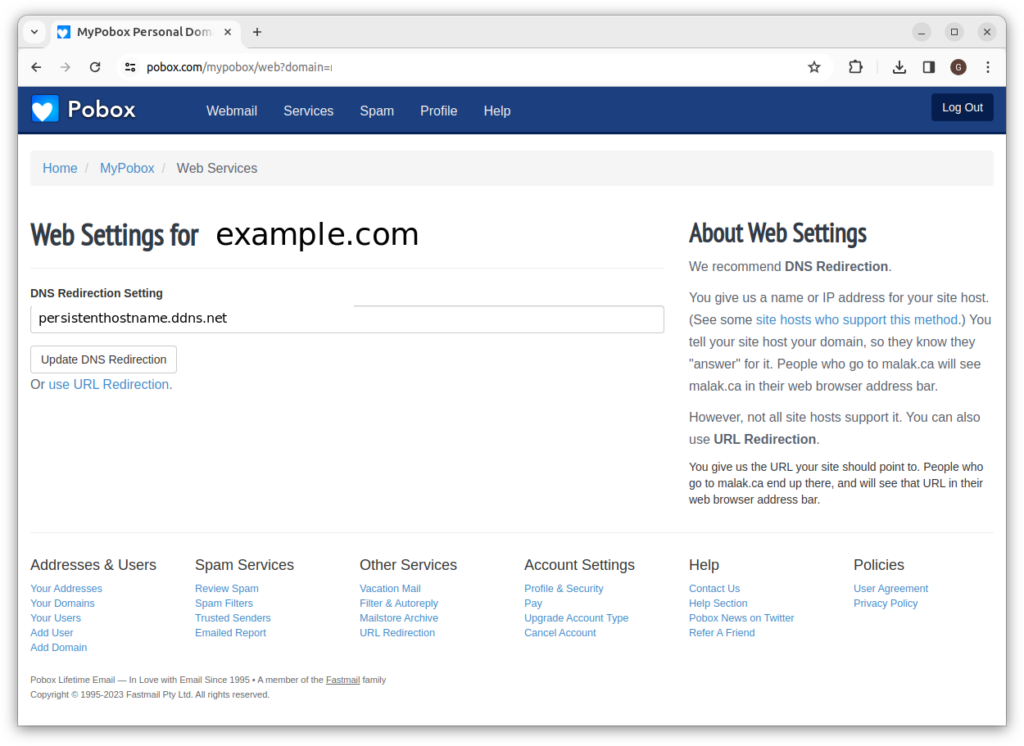
If you need to declare the @ host as a CNAME consider pobox.com
If you need to declare the @ host of a domain as a CNAME associated with a persistent host name, consider using pobox.com as your DNS provider.
Using a script to automate the installation of OpenVPN
The openvpn-install.sh from Nyr automates the installation of the OpenVPN server application:
https://github.com/Nyr/openvpn-install
Downloading the OpenVPN installation script
To download the openvpn-install.sh script, enter the following commands:
sudo su
cd /root
mkdir openvpn
cd openvpn
wget https://git.io/vpn -O openvpn-install.sh
chmod +x openvpn-install.sh
Modifying the OpenVPN installation script to use a non-default subnet
Enter the following command:
nano openvpn-install.sh
Use the nano text editor to modify the file openvpn-install.sh by using nano’s search-and-replace function:
Press Control-| for search-and-replace
search for: “10.8.”
replace with: “10.4”
(replace all occurrences)
Running the OpenVPN installation script
cd /root/openvpn
./openvpn-install.sh
When prompted, choose the following options:
protocol: TCP
port: 10443
Modifying the OpenVPN server installation script file
From a root shell, enter the following commands:
cd /etc/openvpn/server
nano server.conf
Locate the following line:
push "redirect-gateway def1 bypass-dhcp"
Change the line to:
push "redirect-gateway def bypass-dhcp"
Press Ctrl-X to save and exit the file.
Modifying the OpenVPN client profile
Use a text editor to load the OpenVPN client profile. Add the following text to the bottom of the file:
Modifying the /etc/openvpn/server/client-common.txt file
Enter the following commands
cd /etc/openvpn/server
nano client-common.txt
Use the nano text editor to modify the file.
Replace the line:
remote xxx.xxx.xxx.xxx 10443
with the line:
remote persistenthostname.ddns.net 10443
Save and exit the file.
Restarting the OpenVPN server
From a root shell, enter the following command:
systemctl start openvpn-server@server
systemctl enable openvpn-server@server
Creating a firewall exception for the OpenVPN server port
Enter the following commands:
sudo su
ufw allow 10443/tcp
Modifying the /etc/sysctl.conf file to enable network forwarding
From a root shell, enter the following commands:
cd /etc
nano sysctl.conf
Add the following text to the bottom of the file:
net.ipv4.ip_forward=1
Press Ctrl-X to save and exit the file.
Enter the following command to reload the sysctl settings:
sysctl -a
Creating the /etc/rc.local file
Enter the following commands:
cd /etc
nano rc.local
Add the following text. Provide a value for adaptername that matches your installation:
!/usr/bin/bash
iptables -t nat -A POSTROUTING -s 10.4.0.0/24 -o adaptername -j MASQUERADE
If you are using the no-ip.com dynamic update client (DUC), add the following text:
/usr/local/bin/noip2
Add the following text:
exit 0
Press Ctrl-X to save and exit the file.
Enter the following command
chmod 755 rc.local
Starting the rc-local service
Enter the following command:
systemctl restart rc-local
systemctl enable rc-local
Forwarding ports from the public-facing IP address to the internal IP address of the VPN host
Use the control panel of your router to forward a port from the public-facing IP address to the internal IP address of the VPN host.
As an example, for the server described in this procedure, we are using the TCP port 10443 to host the connection:

Creating an OpenVPN client adapter profile
Enter the following command and follow the instructions:
./openvpn.sh
Select an IP address from the list:
Which IPv4 address should be used?
1) xxx.xxx.xxx.xxx

IPv4 address [1]: 1
Enter “2” for “2) TCP”:
Which protocol should OpenVPN use?

1) UDP (recommended)
2) TCP
Protocol [1]: 2
Enter “10443”:
What port should OpenVPN listen to?
Port [1194]: 10443
Downloading the OpenVPN client profile
Use the FileZilla file transfer client to download the OpenVPN client profile:
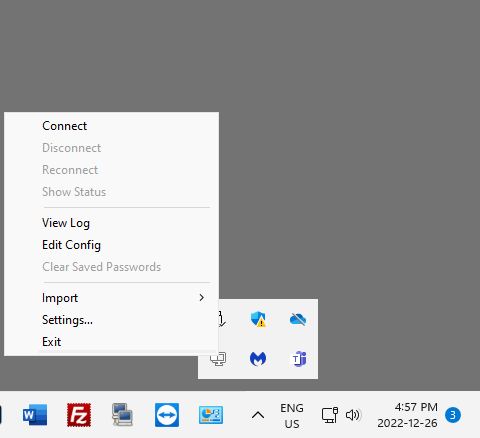
Importing an OpenVPN client profile
Import the OpenVPN client profile into the OpenVPN client application.
Connecting to the OpenVPN server
Tip: connect a computer to your phone’s hotspot, so that you are testing a connection from outside the network.
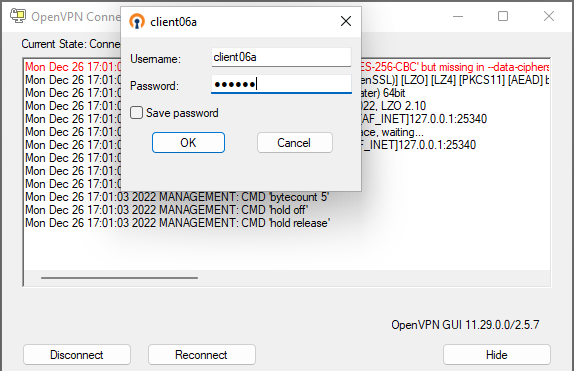
An example of a Windows client connecting to the OpenVPN server:
For “Username” enter the username of the VPN connection. For “Password” enter the one-time password (OTP) displayed by the Google Authenticator app:
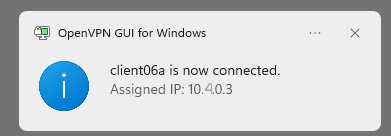
A successful connection:
Advanced applications of OpenVPN including two-factor authentication
For a detailed discussion about OpenVPN and advanced topics including two-factor authentication, refer to Integrating open source software in the enterprise Chapter 2: Using Linux and OpenVPN to create a virtual private network (VPN) server with two-factor authentication (2FA) enabled using Google Authenticator
Installing and configuring virt-manager and KVM virtual machine (VM) hypervisor
We will install some programs, then run virt-manager.
Installing programs to support KVM and virt-manager
Open a terminal window. Enter the following commands:
sudo su
apt install qemu-system qemu-utils python3 python3-pip git
Modifying the KVM hypervisor to use a non-default subnet
Enter the following commands:
cd /etc/libvirt/qemu/networks/
nano default.xml
Use the nano text editor to modify the default.xml file. Change the value “122” to “162”:
<ip address='192.168.162.1' netmask='255.255.255.0'>
    <dhcp>
      <range start='192.168.162.2' end='192.168.162.254'/>
    </dhcp>
  </ip>
Save and exit the file. Enter the following command:
systemctl restart libvirtd
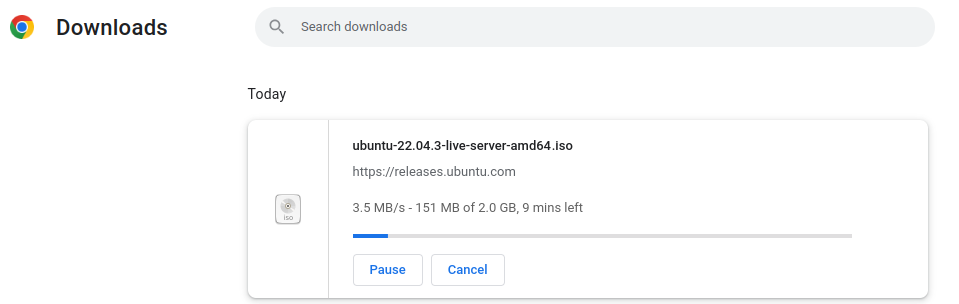
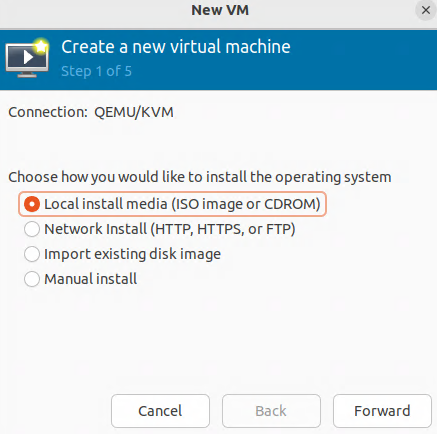
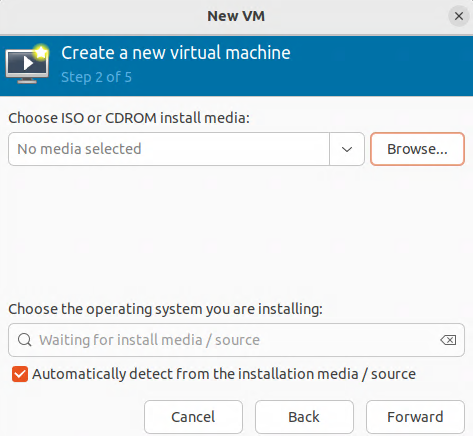
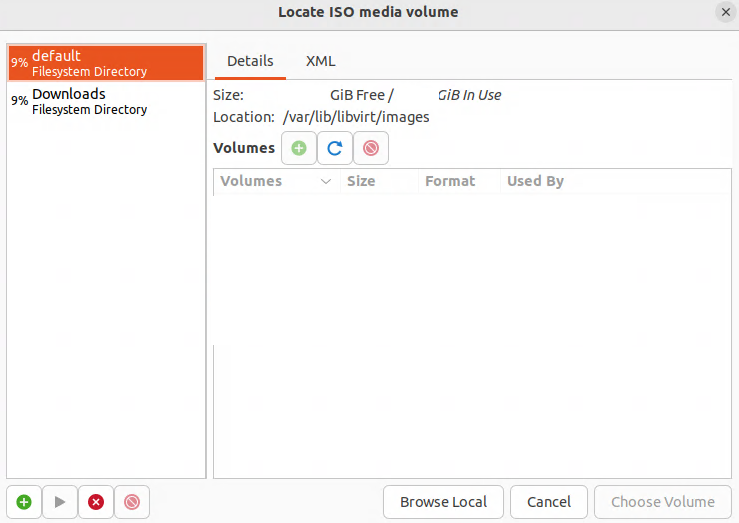
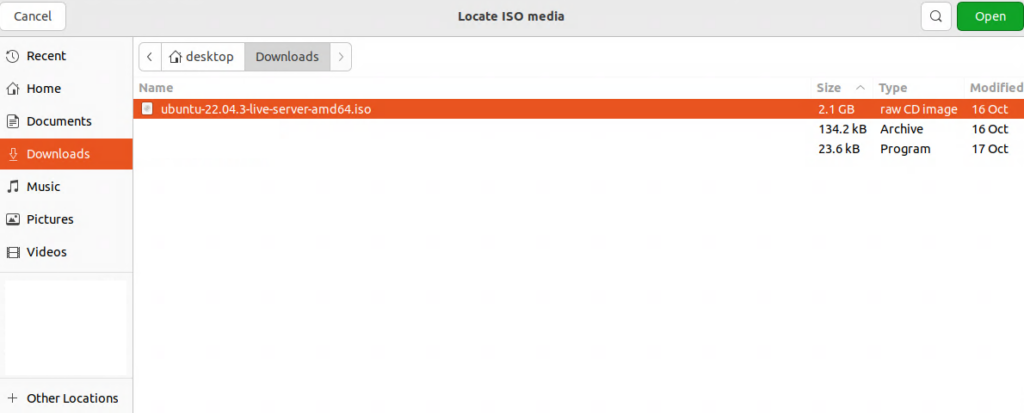
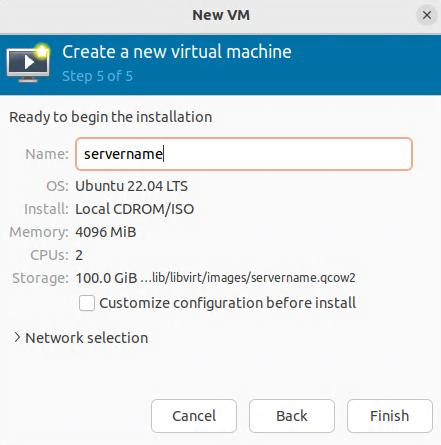
Downloading an ISO file of Ubuntu Server
Visit the following website:
https://ubuntu.com/download/server
Click on “Download Ubuntu Server xx.xx.x LTS”:

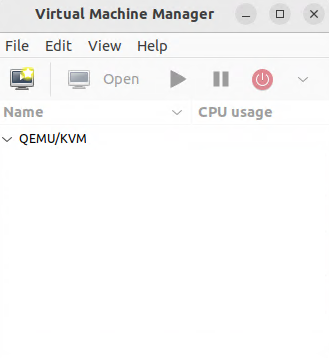
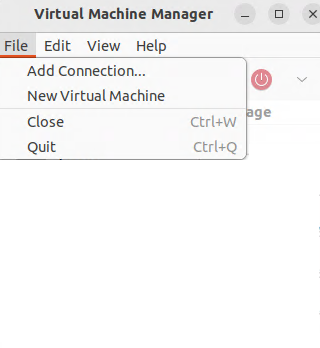
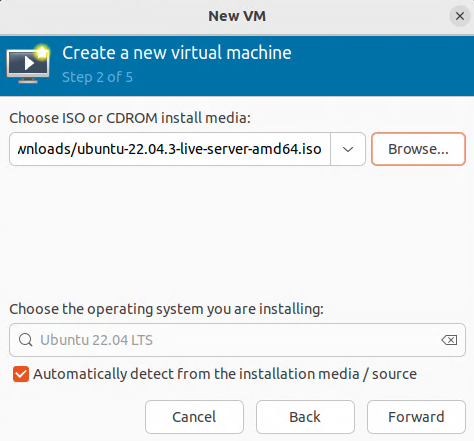
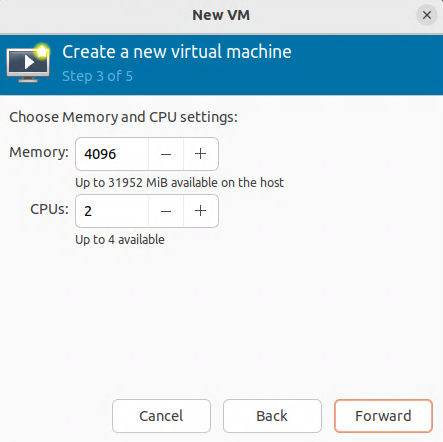
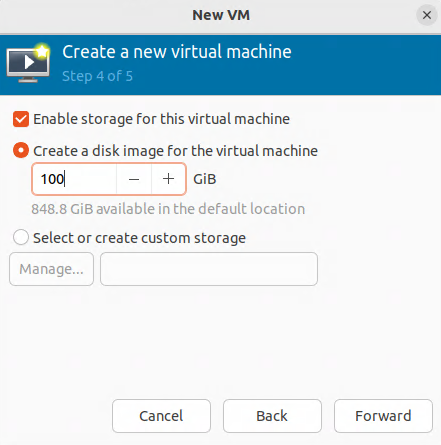
Starting the virt-manager program
From the desktop of the home server, open a terminal window. Enter the following commands:
virt-manager


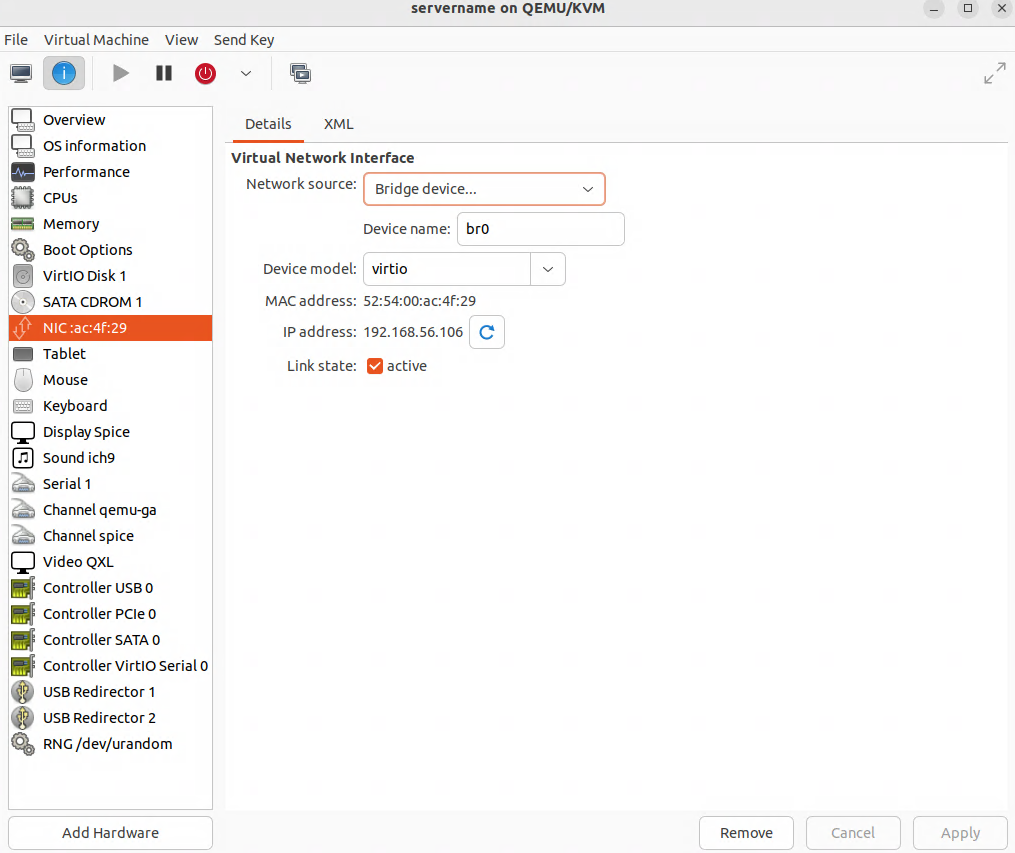
Verifying that the virtual machine (VM) is set for bridge mode with the br0 device
Click on the “i” icon on the VM. Select “NIC”:
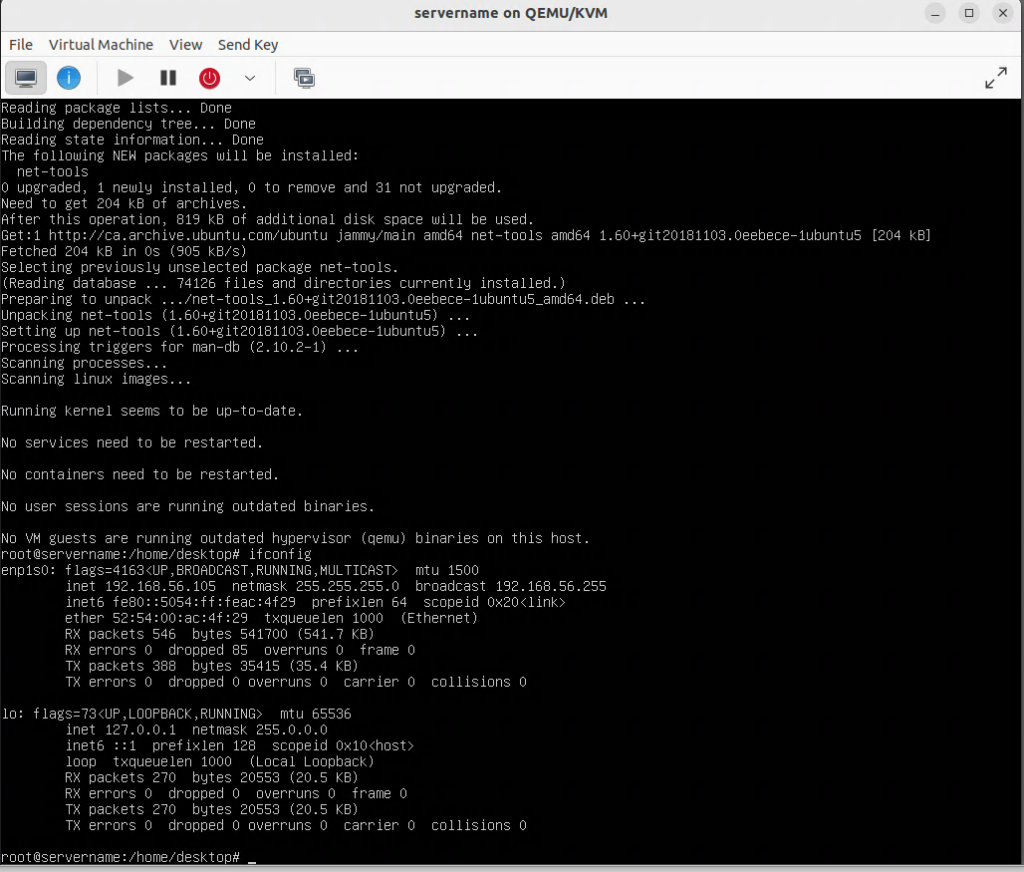
Determining the current IP address of the VM
Enter the following commands:
sudo su
apt install net-tools
ifconfig
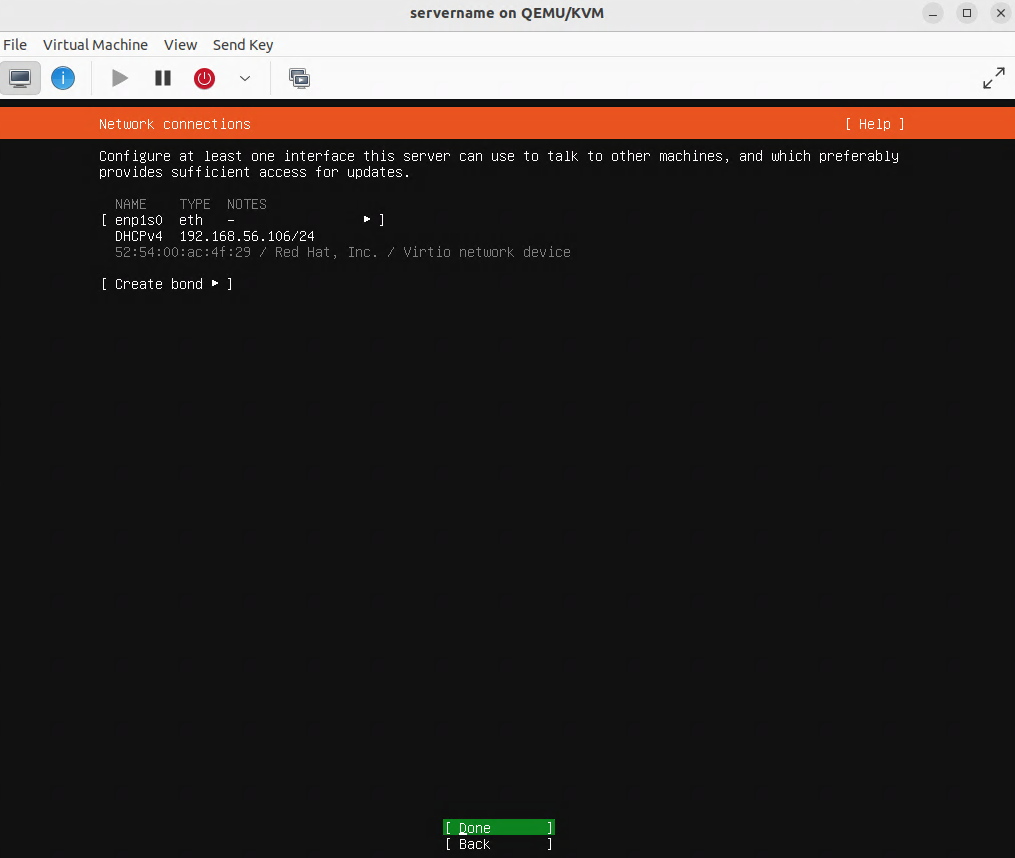
Note the name (ie enp1so) and IP address of the first adapter:
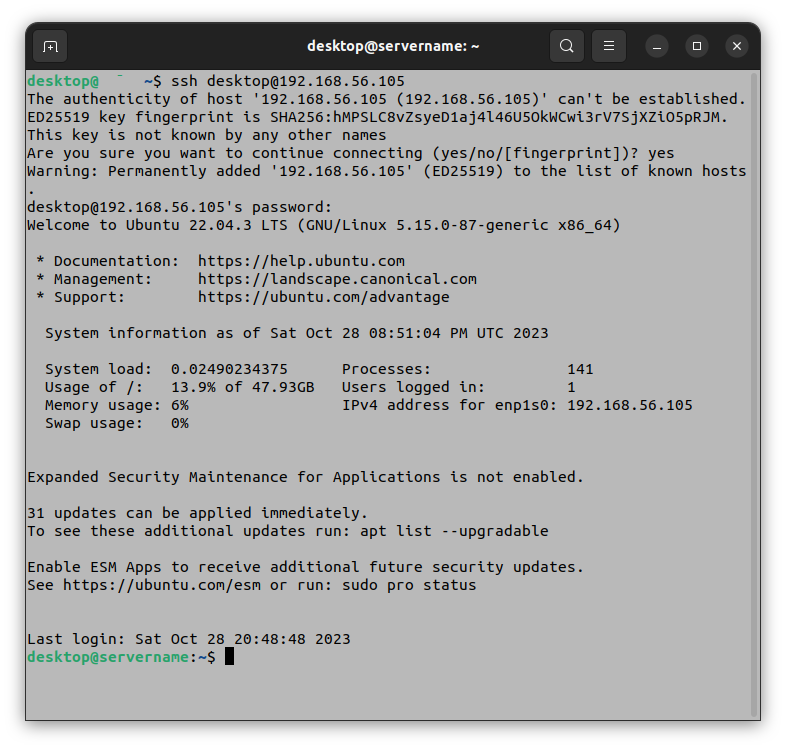
Connecting to the server with SSH
Open a terminal window on the desktop of the home server. Enter the following command, substituting values for username and ipaddress to match your installation:
ssh username@ipaddress
Creating a netplan for a static IP address for the VM
As the VM is running Ubuntu Server, we will use netplan to create a static IP address.
From the SSH terminal window, enter the following commands:
sudo su
cd /etc/netplan
cp 00-installer-config.yaml 00-installer-config.yaml.b4
nano 00-installer-config.yaml
Use the nano text editor to modify the 00-installer-config.yaml file. Change the value of adaptername as needed ie “enp1s0”:
network:
  version: 2
  renderer: networkd
  ethernets:
    adaptername:
      dhcp4: no
      addresses:
        - 192.168.56.23/24
      gateway4: 192.168.56.1
      nameservers:
        addresses: [8.8.8.8, 8.8.4.4]
From the VM console on the desktop of the home server, enter the following commands:
sudo su
ifconfig
cd /etc/netplan
netplan try
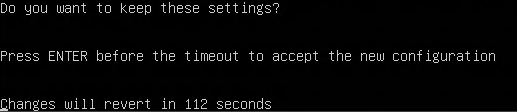
Verify that the new IP address has taken effect:
From the VM console on the desktop of the home server, enter the following command:
ifconfig
Updating the Ubuntu Server software
Enter the following commands:
apt clean
apt update
apt upgrade
ufw allow 80/tcp
ufw allow 443/tcp
ufw allow 22/tcp
apt install net-tools iptraf-ng
reboot
Creating a LAMP web server in a virtual machine (VM) guest
Open an SSH terminal window to the home server. Substitute values for username and ipaddress to match your installation:
ssh username@ipaddress
Enter the following commands:
sudo su
apt install lamp-server^
cd /etc/apache2/mods-enabled
nano dir.conf
Use the nano text editor to modify the dir.conf file. Modify the line so that index.php is the first entry in the DirectoryIndex line:
DirectoryIndex index.php index.html index.cgi index.pl index.xhtml index.htm
Save and exit the file.
Enter the following commands:
nano apache2.conf
Use the nano text editor to modify the apache2.conf file. Find the “<Directory /var/www/>” section. Change “AlllowOverride None” to “AllowOverride All”:
<Directory /var/www/html>
    Options Indexes FollowSymLinks
    AllowOverride All
    Require all granted
</Directory>
Enter the following commands:
a2enmod rewrite
systemctl restart apache2
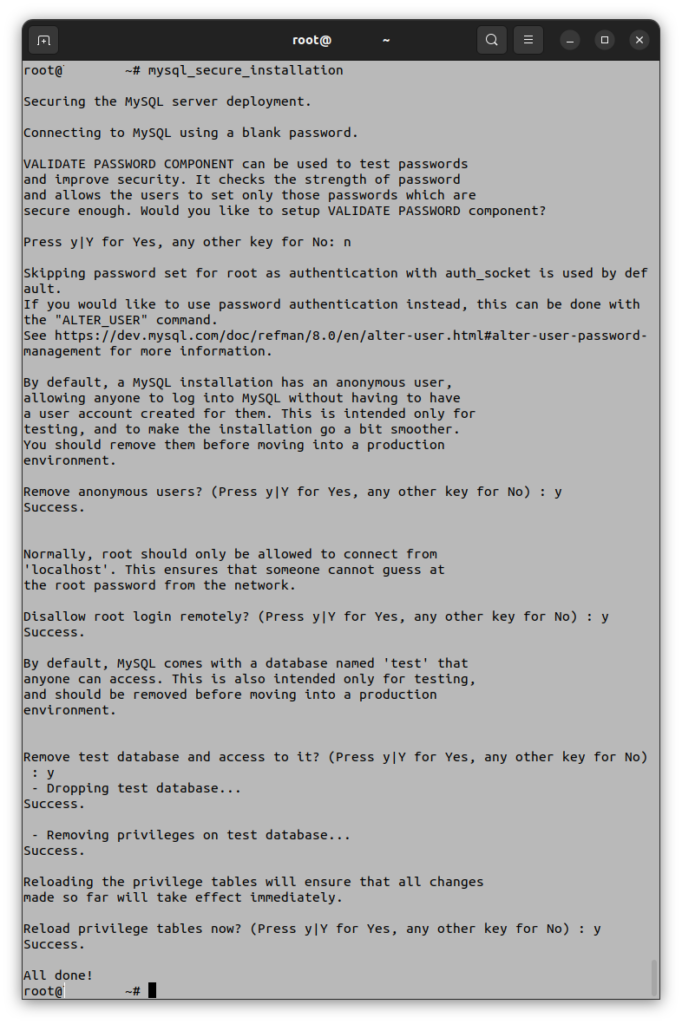
Running the mysql_secure_installation command
Enter the following command.
mysql_secure_installation
Answer the prompts as follows:
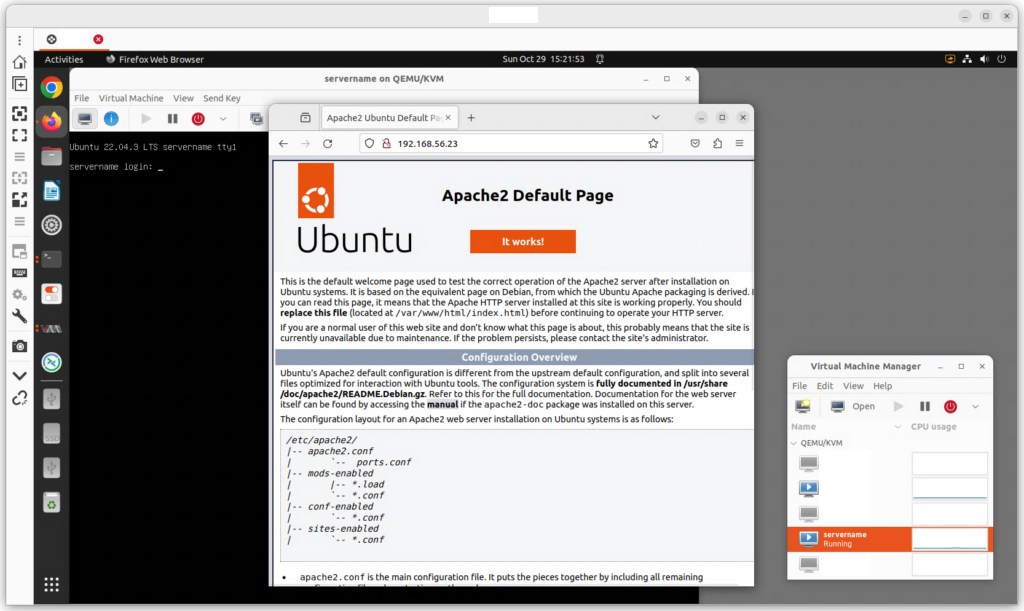
Testing the web server on port 80
From the desktop of the home server, start a web browser. Visit the IP address of the VM that hosts the LAMP web server:
Forwarding the LAMP web server ports from the public-facing router to the bridge mode IP address of the VM hosting the LAMP web server

Testing the web server from a public address
Using your cell phone: switch to LTE data mode. Visit the URL of your persistent hostname. If you have a CNAME declared for a subdomain host in DNS, visit that URL as well.
Creating virtual hosts for Apache
Open an SSH terminal window to the VM hosting the LAMP web server:
ssh desktop@192.168.56.23
Enter the following commands:
sudo su
cd /etc/apache2/sites-available
nano persistenthostname.ddns.net.conf
Use the nano text editor to edit the persistenthostname.ddns.net.conf file:
<VirtualHost *:80>
    ServerAdmin webmaster@localhost
    ServerName persistenthostname.ddns.net
    DocumentRoot /var/www/html
    ErrorLog ${APACHE_LOG_DIR}/error.log
    CustomLog ${APACHE_LOG_DIR}/access.log combined
</VirtualHost>
Save and exit the file.
Enter the following commands
nano subdomain.example.com.conf
Use the nano text editor to edit the subdomain.example.com.conf file:
<VirtualHost *:80>
    ServerAdmin webmaster@localhost
    ServerName subdomain.example.com
    DocumentRoot /var/www/html
    ErrorLog ${APACHE_LOG_DIR}/error.log
    CustomLog ${APACHE_LOG_DIR}/access.log combined
</VirtualHost>
Save and exit the file.
Enter the following commands:
a2ensite persistenthostname.ddns.net.conf
a2ensite subdomain.example.com.conf
systemctl restart apache2
Using Let’s Encrypt to create an SSL certificate for https
Open an SSH terminal window to the VM hosting the LAMP web server. Enter the following commands:
sudo su
apt install python3-certbot-apache
certbot --apache
systemctl restart apache2
Enabling Wireguard on the home server
Open an SSH terminal window to the home server. Provide values for username and ipaddress to match your installation:
ssh username@ipadress
Creating public and private WireGuard keys
Enter the following commands:
sudo su
cd /etc/wireguard
umask 077
wg genkey > privatekey
wg pubkey < privatekey > publickey
Creating a firewall exception for the WireGuard port on the home server
ufw allow 55555/udp
Enter the following commands:
nano wg0.conf
Creating the wg0.conf file
Use the nano text editor to modify the wg0.conf file. Provide a value for privatekey matching the privatekey of the home server, generated above. (Provide a value for publickey of the peer system (the offsite backup server) when the value becomes available, then restart the wg-quick@wg0 service):
[Interface]
# home server
Address = 10.5.0.1/24
PrivateKey = privatekeyofhomeserver
ListenPort = 55555

[Peer]
# offsite backup server
PublicKey = publickeyofoffsitebackupserver
AllowedIPs = 10.5.0.0/24, 192.168.1.0/24
Starting the wg-quick service
Enter the following command:
systemctl restart wg-quick@wg0
systemctl enable wg-quick@wg0
Forwarding the WireGuard port from the public-facing router to the home server

Tasks for the offsite backup server
The offsite backup server will perform the following tasks
- Samba network file server
- Wireguard client connection to home server
Hardware for the backup server
My brother donated a computer to the project, a computer that was headed for a dumpster. This is an example of a hacker living his principles.
This machine could not address more than 1.5GB RAM of the RAM we found in our junkpiles. This machine has a 20GB mechanical hard drive — we could certainly upgrade that with a 120GB SSD, but we decided to see what was possible with the mechanical drive. We will be attaching an SSD drive to the computer. Because the taskings are Samba network file sharing and a Wiregurd tunnel to the home server, it may not be necessary to upgrade the mechanical drive.
The offsite backup server is a small form factor (SFF) desktop circa 2005:
- HP HSTNC-008P-SF (circa 2005)
- Pentium(R) D CPU
- 1.5GB DDR RAM
- 20GB mechanical drive (presumably 5400RPM)
Formatting and configuring the offsite backup server with Fedora Server 38
My brother formatted the offsite backup server with Fedora Server 38. This server will have a text-only console. This will allow us to conserve about 1.1GB RAM, ie 3/4 of the 1.5GB RAM we have available in the system.
Why choose Fedora Server instead of Fedora Desktop?
For the offsite backup server, as the hardware is limited, we will use Fedora Server to conserve CPU and RAM resources.
Formatting in Legacy Mode
With older, pre-2016 hardware, it is simpler to format in Legacy Mode. In this case, the system literally is legacy, this is the only mode available.
Connecting using wired Ethernet
We will connect the offsite backup server using wired Ethernet. This simplifies some kinds of networking, including WireGuard, which we will use later in this procedure to create a secure tunnel to the home server.
Installing a few utilities on the offsite backup server
Log in at the console of the offsite backup server. Enter the following commands:
sudo su
dnf install net-tools iptraf-ng finger wireguard
ifconfig
Examine the output of the ifconfig command. Find the name of the Ethernet adapter, it may be something like “enp0s25” or “eth0” — take note of this value.
Using the nmcli command to configure a static IP address for the offsite backup server
Enter the following commands. Provide values for adaptername and ipv4.gateway that match your installation:
nmcli con modify adaptername ipv4.addresses 192.168.1.95/24 ipv4.gateway 192.168.1.1 ipv4.method manual
nmcli con modify br0 ipv4.dns "8.8.8.8 8.8.4.4"
nmcli con down br0 && sudo nmcli con up br0
con show br0
reboot
Installing the Samba program on the offsite backup server
Open an SSH terminal window to the offsite backup server. Enter the following command:
dnf install samba
Creating a network file share using Samba on the offsite backup server
Refer to the section above “Creating a network file share using Samba“
Enabling Wireguard on the offsite backup server
Open an SSH terminal window to the offsite server. Provide values for username and ipaddress to match your installation:
ssh username@ipadress
Creating public and private WireGuard keys
Enter the following commands:
sudo su
cd /etc/wireguard
umask 077
wg genkey > privatekey
wg pubkey < privatekey > publickey
Creating a firewall exception for the WireGuard port on the offsite backup server
firewall-cmd --zone=public --add-port=55555/udp --permanent
Enter the following commands:
nano wg0.conf
Creating the wg0.conf file
Use the nano text editor to modify the wg0.conf file. Provide a value for privatekey matching the privatekey of the home server, generated above. Provide a value for publickey matching the private key of the offsite backup server:
[Interface]
# offsite backup server
Address = 10.5.0.2/24
PrivateKey = privatekeyofoffsitebackupserver
ListenPort = 55555

[Peer]
# home server
PublicKey = publickeyofhomeserver
AllowedIPs = 10.5.0.0/24, 192.168.56.0/24
Endpoint = persistenthostnameofhomeserver.ddns.net:55555
PersistentKeepalive = 25
Starting the wg-quick service
Enter the following command:
systemctl restart wg-quick@wg0
systemctl enable wg-quick@wg0
Testing the WireGuard secure tunnel between the offsite backup server and the home server
From the offsite backup server, enter the following command:
ping 10.5.0.1
If the ping is successful, the offsite backup server has a working WireGuard connection to the home server.
From the home server, enter the following command:
ping 10.5.0.2
If the ping is successful, the home server has a working Wireguard connection to the offsite backup server.