
Previous step: Chapter 6: Configuring an Ubuntu Linux cloud server to create a Linux Apache MySQL PHP (LAMP) web server, Part 2
Next step: Chapter 8: Installing and configuring WordPress to create a website
Web presence step by step is a series of posts that show you to how to build a web presence.
In this post, we configure the SSH server on an Ubuntu Linux cloud server to limit SFTP directory visibility within chroot jail directories.
This post assumes that you have performed the steps described in Chapter 6: Configuring an Ubuntu Linux cloud server to create a Linux Apache MySQL PHP (LAMP) web server, Part 2.
Why would you want to limit a user to a chroot jail directory?
A web server can host multiple websites. You may want to give to a web contractor SFTP access for one of the websites hosted on the server, but also prevent that web contractor from viewing or modifying other files or directories on the server unrelated to the website.
We will configure the SSH server to limit each SFTP user to only be able to view or modify a specific directory and its subdirectories. The formal term for this kind of directory is “chroot,” short for “change root directory.”
In the preceding chapter, we created the usernames, specified their home directories, and specified the directory locations for websites. The directory structure, ownerships, and permissions we applied to each directory anticipated that the directories would later be configured as chroot jail directories.
A user cannot own its own home directory
A user cannot own its own home directory. A user can own a subdirectory within its home directory.
Using the Digital Ocean cloud server web console instead of an SSH terminal program to connect to the cloud server
Normally, we interact with the Ubuntu Linux cloud server hosted at Digital Ocean by connecting with an SSH terminal program. However, since we are modifying the configuration of the SSH server itself, there is a chance we could break the SSH server and lock ourselves out. The Digital Ocean cloud server console provides terminal access to the Ubuntu Linux cloud server. We will use this console to modify the SSH server to implement chroot jail directories for each user.
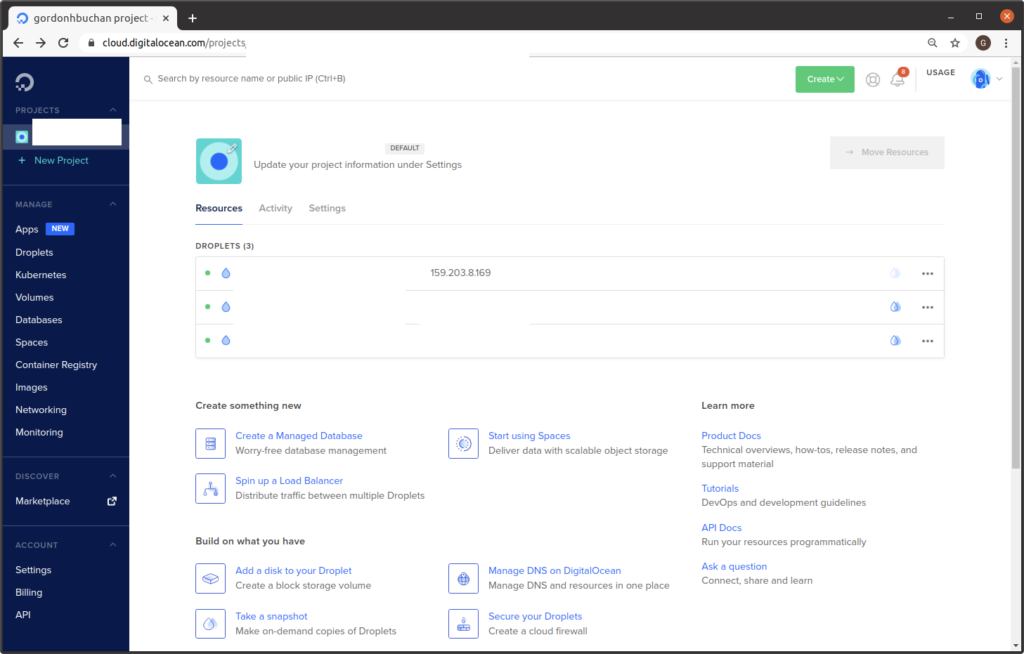
Connect to the Digital Ocean site and login. Click on the Droplet you created in Chapter 3: Buying an Ubuntu Linux cloud server from Digital Ocean:
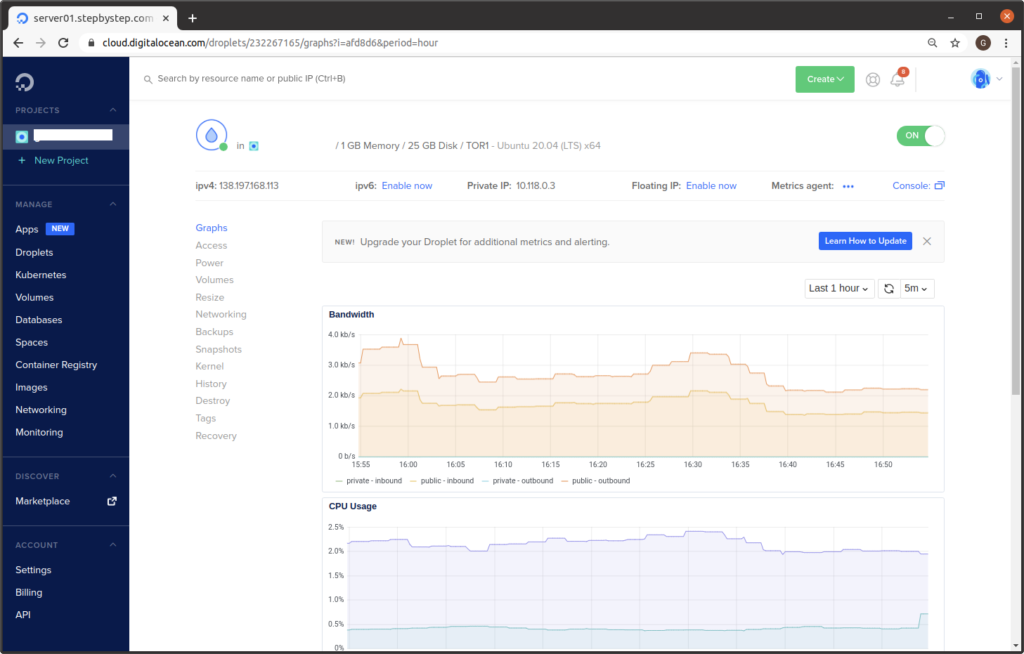
Click on “Console”:
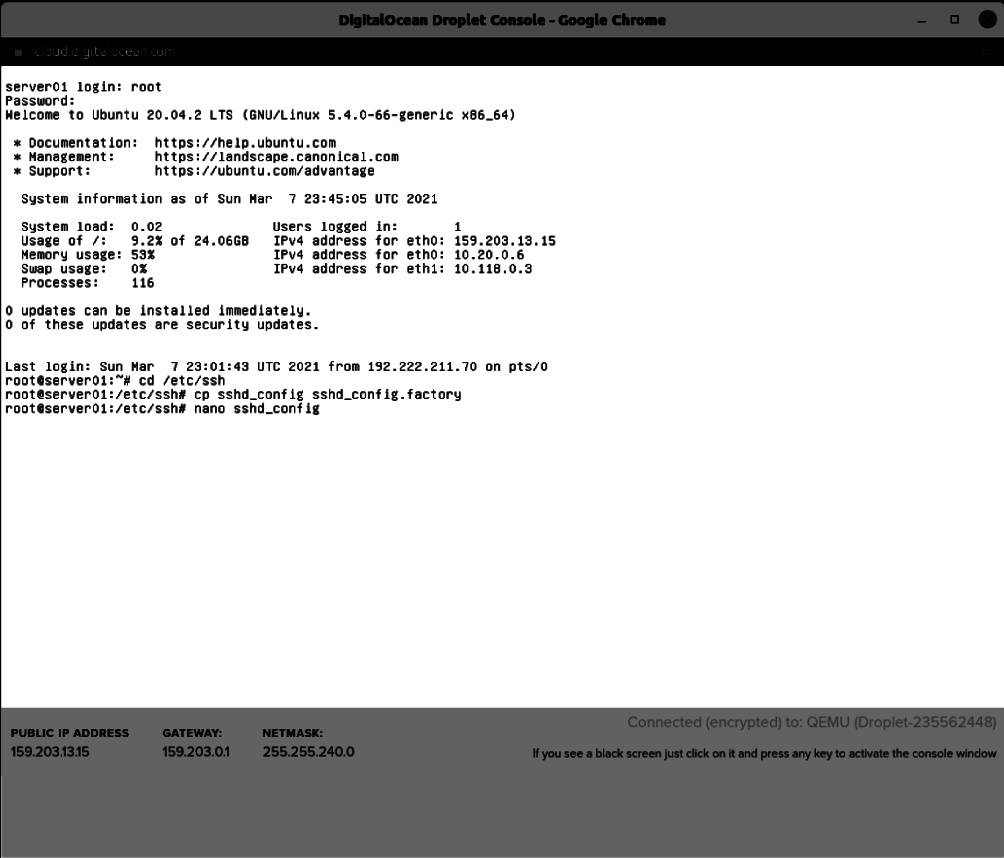
Login to the cloud server. Enter the commands:
cd /etc/ssh
cp sshd_config sshd_config.factory
nano sshd_config
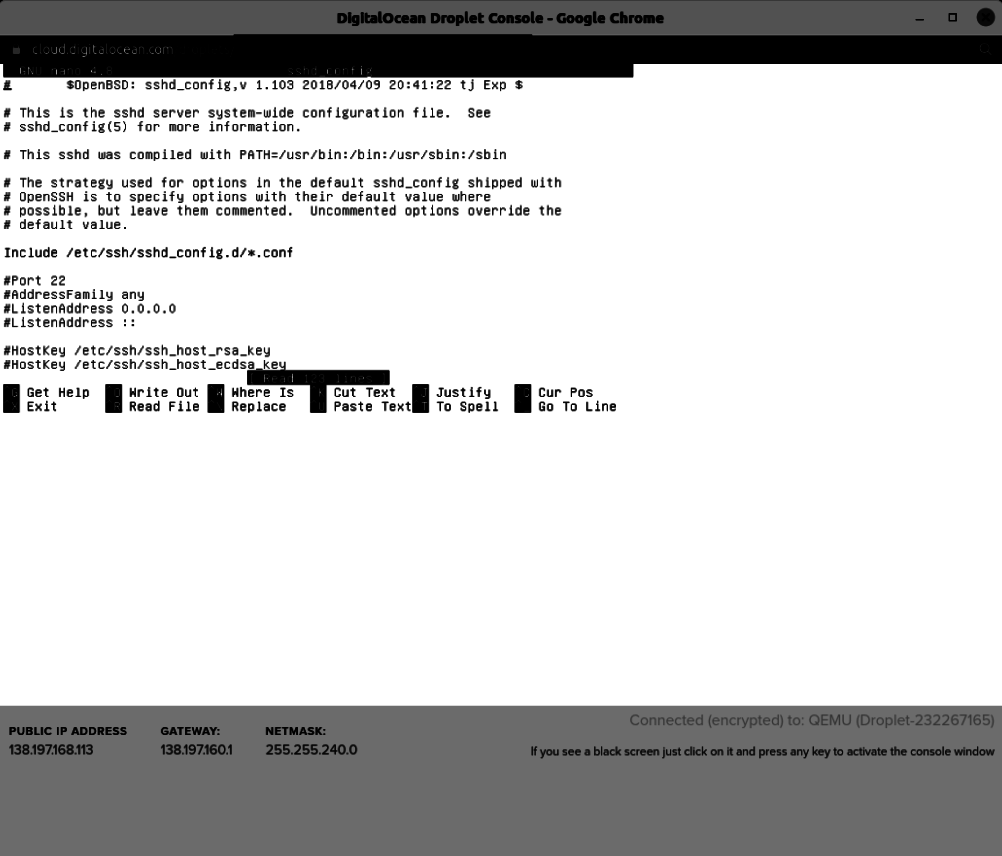
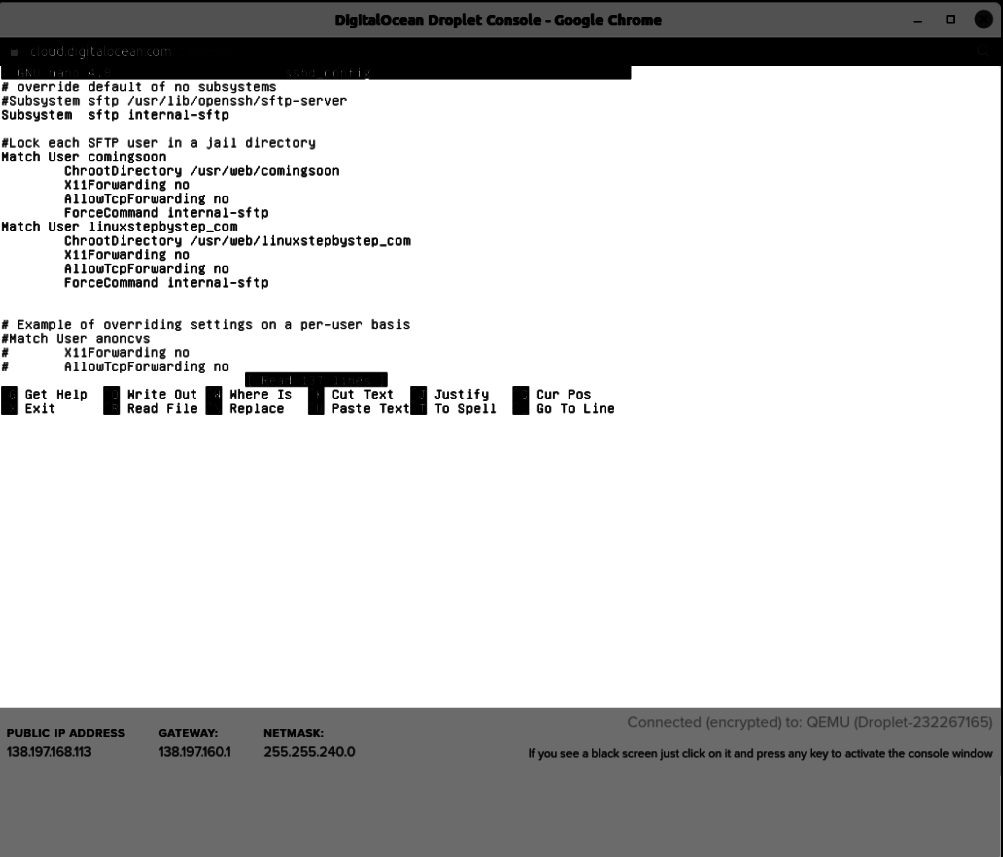
This is what it looks like when you load the file in the nano editor:
A note about the example domain and a reminder that you should use your domain name in its place
Note: for clarity and narrative flow we are using the example domain linuxstepbystep.com but you should substitute your domain name as appropriate.
Go to the bottom of the file, and add the following blocks of text:
Match User comingsoon
        ChrootDirectory /usr/web/comingsoon
        X11Forwarding no
        AllowTcpForwarding no
        ForceCommand internal-sftp
Match User linuxstepbystep_com
        ChrootDirectory /usr/web/linuxstepbystep_com
        X11Forwarding no
        AllowTcpForwarding no
        ForceCommand internal-sftp
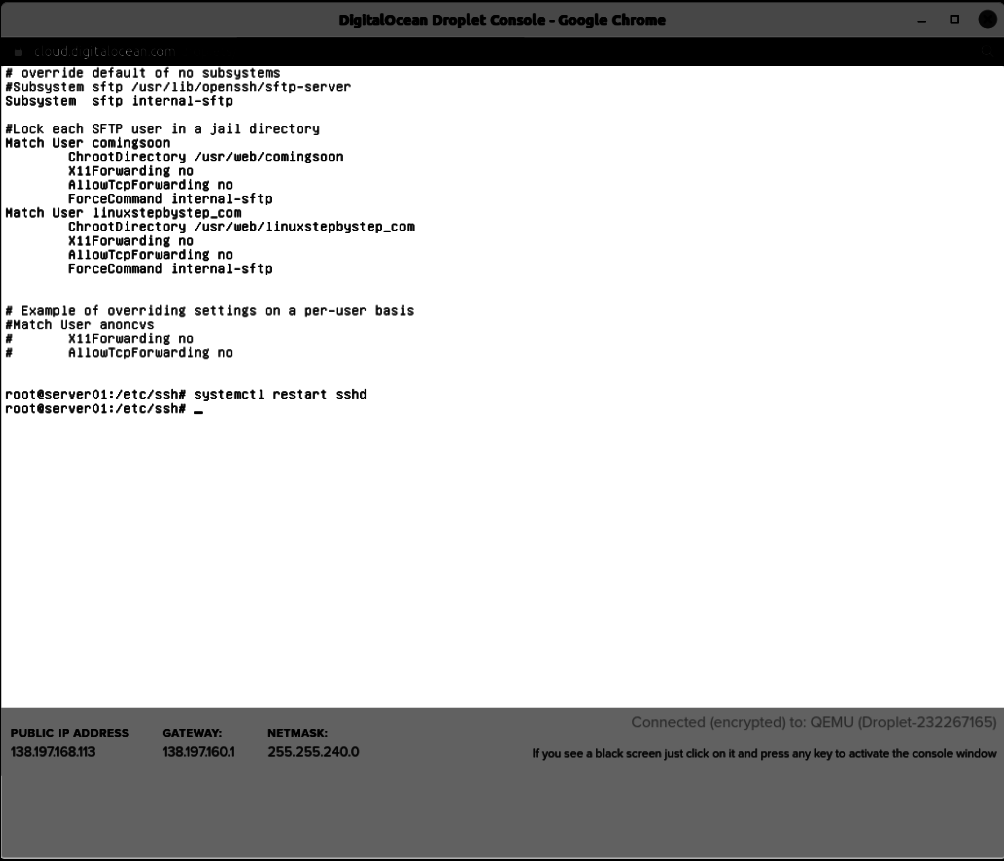
Enter the command:
systemctl restart sshd
Obtaining the FileZilla file transfer program
Windows (client)
Warning re default “Download FileZilla” Client link for FileZilla for Windows
When downloading the Windows client from the FileZilla site, avoid the default “Download FileZilla Client” link, as it contains adware. Instead, click on the link “Show additional download options.” this is accessible via the following direct link. From this link, choose the option for “Windows 64bit x86”:
https://filezilla-project.org/download.php?show_all=1
MaOS (client)
From this link, choose the option for “MacOS X”:
https://filezilla-project.org/download.php?show_all=1
Ubuntu Linux (client)
If you are using Ubuntu Linux, you can install the FileZilla file transfer program with the command:
apt install filezilla
Fedora Linux (client)
If you are using Fedora or a related Red Hat system, you can install the FileZilla file transfer program with the command:
dnf install filezilla
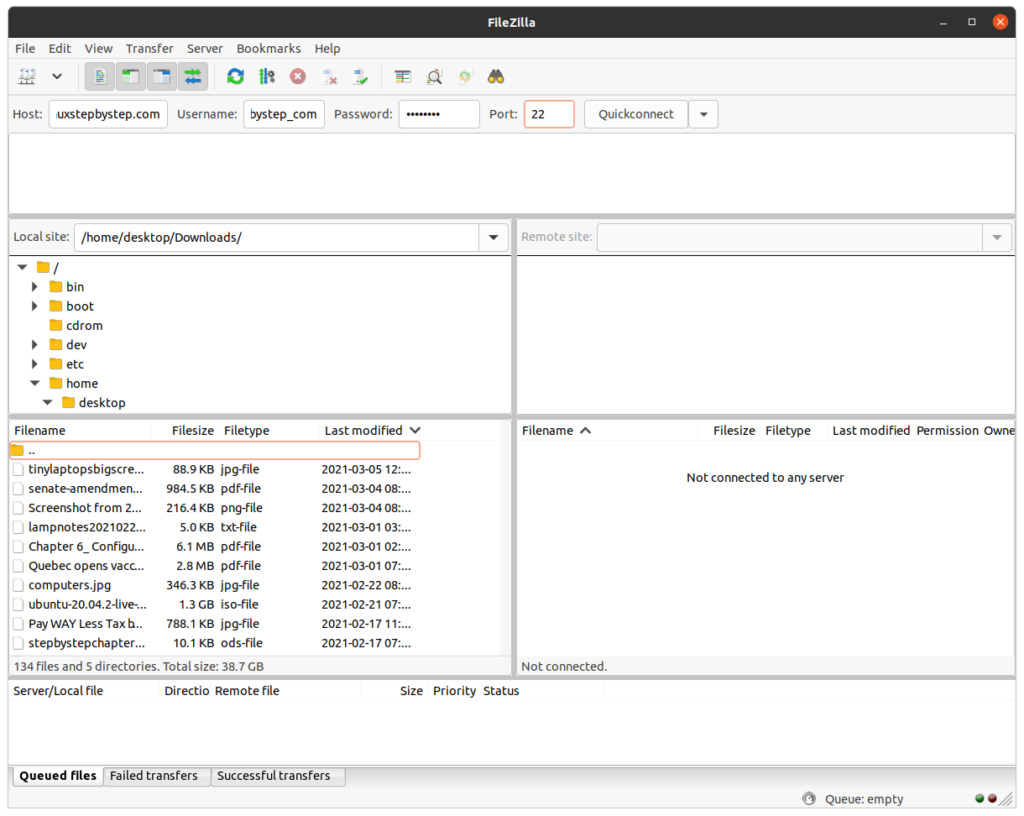
Using the FileZilla file transfer program to connect to the cloud server
Complete the following fields. Click “Quickconnect”:
Host: your domain name
Username: linuxstepbystep_com
Password: (password)
Port: 22
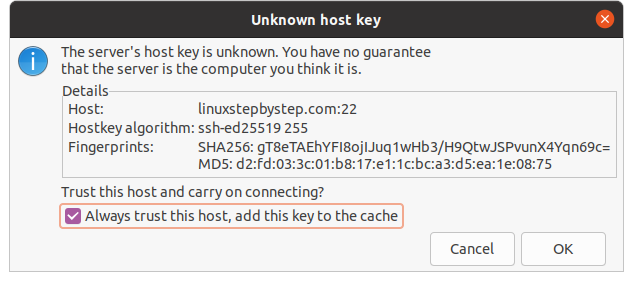
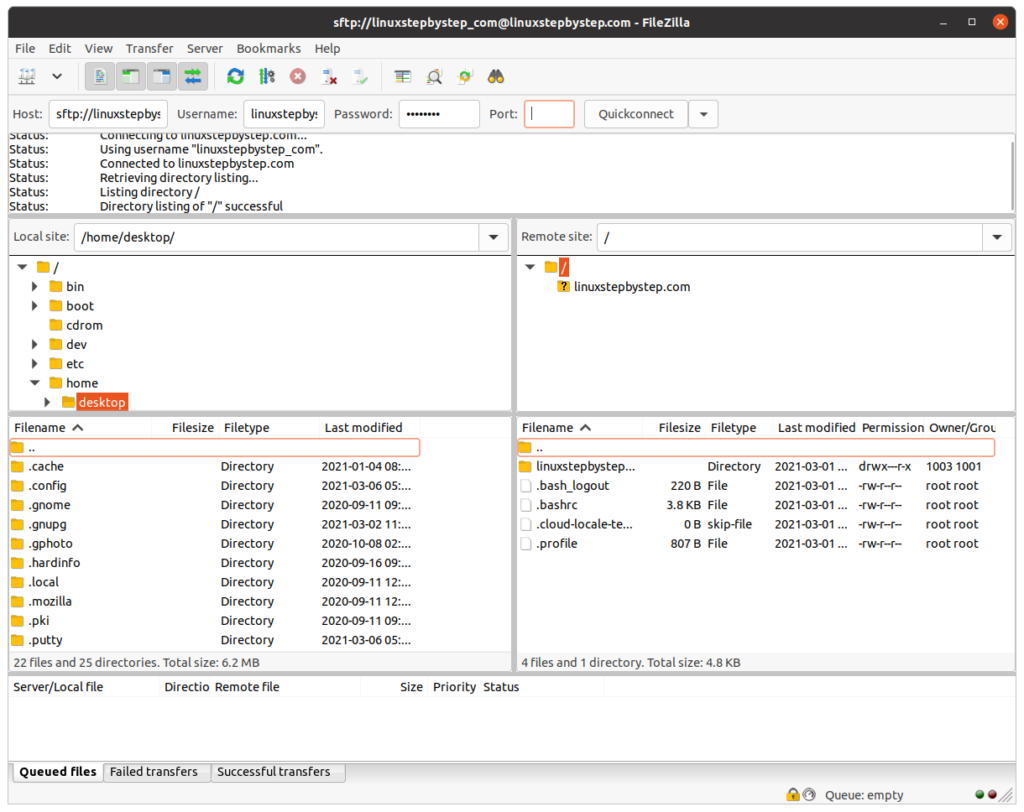
Check the box “Always trust this host, add this key to the cache.” Click “OK”:
Note that the SFTP user is now limited to seeing the contents of its own directory. This means that if you have multiple websites on a server, the SFTP accounts that maintain those websites will not be able to view files or directories belonging to other websites or functions of the server:
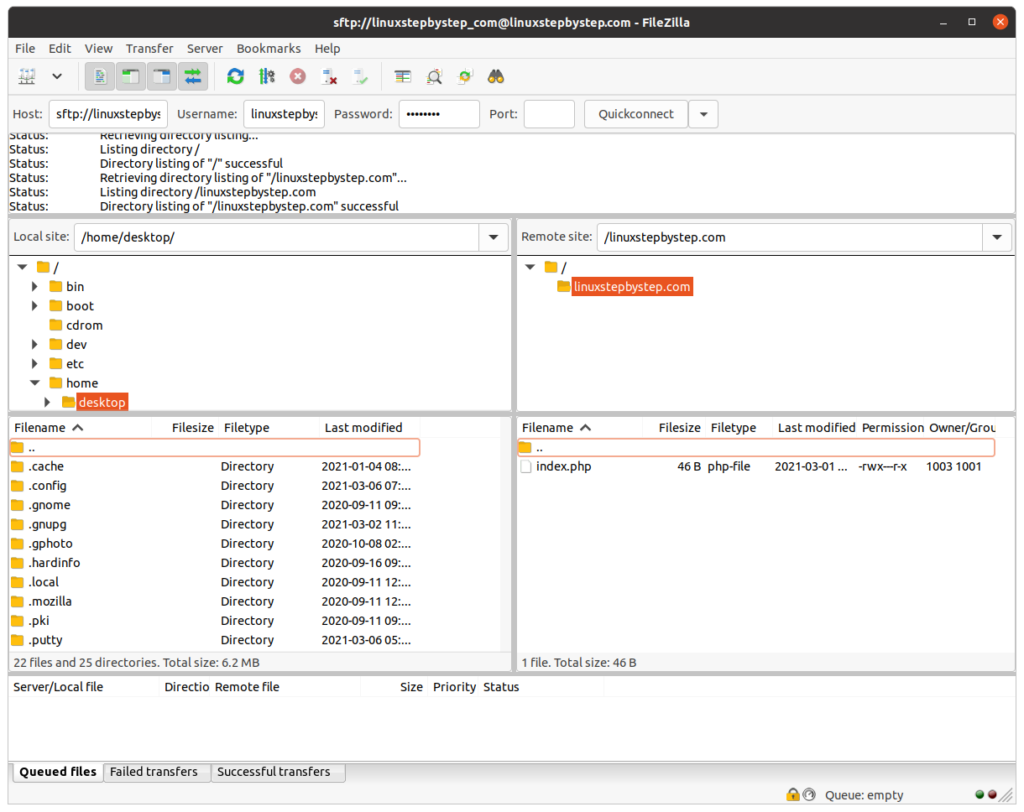
Enter the subdirectory on the server to see the files and directories for the website:
Previous step: Chapter 6: Configuring an Ubuntu Linux cloud server to create a Linux Apache MySQL PHP (LAMP) web server, Part 2
Next step: Chapter 8: Installing and configuring WordPress to create a website