
Previous step: Chapter 10: Integrating Google Site Kit with WordPress to view Google Analytics and Google Search Console visitor statistics
Next step: Chapter 12: Installing and configuring the WooCommerce plugin for WordPress to enable a shopping cart for transactions
Web presence step by step is a series of posts that show you to how to build a web presence.
In this chapter, we install and configure the WP Mail SMTP plugin for WordPress to enable WordPress to send email messages.
WordPress needs to be able to send emails
Some operations require that the WordPress software be able to send email messages. We need to choose or create a Gmail account from which messages will be sent. We need to configure that Gmail account with a web application and OAUTH2 authentication tokens. We need to install and configure the WP Mail SMTP plugin with information from the Gmail account.
Choosing or creating a Gmail account from which to send email messages
Choose an existing Gmail account, or create a new Gmail account. This account should not be the same email account you use for some other purpose, such as employee email. This Gmail account will be used by the WP Mail SMTP plugin for WordPress to send email messages. Login to this Gmail account.
Creating a web application and OAUTH2 authentication tokens
Visit this website:
https://console.developers.google.com/flows/enableapi?apiid=gmail&pli=1
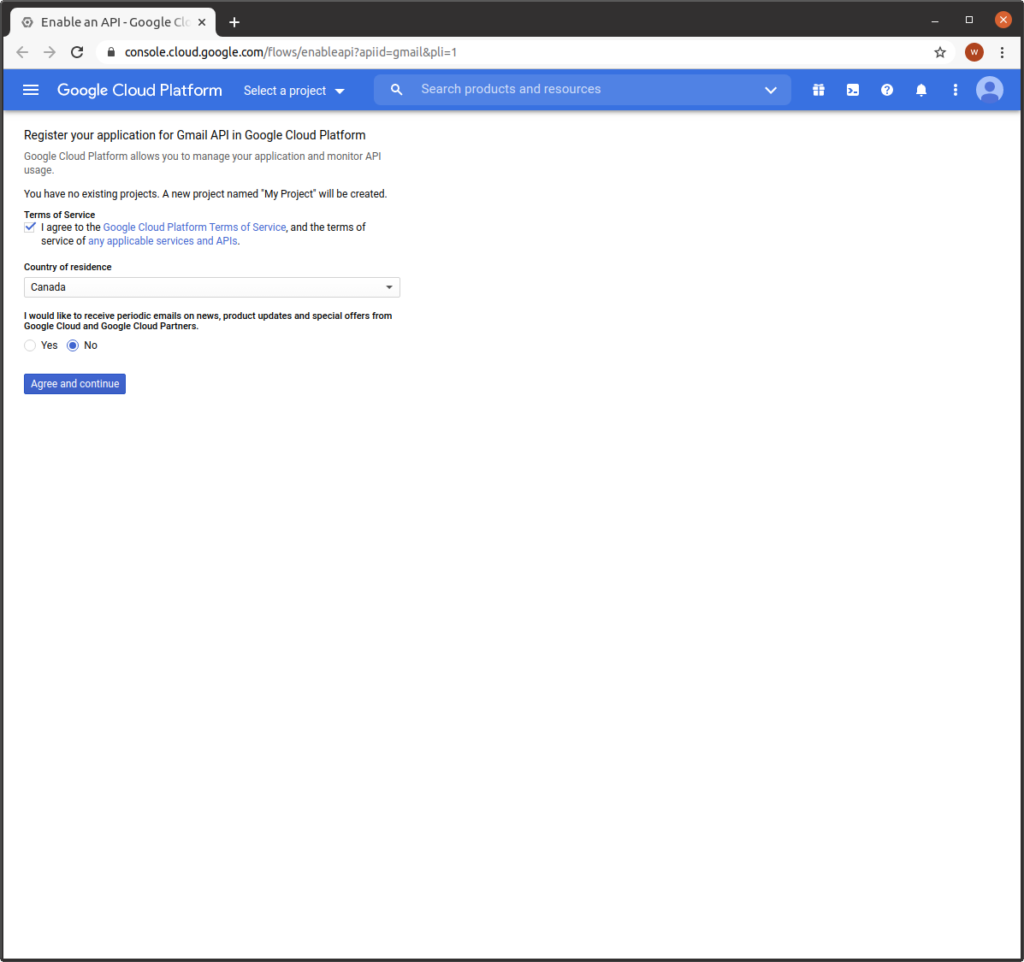
Check the box for “I agree to the Google Cloud Platform Terms of Service…”
Select Country
“I would like to receive periodic emails…” Select “No”
Click “Agree and continue”:
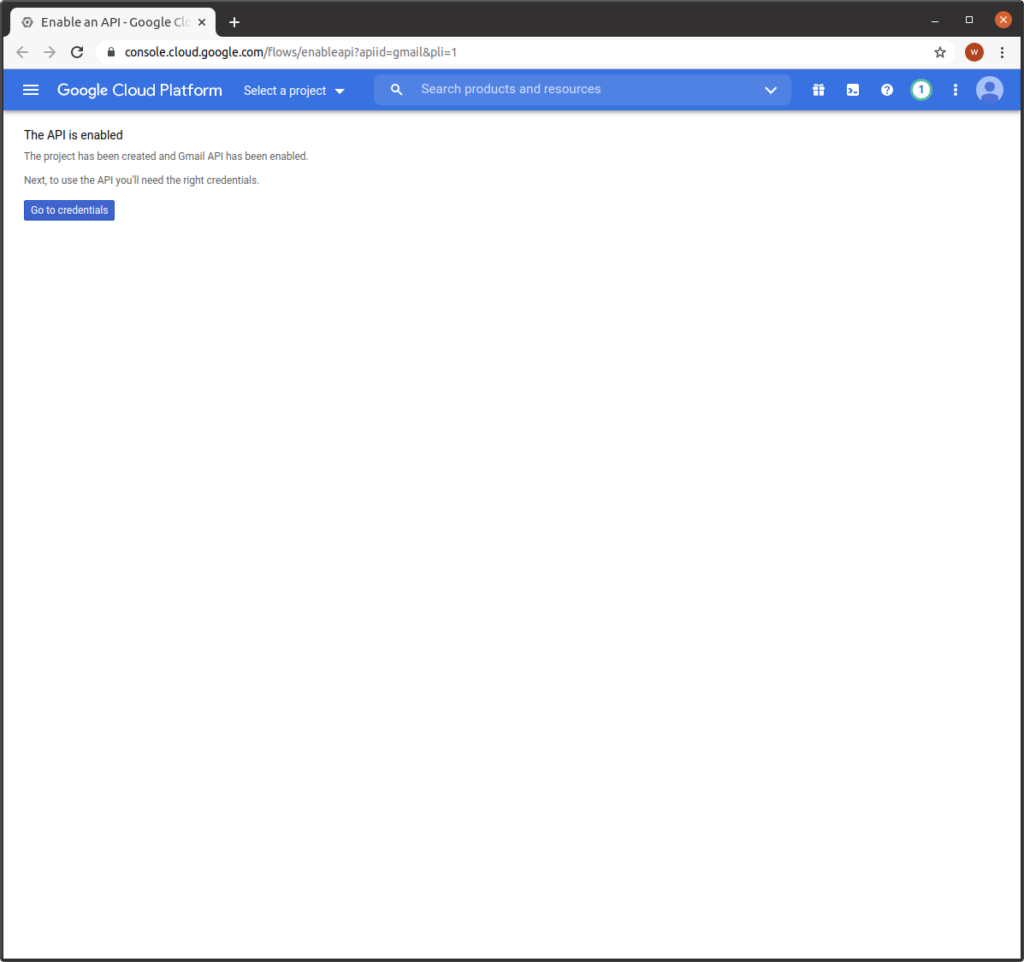
Click “Go to credentials”:
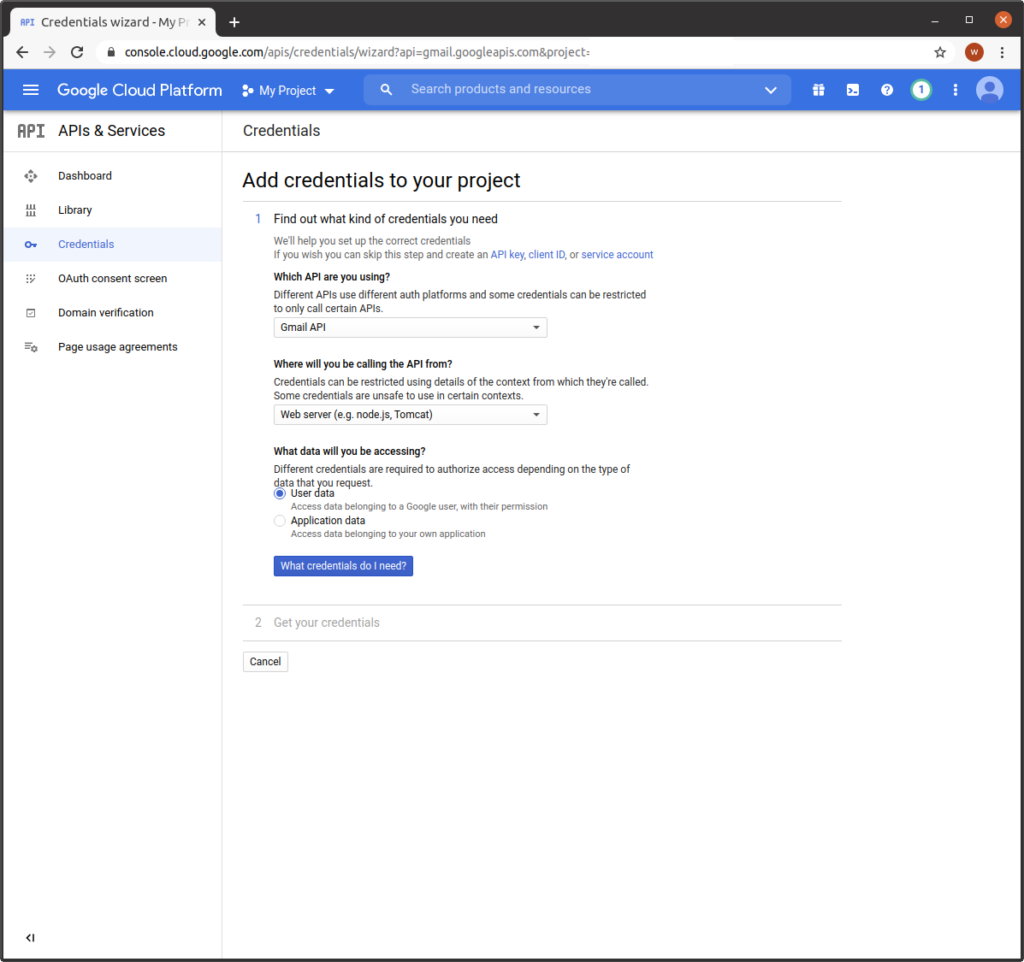
Which API are you using?
Gmail API
Which data will you be accessing?
Web server (e.g. node.js, Tomcat)
Click “What credentials do I need?”:
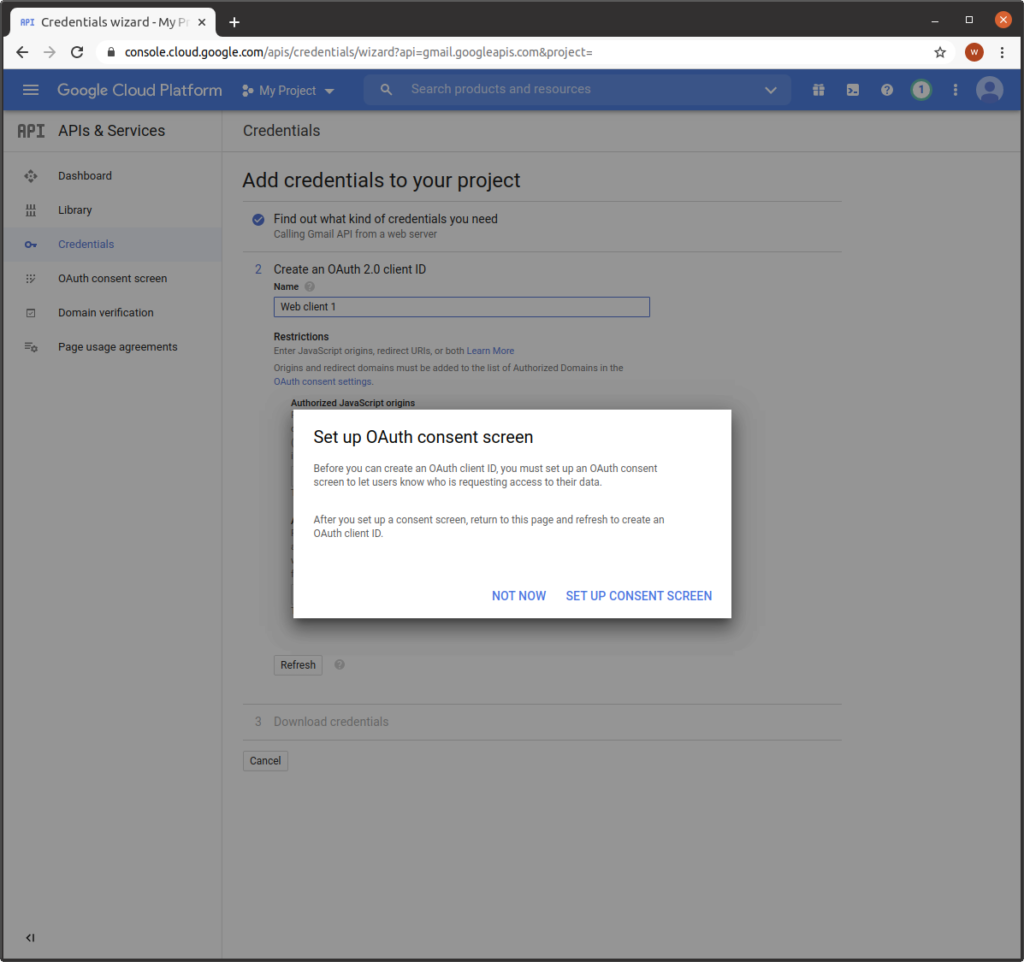
Click “Set up consent screen”:
User Type
Select “External”
Click “Create”:

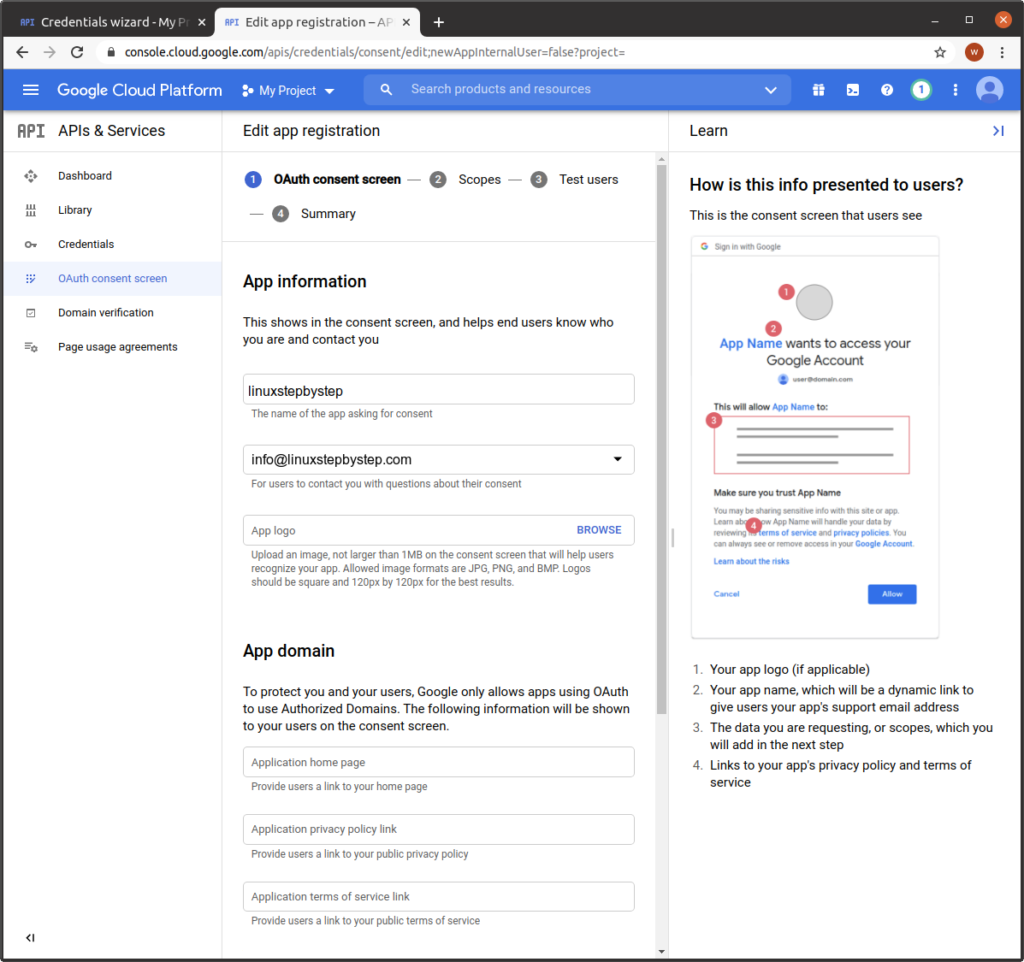
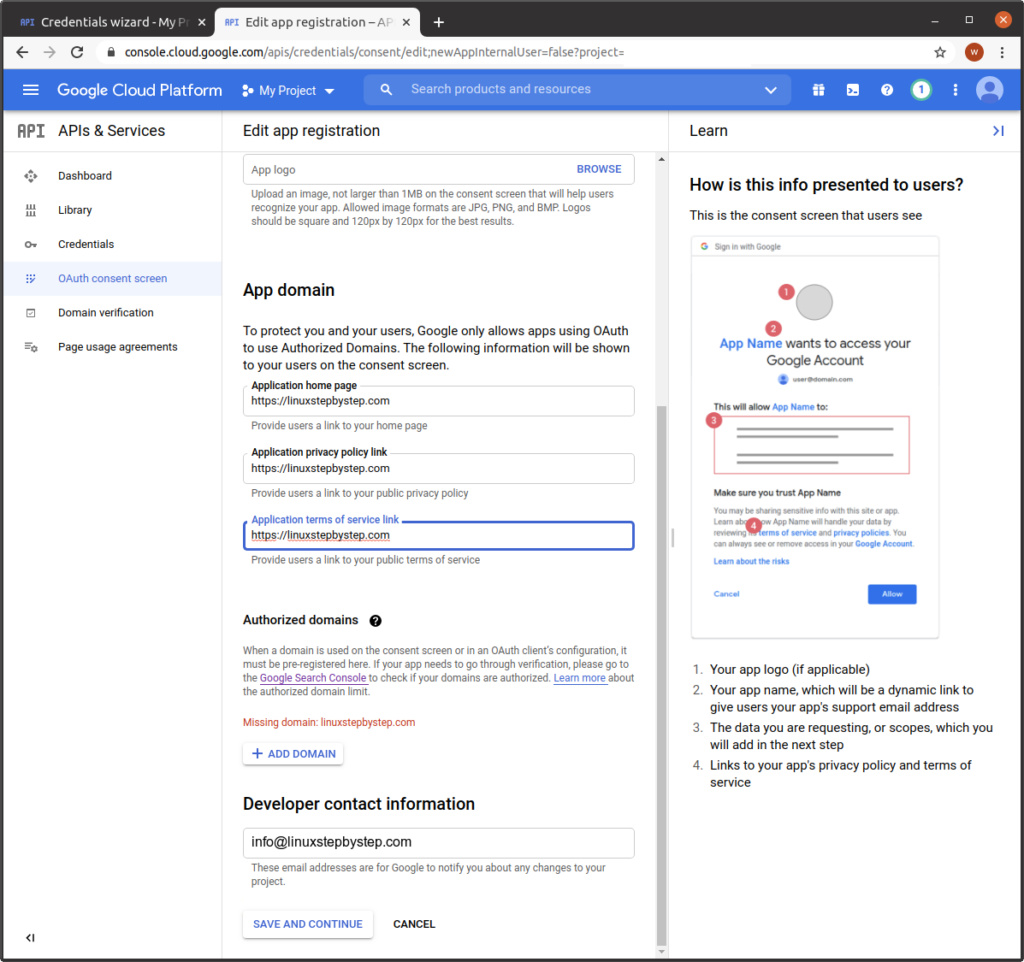
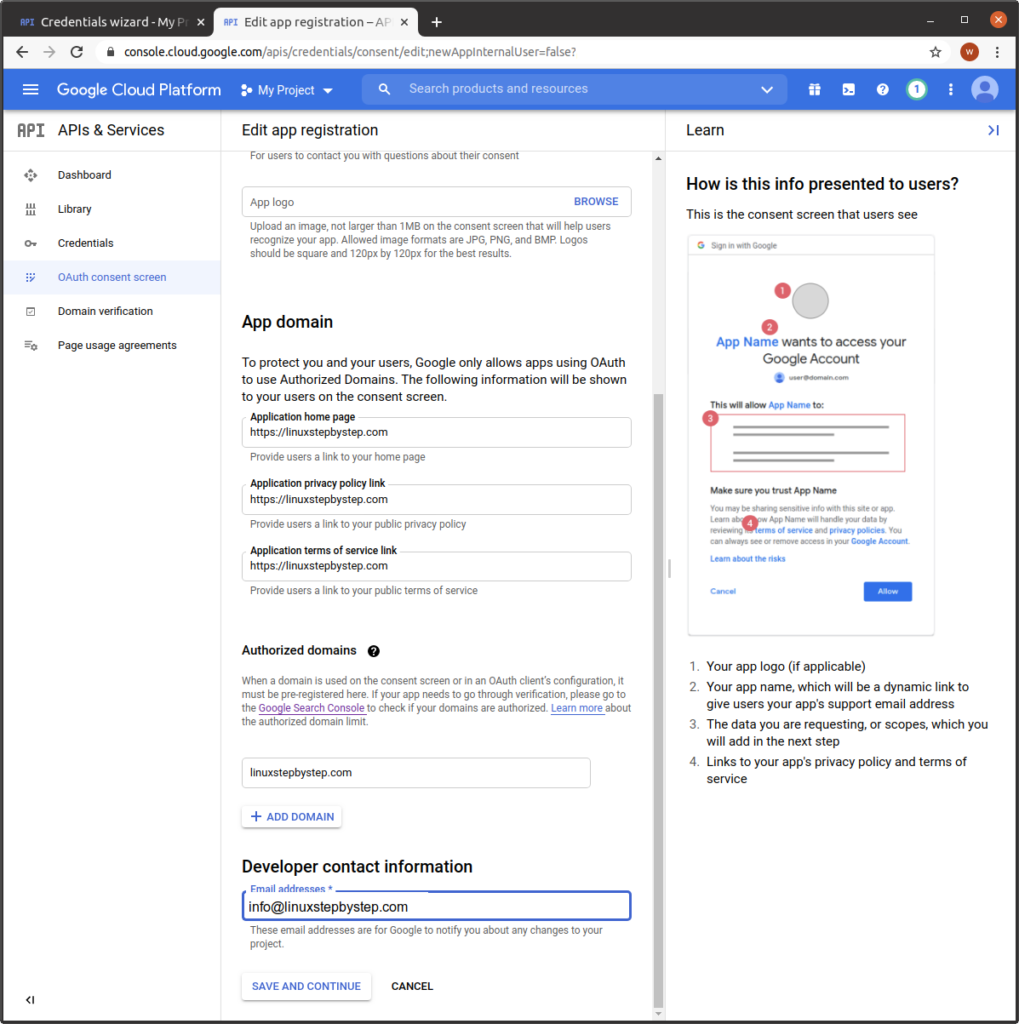
Complete the fields as shown below (use your domain instead of the example domain)
Click “Save and continue”:
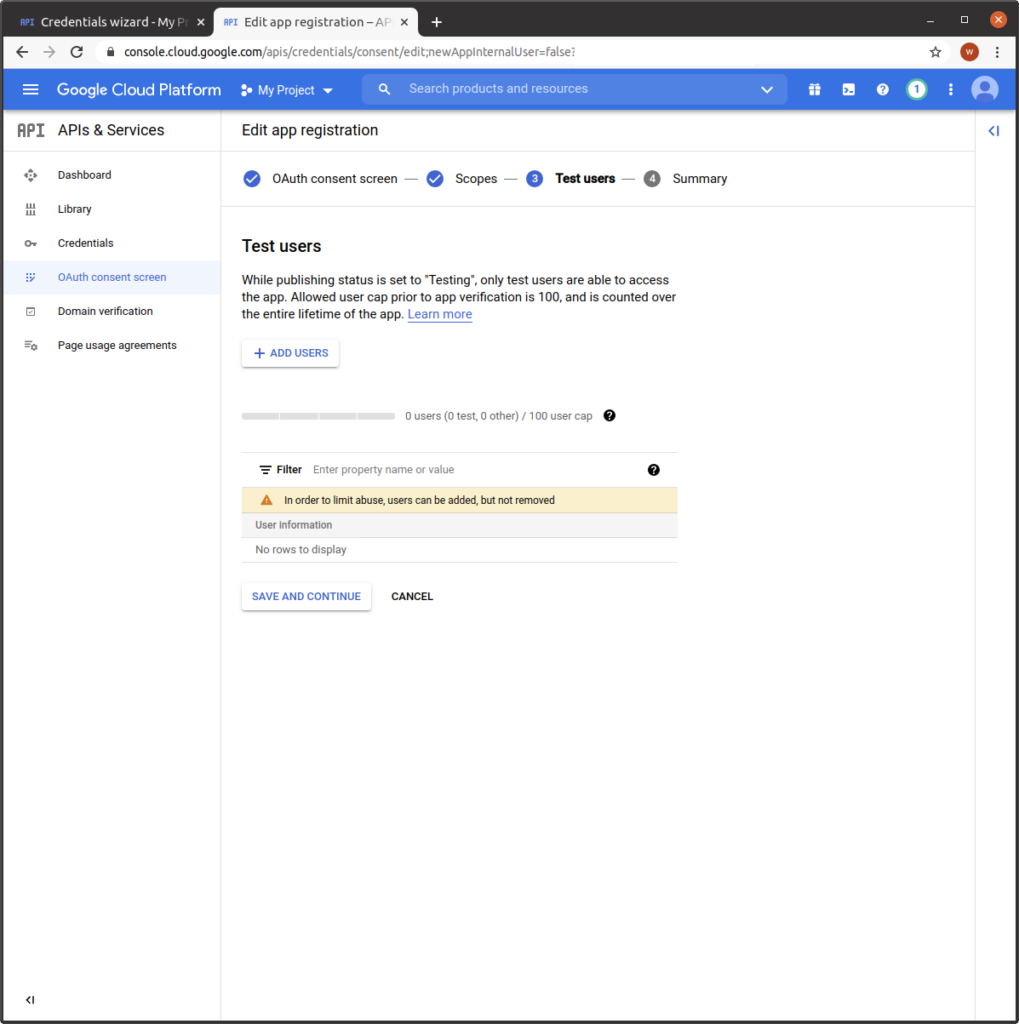
Click “Add users”:
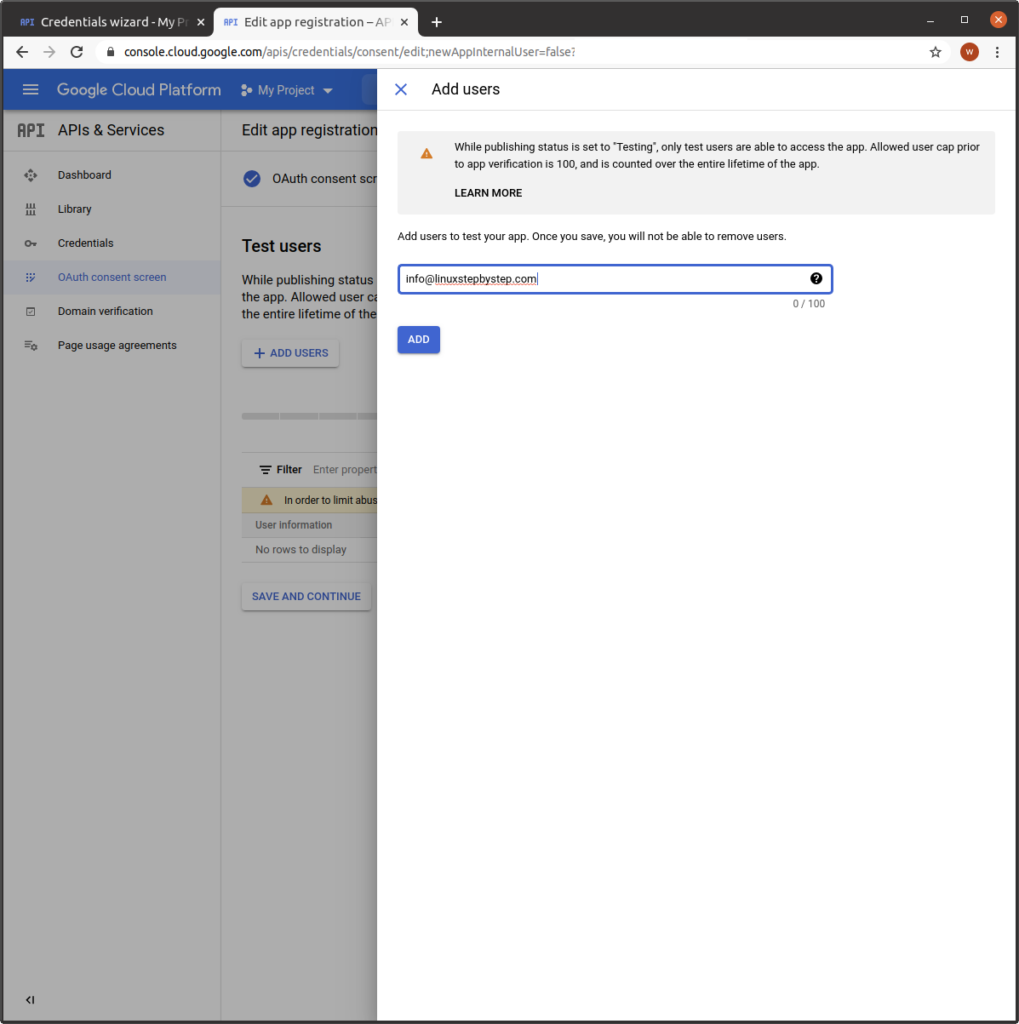
Enter an email address. Click “Add”:
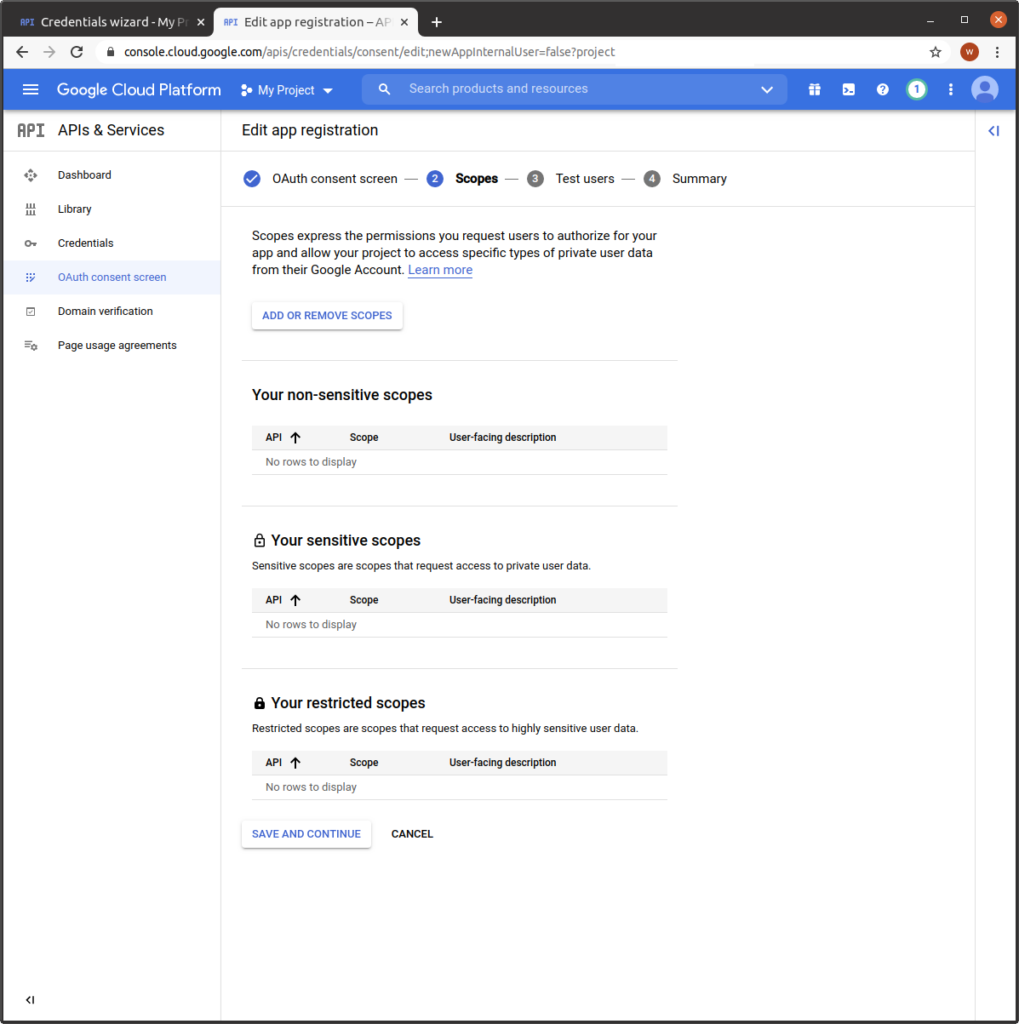
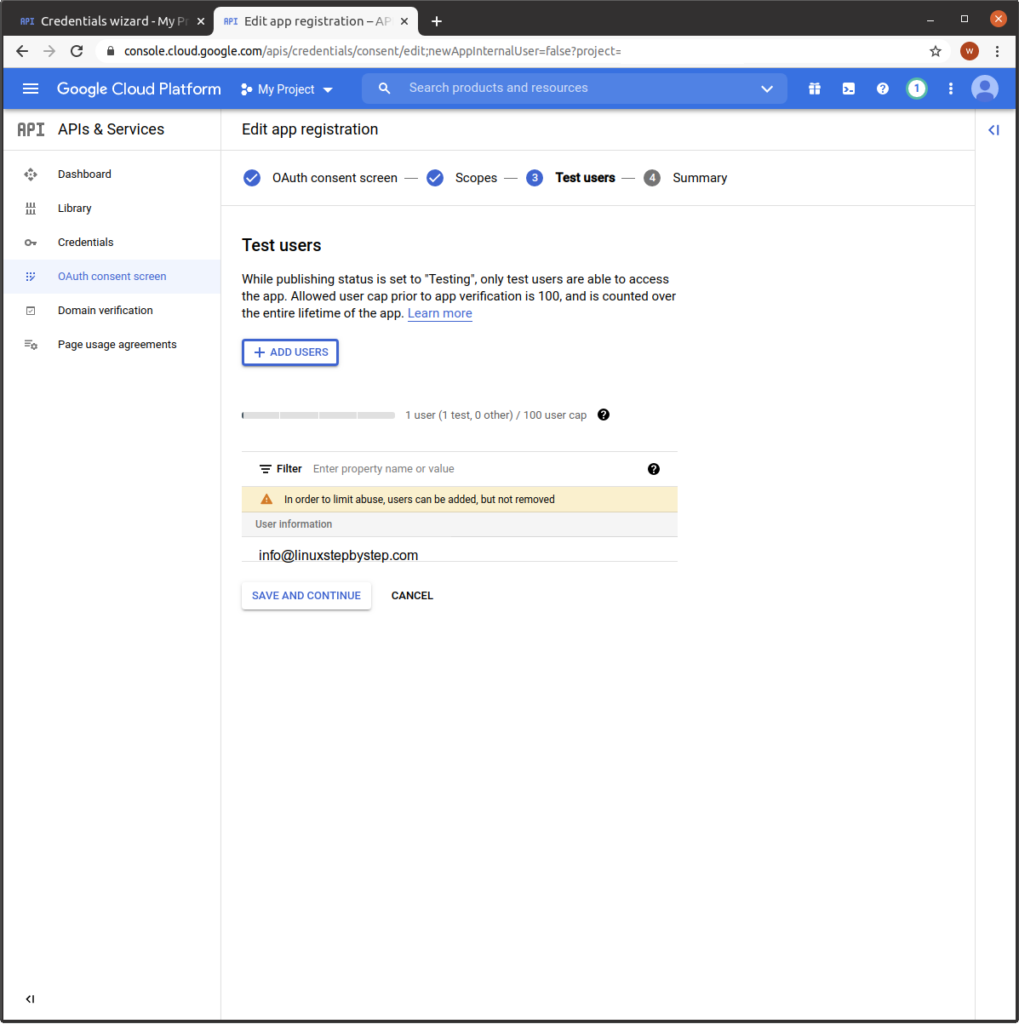
Click “Save and continue”:
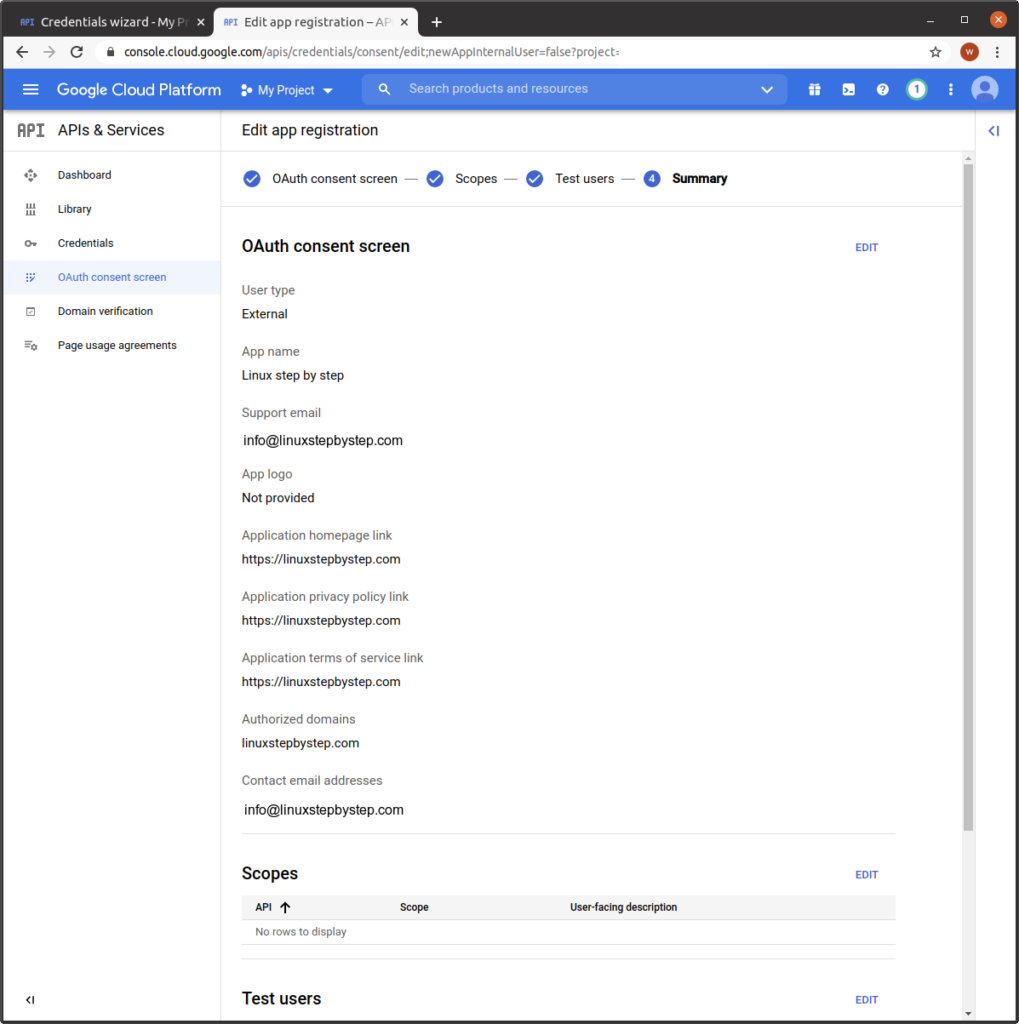
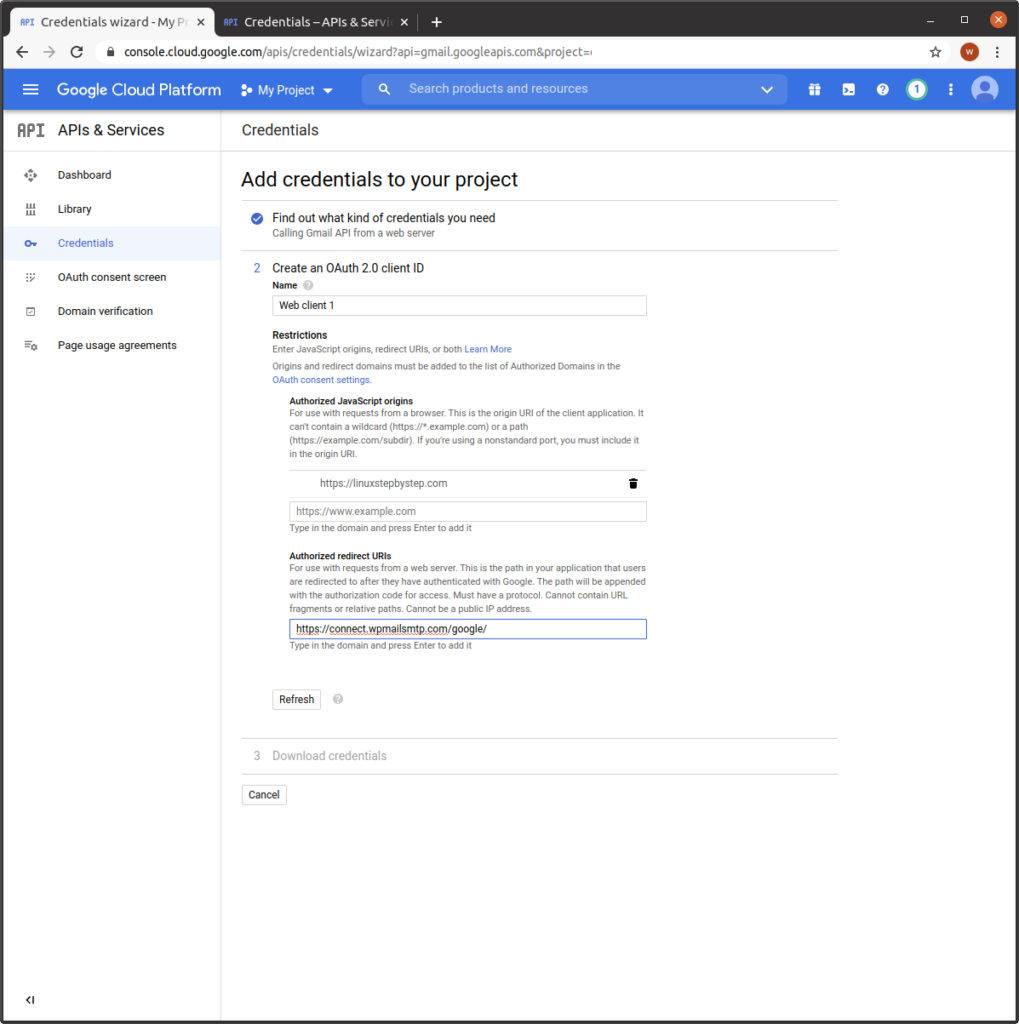
You will see a screen similar to the following. Note that we are on the right tab. Click on the left tab:
Enter values for “Name,” “Authorized JavaScript engine.”
For the field “Authorized redirect URIs,” enter this value:
https://connect.wpmailsmtp.com/google/
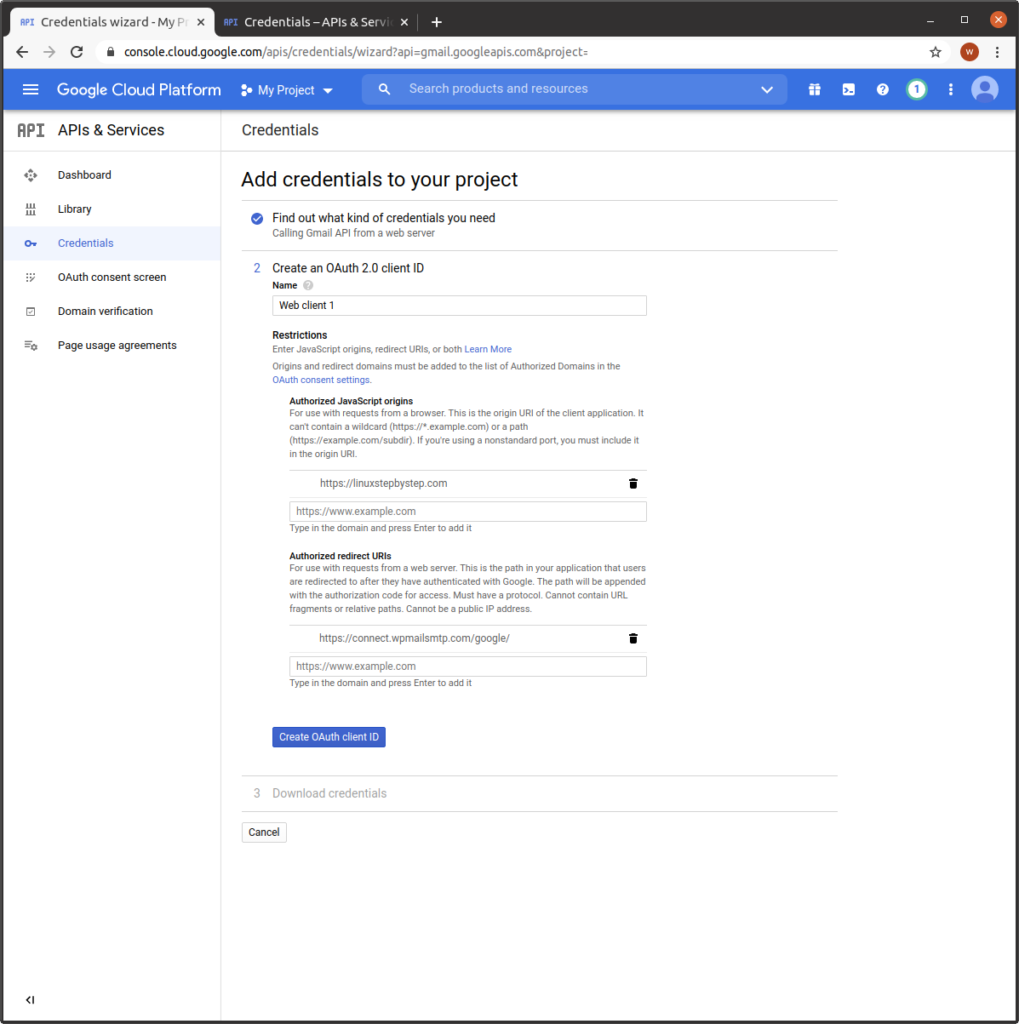
Click “Refresh”:
Click “OAuth client ID”:
Click “Done”:
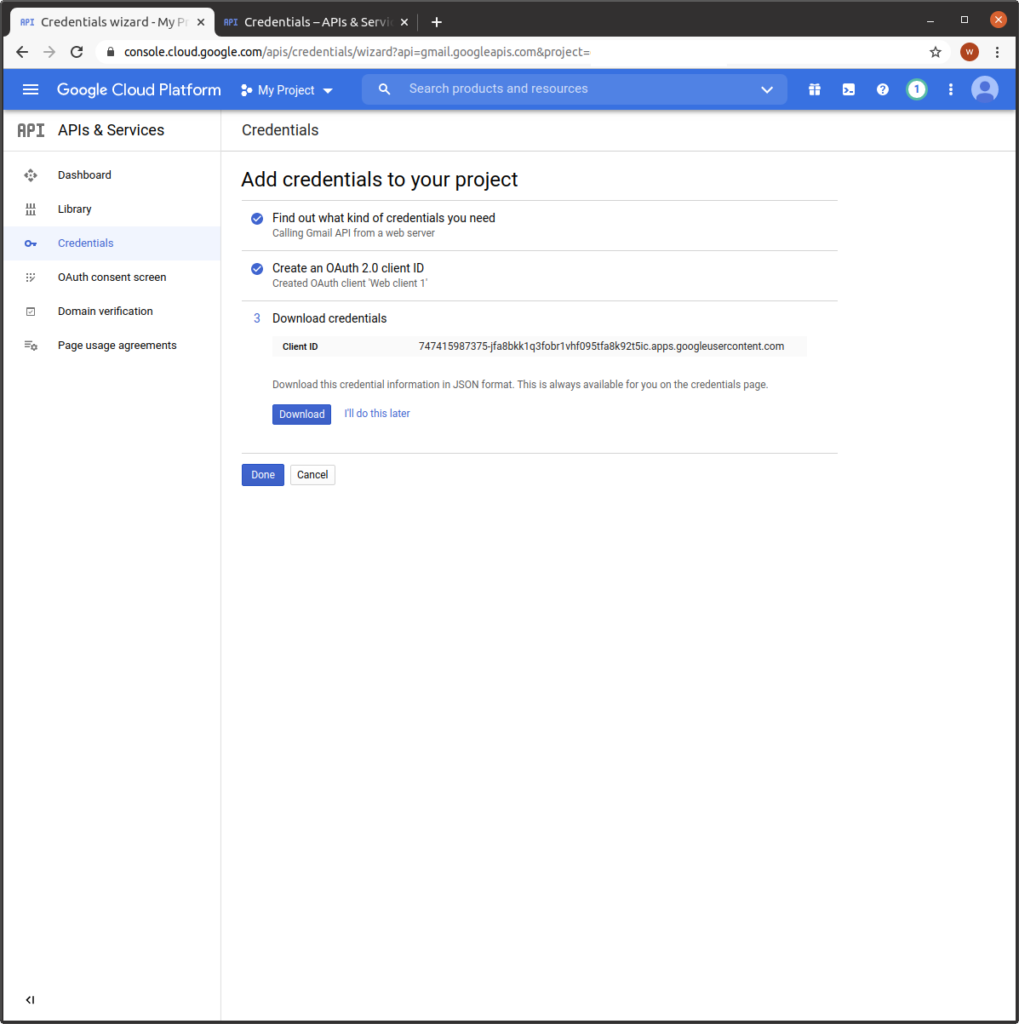
You will see a screen similar to the following:

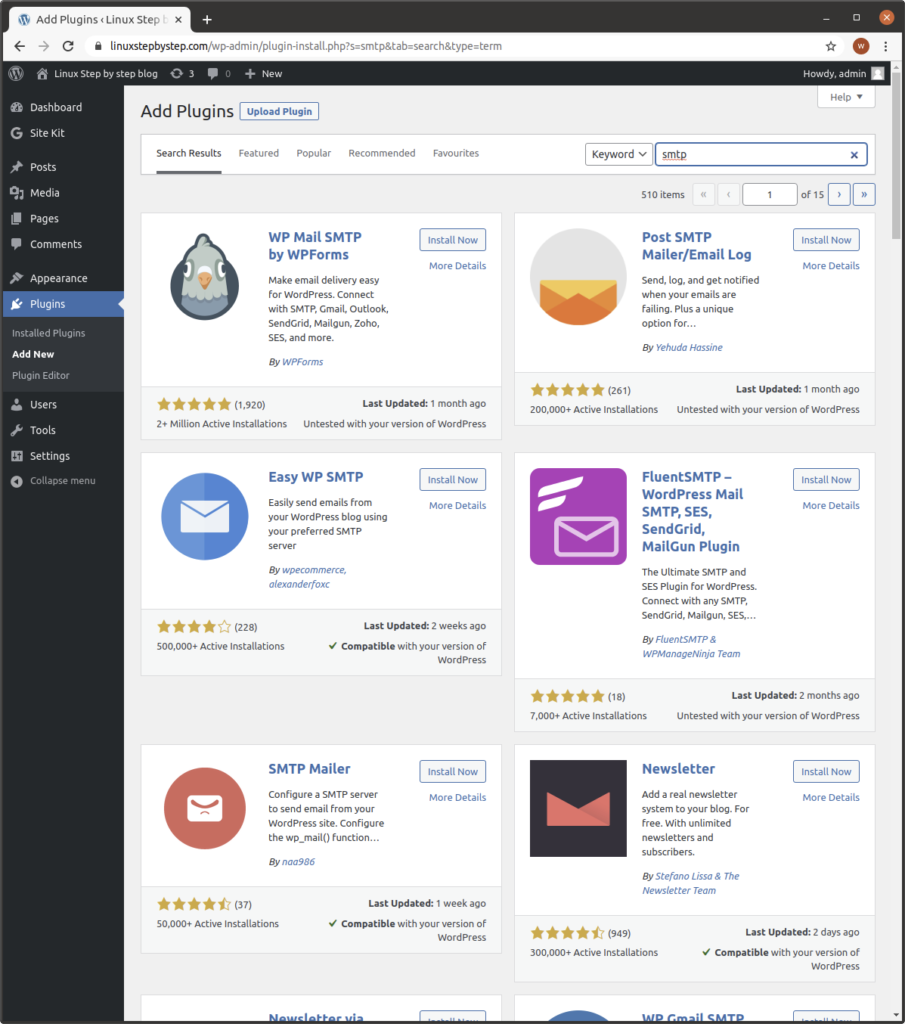
Installing and Configuring the WP Mail SMTP plugin for WordPress
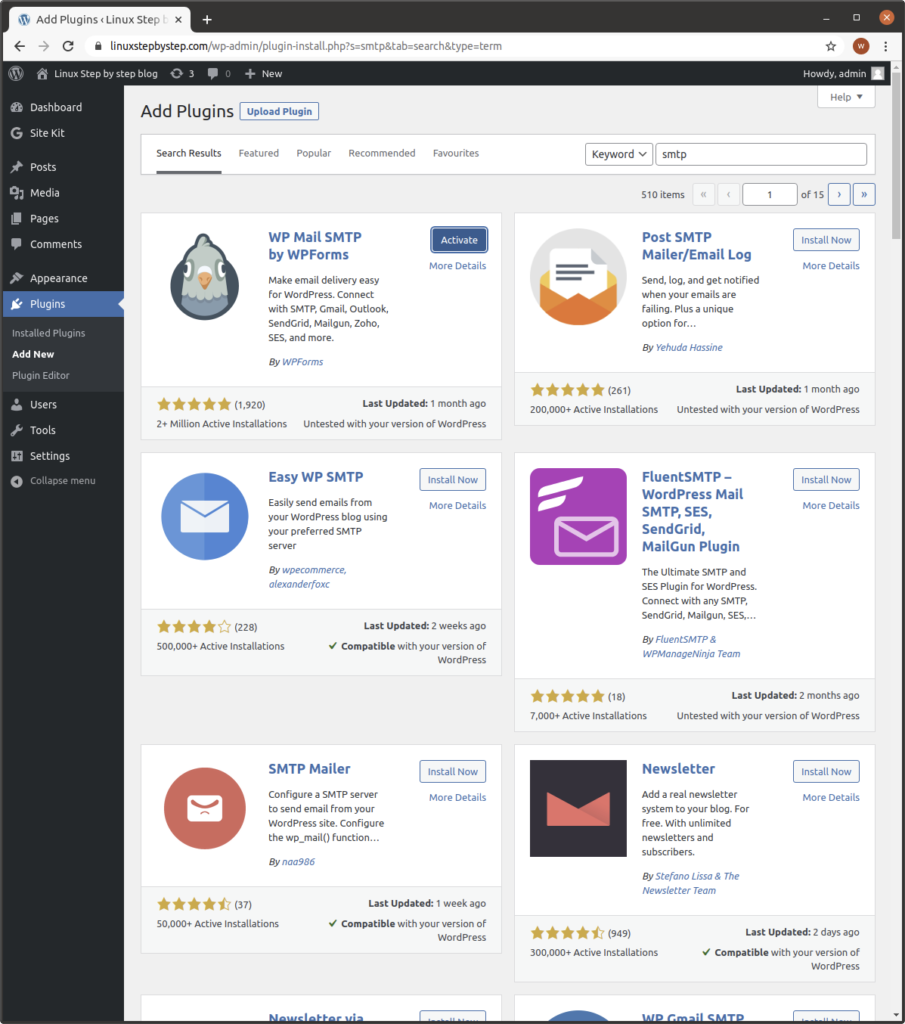
Go to the control panel for your WordPress blog software. Go to Plugins. Search for “smtp.” Click on the “Install Now” button next to “WP Mail SMTP by WPForms”:
Click “Activate”:
Select “Gmail”:
Enter the values for “Client ID” and “Client Secret” you obtained from the Gmail control panels earlier in this procedure. Enter this value for “Authorized redirect URI”:
https://connect.wpmailsmtp.com/google/
Click “Save Settings”:
Click “Allow plugin to send emails using your Google account”:
Select the Gmail account you chose to allow the WP SMTP Mail plugin for WordPress to send email messages:
Click “Continue”:
Click “Allow”:
Click “Allow”:
Sending a test message
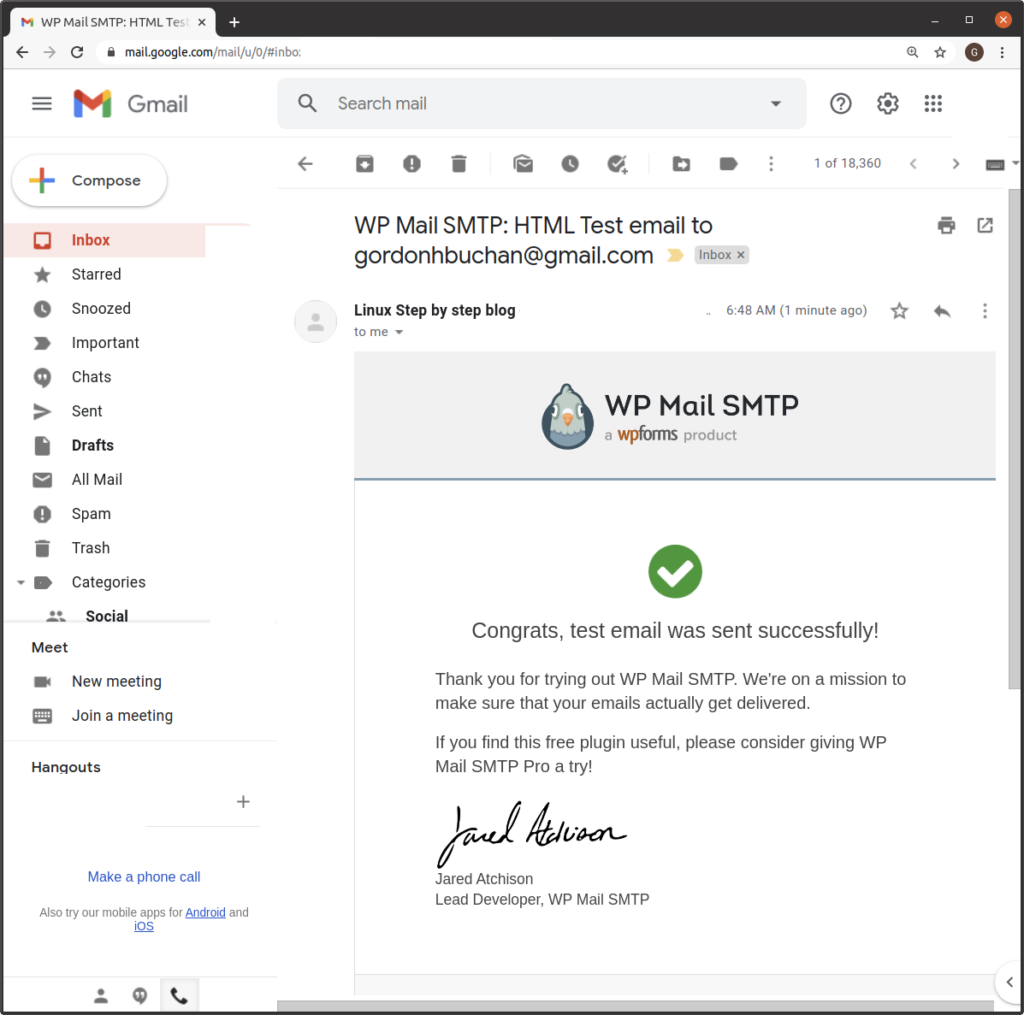
Enter an email address. Click “Send Email”:
An email similar to the following should arrive in the test destination mailbox:
Previous step: Chapter 10: Integrating Google Site Kit with WordPress to view Google Analytics and Google Search Console visitor statistics
Next step: Chapter 12: Installing and configuring the WooCommerce plugin for WordPress to enable a shopping cart for transactions