
Previous step: Chapter 11: Installing and configuring the WP Mail SMTP plugin for WordPress to enable WordPress to send email messages
Next step: Chapter 13: Installing and configuring MyBB to create a community forum site
Web presence step by step is a series of posts that show you to how to build a web presence.
In this chapter, we install and configure the WooCommerce plugin for WordPress to enable a shopping cart for transactions.
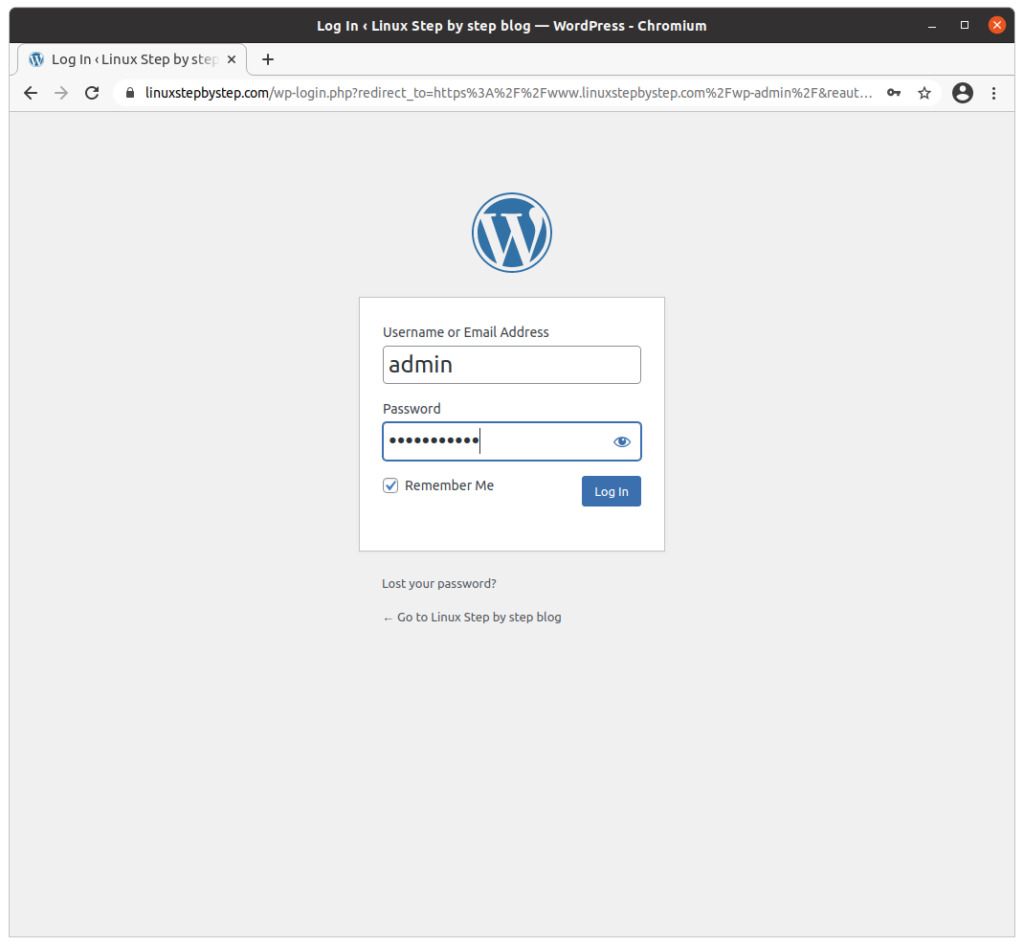
Accessing the WordPress control panel
Visit the URL for your WordPress control panel by entering your domain name followed by “/wp-admin” as in this example:
https://linuxstepbystep.com/wp-admin
Enter the username and password you specified when you created the WordPress blog in Chapter 8: Installing and configuring WordPress to create a website. Click “Log in”:
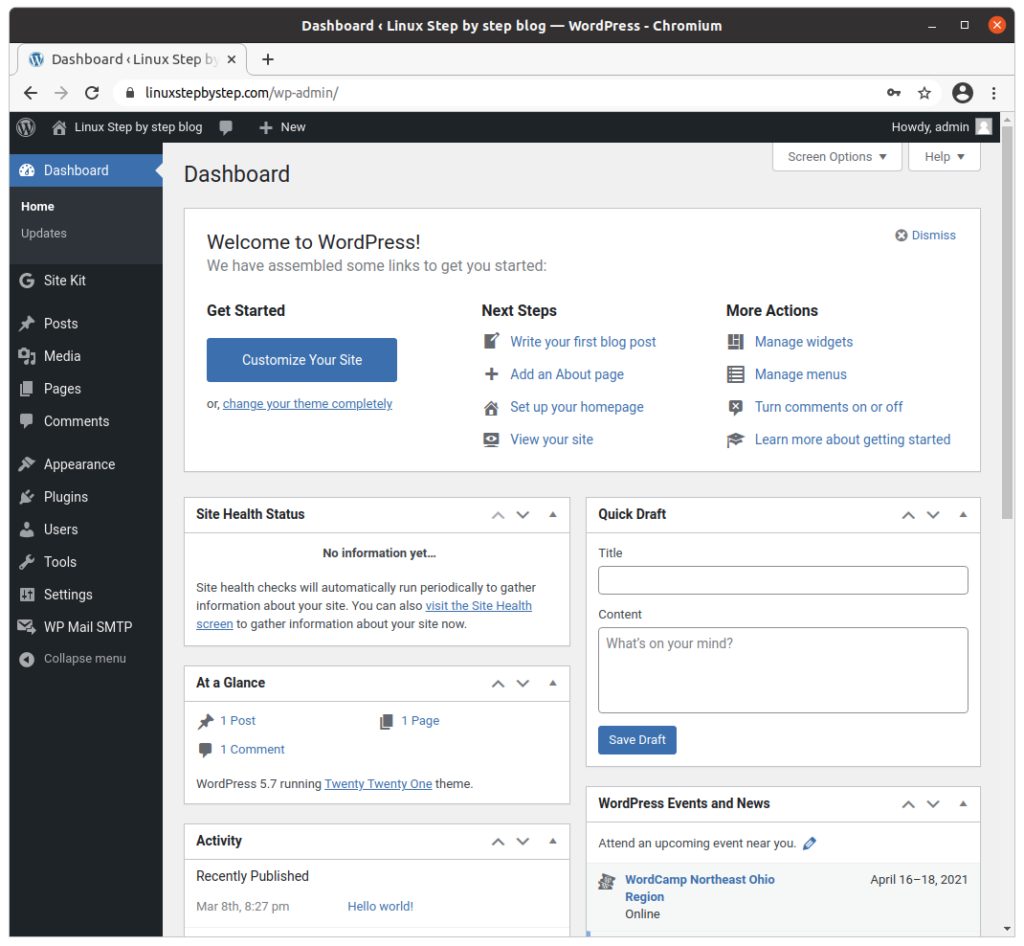
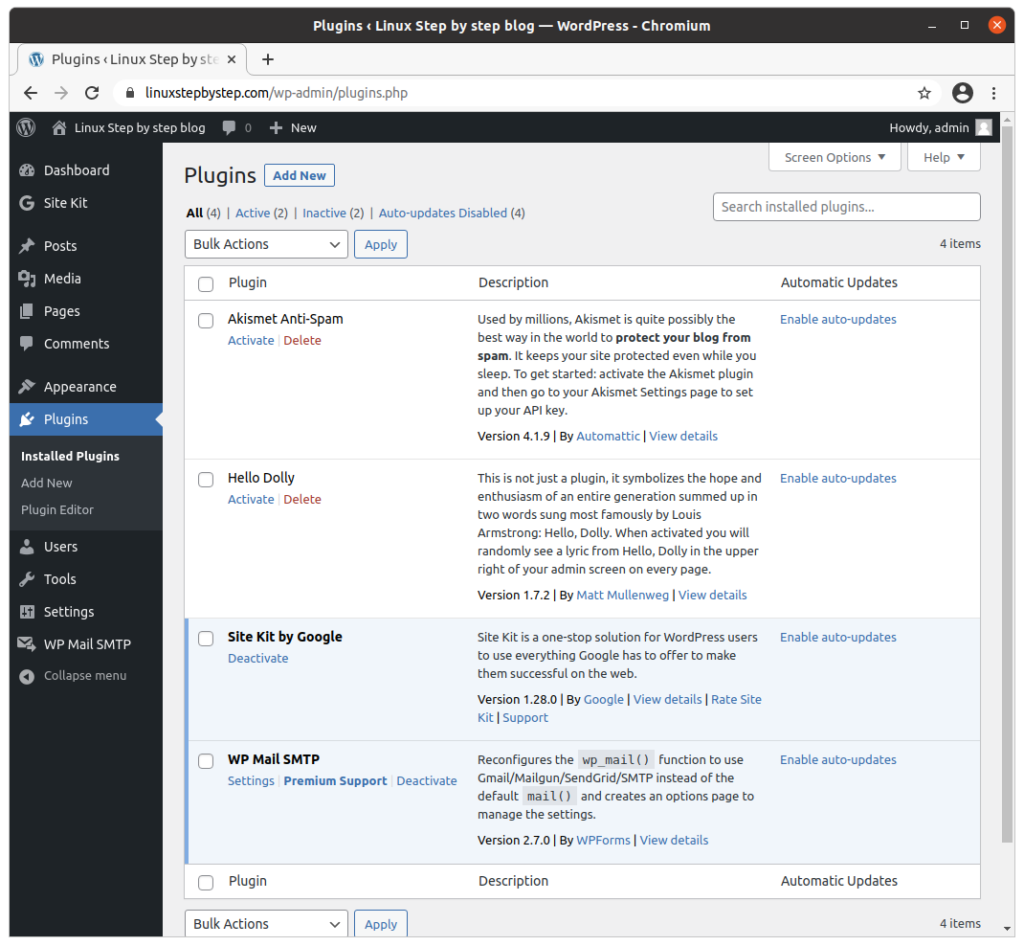
Installing the plugin
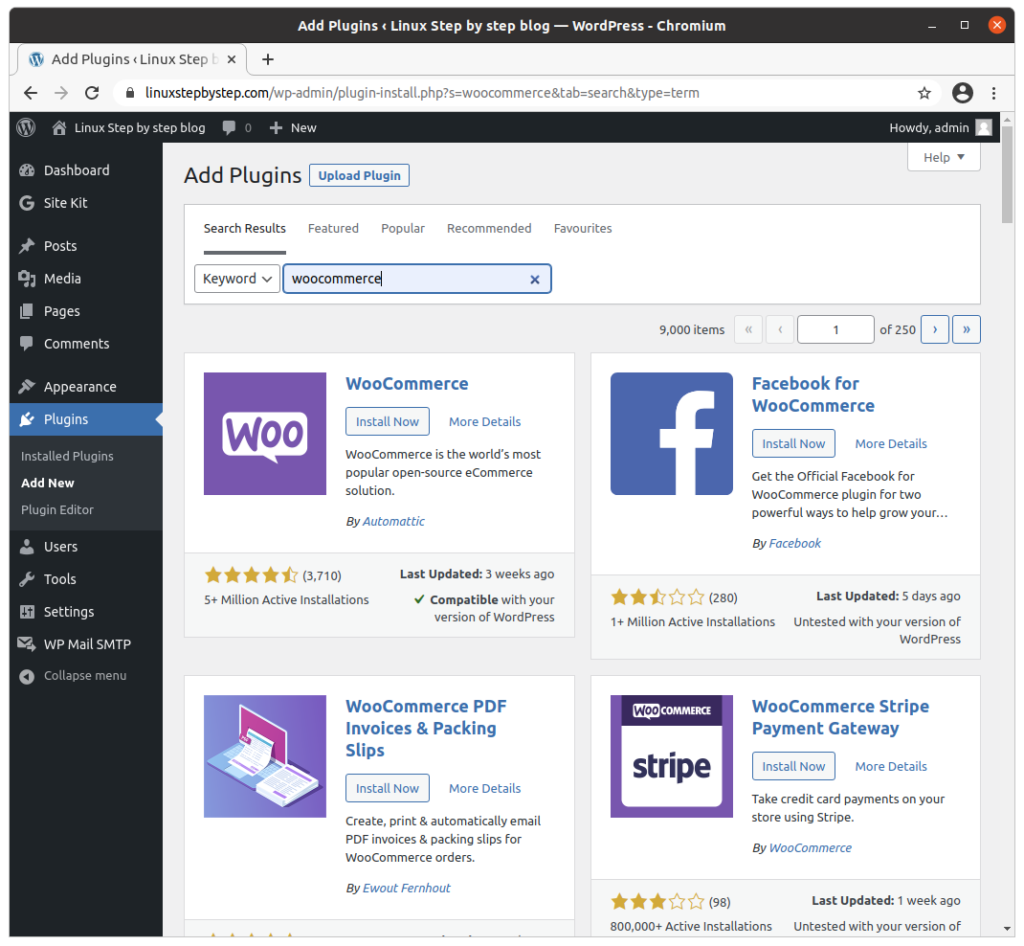
Click “Plugins”:
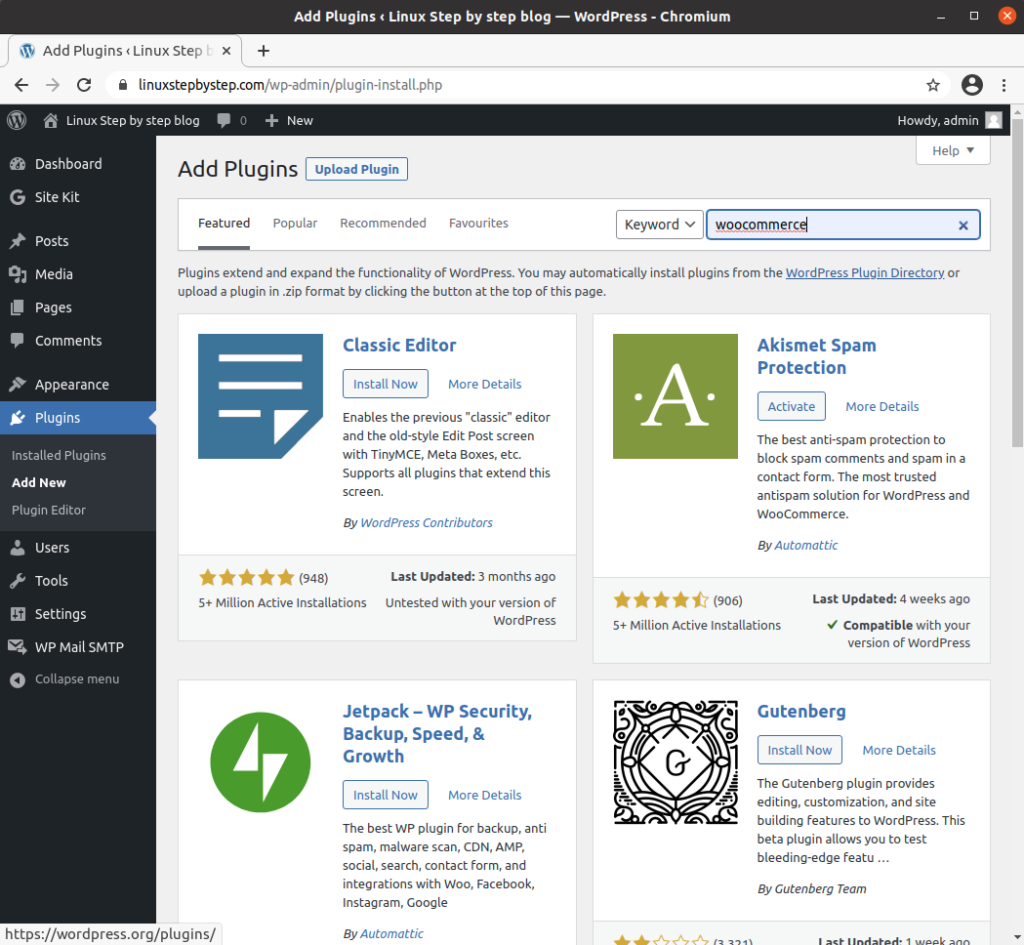
Click “Add New”:
search for the text “woocommerce”:
Click “Install Now”:
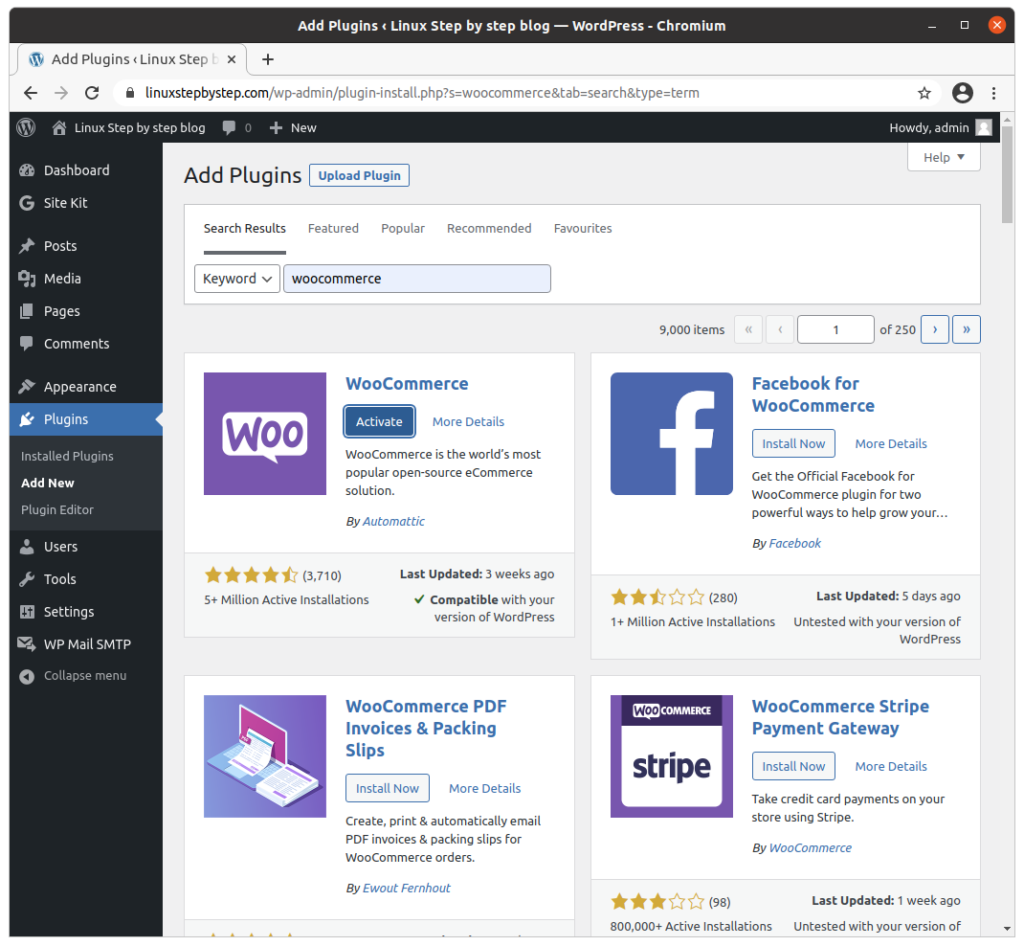
Click “Activate”:
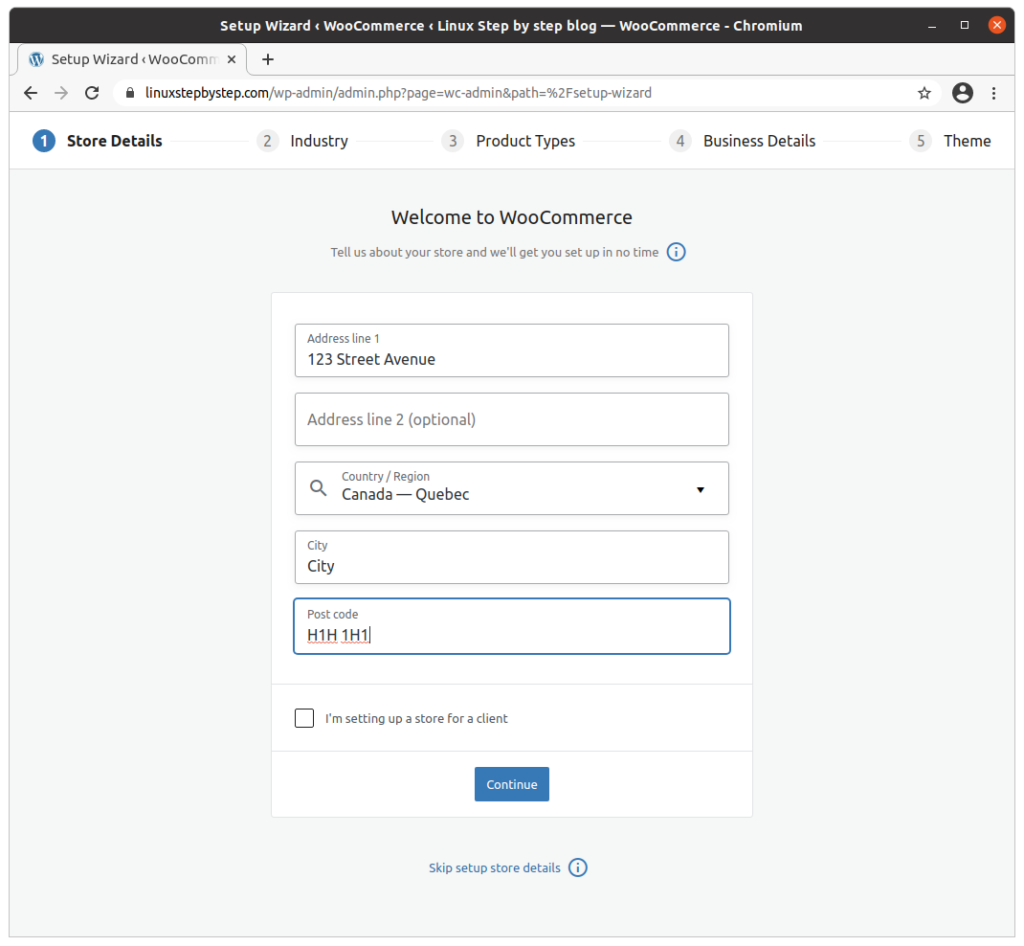
Complete the fields “Address,” “Country/Region,” “City,” “Post code,” Click “Continue”:
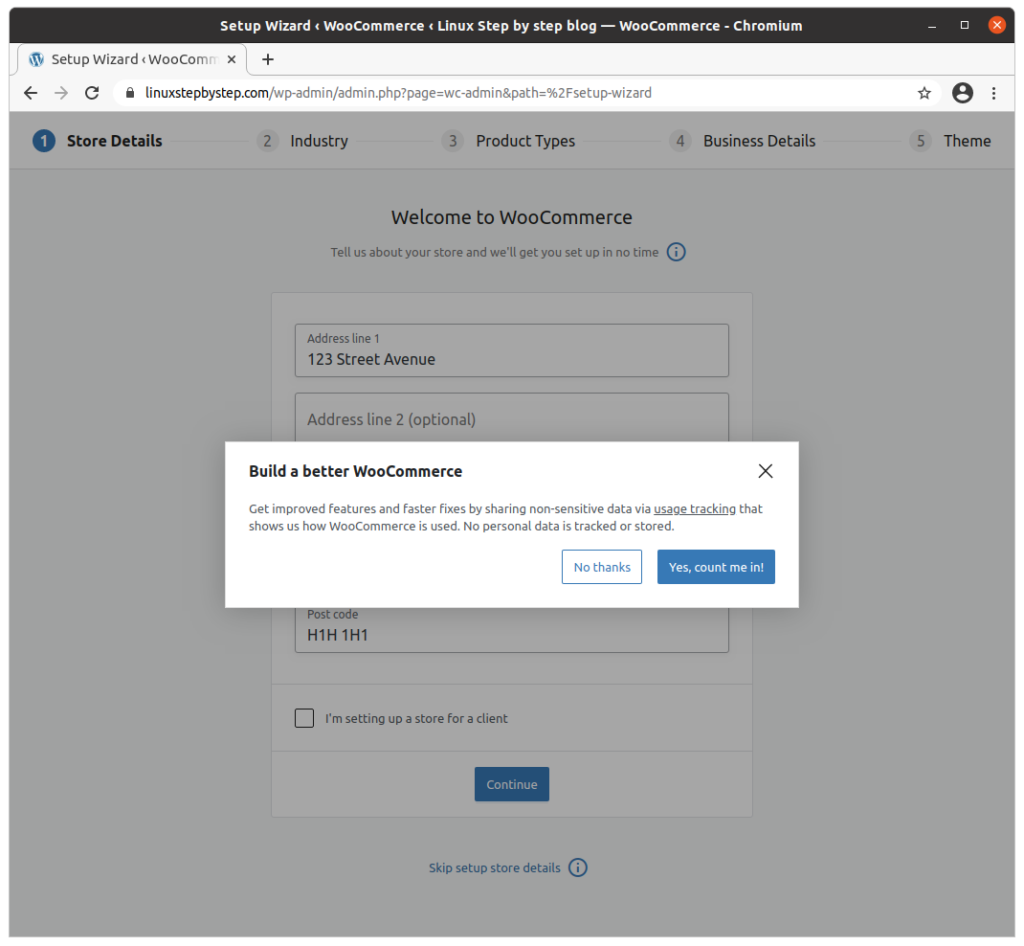
Click “No thanks”:
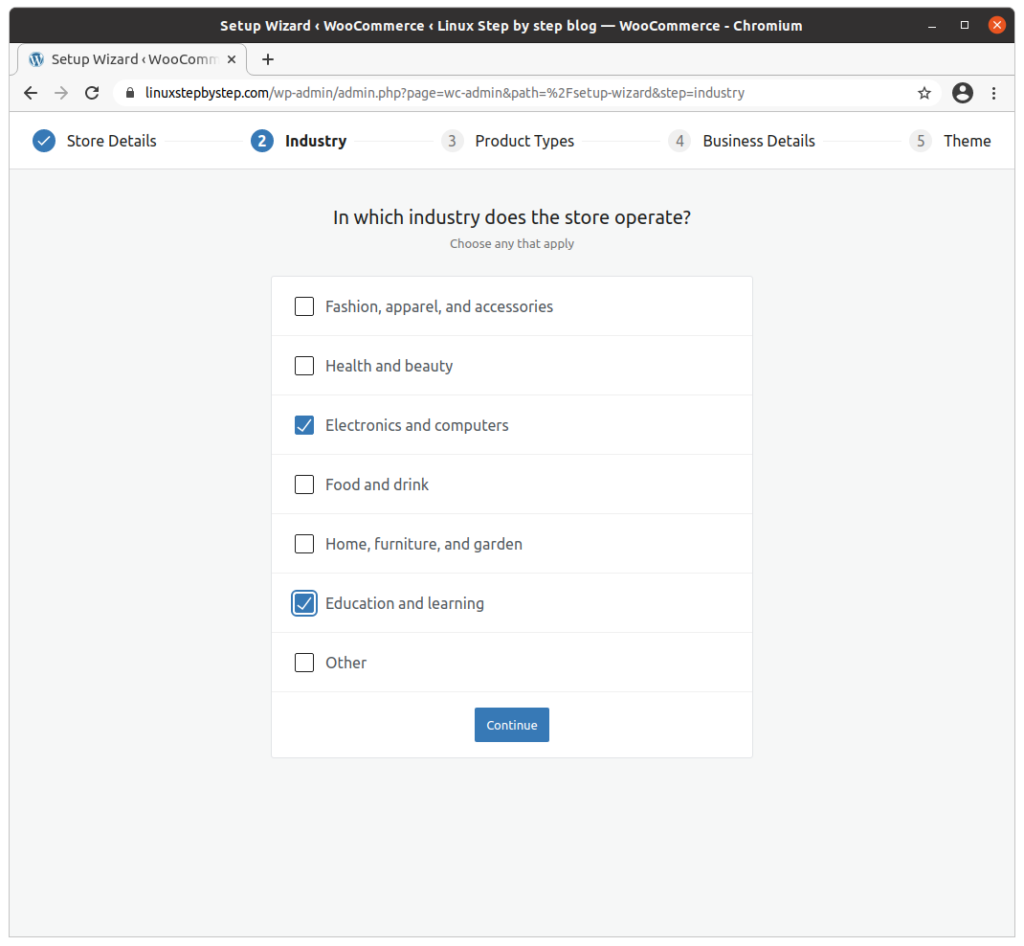
Check boxes that apply to your situation. Click “Continue”:
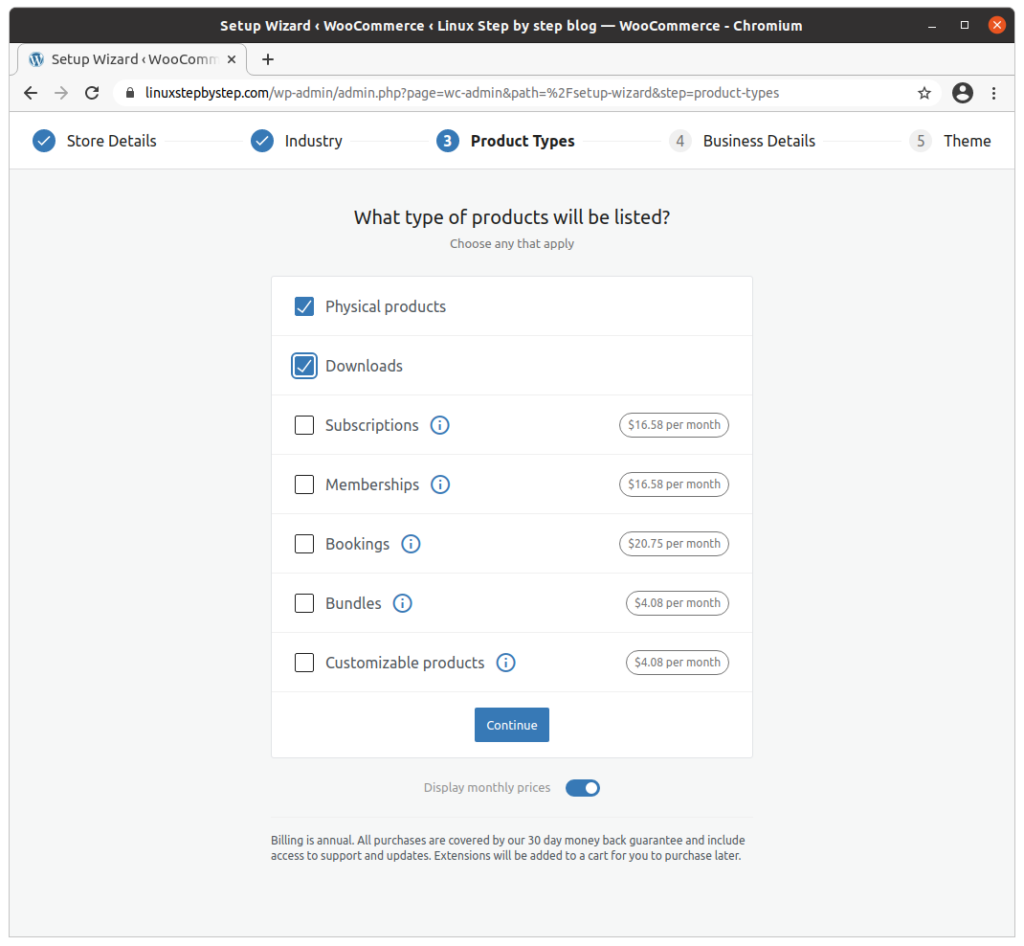
For now, we will limit ourselves to the free tier of services, “Physical products” and “Downloads.” Avoid checking the remaining boxes until you become more expert, as these additional options incur a monthly or annual cost cost. Click “Continue”:
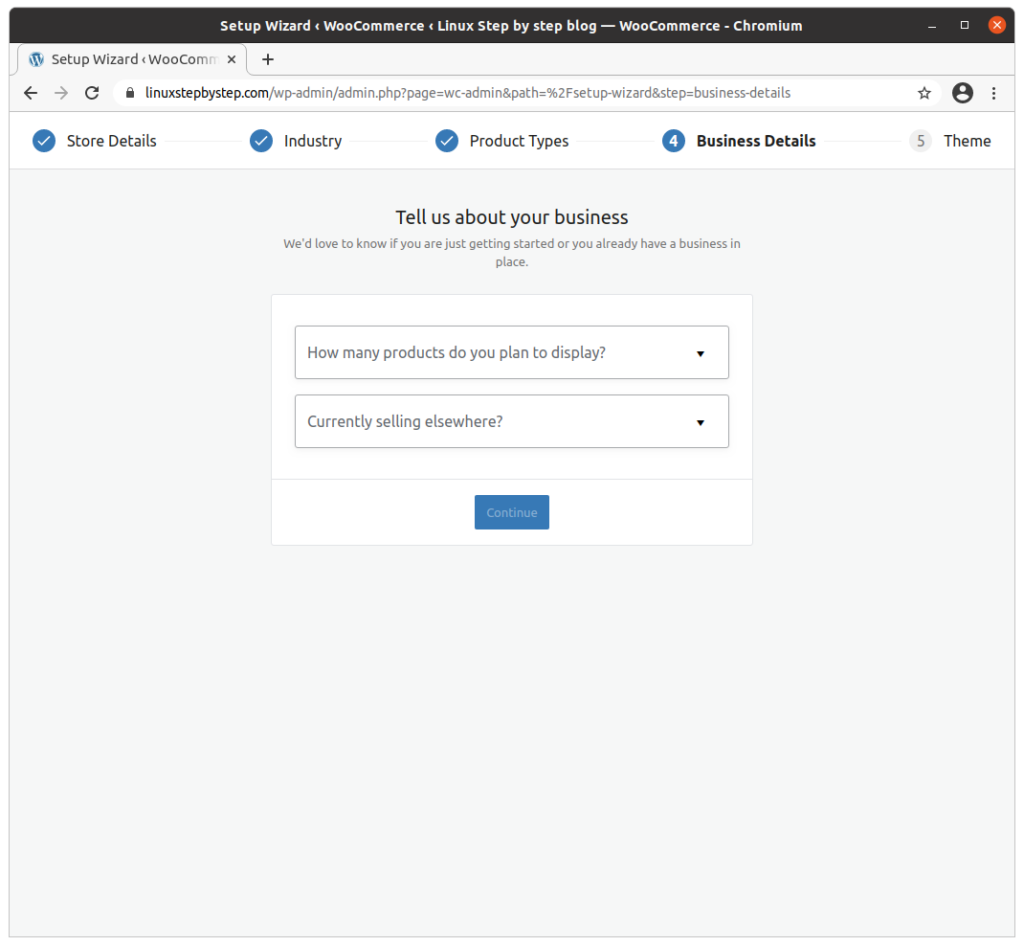
Select answers to the questions. Click “Continue”:
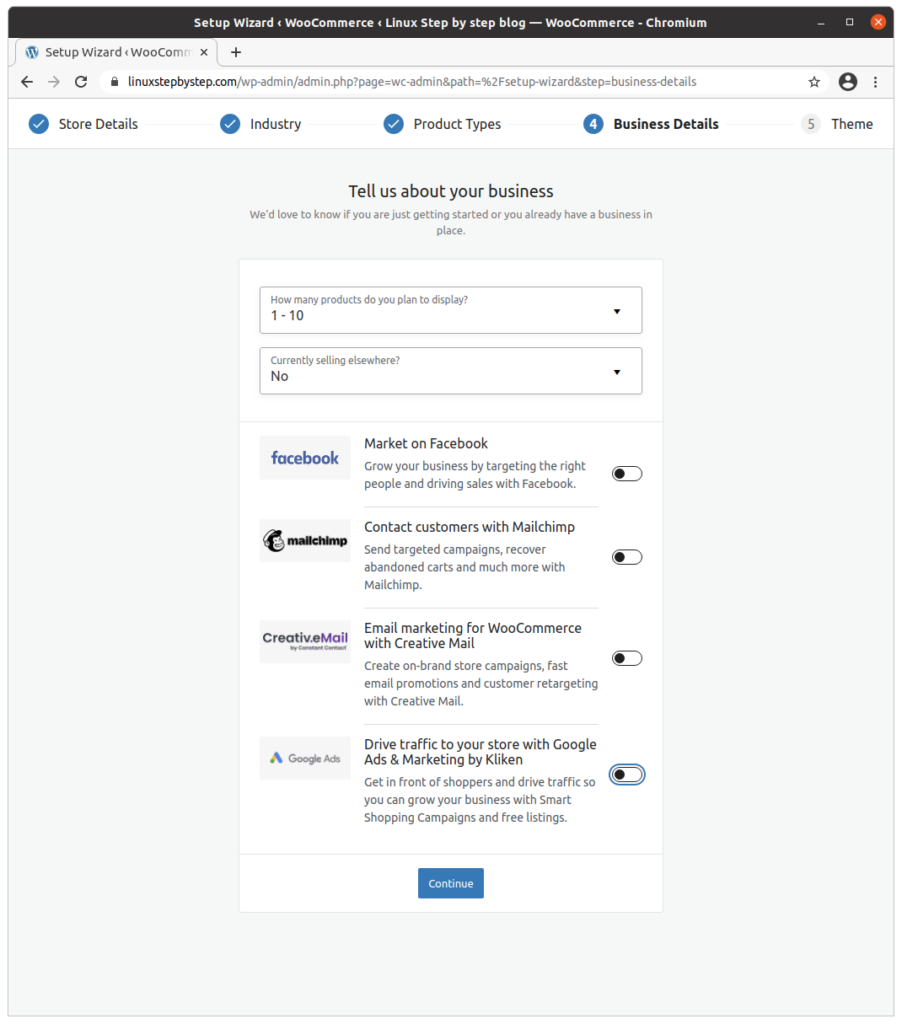
For now, we will de-select the additional services. Click “Continue”:
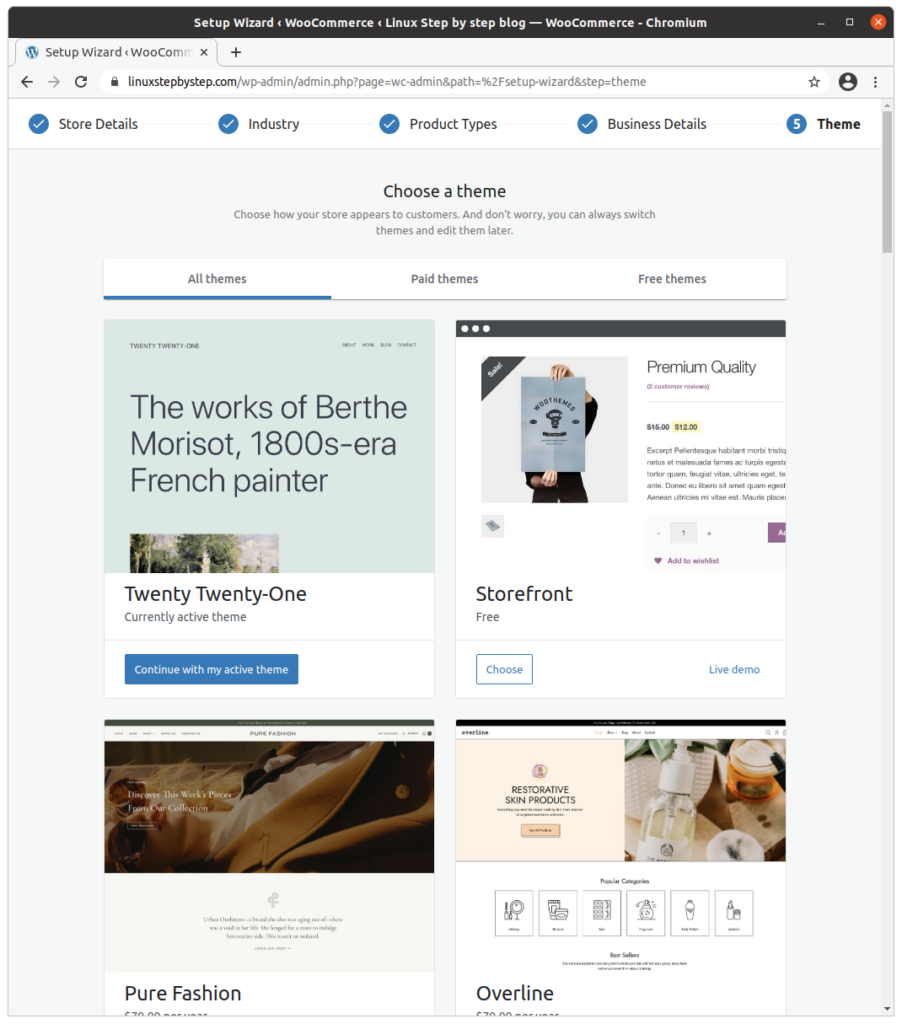
Click “Continue with my active theme”:
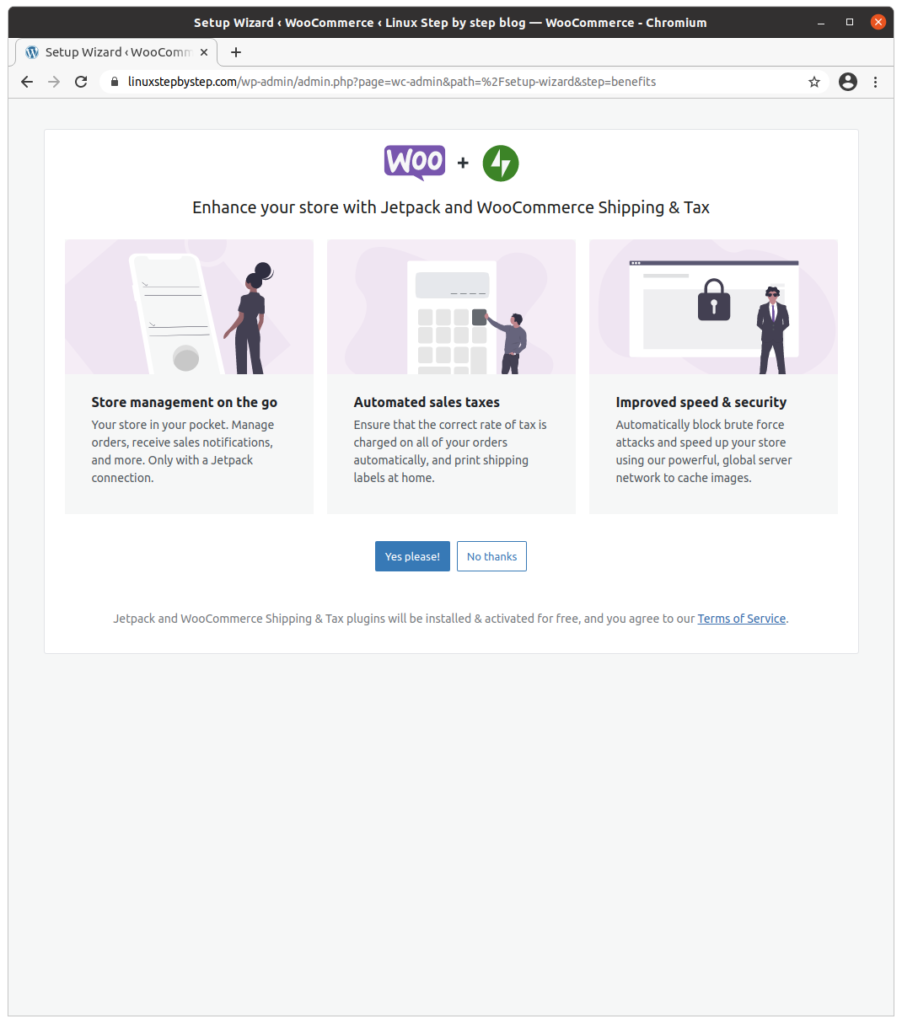
Click “No thanks”:
Click “Next”:
Click “Next”:

Click “Let’s go”:

Configuring WooCommerce
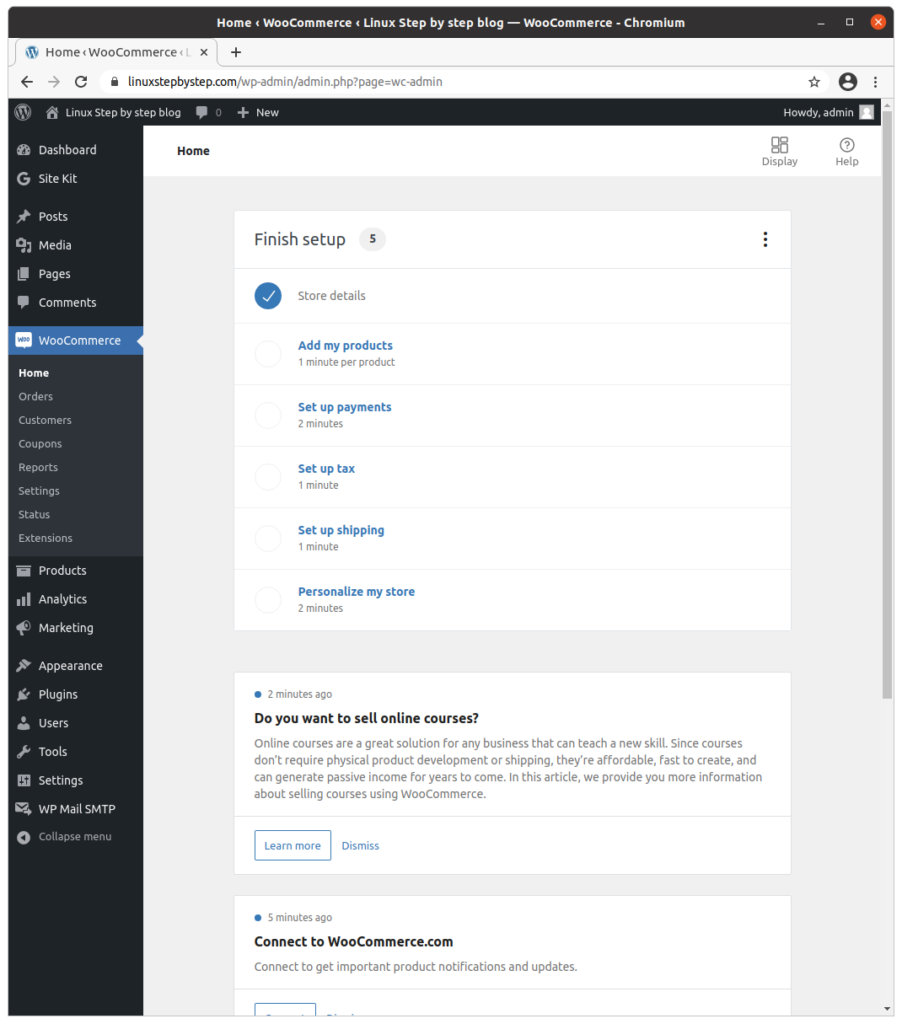
The WooCommerce plugin page appears. The “Finish setup” wizard is displayed. Explore the wizard by completing the steps. We will not explore this wizard in detail as it is largely self-explanatory, and there are many permutations of possible choices specific to each business case.
Avoid “Set up payments” until you have learned more
Delay configuring payments for your store until the end. You should feel comfortable experimenting with the software before there are live financial consequences due to a link with a payment service.
Avoid Jetpack and WooCommerce Tax, set up taxes manually
In the “Set up tax” section, avoid the option “Install Jetpack and WooCommerce Tax,” and instead select the option “Set up manually.”
Start by setting tax rates manually. If you decide later that you need the functionality in the “Jetpack” and “WooCommerce Tax” tools, you can install them later.
Previous step: Chapter 11: Installing and configuring the WP Mail SMTP plugin for WordPress to enable WordPress to send email messages
Next step: Chapter 13: Installing and configuring MyBB to create a community forum site