
Previous step: Chapter 9: Installing and configuring phpMyAdmin to manage MySQL databases
Next step: Chapter 11: Installing and configuring the WP Mail SMTP plugin for WordPress to enable WordPress to send email messages
Web presence step by step is a series of posts that show you to how to build a web presence.
In this post, we install and configure the Google Site Kit plugin for WordPress in order to access Google Analytics and Google Search Console website statistics.
Understanding the link between WordPress, the Google Site Kit plugin, Google Analytics, and Google Search Console
In order to track visitor statistics for your website, Google Analytics needs a tracking code inserted into each web page you host. Google Search Console requires that we prove we have the authorization of the owner of the domain in order to view search engine statistics specific to the domain. By installing and configuring the Google Site Kit plugin for WordPress, we are able to add the necessary tracking code, and to prove to Google that we are the authorized owner of the domain name.
Creating or choosing a Gmail account for the connections to Google Analytics and Google Search Console
We will need a Gmail account to control the Google Analytics and Google Search Console transactions for your website. This account may have to be shared with marketing consultants and sales personnel, so it should not be associated with the email for a specific employee. The Gmail account can be a personal (free) Gmail account.
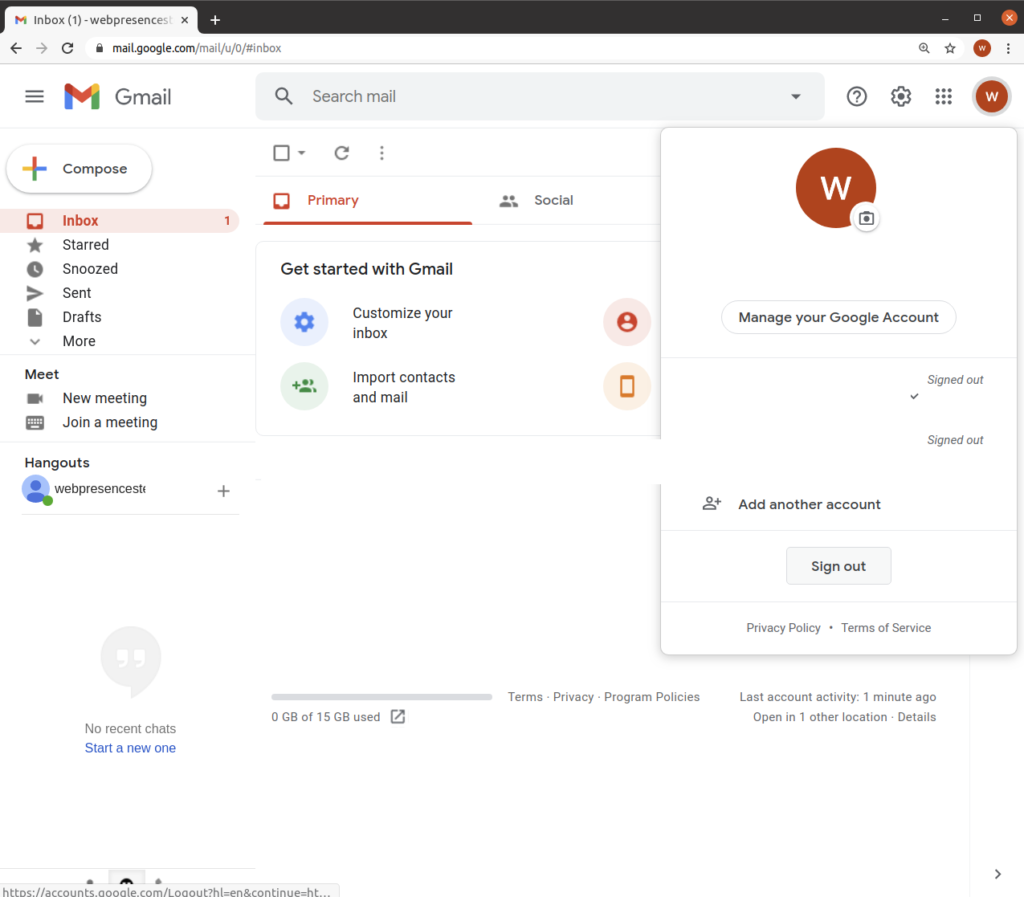
Logging out of Gmail, just to be sure
Before we begin, sign out of Gmail:
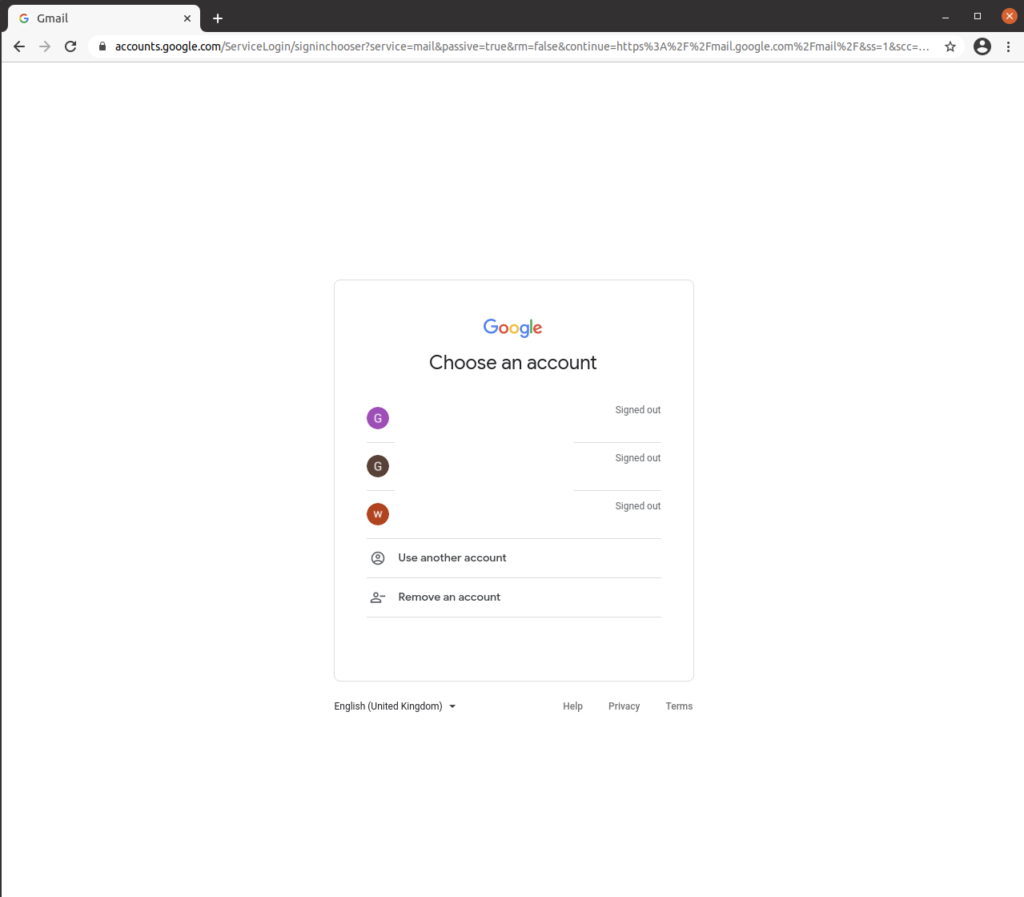
Logging into the Gmail account you created for Google Analytics and Google Search Console
Login to the account you created for use with Google Analytics and Google Search Console:
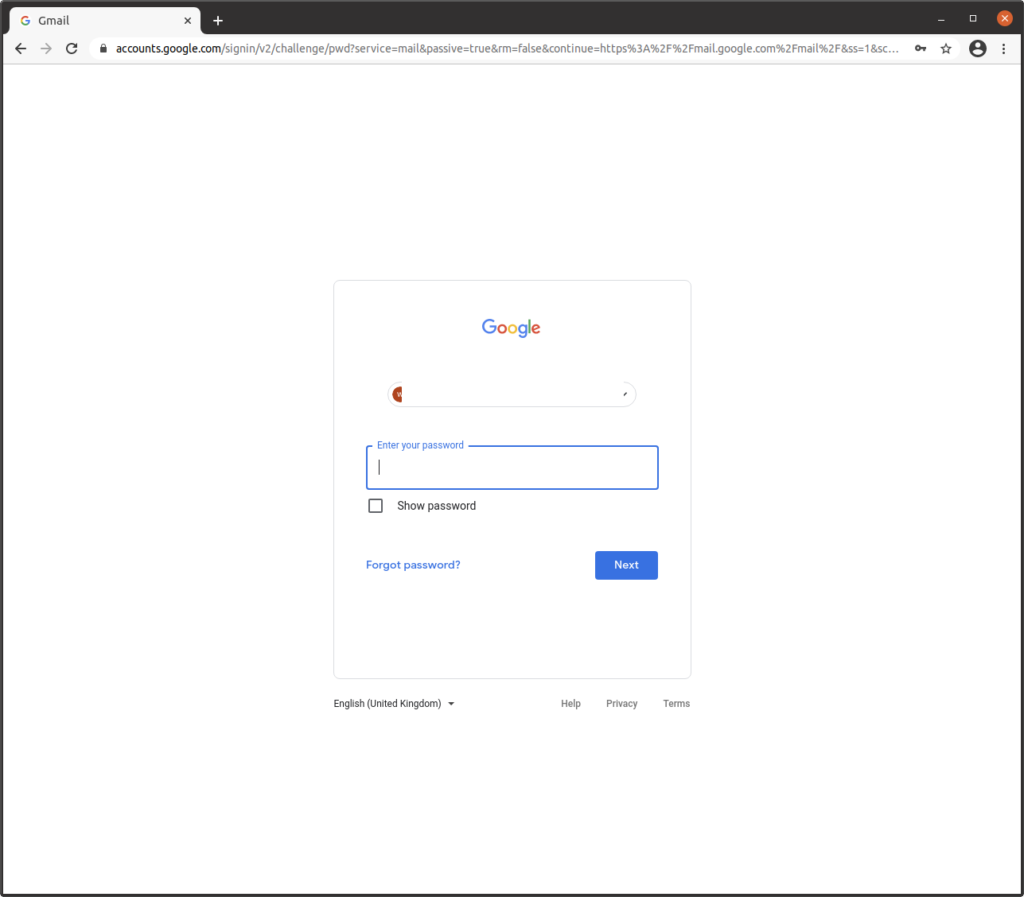
Enter the password for the account:
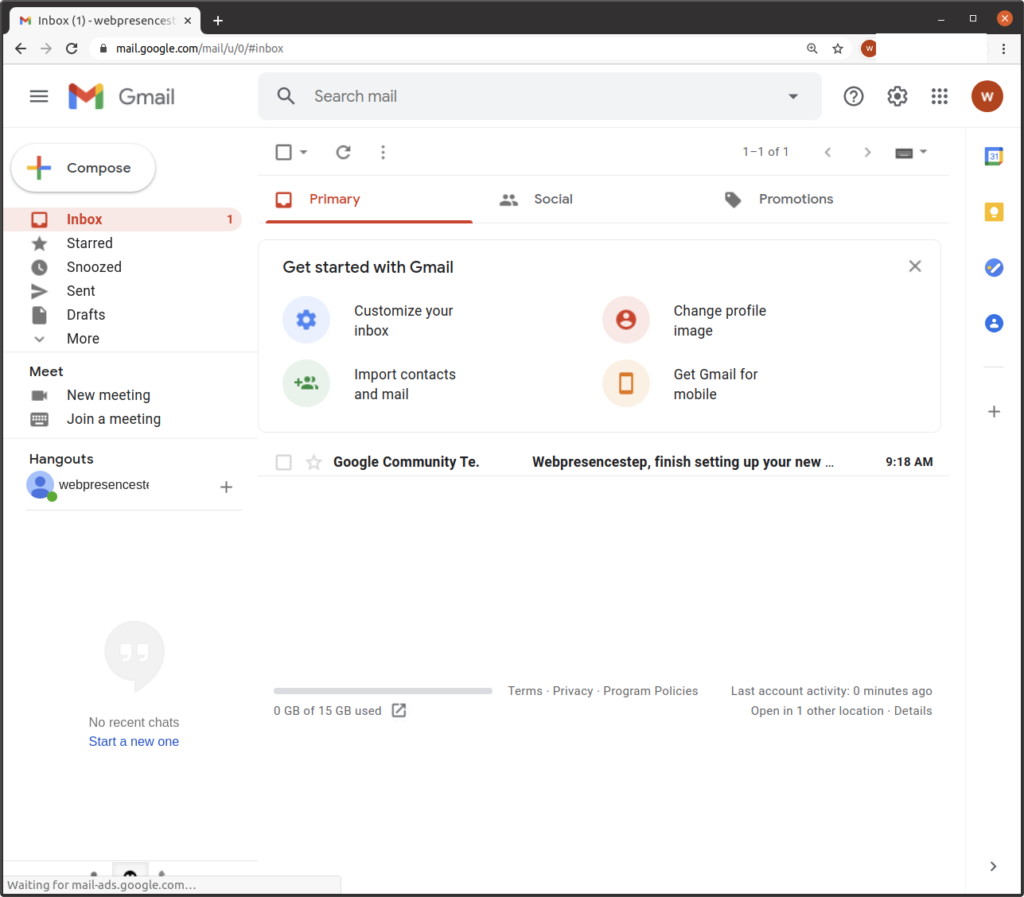
Gmail appears, logged into the account you created to manage Google Analytics and Google Search Console transactions:
Configuring Google Analytics to create a property
Visit the Google Analytics site. Click “Start measuring”:

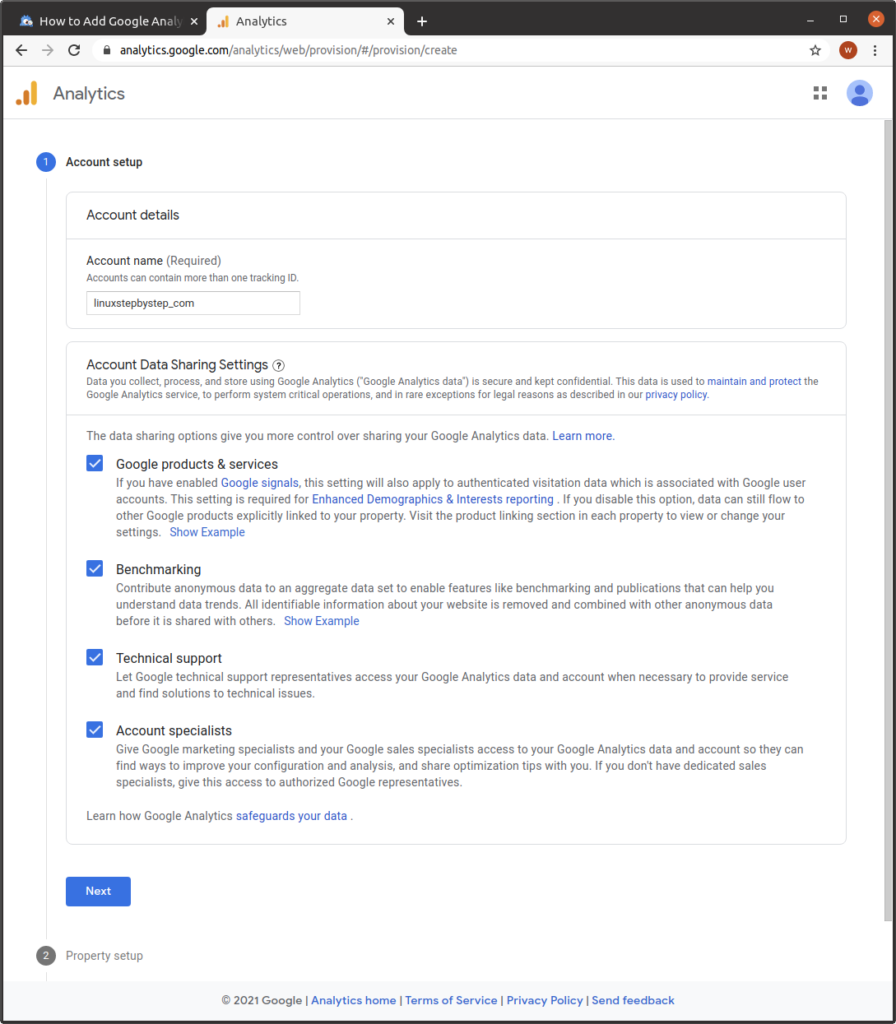
Enter a value for “Account name,” check the boxes under “Account Data Sharing Settings.” Click “Next”:
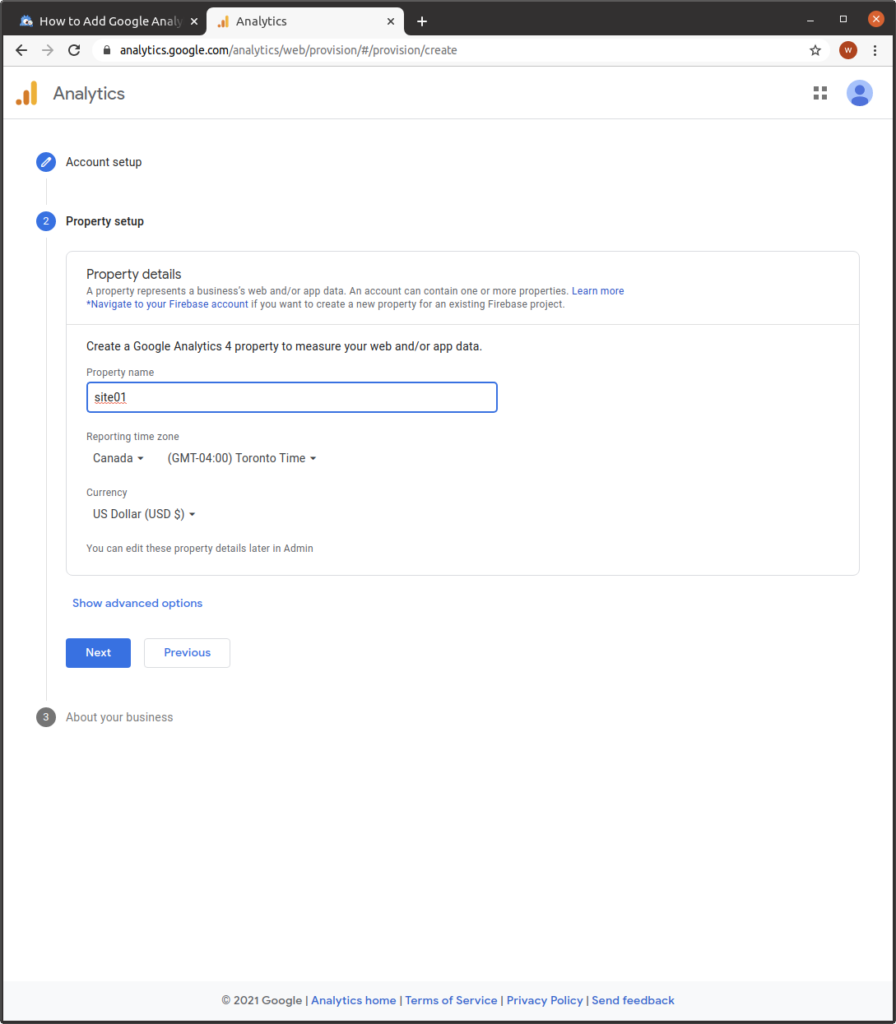
Enter a value for “Property name.” Click “Next”:
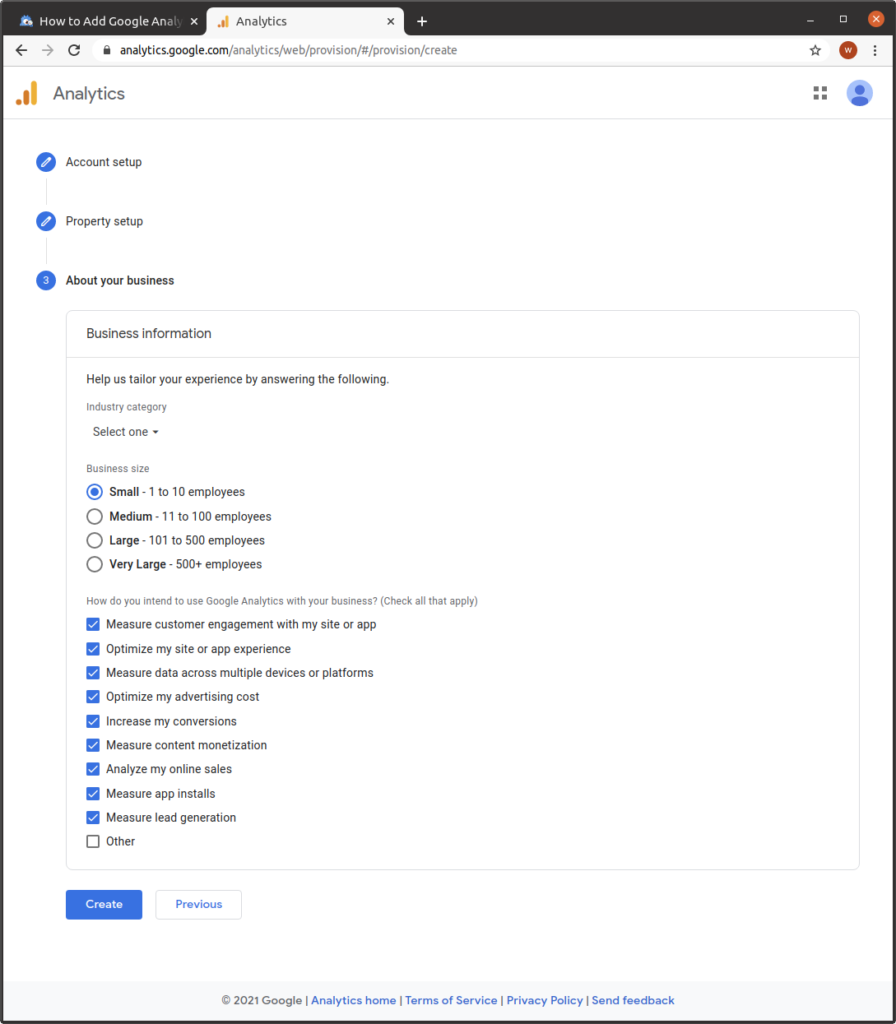
Check a box for “Business size.” Check boxes as applicable under “How do you intend to use Google Analytics with your business (Check all that apply).” Click “Create”:
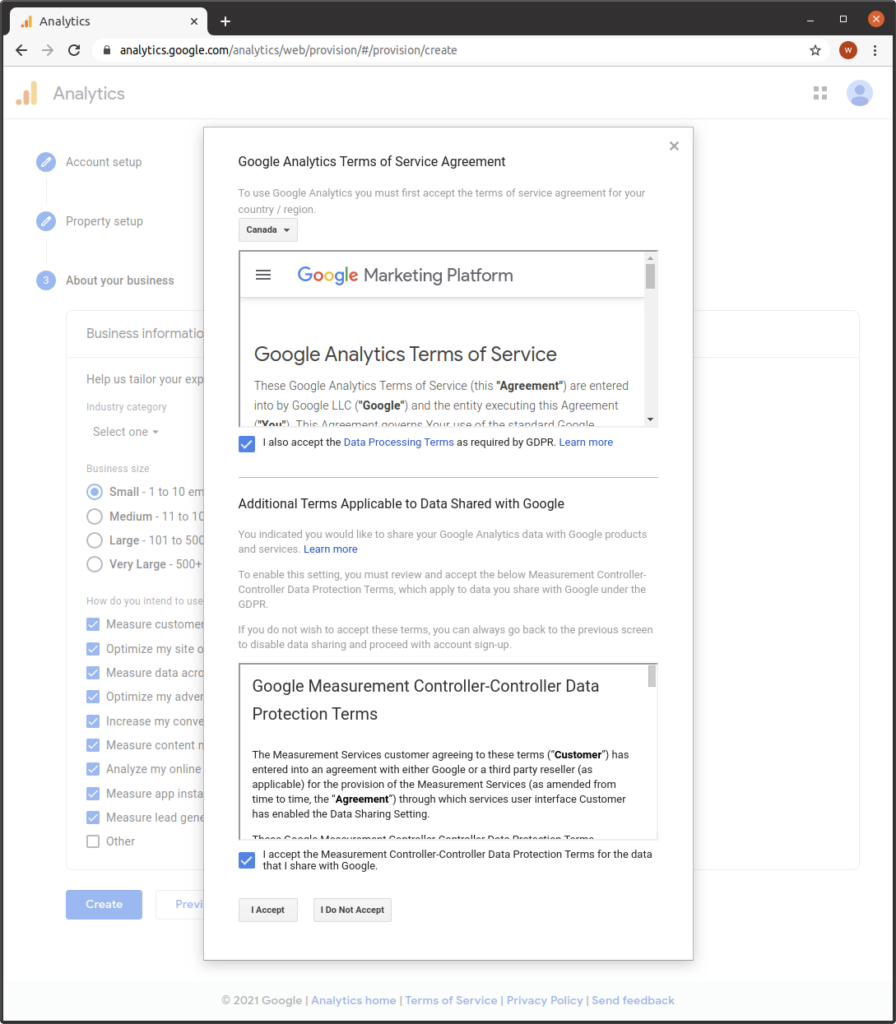
Check the boxes to accept the terms, click “I Accept” (if you want to):
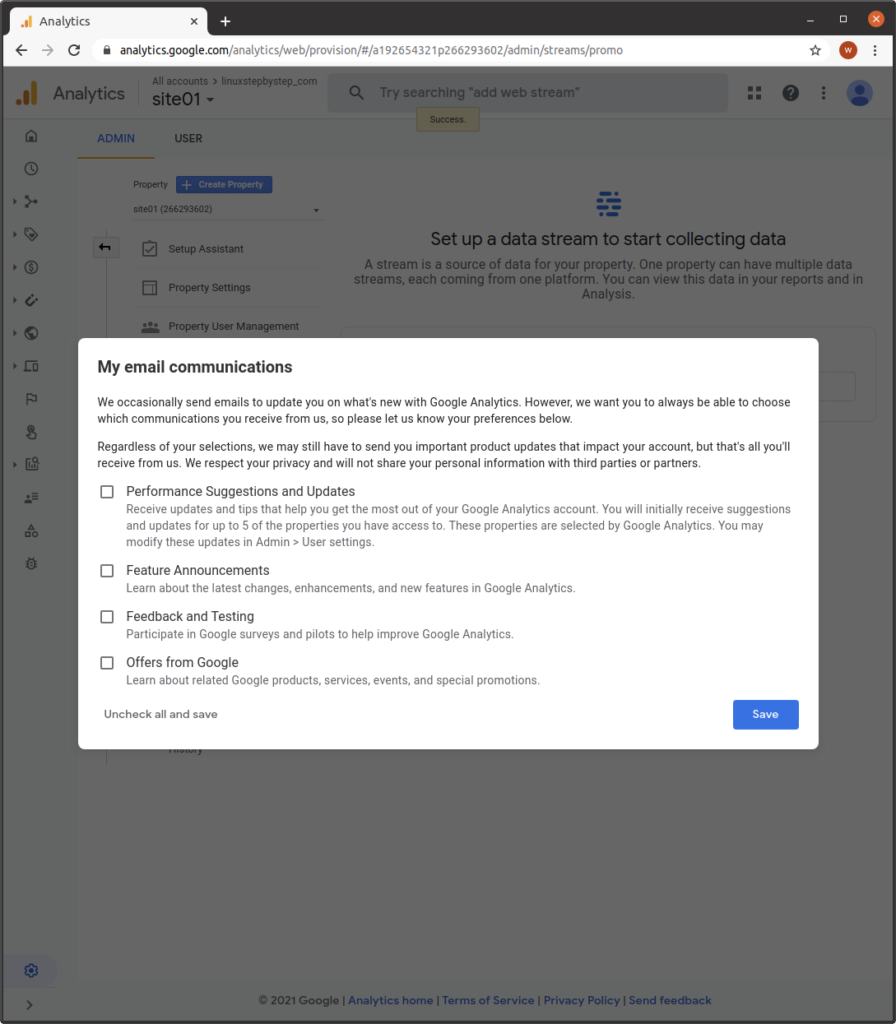
Do not check any of these boxes. Click “Save”:
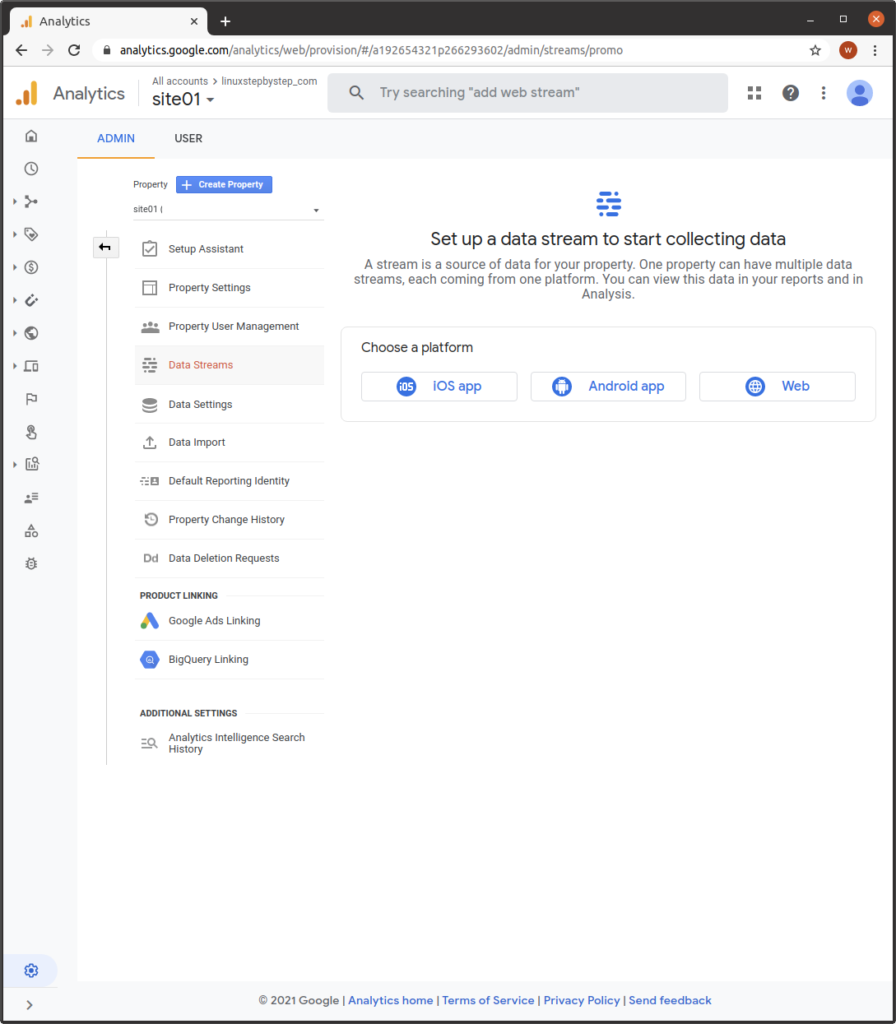
The Google Analytics site appears:
Installing the Google Site kit plugin for WordPress
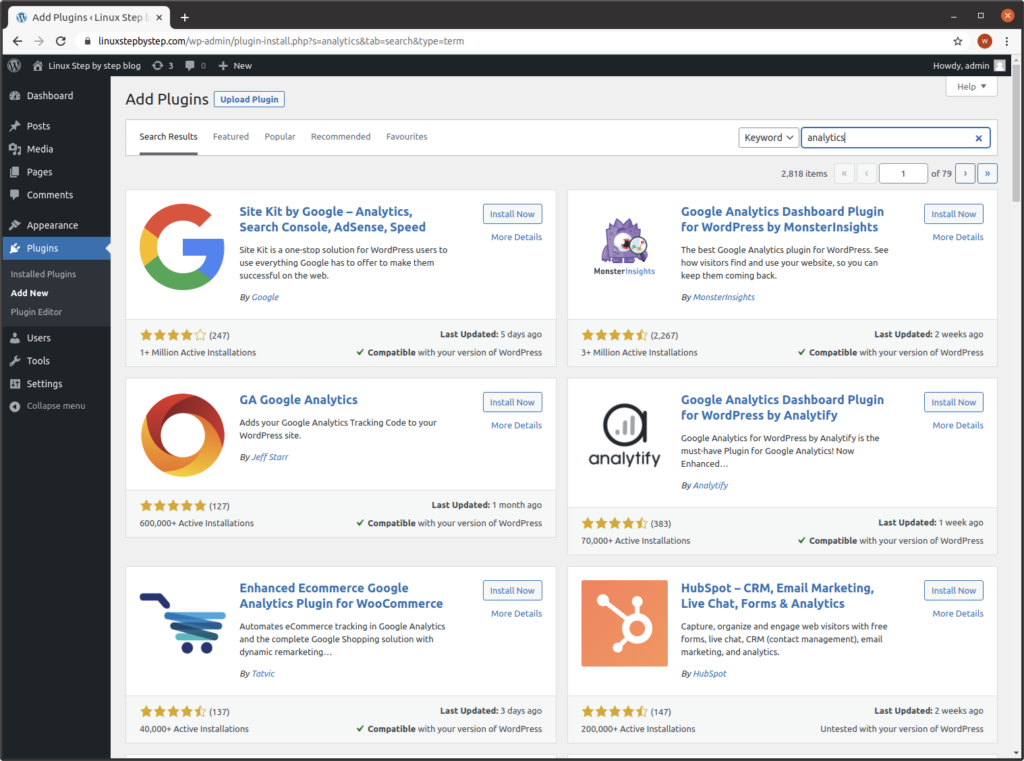
Go to the control panel for your WordPress blog. Go to Plugins. Click “Add New.” Search for:
“analytics”
Locate “Site Kit by Google — Analytics, Search Console, AdSense, Speed.” Click on the button “Install Now” for the plugin:
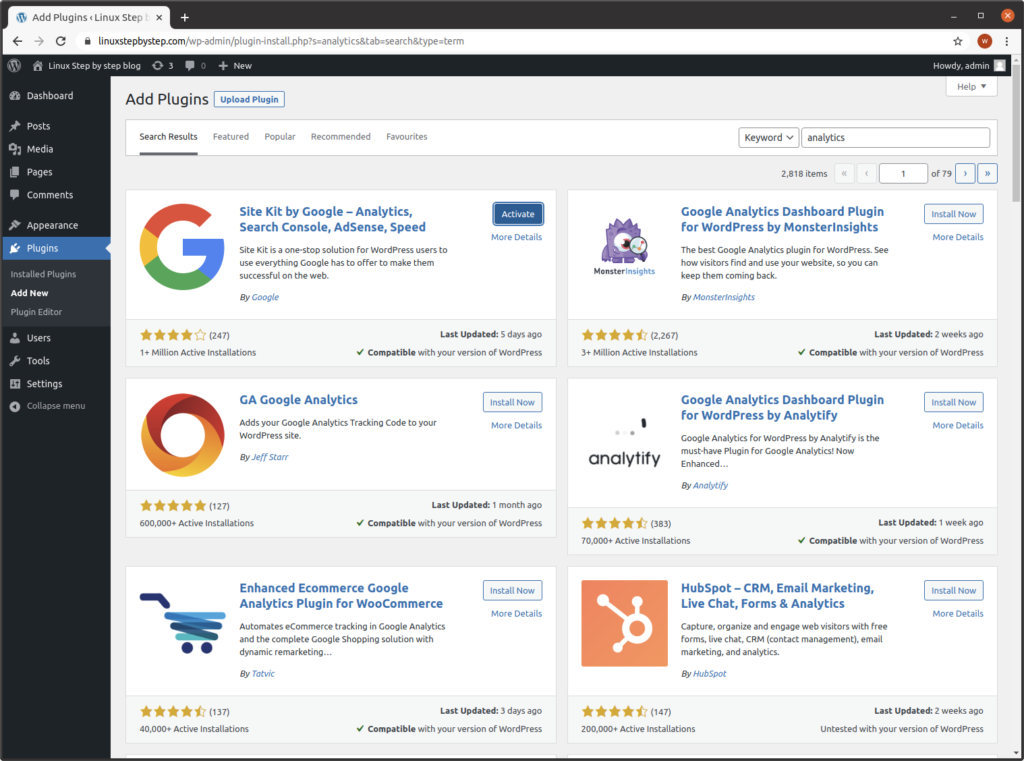
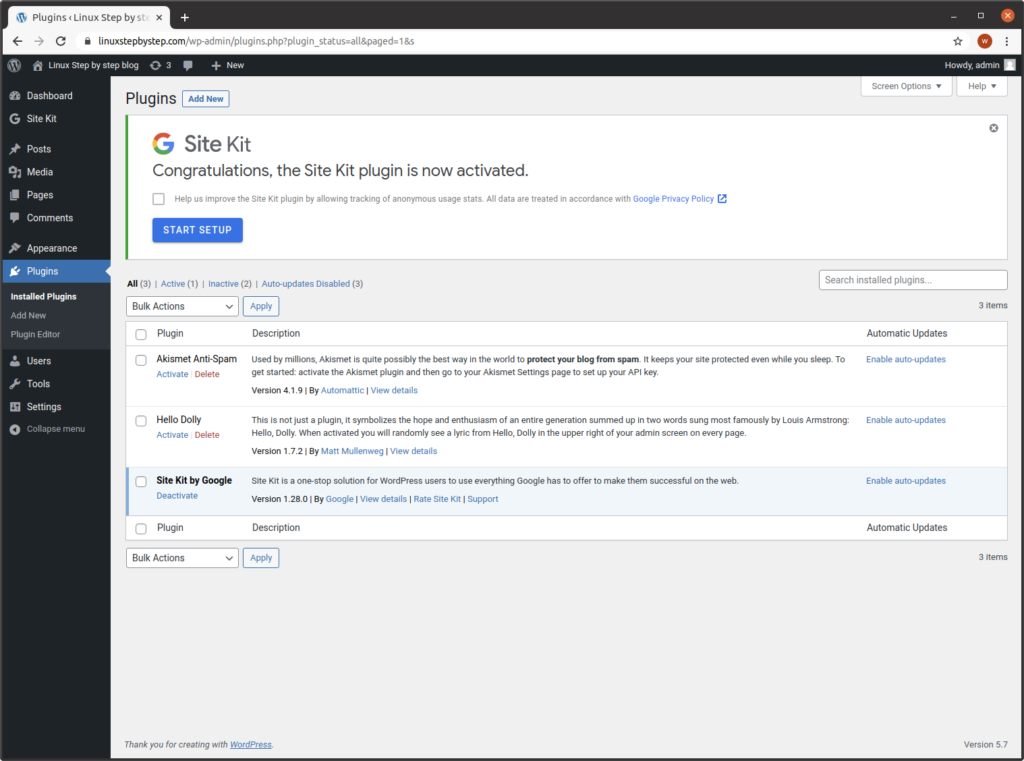
Click “Activate”:
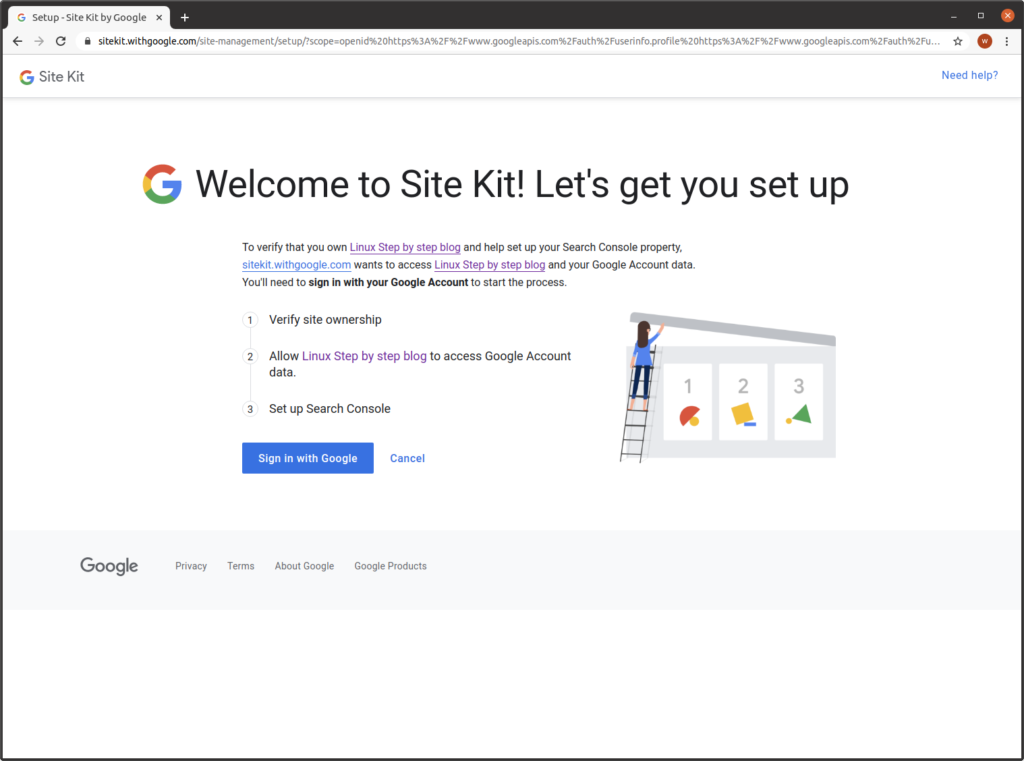
Click “Start setup”:
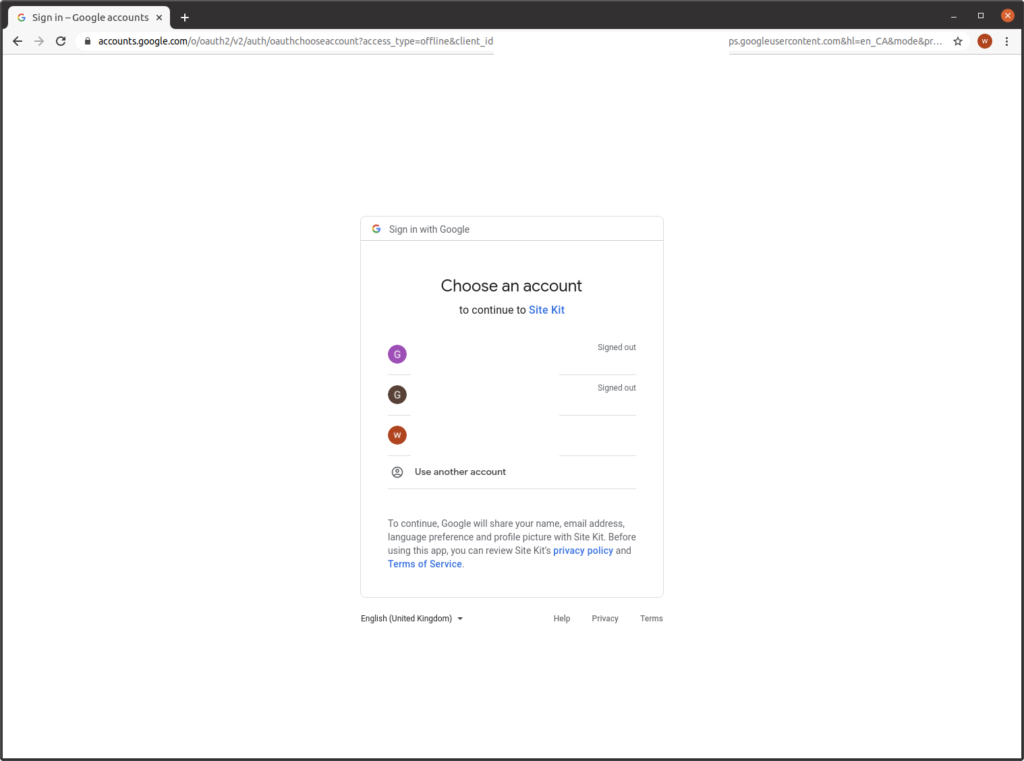
Click “Sign in with Google”:
Select the account you created to control Google Analytics and Google Search Console transactions for your domain:
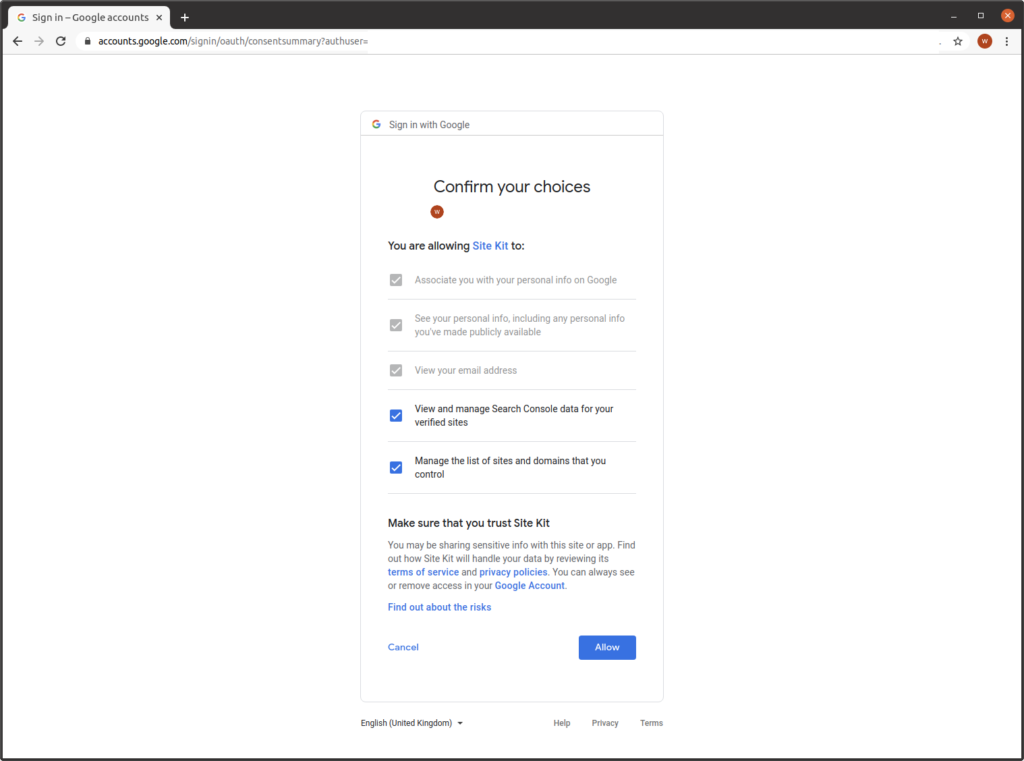
Click “Allow”:

Click “Allow”:
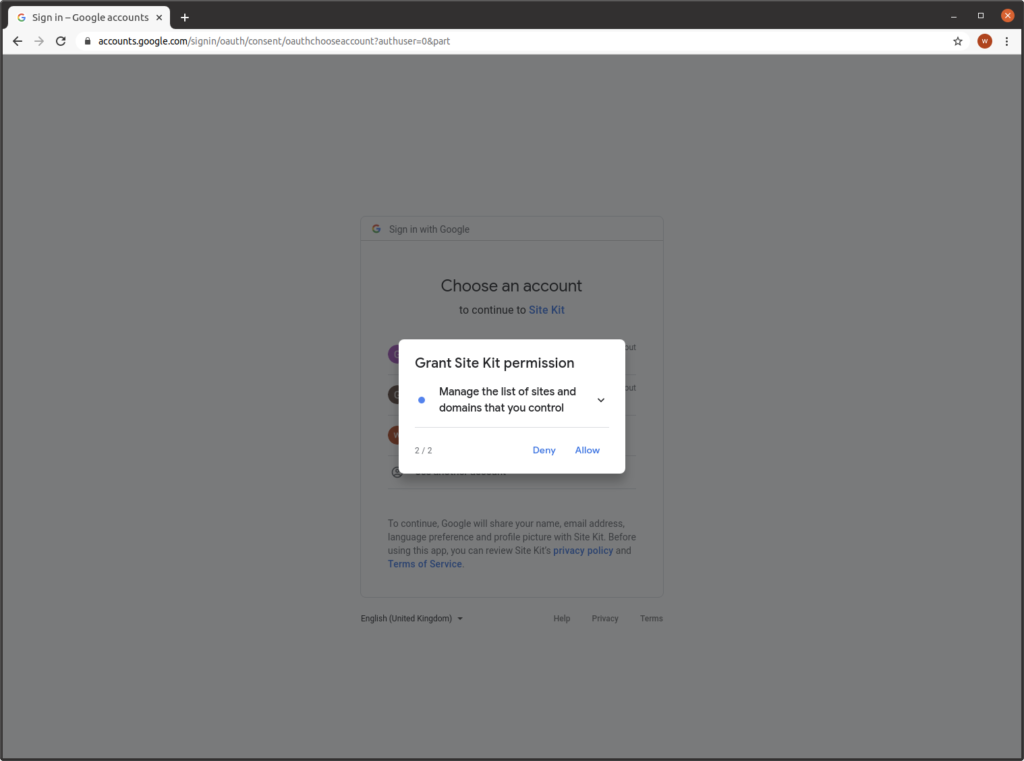
Click “Allow”:
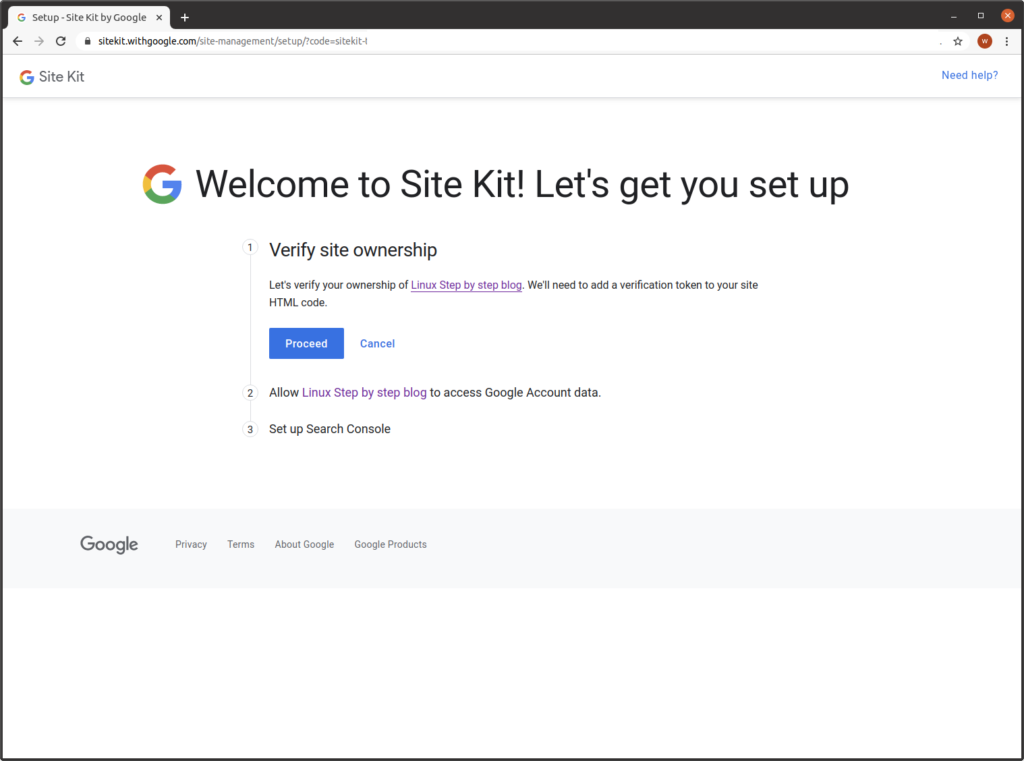
Click “Proceed”:
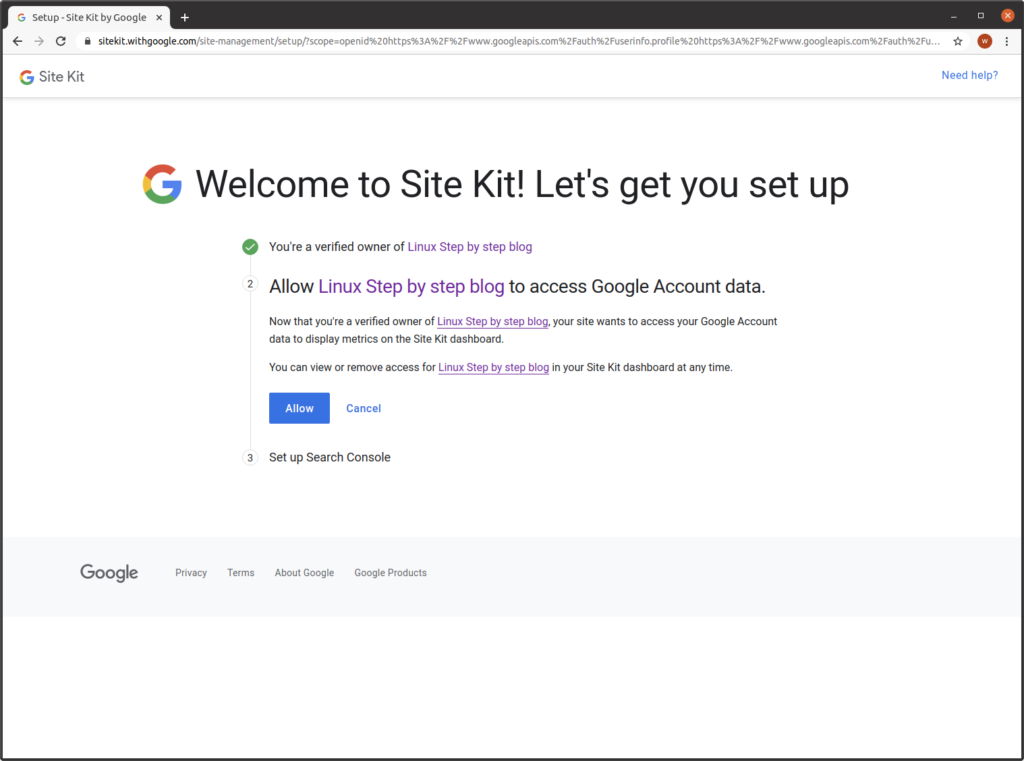
Click “Allow”:
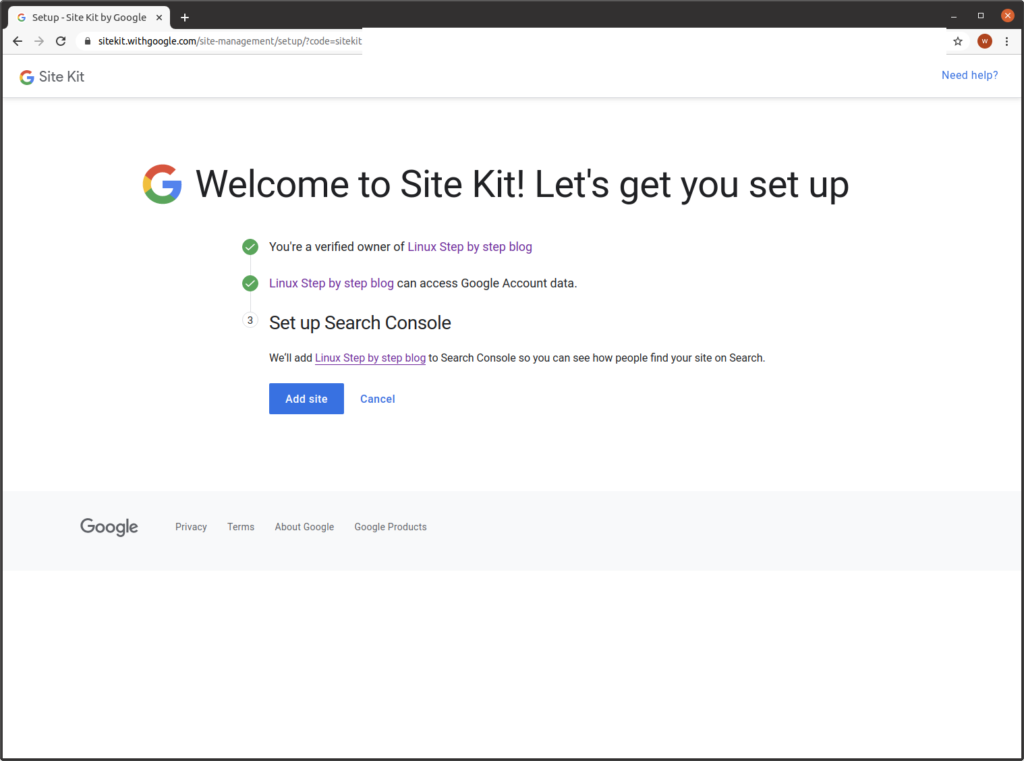
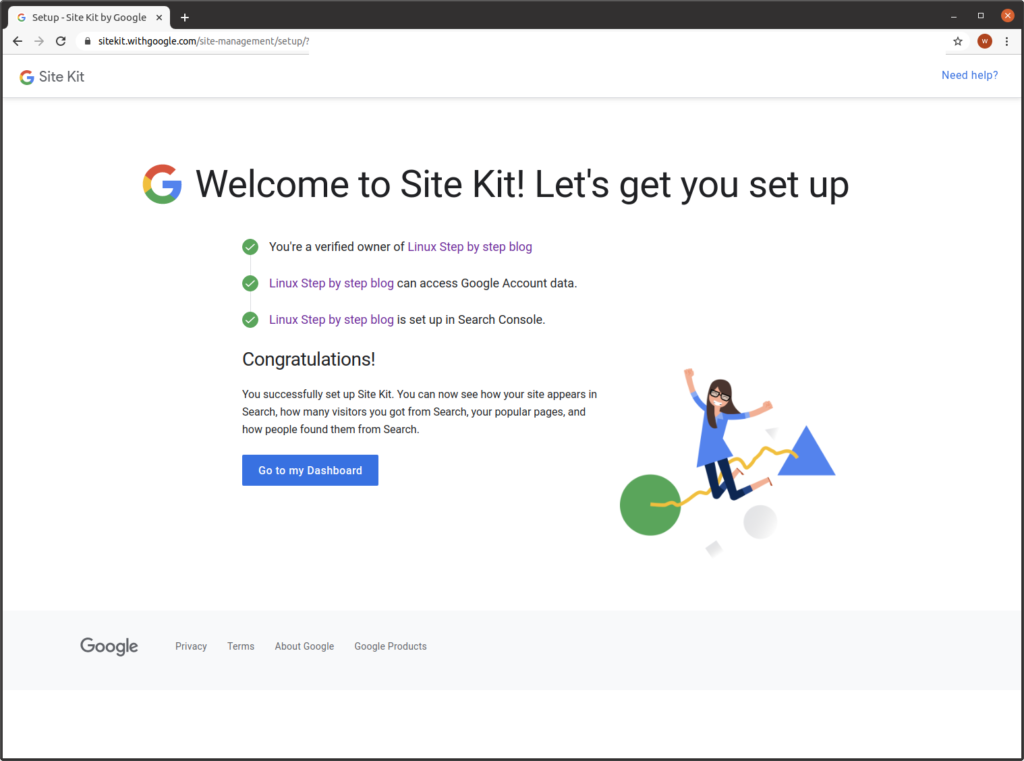
Click “Add site”:
Click “Go to my Dashboard”:
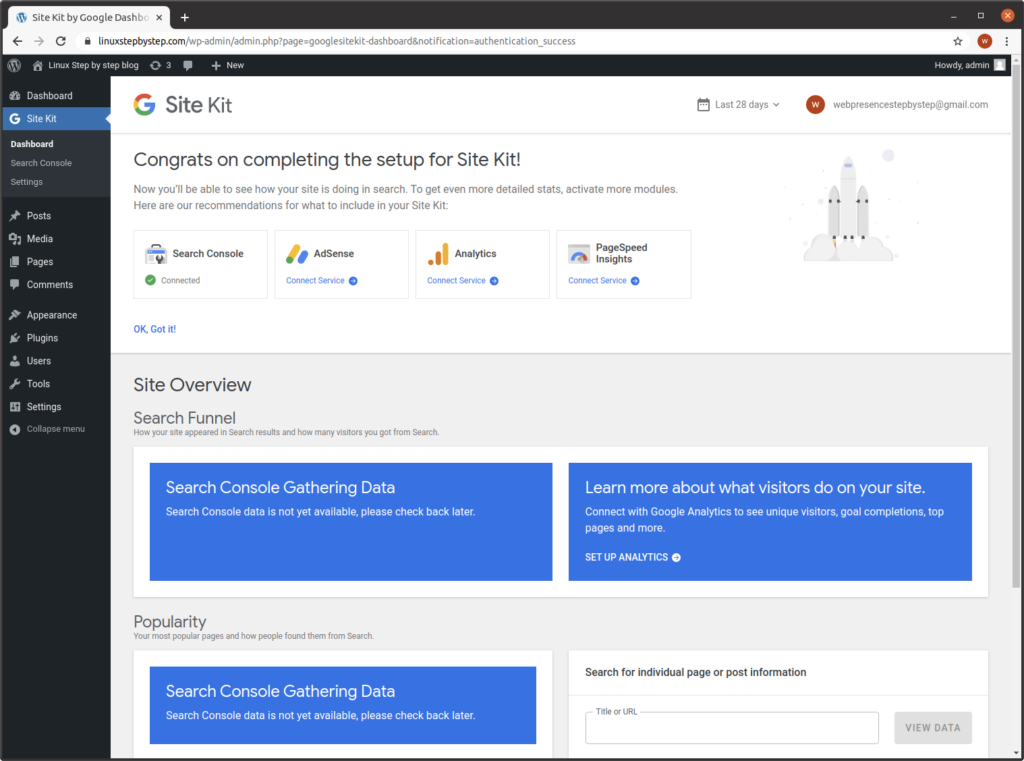
The Google Site Kit plugin for WordPress Dashboard appears. In the box for “Analytics,” click on “Connect service”:
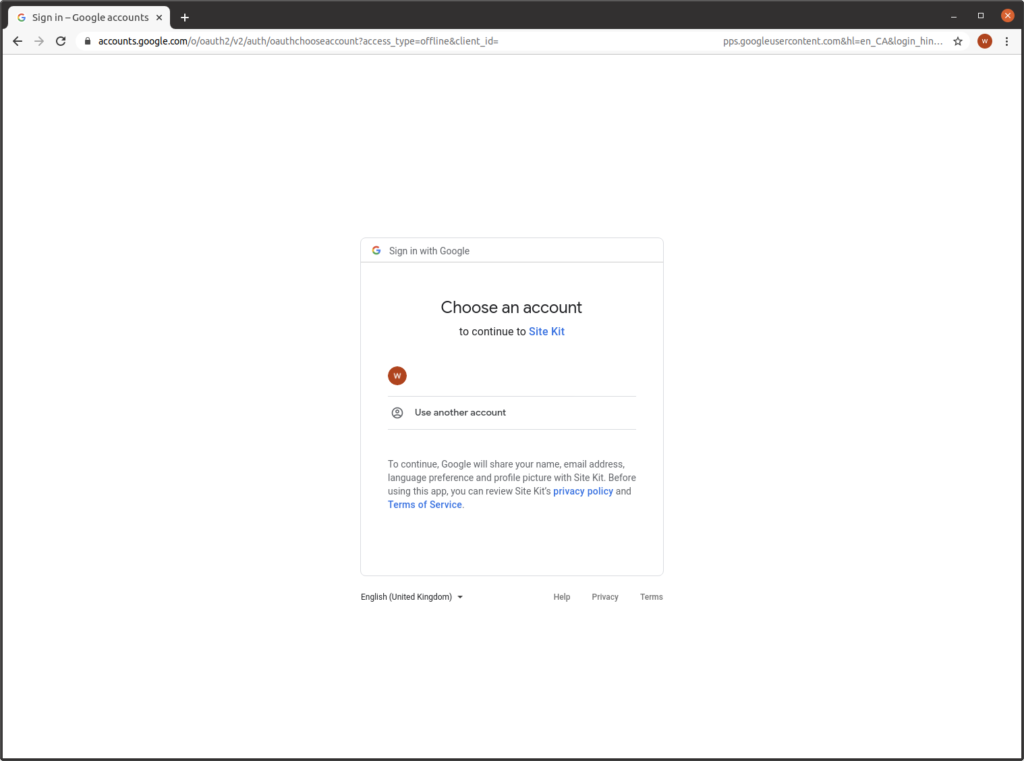
Select the Gmail account you created to control Google Analytics and Google Search Console Transactions for your website:
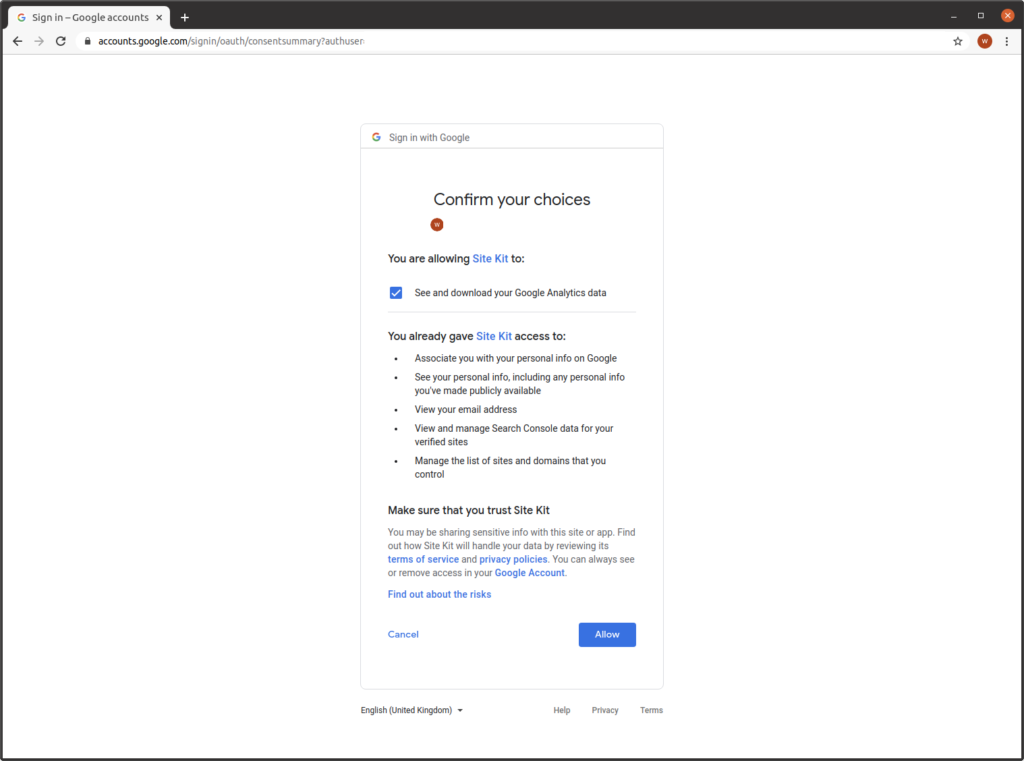
Click “Allow”:

Click “Allow”:
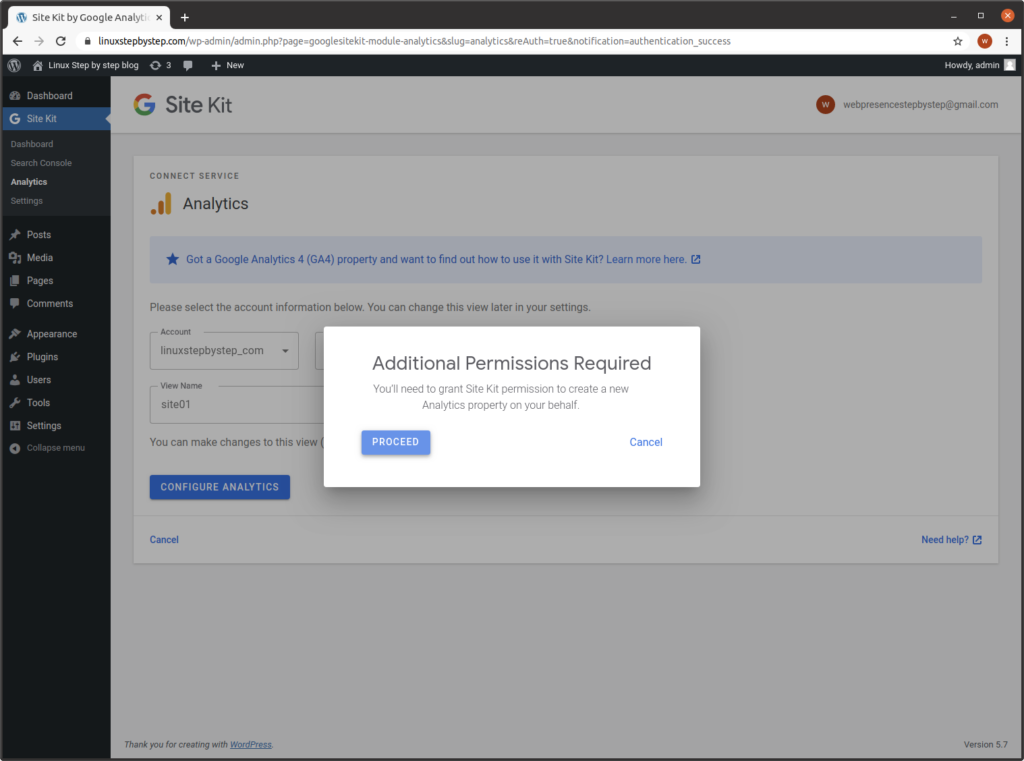
Select Account, Property. Provide a value for “View Name.” Click “Proceed”:
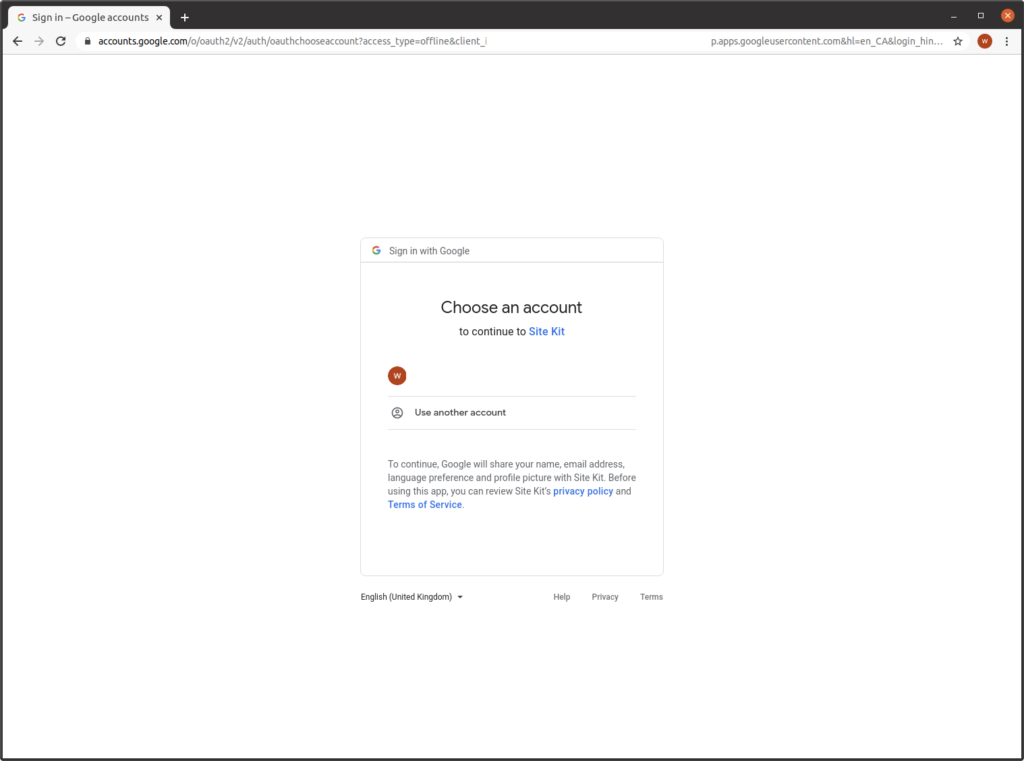
Select the Gmail account you created to control the Google Analytics and Google Search Console transactions for your domain:
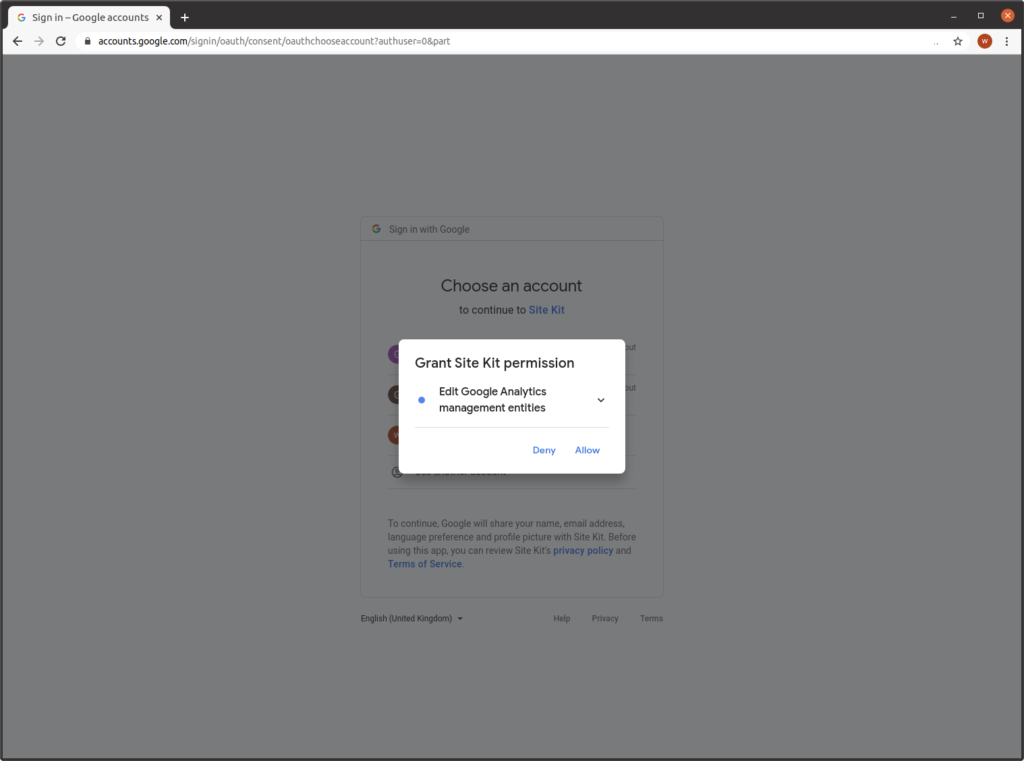
Click “Allow”:
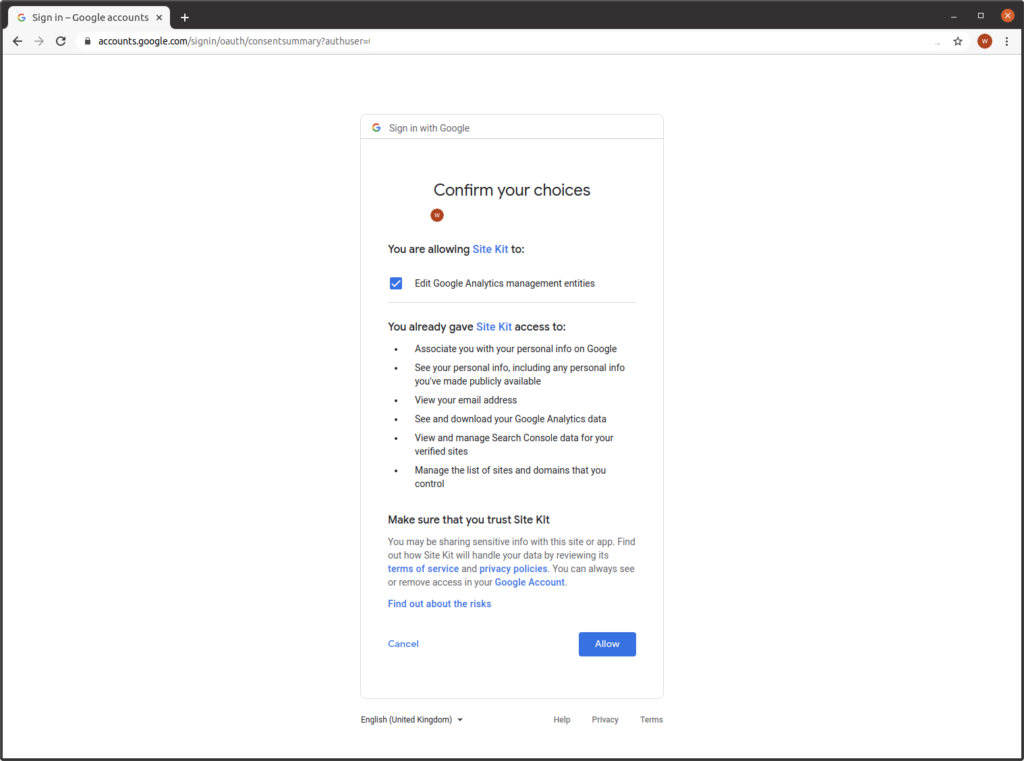
Click “Allow”:
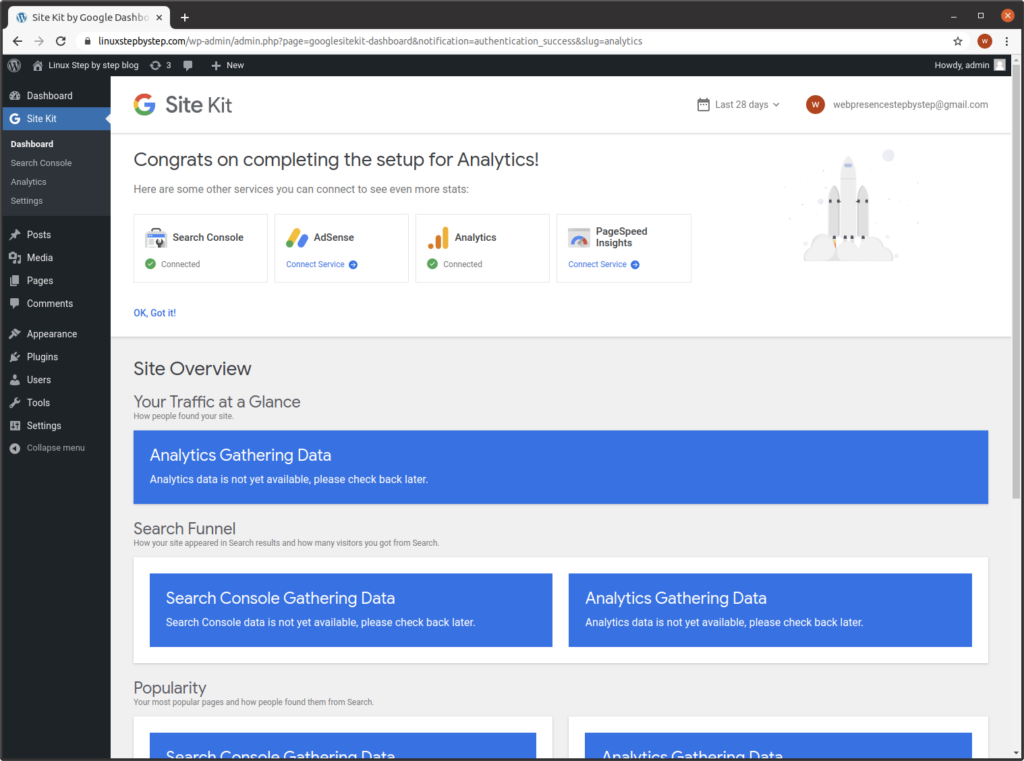
The Google Site Kit plugin for WordPress Dashboard appears. Note that both “Search Console” and “Analytics” are now shown as “Connected”:
Wait a few days, then come back. There will be data then.
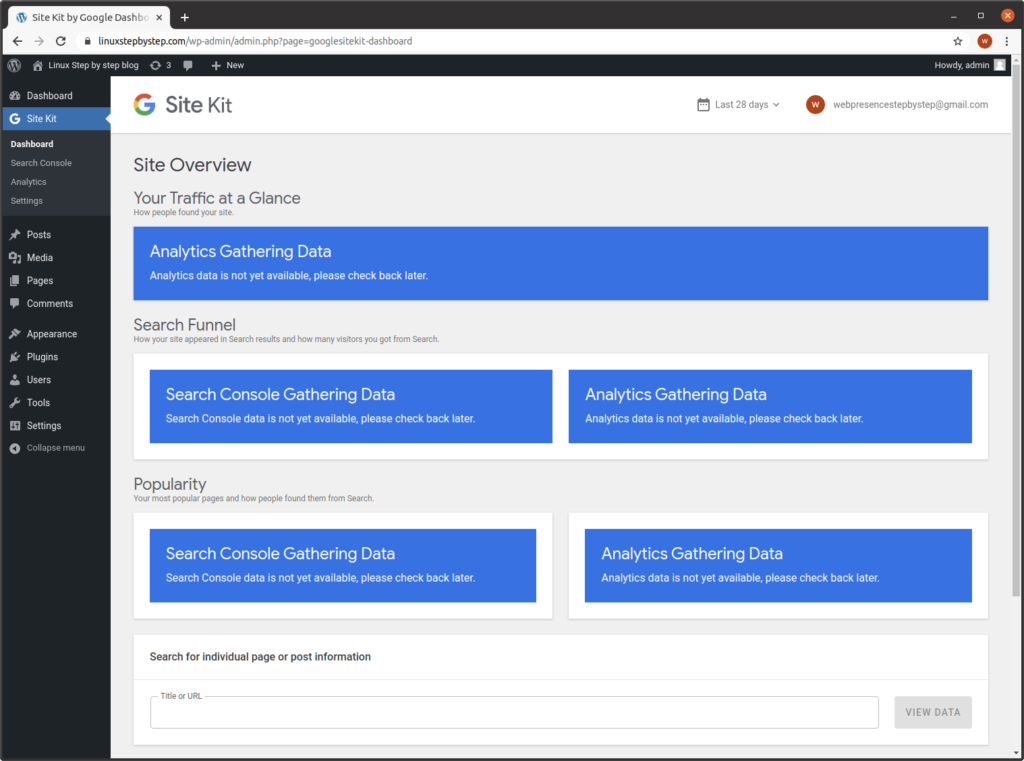
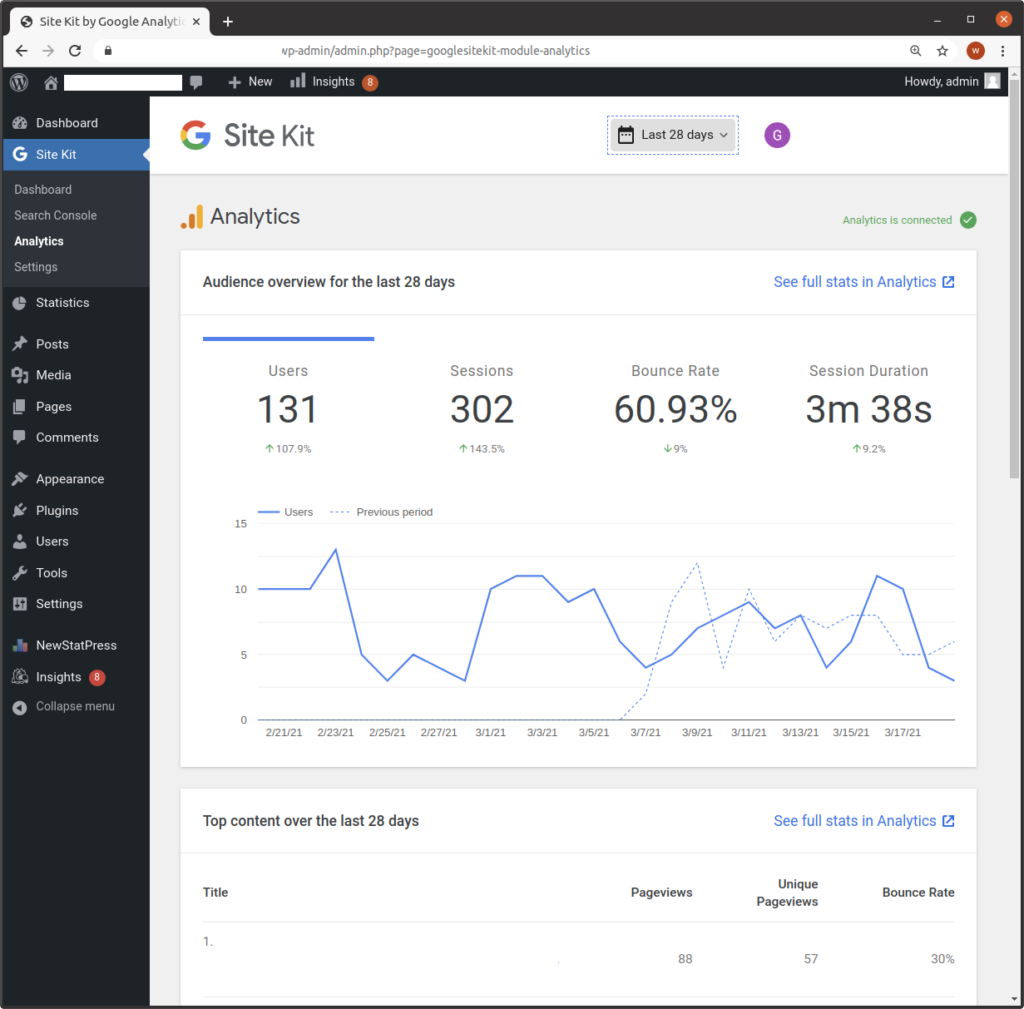
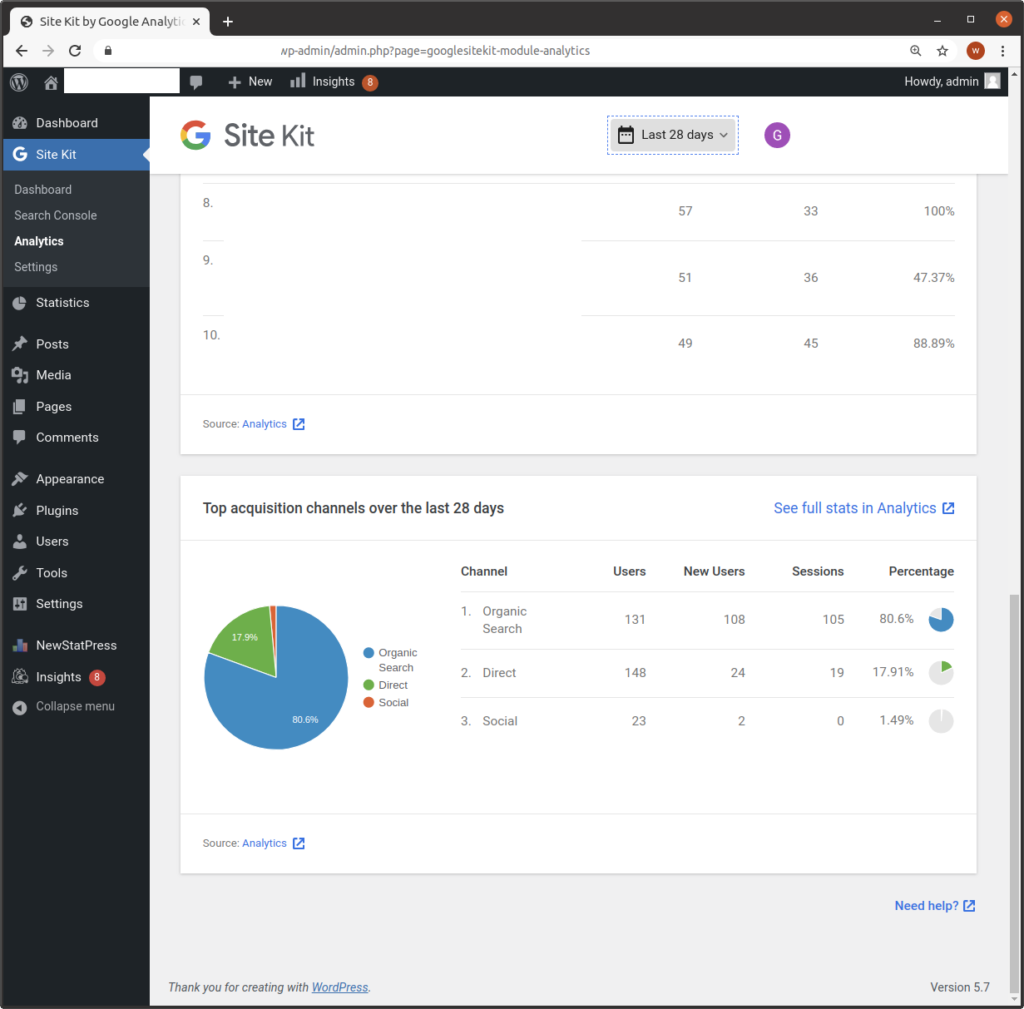
An example of what to expect:
Previous step: Chapter 9: Installing and configuring phpMyAdmin to manage MySQL databases
Next step: Chapter 11: Installing and configuring the WP Mail SMTP plugin for WordPress to enable WordPress to send email messages