
Previous step: Chapter 8: Installing and configuring WordPress to create a website
Next step: Chapter 10: Integrating Google Site Kit with WordPress to view Google Analytics and Google Search Console visitor statistics
Web presence step by step is a series of posts that show you to how to build a web presence.
In this post, we install and configure phpMyAdmin to manage MySQL databases.
This post assumes that you have performed the steps described in Chapter 8: Installing and configuring WordPress to create a website.
A note re MySQL and MariaDB
A few years ago, the company that owned MySQL was purchased by Oracle. The open source code was legally “forked” into a project called MariaDB. When this document refers to “MySQL,” it is actually referring to the MariaDB descendant of the MySQL database engine, made possible by the terms of the GPLv2 open source software license. Notice that to maintain compatibility with existing software, the command to invoke MariaDB on the command line is “mysql.”
Installing the php-xml and php-mbstring libraries
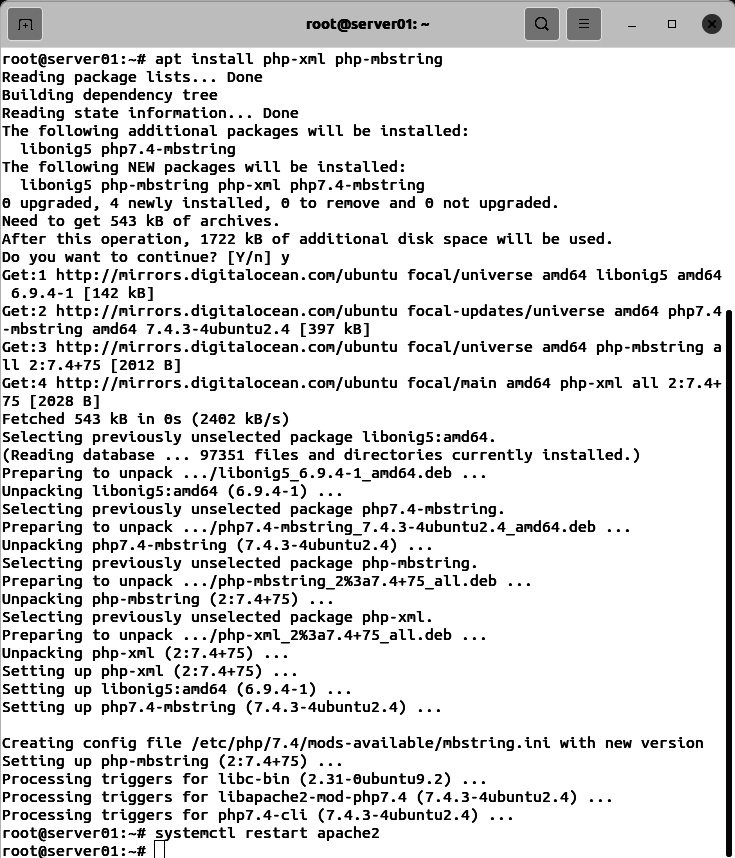
Use an SSH terminal program to connect to the Ubuntu Linux cloud server you created in Chapter 3: Buying an Ubuntu Linux cloud server from Digital Ocean. Enter the commands:
apt install php-xml php-mbstring
systemctl restart apache2
Generating a blowfish secret passphrase (blowfish_secret)
phpMyAdmin uses an encryption cipher called “blowfish.” We need to generate a blowfish secret passphrase to customize the phpMyAdmin config.inc.php configuration file.
Use a web browser to visit the site:
https://phpsolved.com/phpmyadmin-blowfish-secret-generator/?g=[insert_php]echo%20$code;[/insert_php]
Select the text in the line under “to,” right-click (or command-click on MacOS), then select “Copy”:
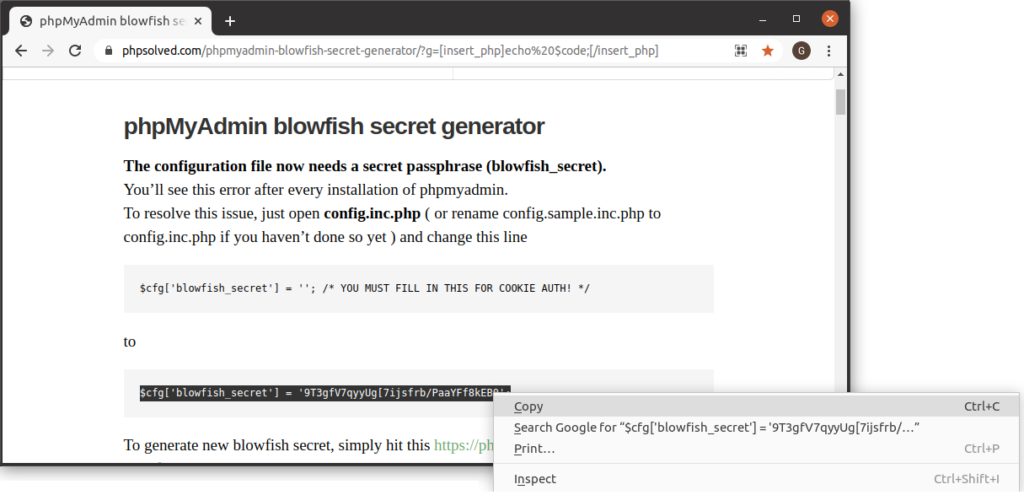
Keep this web browser window open. You will need to copy the text in the line above to the clipboard then paste it into the config.inc.php file in one of the steps below.
Downloading the phpMyAdmin zip file
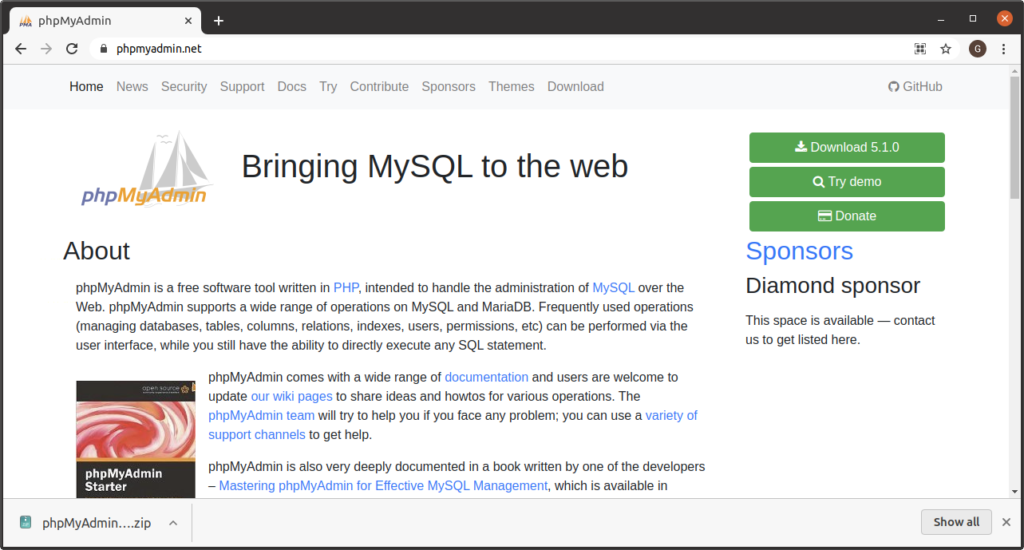
Use a web browser to visit the site:
Click on the link “Download x.x.x” (where “x.x.x” represents the current version number):
Extracting the phpMyAdmin zip file
(Reminder: there are detailed examples in Chapter 8: Installing and configuring WordPress to create a website that show how to extract the contents of a zip file for each operating system.)
Go to the file manager for your operating system (Windows File Explorer, MacOS Finder, Linux Nautilus).
Windows
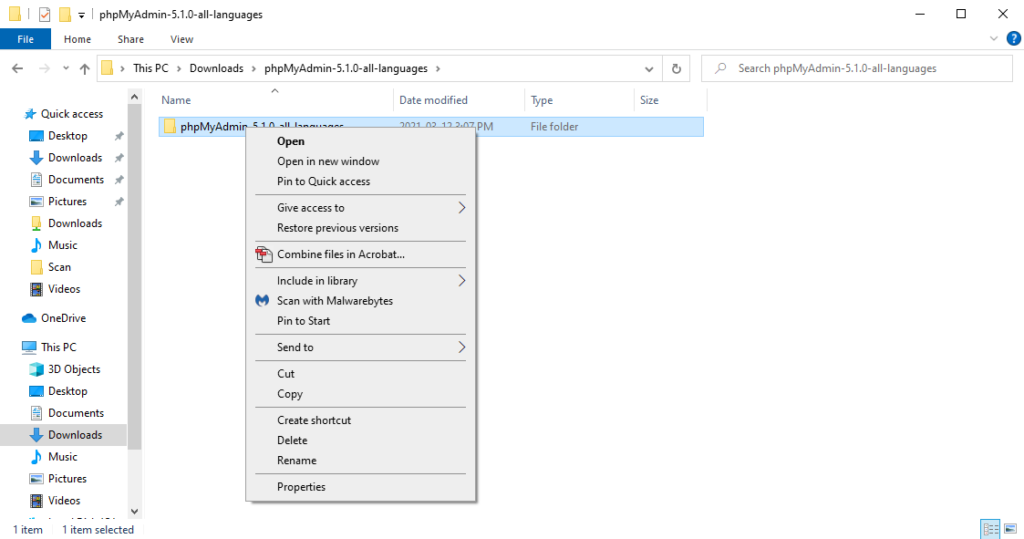
In File Explorer, right-click on the phpMyAdmin zip file. Select “Extract All.” In the next dialog, click “Extract.”
MacOS
If you downloaded the phpMyAdmin zip file with Safari
if you downloaded the phpMyAdmin zip file with Safari, the zip file’s contents will be already be extracted as a directory in the Downloads directory.
If you downloaded the phpMyAdmin zip file with Chrome
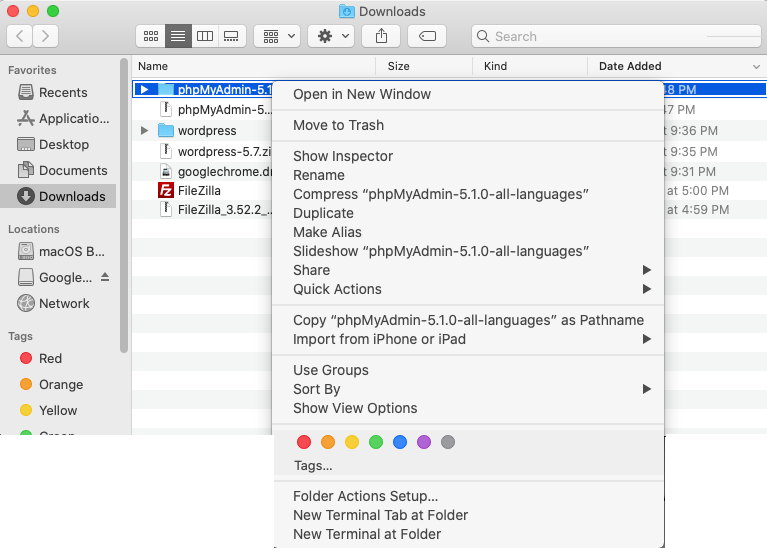
In Finder, go to the Downloads directory. Double-click on the phpMyAdmin zip file. The Archive Manager will extract the contents of the phpMyAdmin zip file to a directory in the Downloads directory.
Linux
In Nautilus, go to the Downloads directory. Right-click on the phpMyAdmin zip file. Select “Open with Archive Manager.” In Archive Manager, click on “Extract.” In the next dialog, click on “Extract.”
Renaming the phpMyAdmin-x-x-x-x directory, renaming and editing the config.inc.php configuration file
Windows
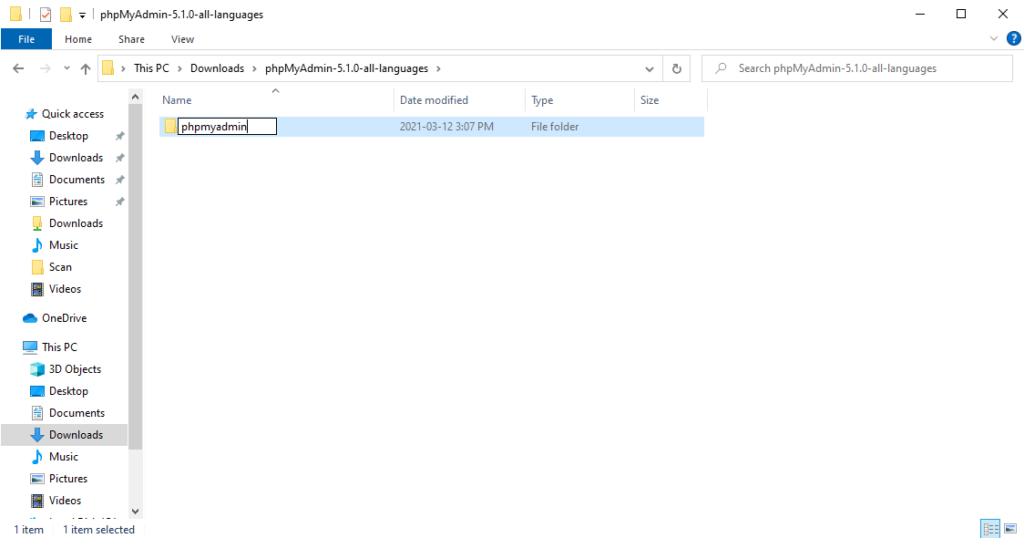
Use File Explorer. Locate the phpMyAdmin directory nested within a directory of the same name). Right-click on the directory. Select “Rename”:
enter the text “phpmyadmin”:
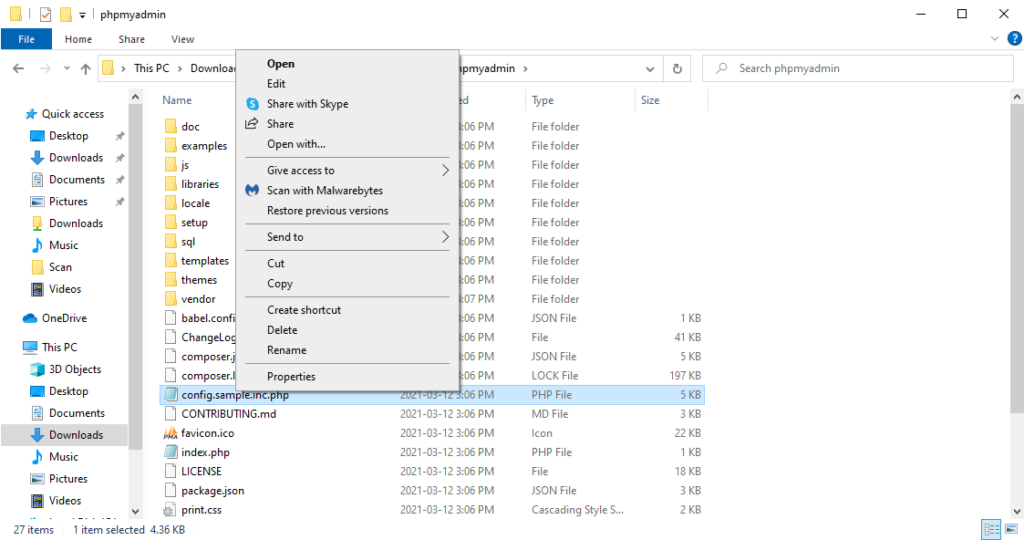
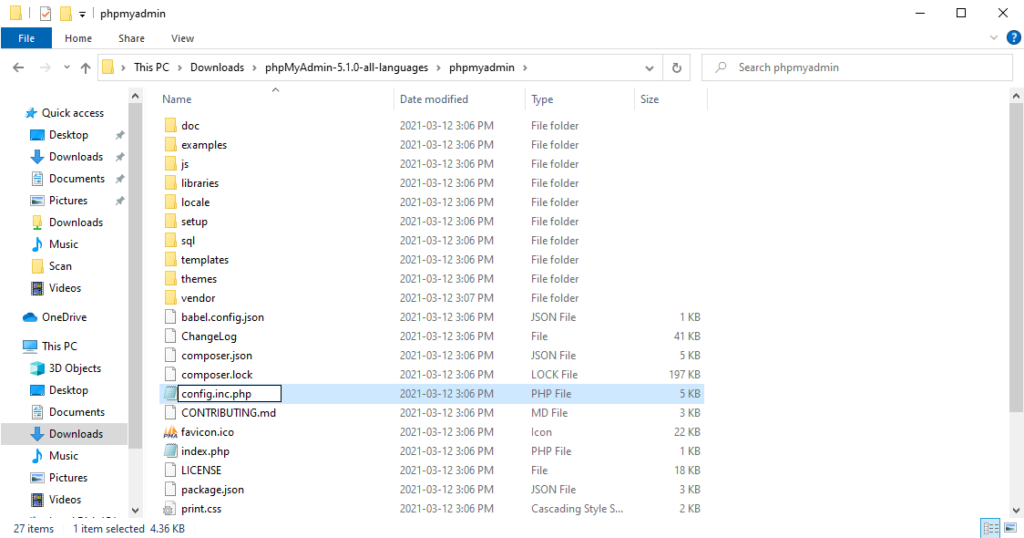
Locate the file “config.sample.inc.php” file. Right-click on the file. Select “Rename”:
Enter the text “config.inc.php”:
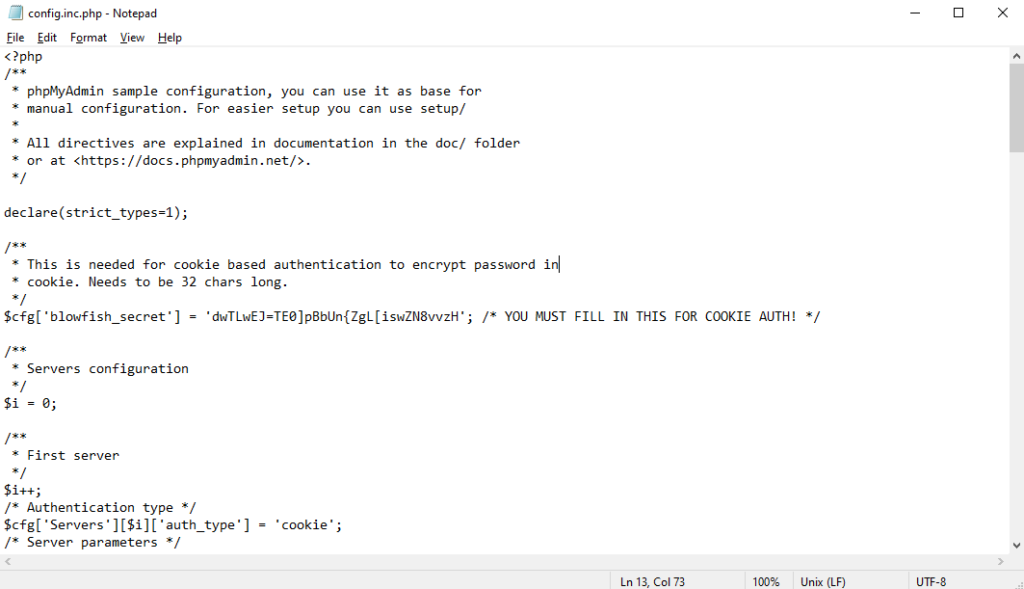
Right-click on the file “config.inc.php,” select “Open with…”:

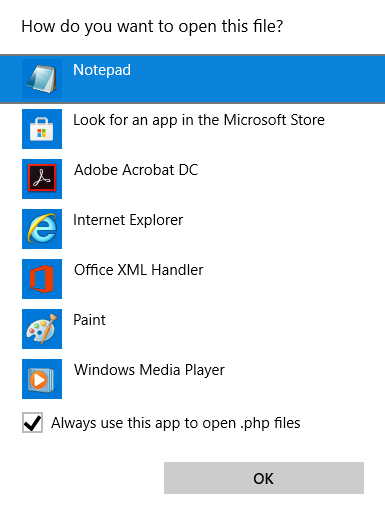
Select the “Notepad” application. Check the box “Always use this app to open .php files.” Click OK:
Paste the blowfish secret string you obtained earlier in the step “Generating a blowfish secret passphrase (blowfish_secret)” into the $cfg[‘blowfish_secret’] string assignment. Be careful to place single quotes (‘) before and after the blowfish_secret string:
MacOS
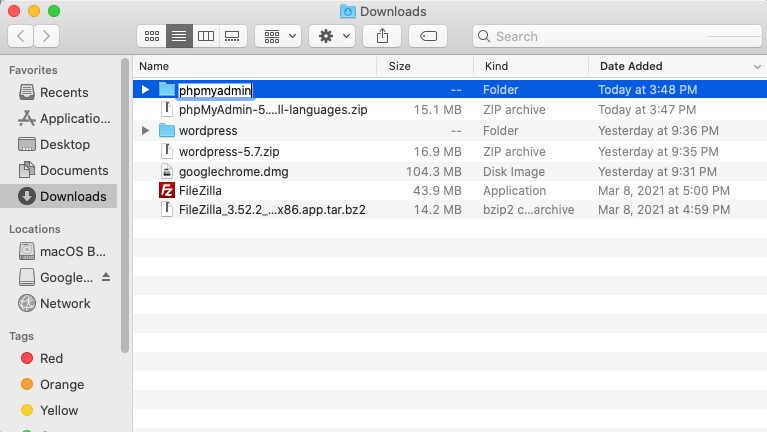
In Finder, locate the phpMyAdmin directory. Command-click on the directory. Select “Rename”:
Enter the text “phpmyadmin”:
Locate the “config.sample.inc.php” file. Command-click on the file. Select “Rename”:
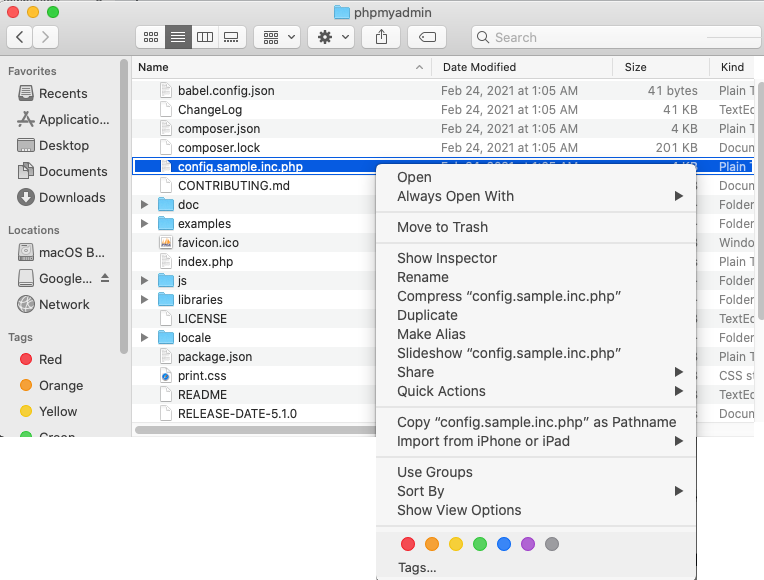
Enter the text “config.inc.php”:
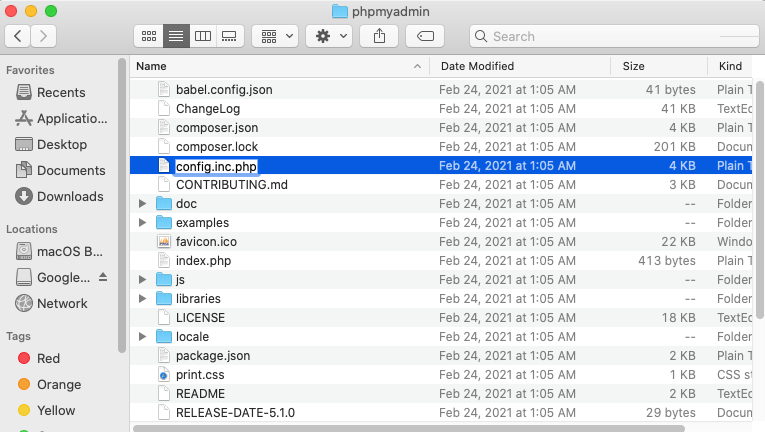
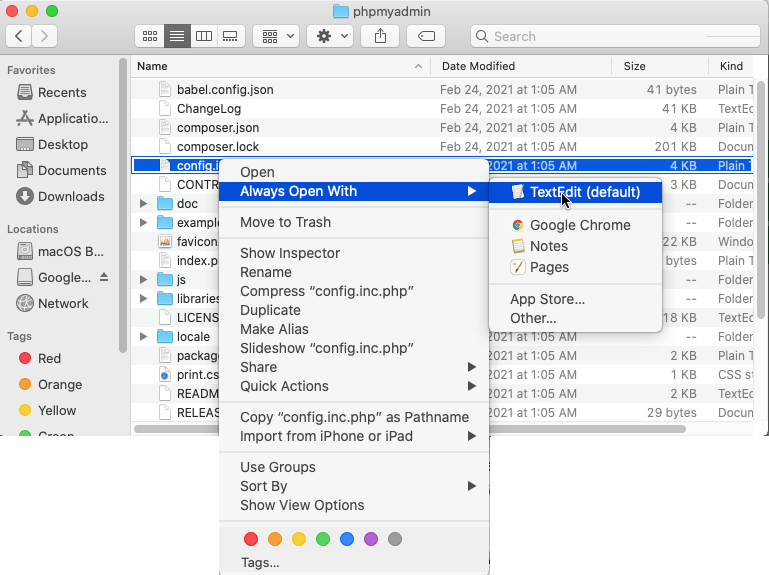
Command-click on the file. Select “Always Open With,” select “TextEdit”:
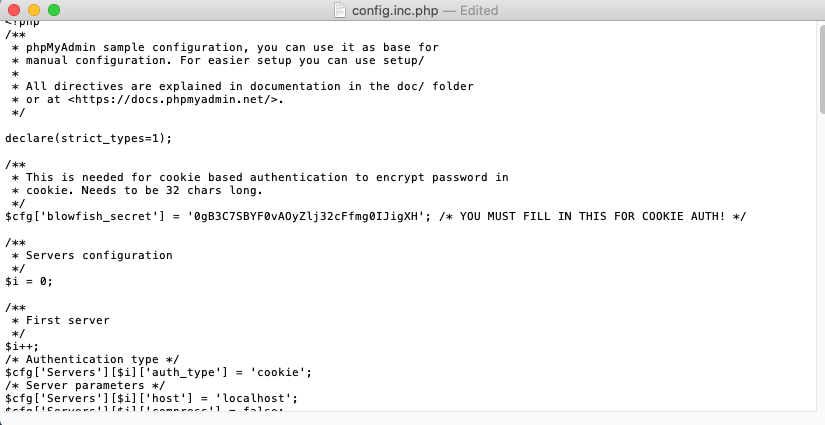
Paste the blowfish secret string you obtained earlier in the step “Generating a blowfish secret passphrase (blowfish_secret)” into the $cfg[‘blowfish_secret’] string assignment. Be careful to place single quotes (‘) before and after the blowfish_secret string:
Linux
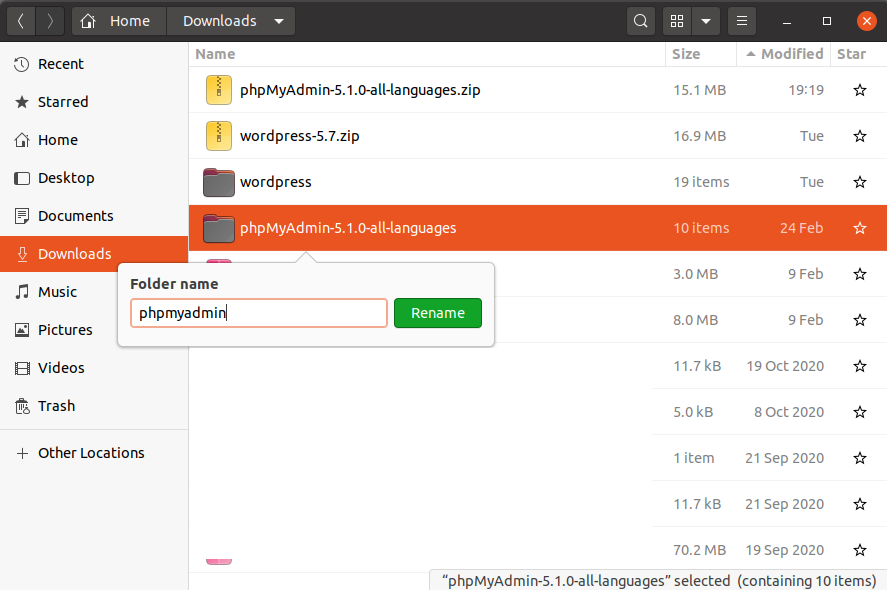
In Nautilus, locate the phpMyAdmin directory. Right-click on the directory. Select “Rename”:
Enter the text “phpmyadmin”:
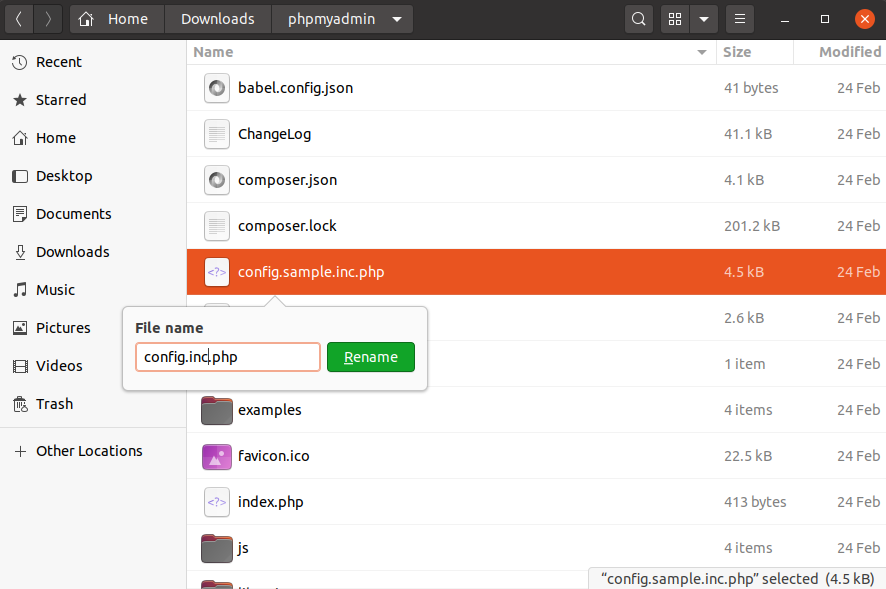
Locate the “config.sample.inc.php” file. Right-click on the file. Select “Rename”:
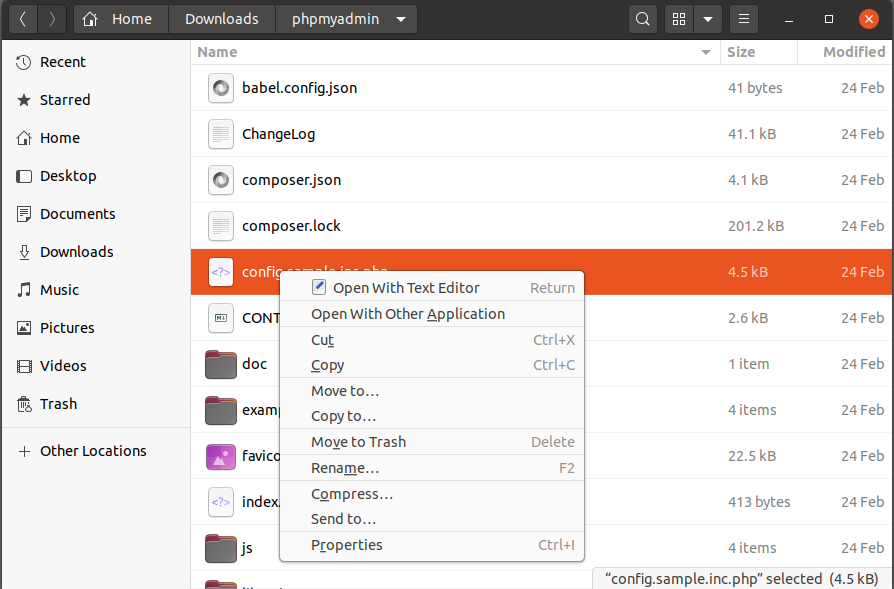
Enter the text “config.inc.php”:
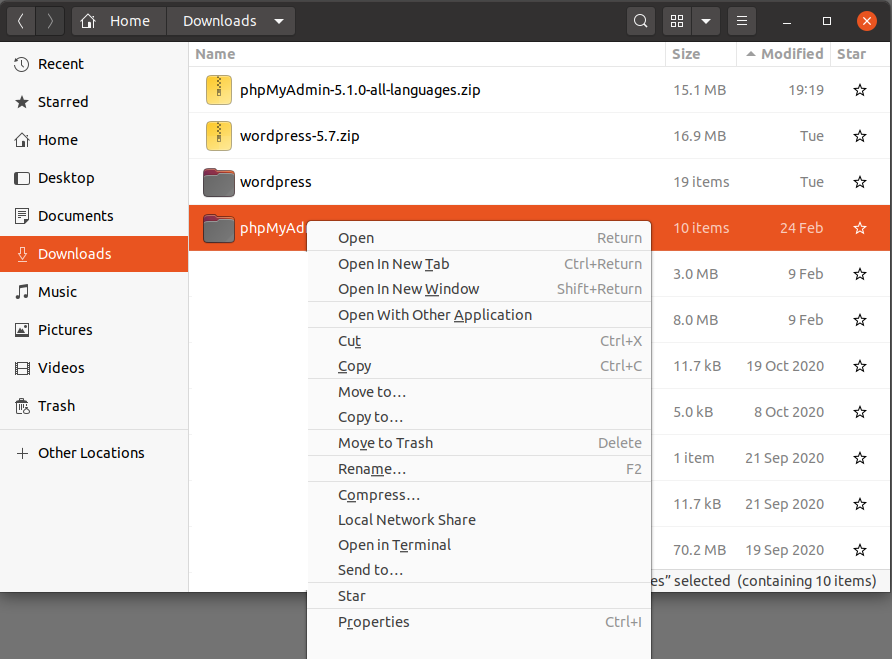
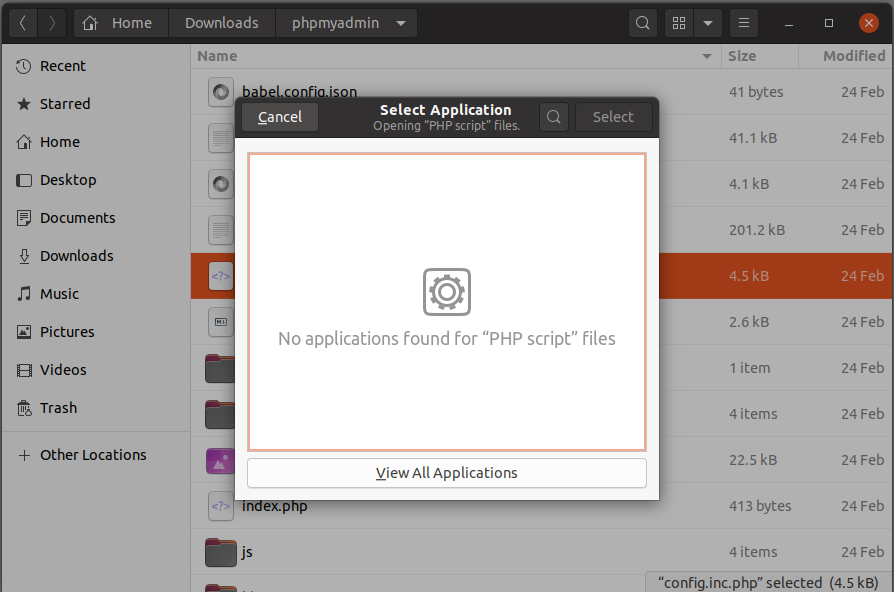
Right-click on the file. Select “Open With Other Application”:
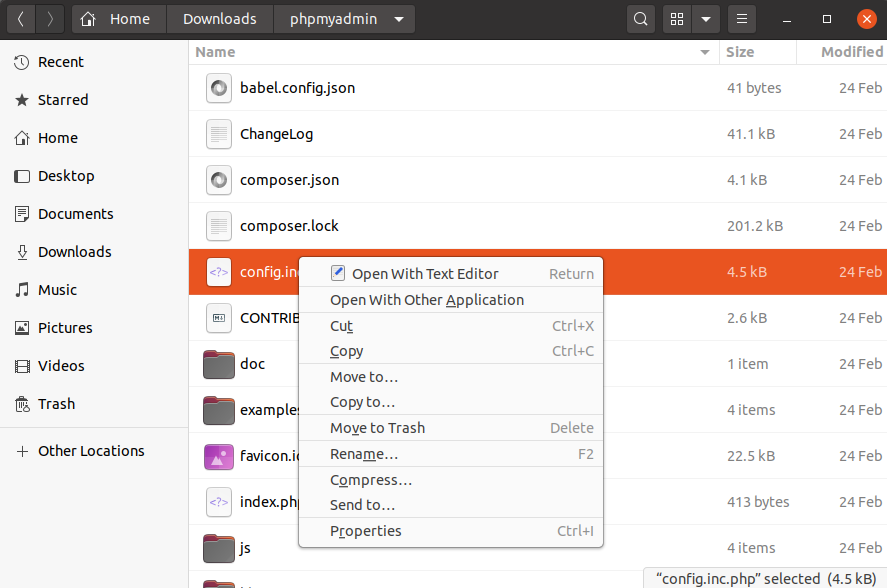
Click on “View All Applications”:
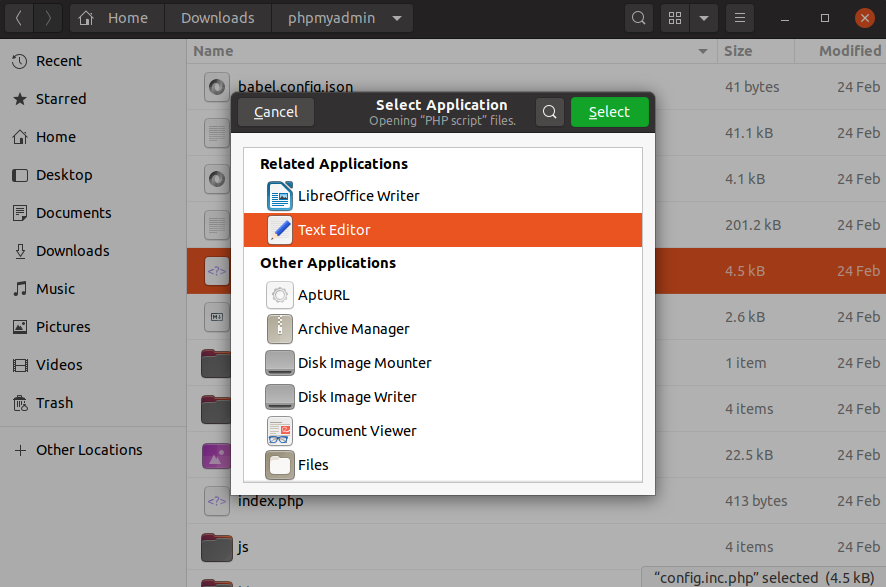
Select “Text Editor.” Click on “Select”:
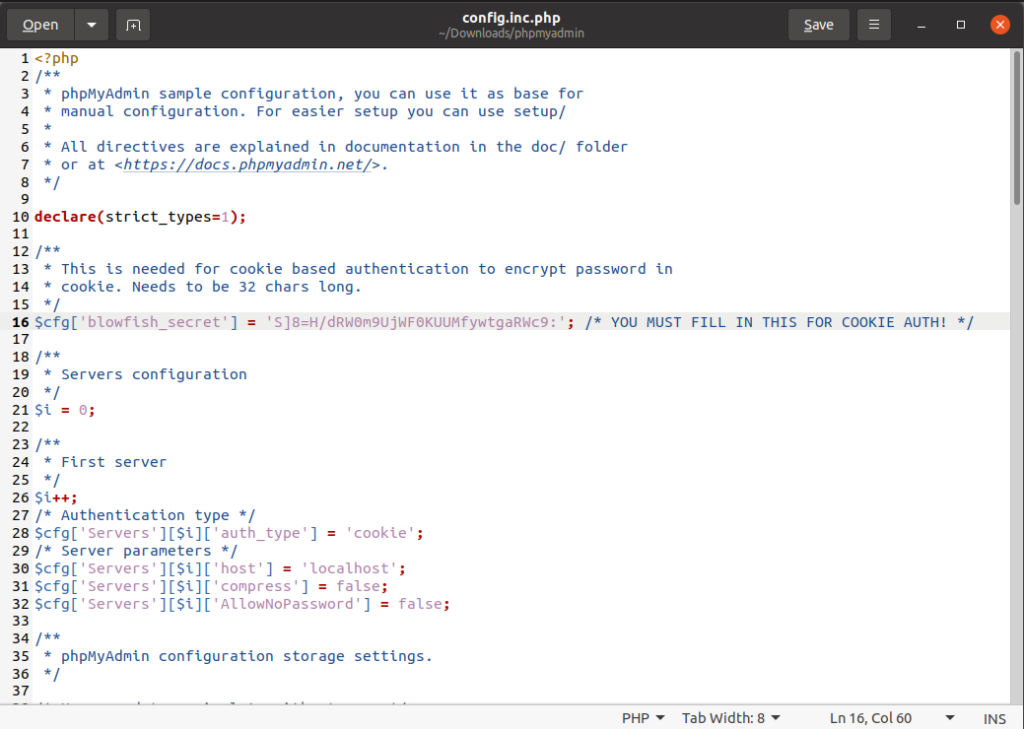
Paste the blowfish secret string you obtained earlier in the step “Generating a blowfish secret passphrase (blowfish_secret)” into the $cfg[‘blowfish_secret’] string assignment. Be careful to place single quotes (‘) before and after the blowfish_secret string:
A note about the example domain and a reminder that you should use your domain name in its place
For clarity and narrative flow we are using the example domain linuxstepbystep.com but you should substitute your domain name as appropriate.
Uploading the “phpmyadmin” directory to the Ubuntu Linux cloud server
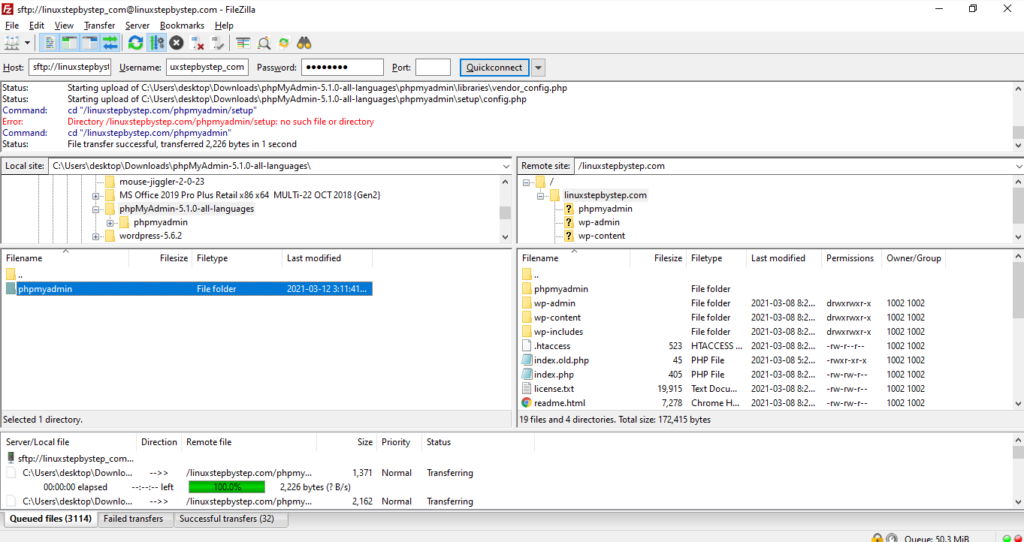
Use the FileZilla file transfer program to connect to the Ubuntu Linux cloud server you created in Chapter 3: Buying an Ubuntu Linux cloud server from Digital Ocean. In the left (local) panel, locate the local phpmyadmin directory. Right-click (for MacOS, command-click) on the directory and select “Upload”:

Wait for the file transfer to complete:
Accessing the phpMyAdmin application using a web browser
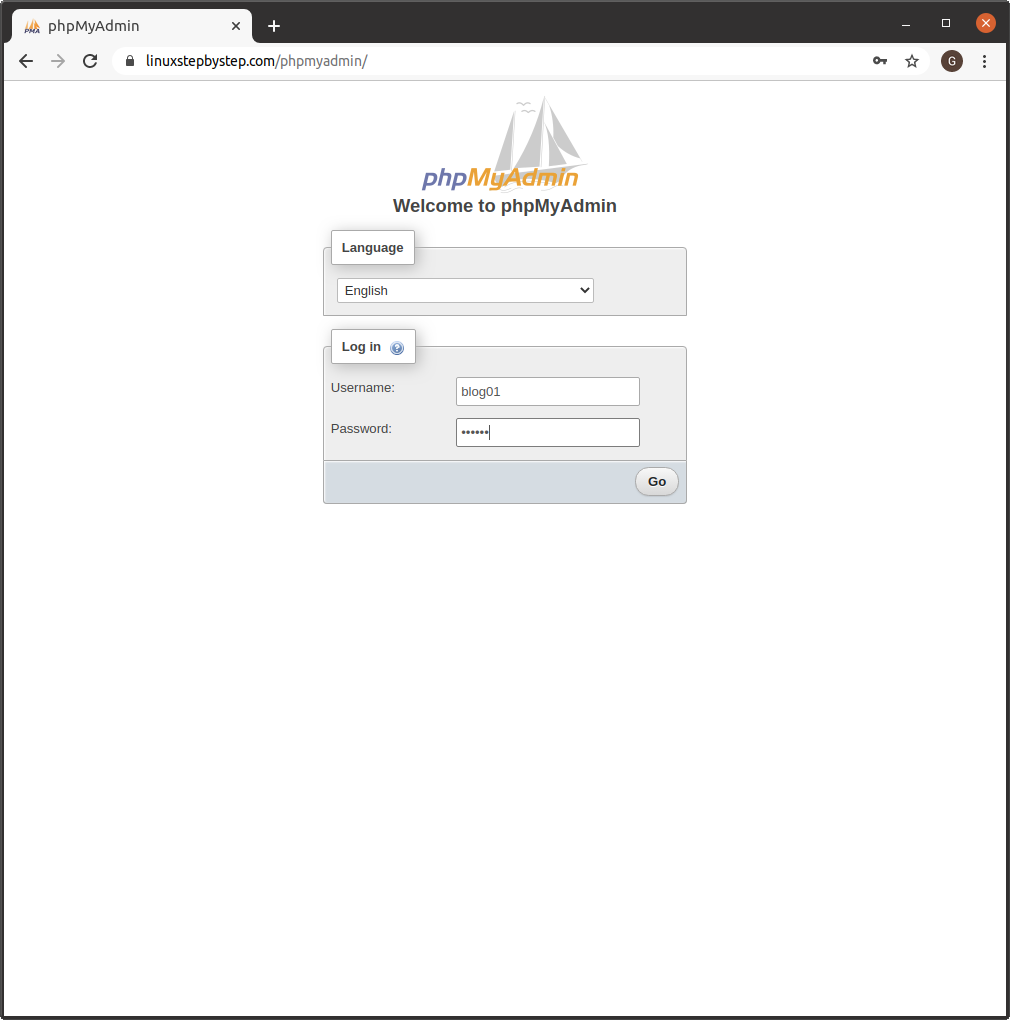
Use a web browser to visit your domain name followed by “/phpmyadmin”:
https://linuxstepbystep.com/phpmyadmin
(These are the MySQL username and password that were created in Chapter 8: Installing and configuring WordPress to create a website: “Creating the MySQL database for the WordPress site.”)
Enter values for the “Username:” and “Password:” fields. Click on “Go”:
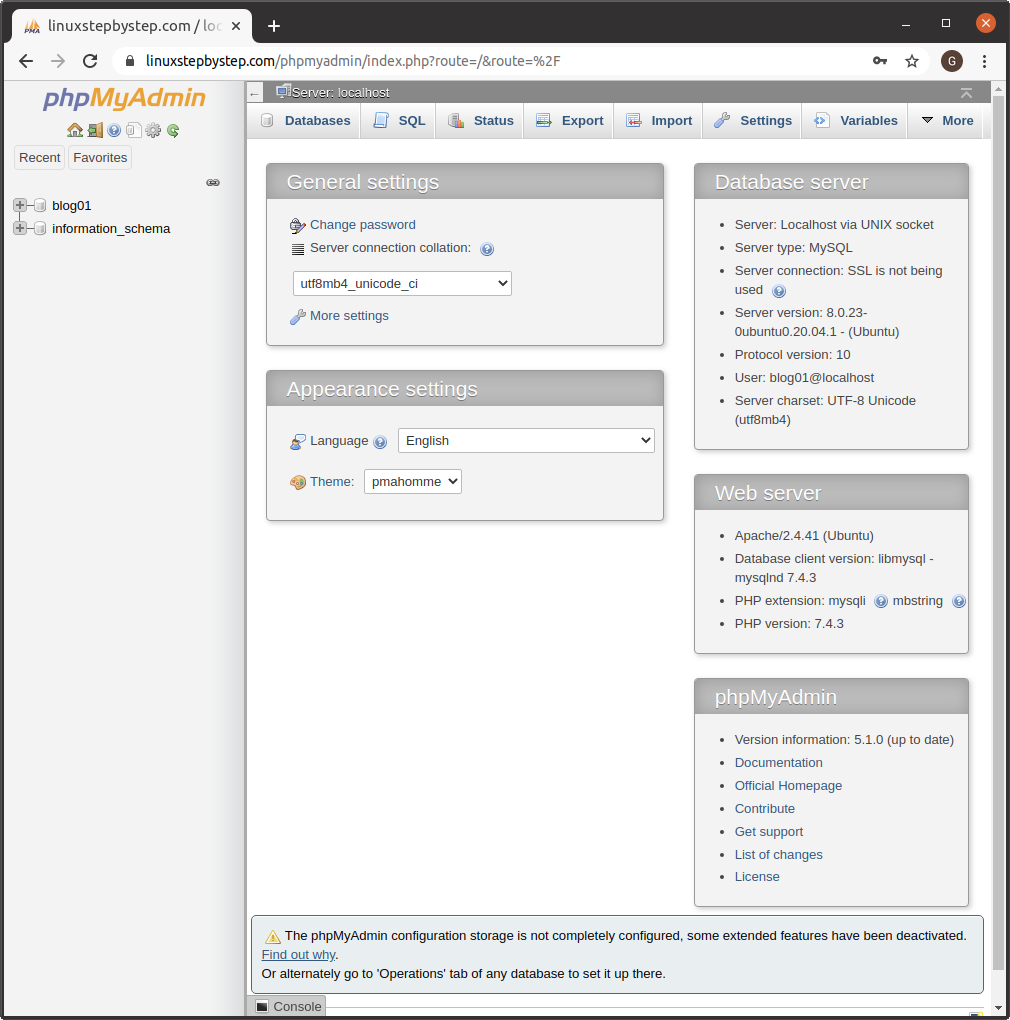
This screen appears. Click on the name of the database in the left panel:
Click on a table in the left panel:
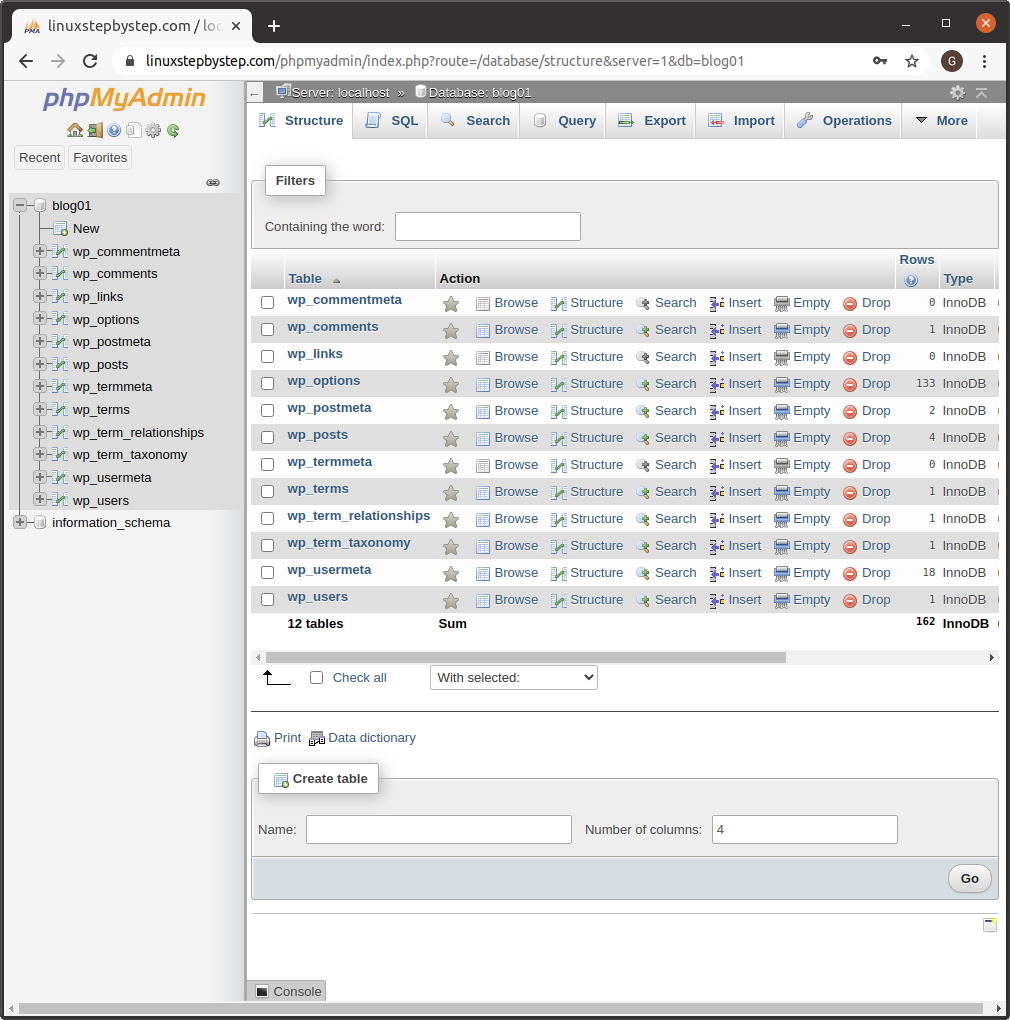
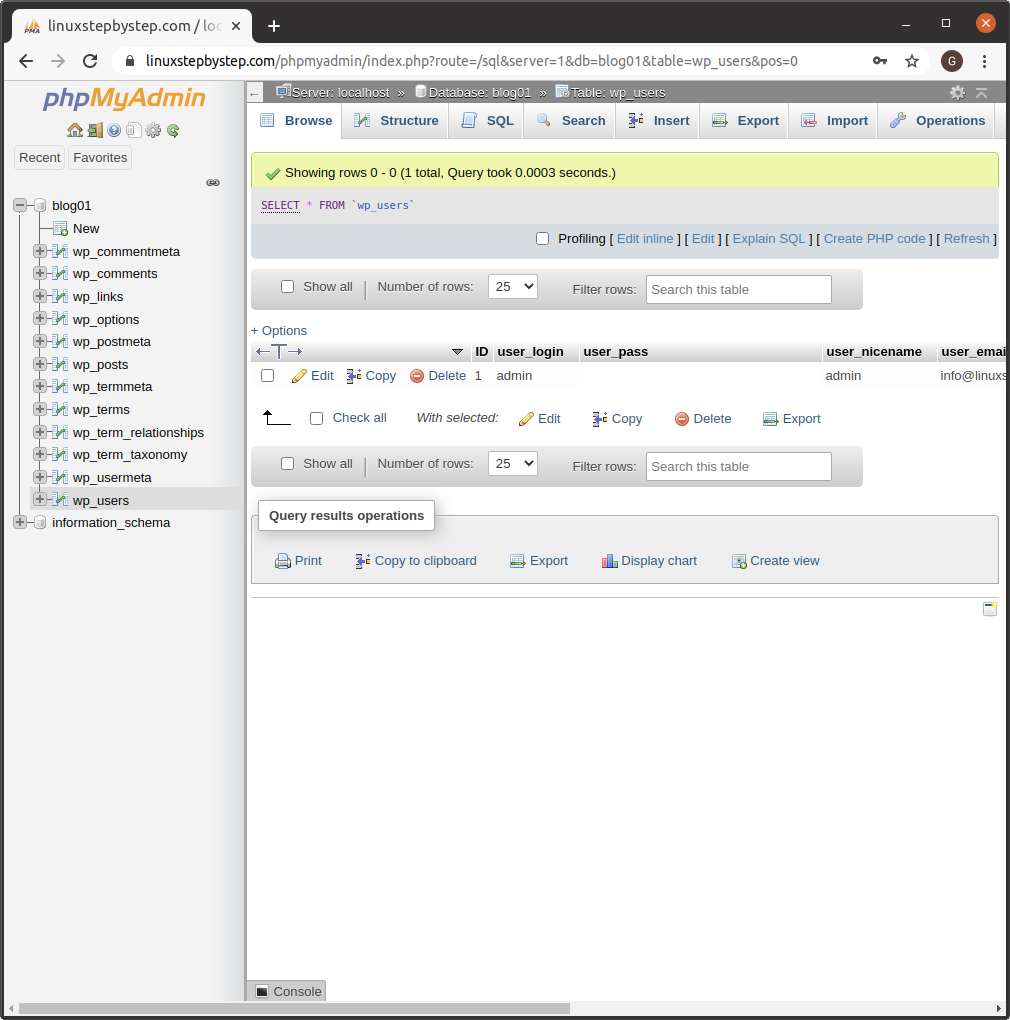
Table view:
Previous step: Chapter 8: Installing and configuring WordPress to create a website
Next step: Chapter 10: Integrating Google Site Kit with WordPress to view Google Analytics and Google Search Console visitor statistics