
Previous step: Chapter 2: Buying branded email from Gmail
Next step: Chapter 4: Using an SSH terminal program to connect to an Ubuntu Linux cloud server
Web presence step by step is a series of posts that will show you how to build a web presence.
In this post, we buy an Ubuntu Linux cloud server from Digital Ocean.
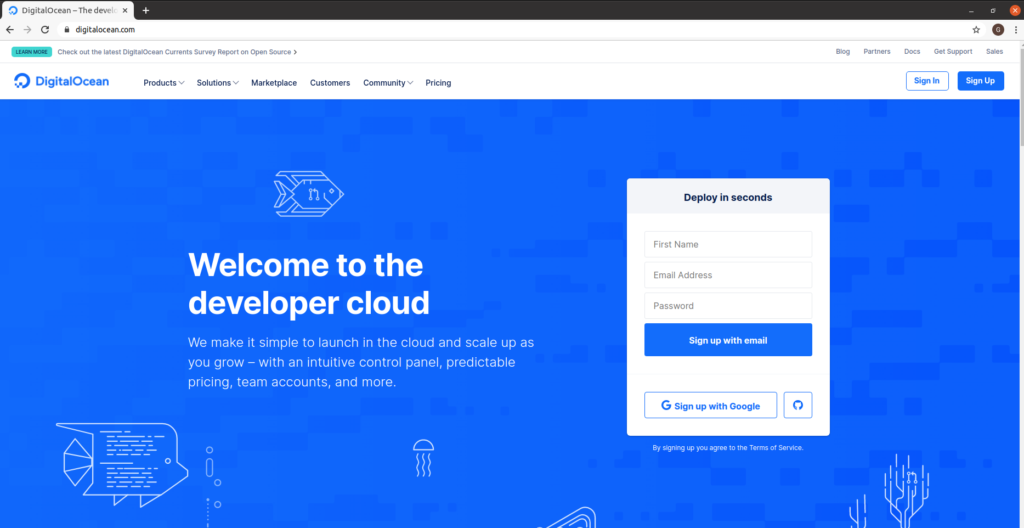
Connecting to the Digital Ocean site
Visit the Digital Ocean site. Create an account, or login to an existing account.
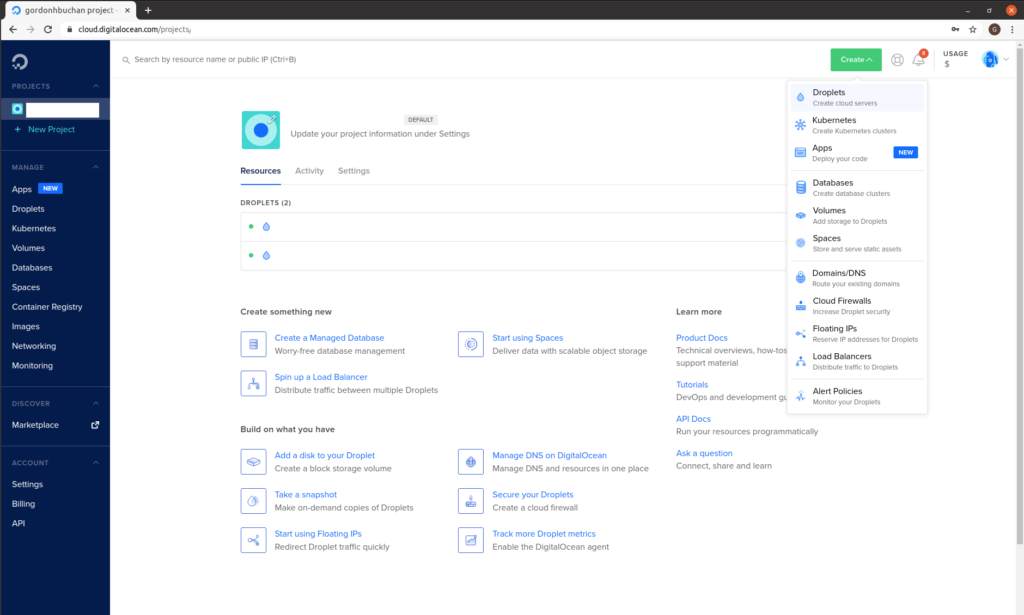
Click on “Create,” click on “Droplets”:
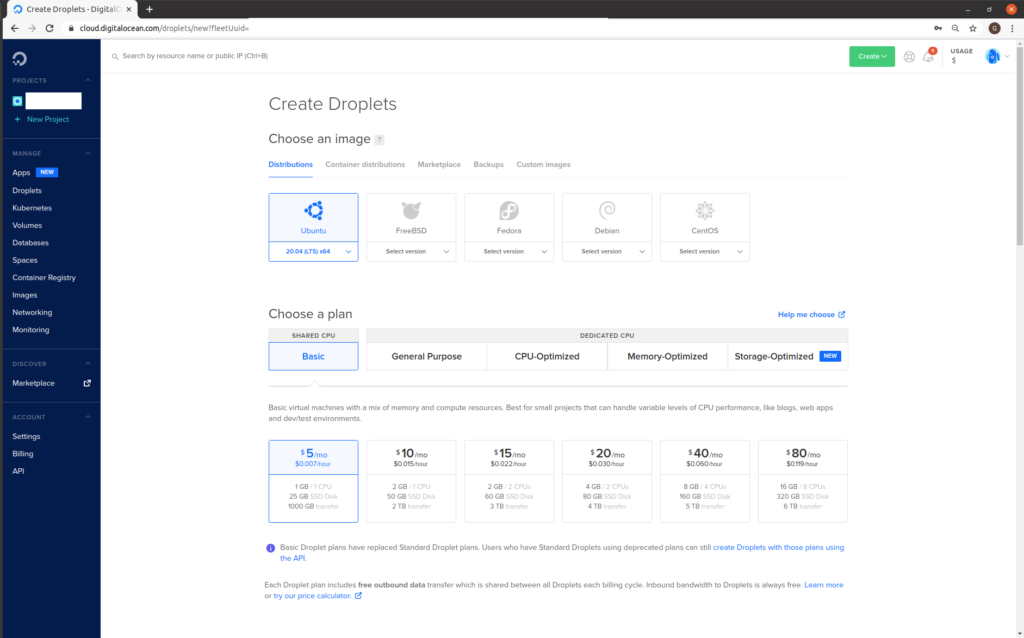
“Choose an image”: Ubuntu 20.04 (LTS) x64
“Choose a plan”: Shared CPU Basic
Click to select the option for “$5/mo”: (NOTE: this has recently changed to “$6/mo”)
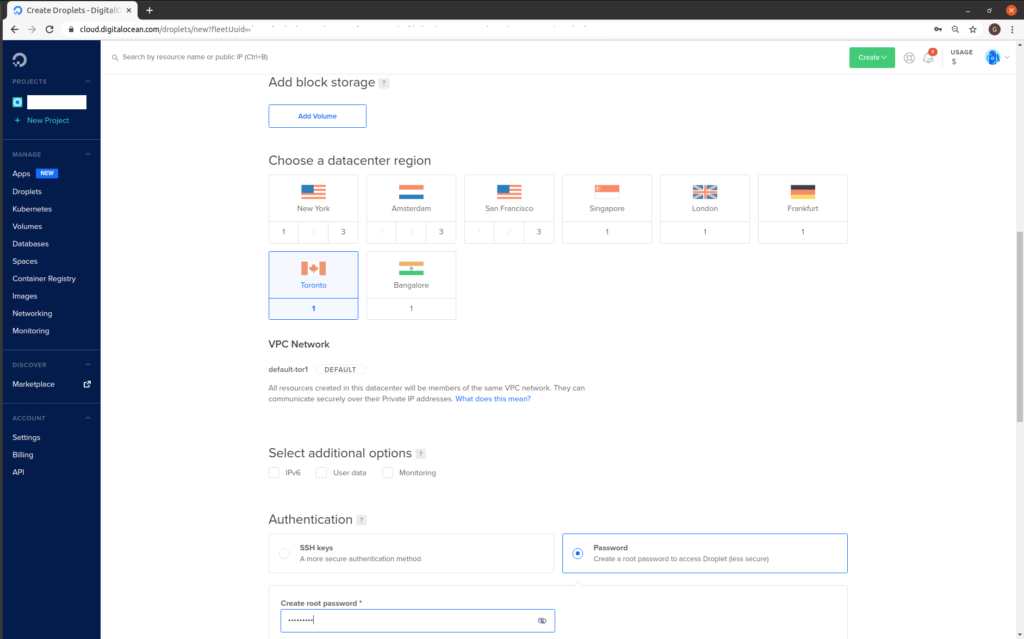
Scroll down.
“Choose a datacenter region”: choose a region.
“Authentication”: click to select the option “Password.”
“Create root password”: enter a password.
Scroll down.
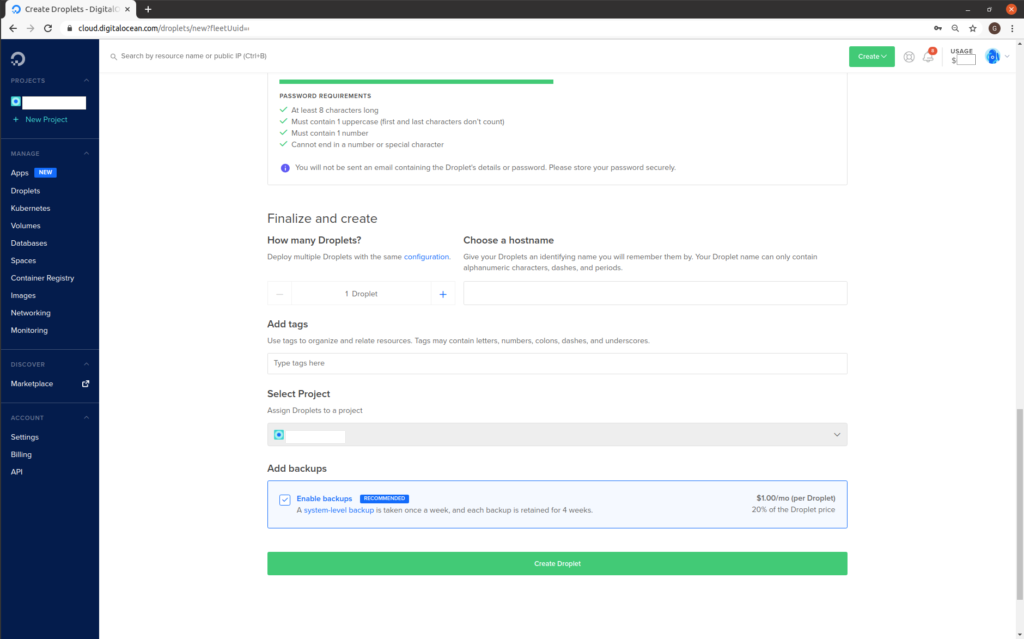
“Choose a hostname”: enter a hostname. This should in the format servername.yourdomain.com
“Add backups”: Click to select the option “Enable backups.”
Click Create Droplet:
For a few seconds, you can watch a progress bar as the cloud server is being created:

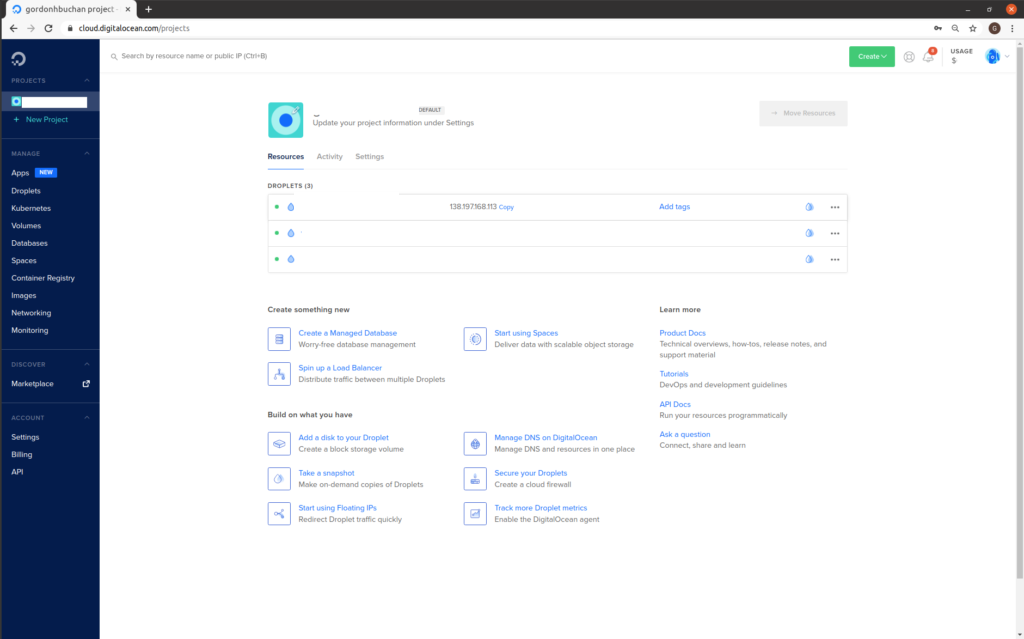
Take note of your new cloud server’s IP address.
Tip: If you move your mouse pointer over the IP address, you will see the word “copy.” You can click on the IP address to copy the IP address for the cloud server to the clipboard.
Previous step: Chapter 2: Buying branded email from Gmail
Next step: Chapter 4: Using an SSH terminal program to connect to an Ubuntu Linux cloud server