
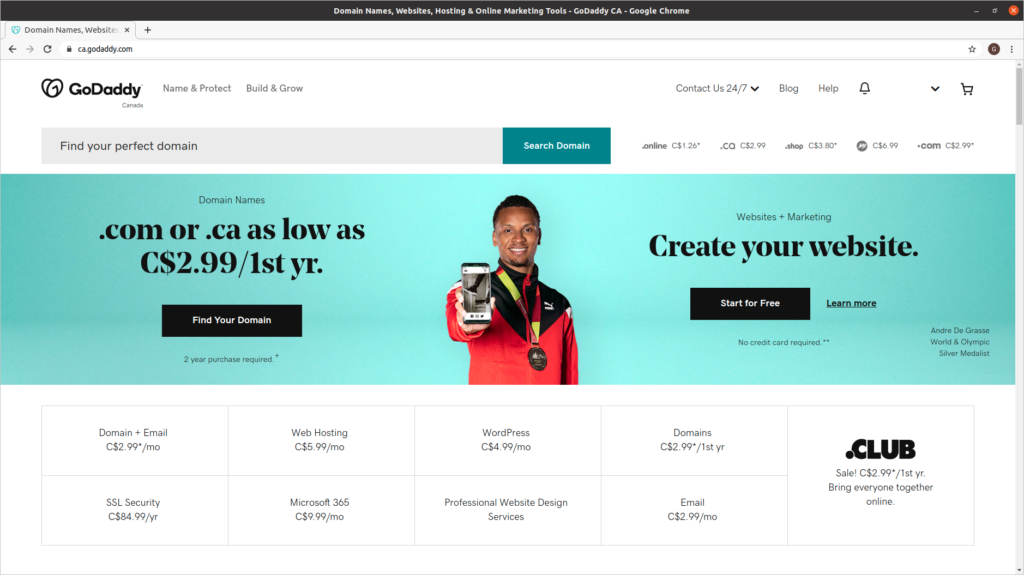
Previous step: Chapter 1: Buying a domain name from GoDaddy
Next step: Chapter 3: Buying an Ubuntu Linux cloud server from Digital Ocean
Web presence step by step is a series of posts that show you to how to build a web presence.
In this post, we set up branded email for the domain we registered in Chapter 1: Buying a domain name from GoDaddy, using Google Workspace, formerly Gmail for Business.
Google actually starts you with Workspace Business Standard for C$15/mo (US$12/mo). At the end of this procedure, we will downgrade to Workspace Business Starter for C$7/mo (US$6/mo).
(In later chapters, we will build out our website capabilities with other vendors.)
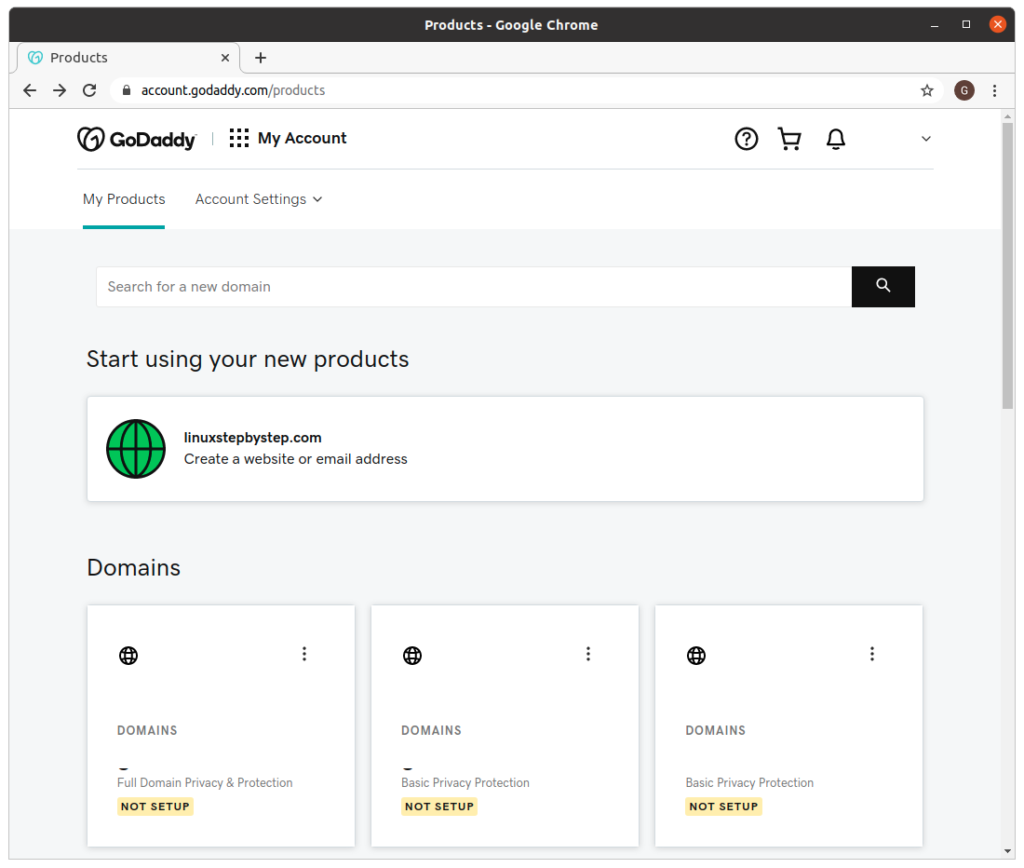
Start by logging into the GoDaddy account you used to register a domain in Chapter 1: Buying a domain name from GoDaddy. This will help the Google Workspace control panel to communicate with GoDaddy later in this procedure.
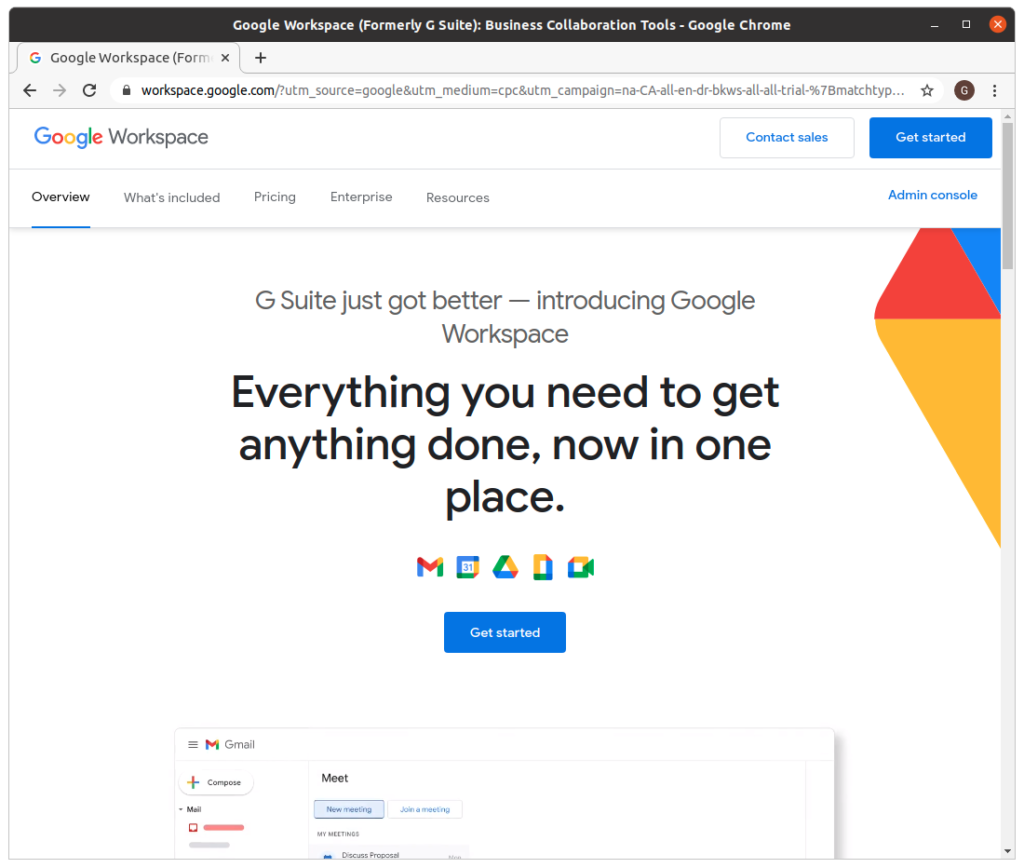
Visit the Google Workspace site. Click Get Started:
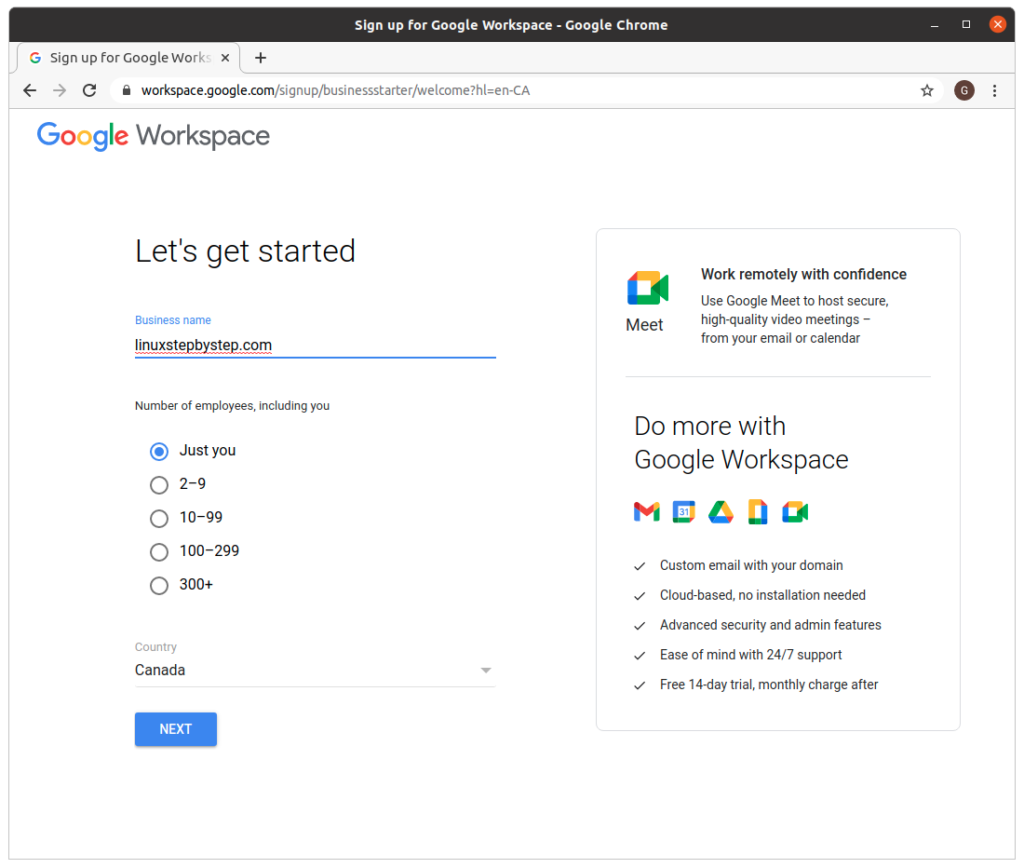
Under Business name, enter the name of your business. if you are not sure, enter the name of your domain as the business name. Under “Number of employees, including you,” choose “Just you” for now. You will be able to add other accounts later. Click “Next”:
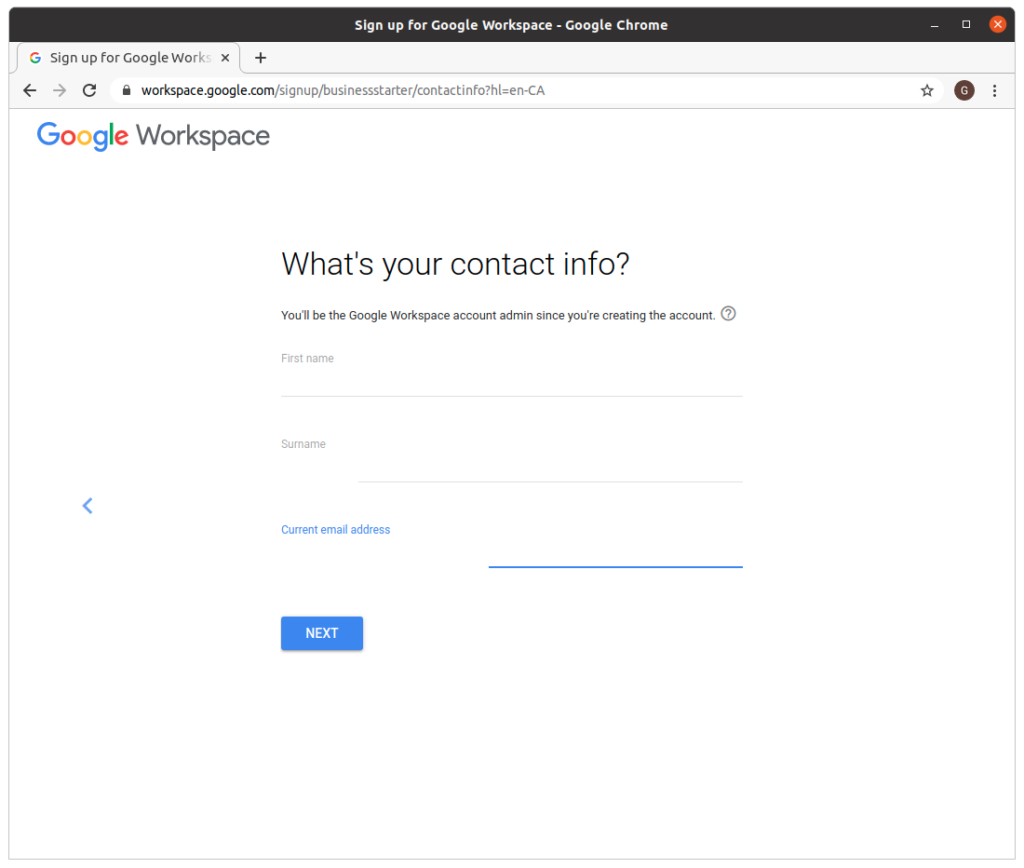
Enter “First name”,”Surname”,”Current email address.” Click “Next”:
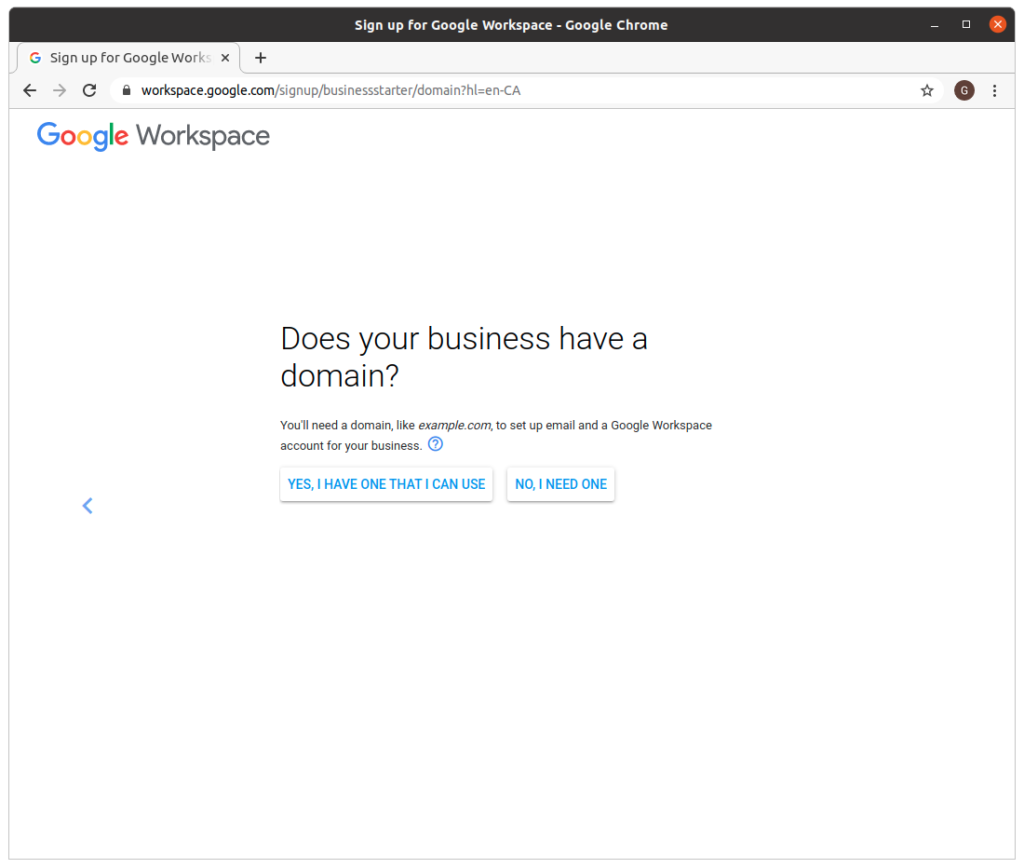
Click on “Yes, I have one that I can use”:
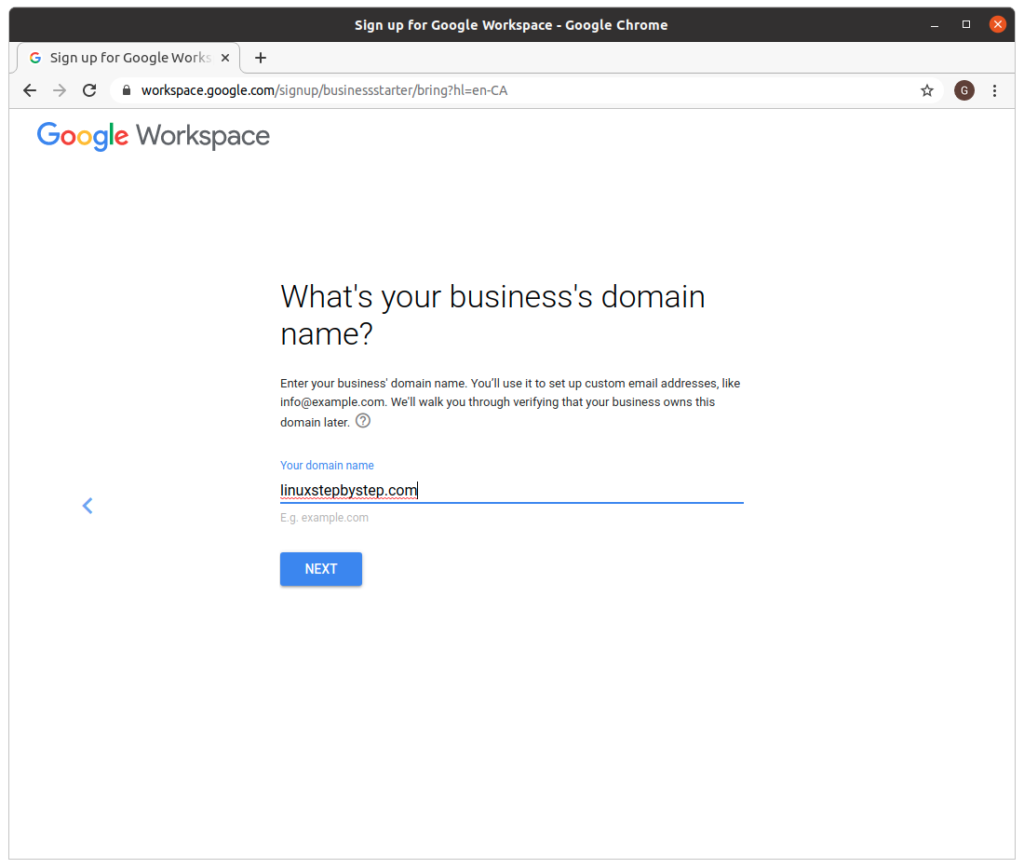
Enter “Your domain name”
Click Next:
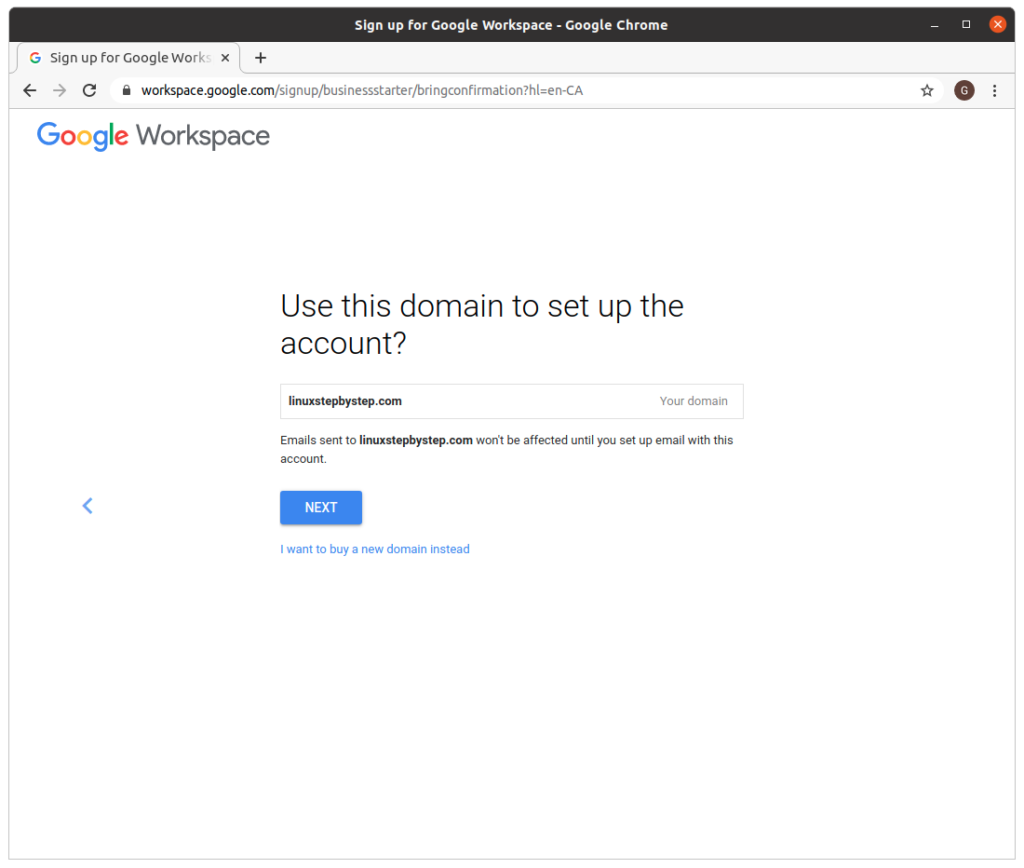
Click “Next”:
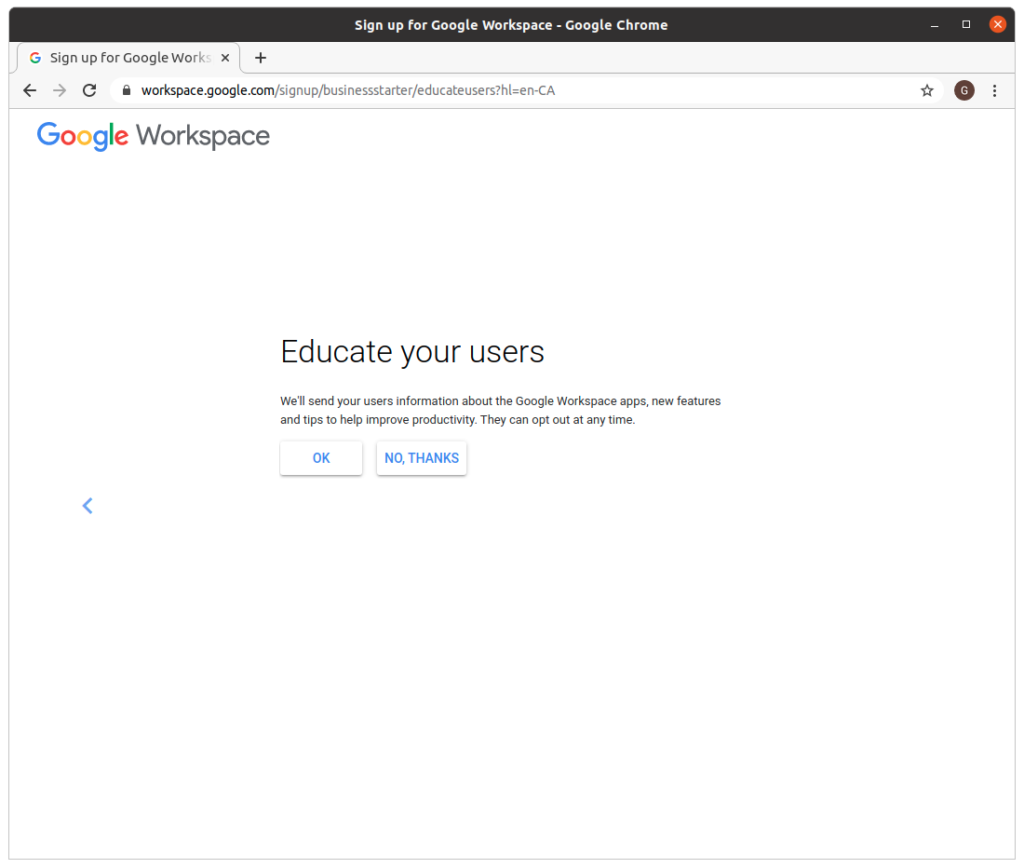
Click “No, thanks”:
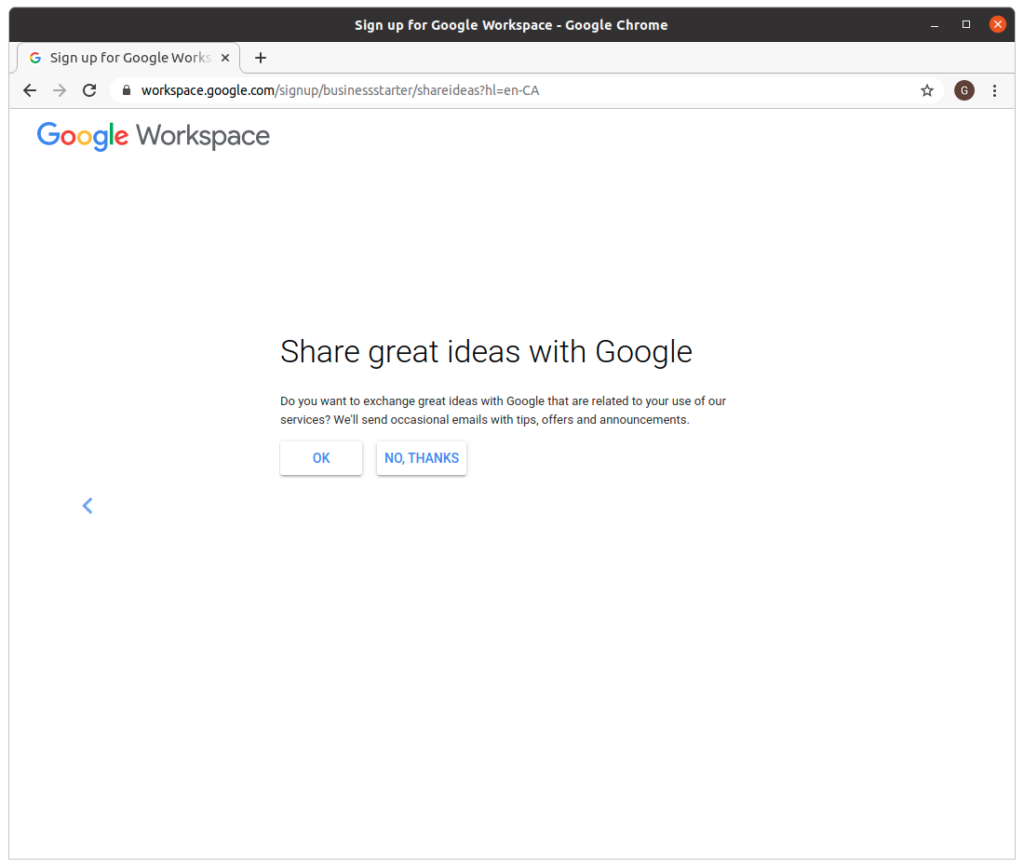
Click “No, thanks”:
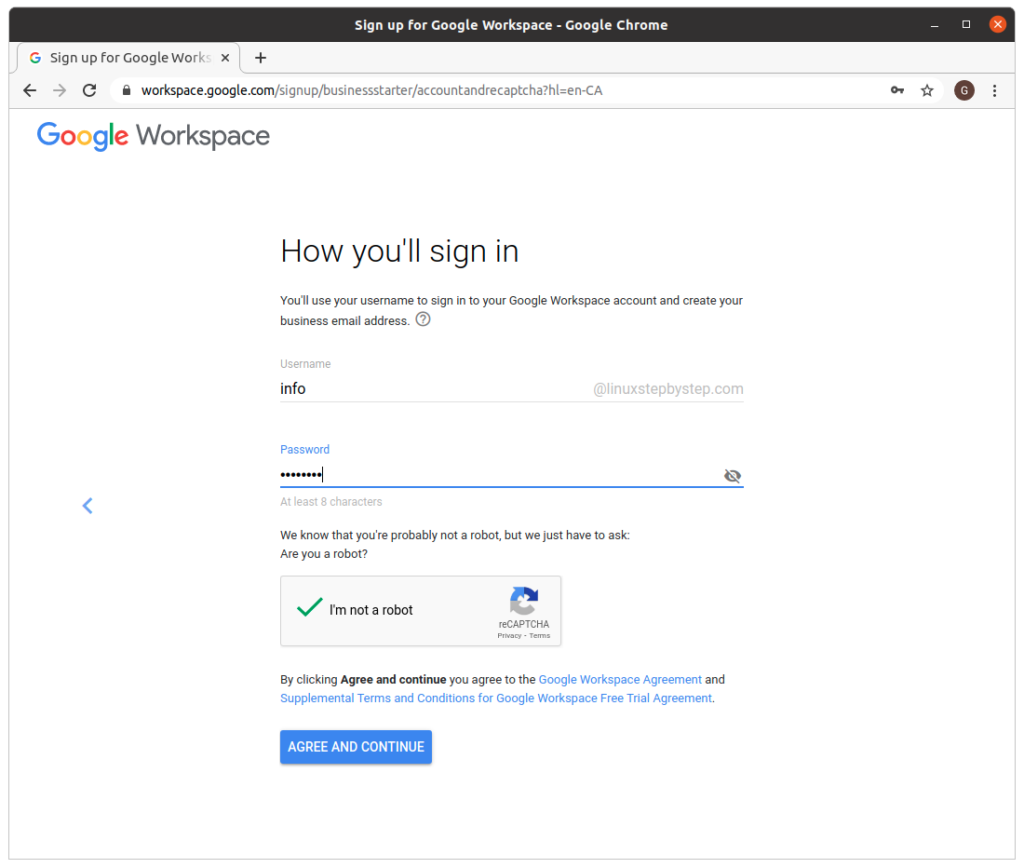
enter values for “Username” and “Password.” If you are not sure, use “info” as the “Username.” Click “Agree and continue”:
Click “Next”:

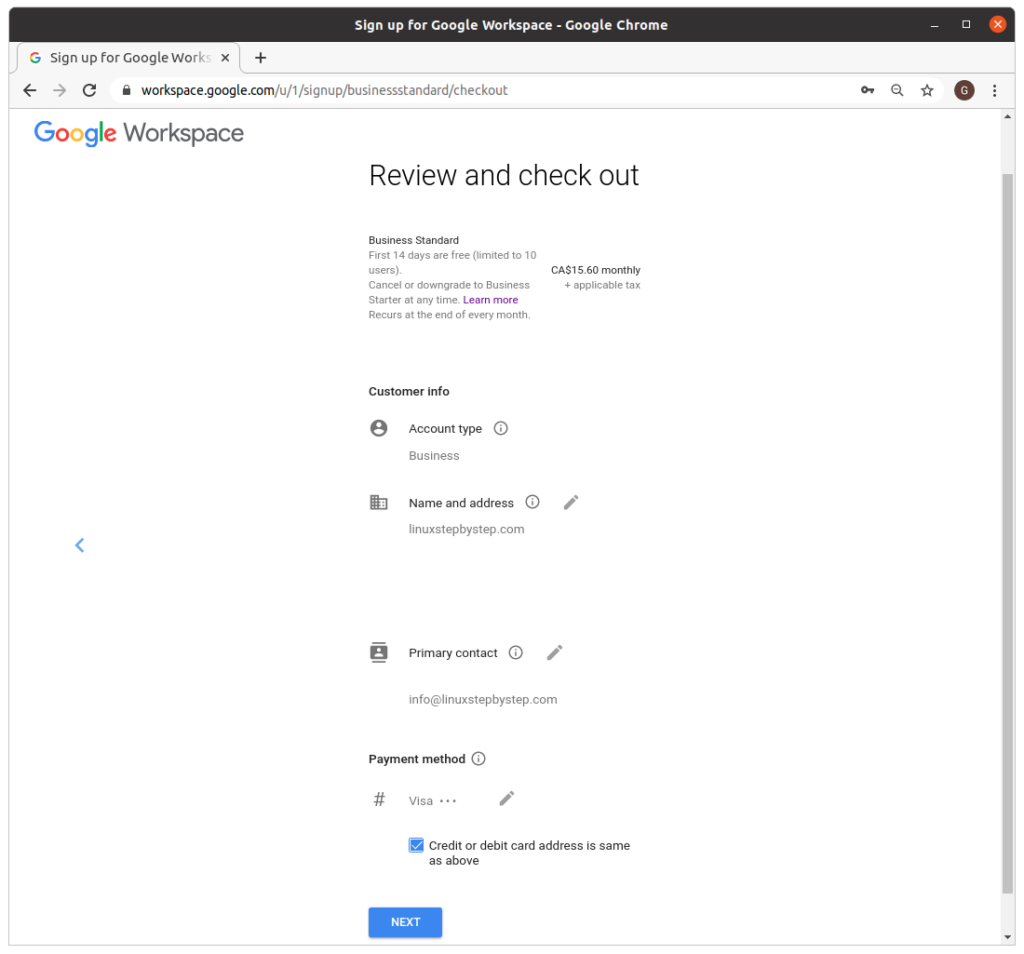
Enter information for “Name and address,” “Payment method.” Click “Next”:
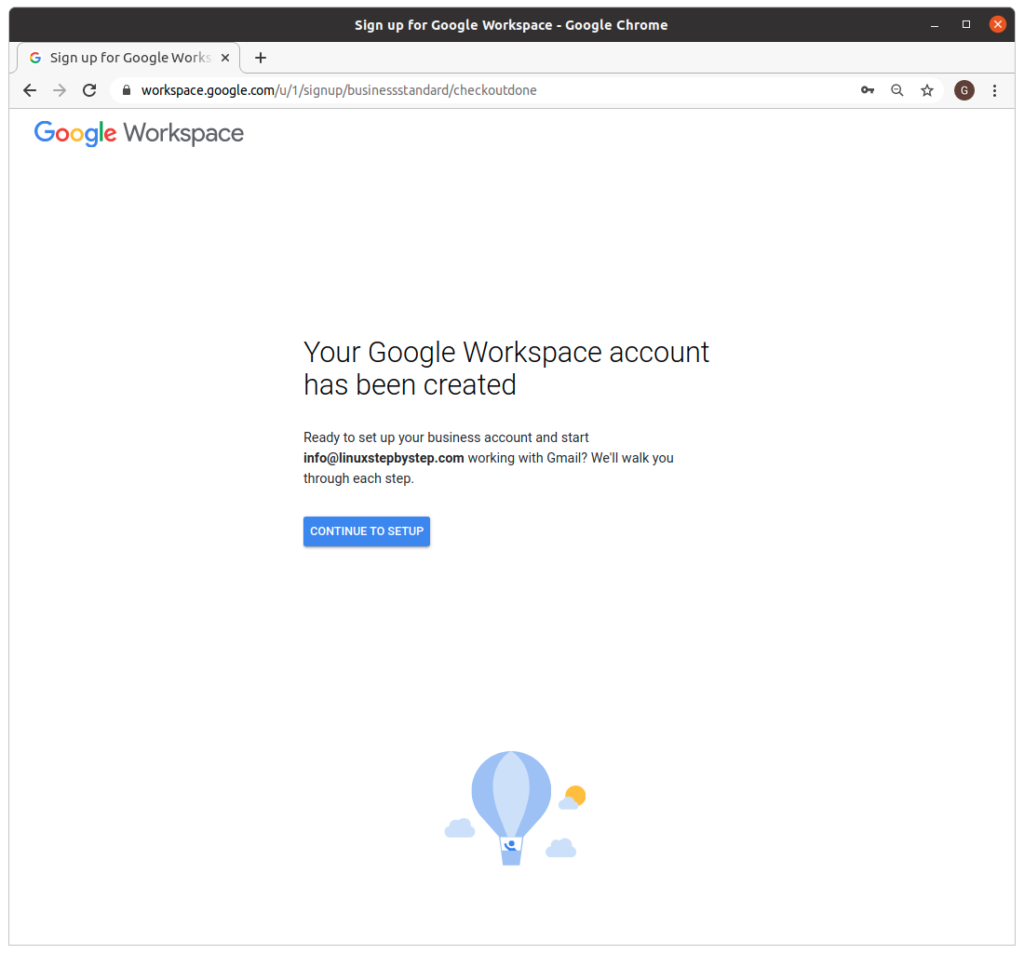
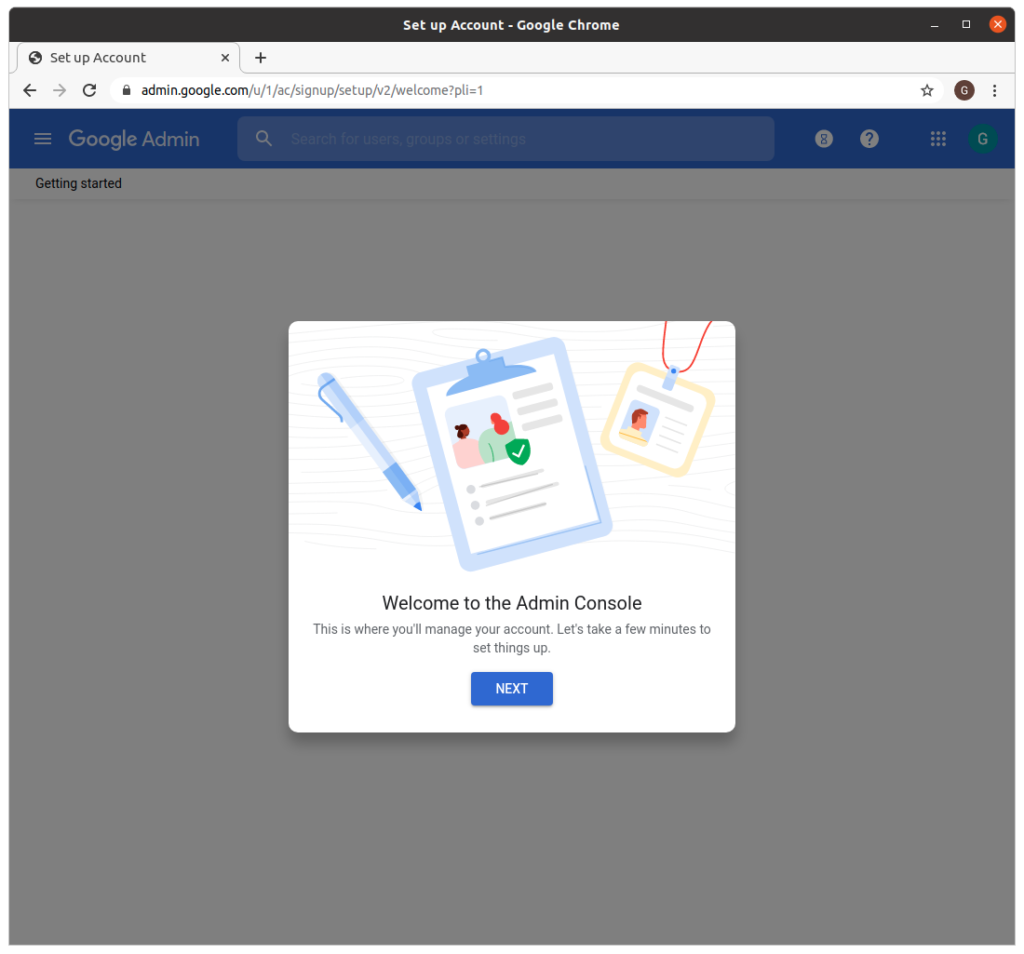
Click “Continue to setup”:
Click “Next”:
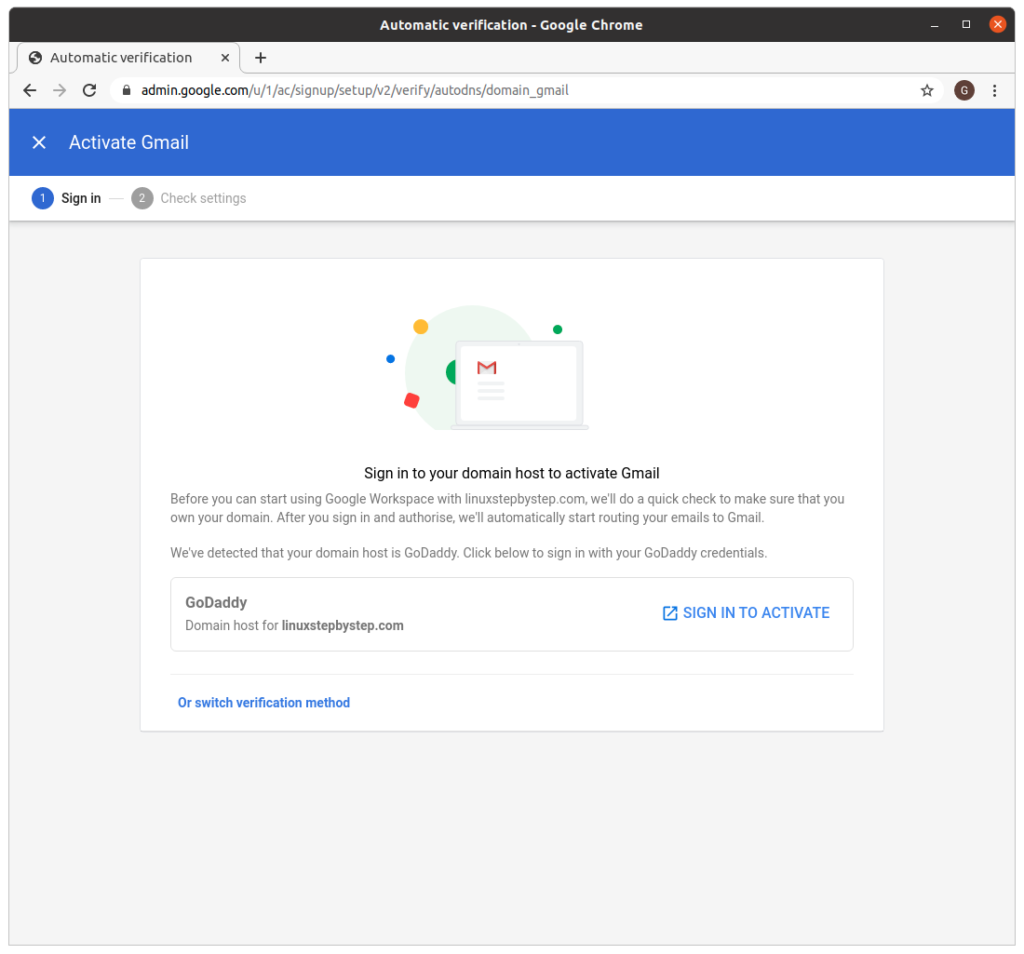
Click “Activate”:

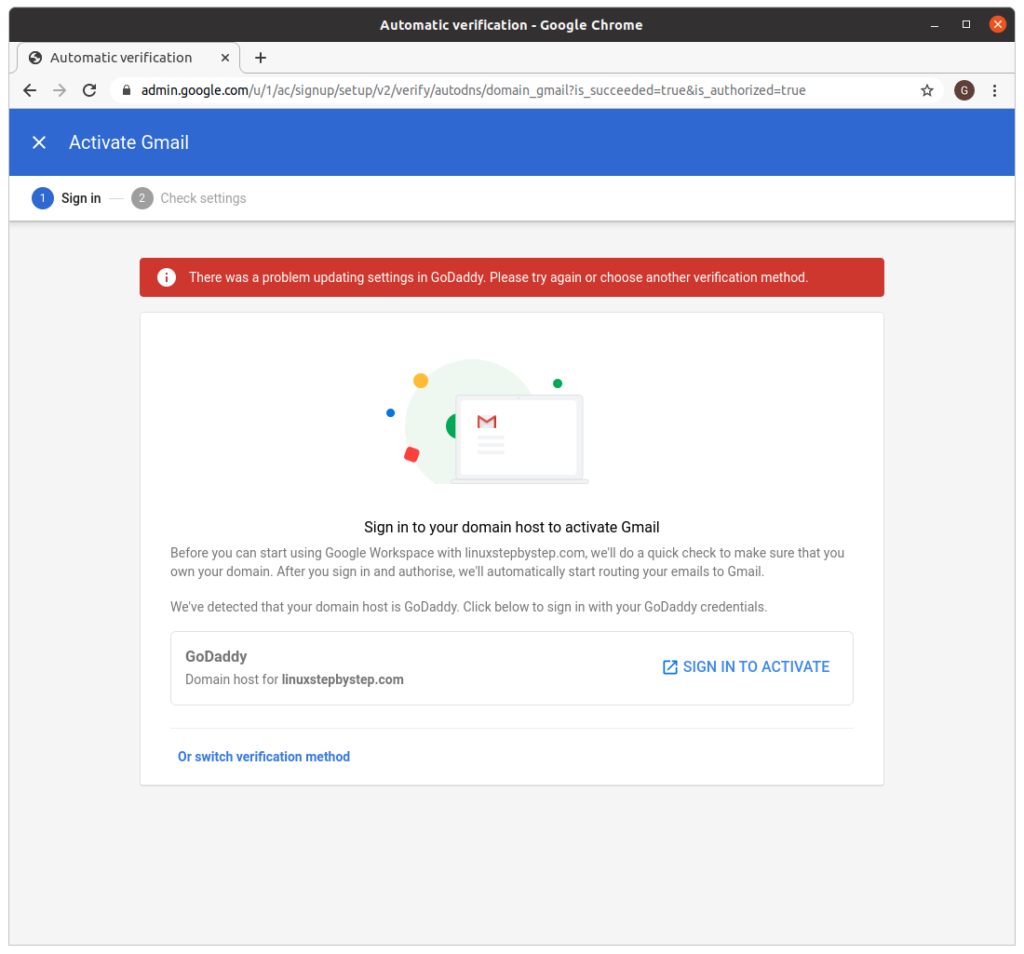
Click “Sign in to activate”:
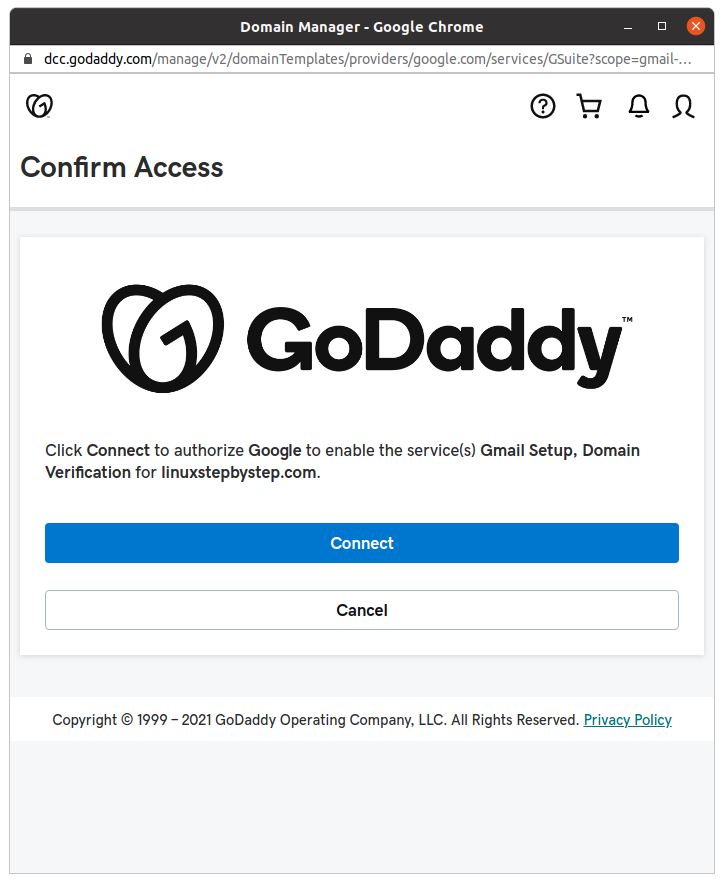
Click “Connect”:
Google Workspace will attempt to connect to GoDaddy to setup email for the domain using the GoDaddy DNS servers:
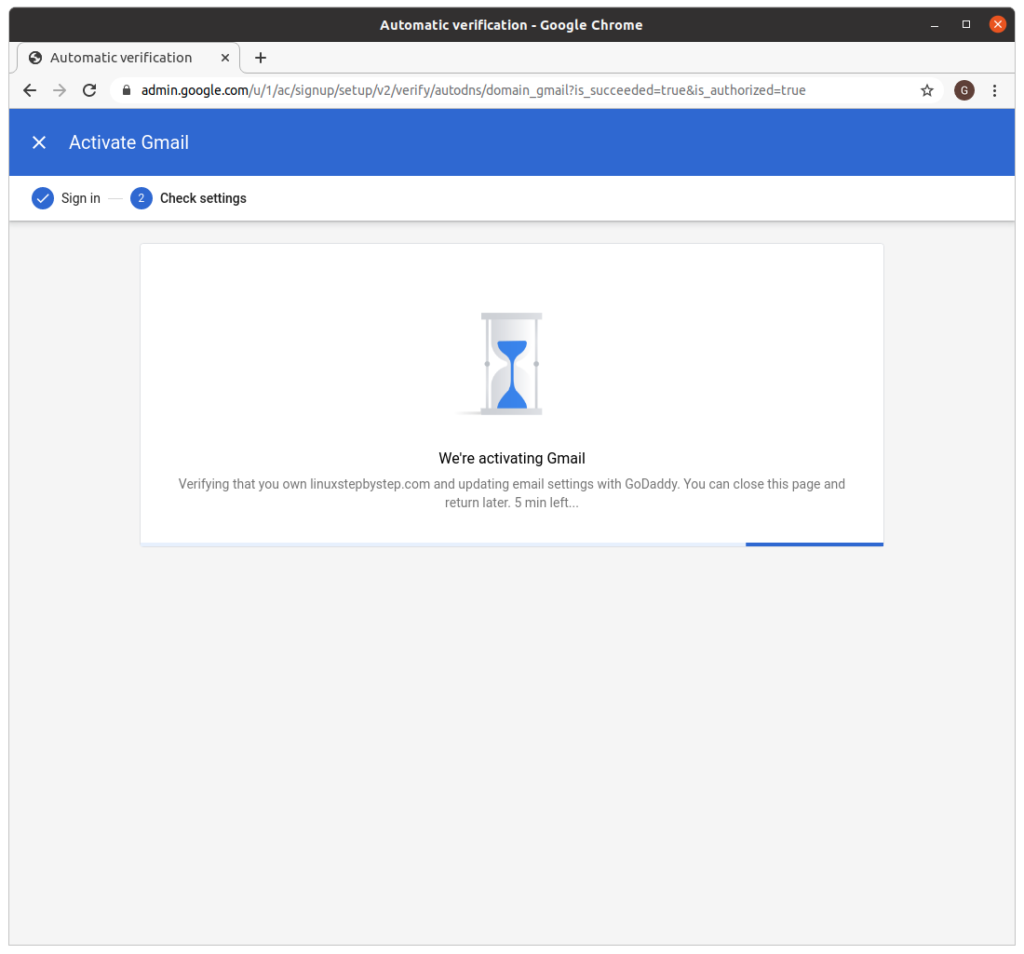
Sometimes, the connection between Google Workspace and GoDaddy times out. If this happens, try again by clicking on “Sign in to activate”:
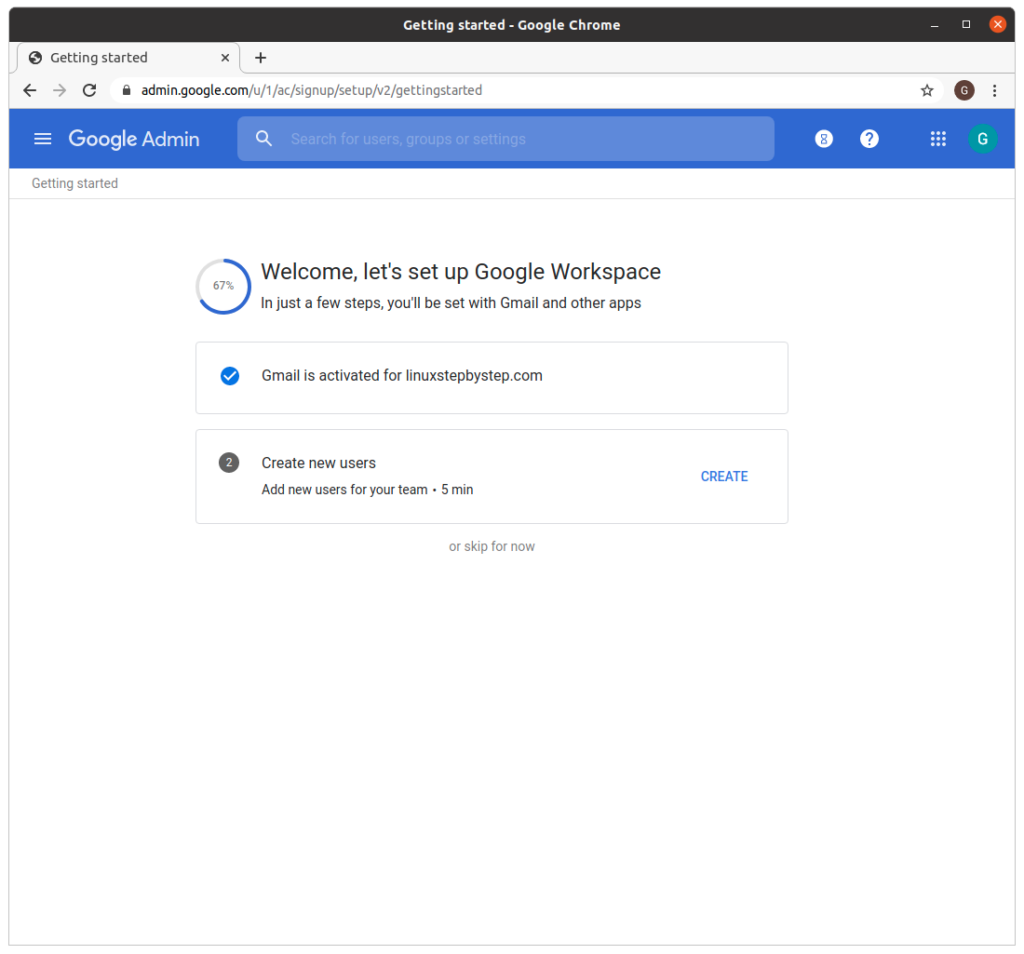
Google Workspace shows this screen if the domain if Gmail is activated for the domain. Since we do not want to create new any more new users, click “or skip for now”:
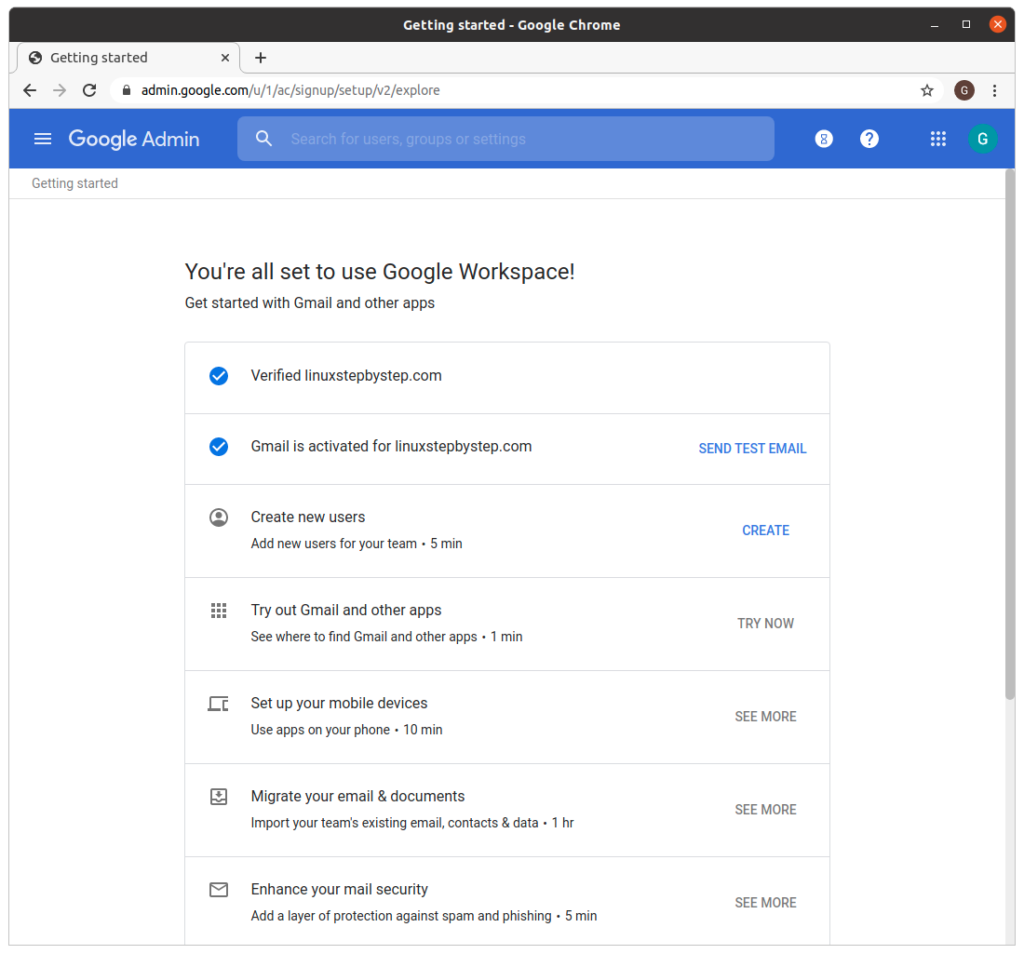
The following screen is shown.
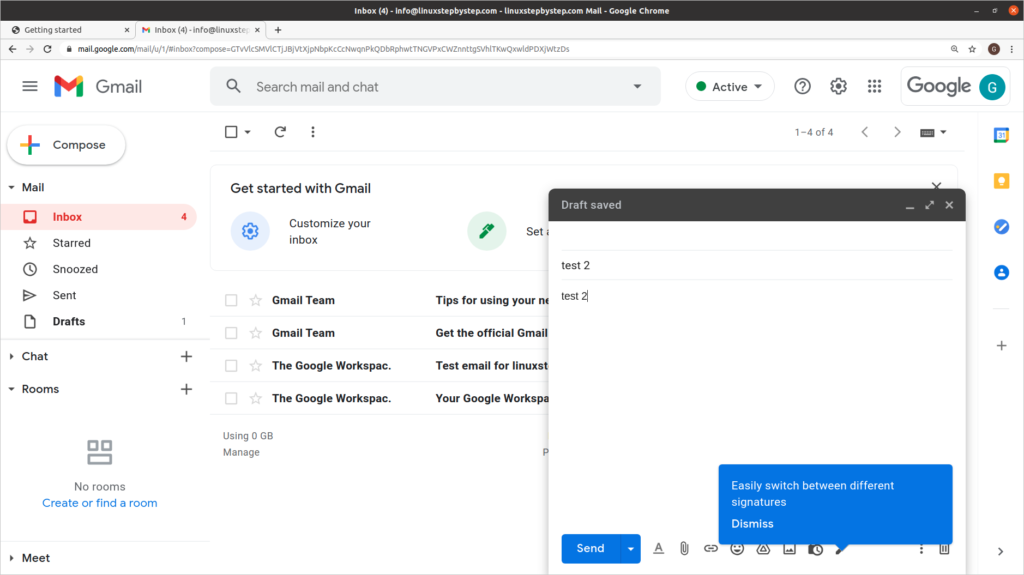
visit Gmail and login to the email account you created, for example info@domain.com:
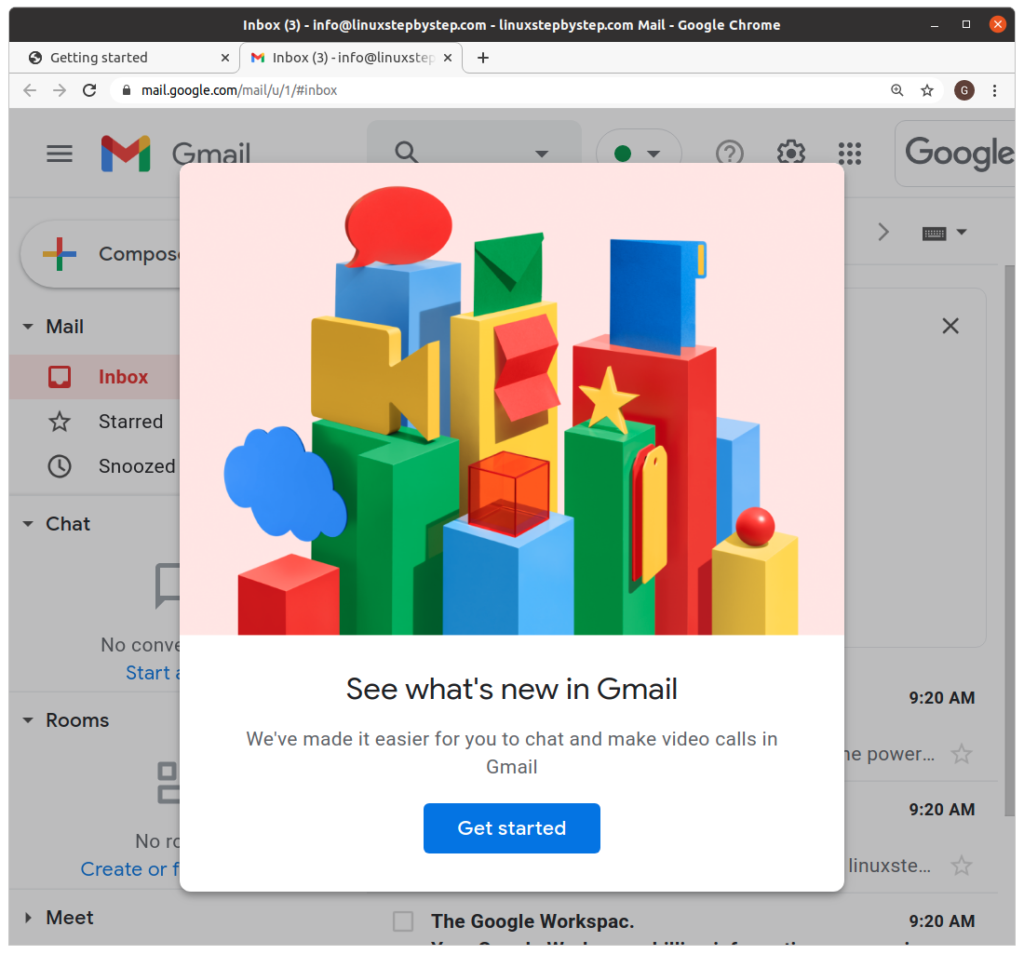
Send a test email message to an email account you control:
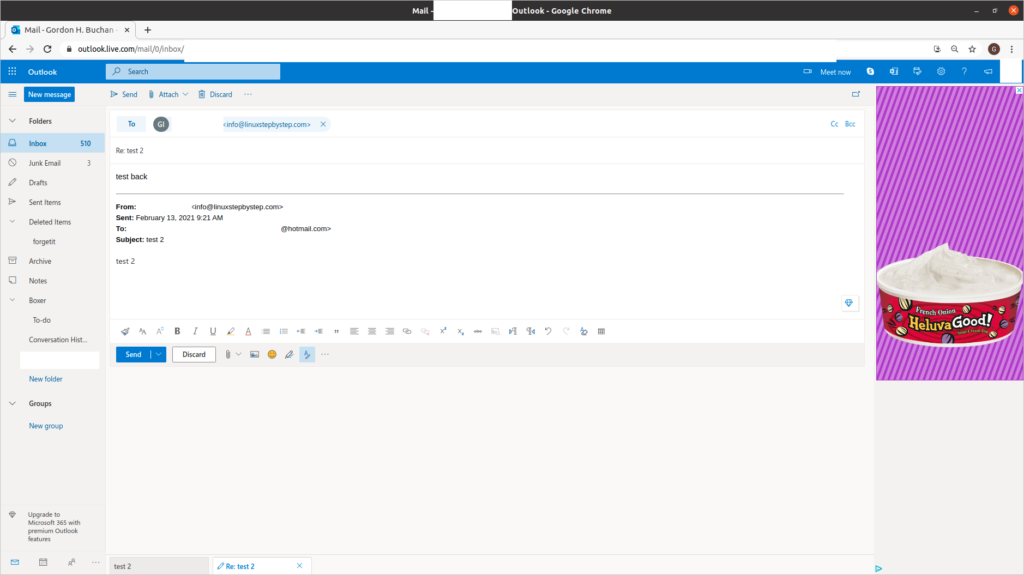
Verify that you have received the test message in the email account you control. Reply to the test message:
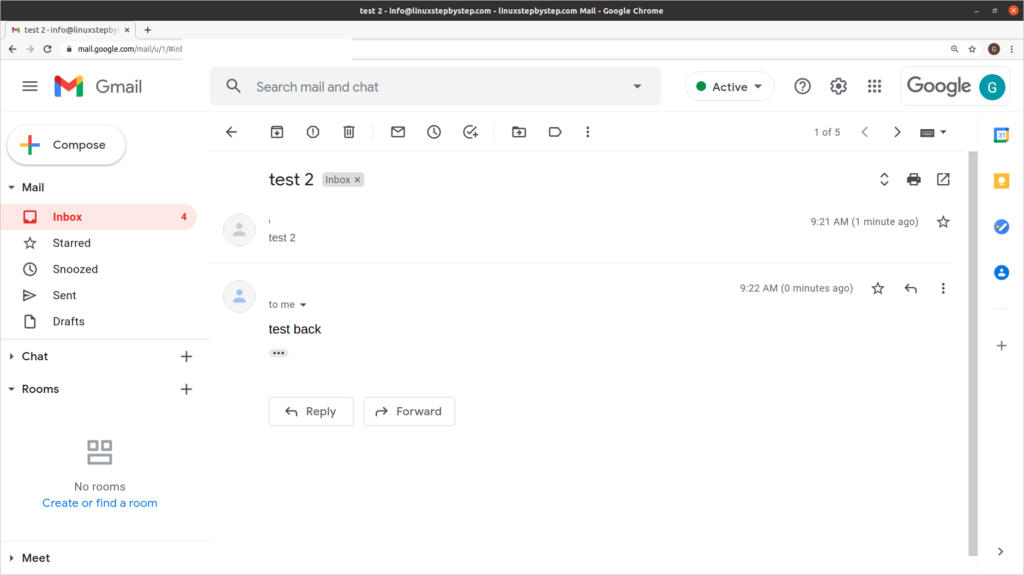
From Gmail, verify that you have received the reply to the test message:
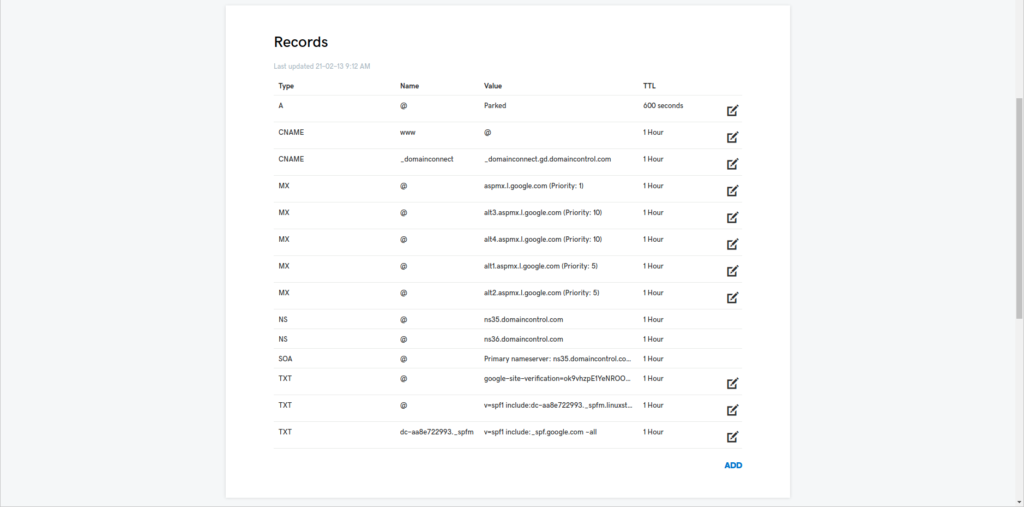
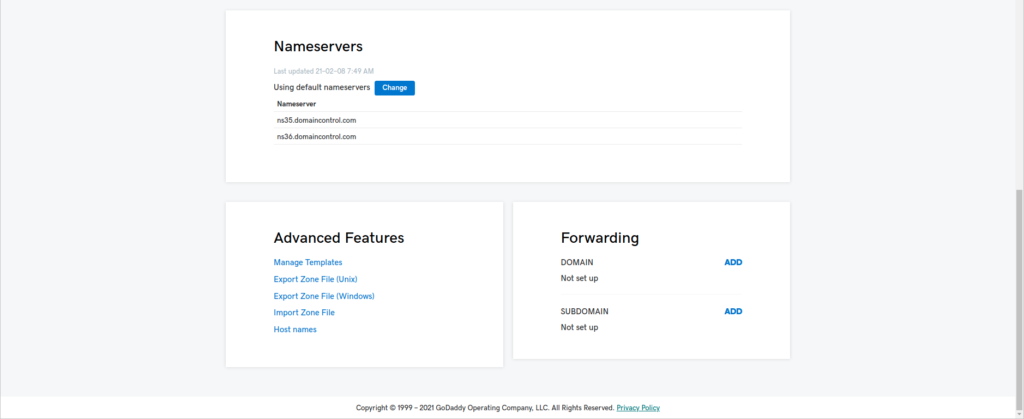
Visit the GoDaddy site so we can examine the MX and TXT records in the DNS zone file for your domain:
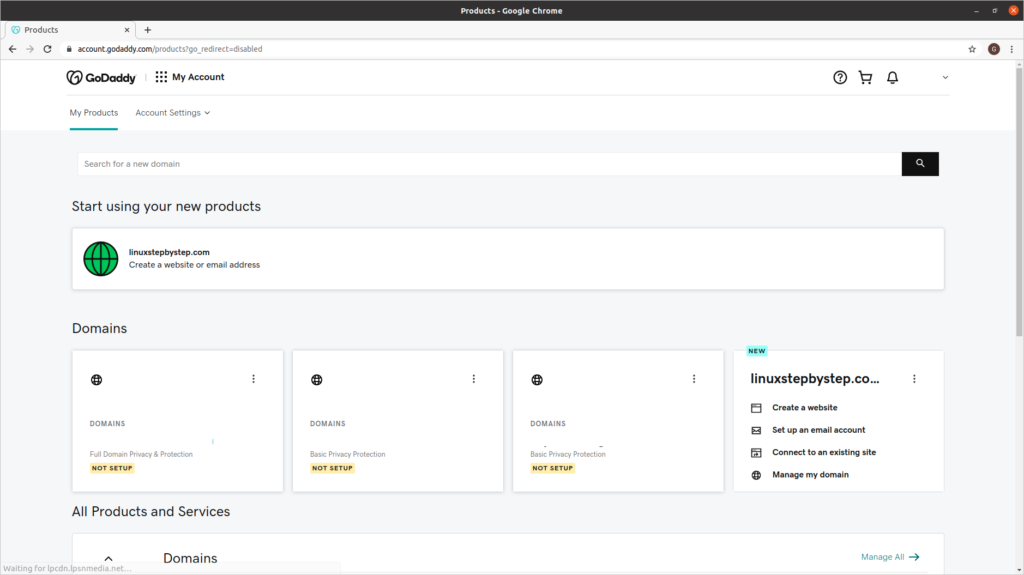
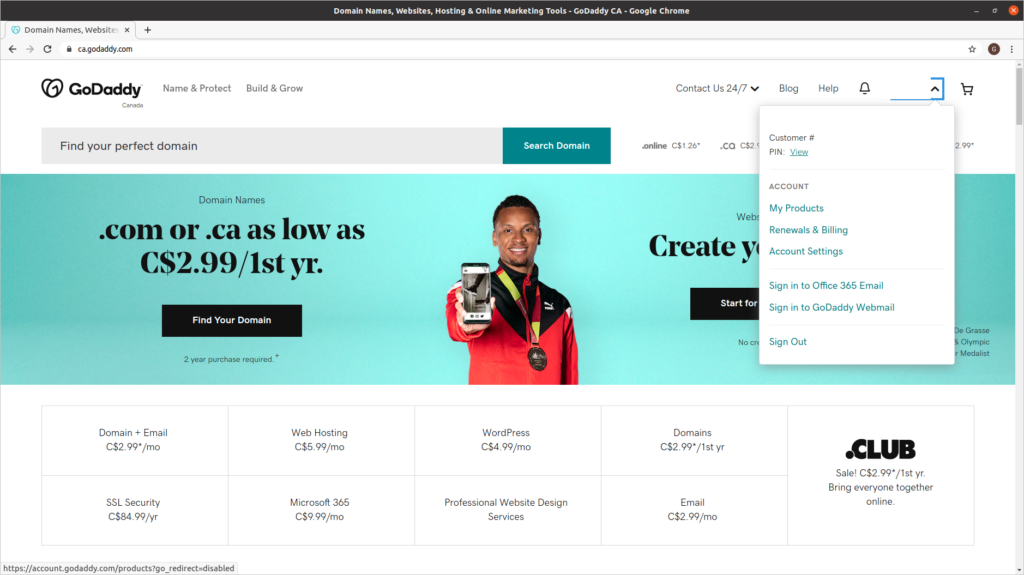
Click on the icon for your account in the upper-right corner of the site. Click on “My Products”:
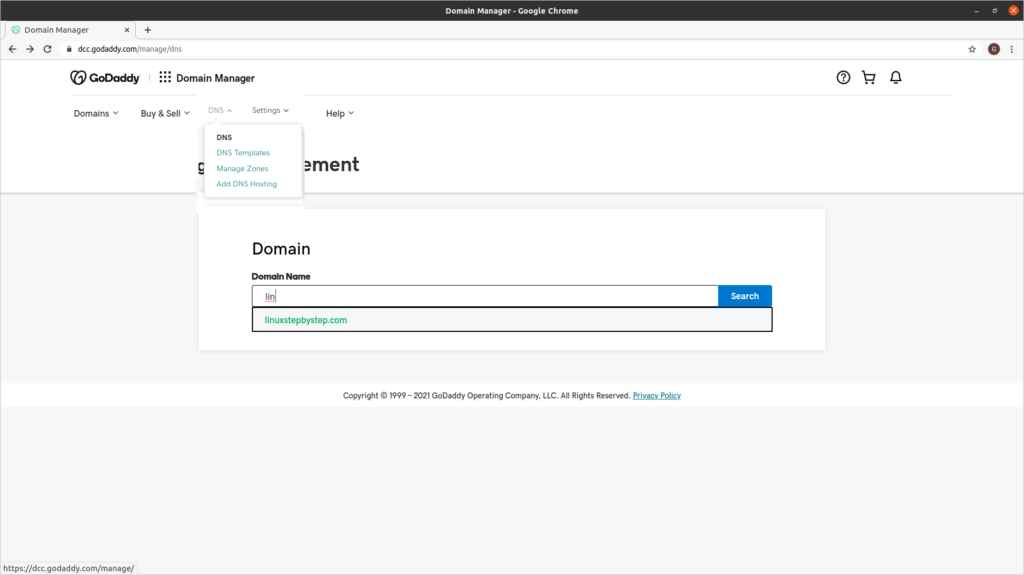
Click on the “DNS” tab:

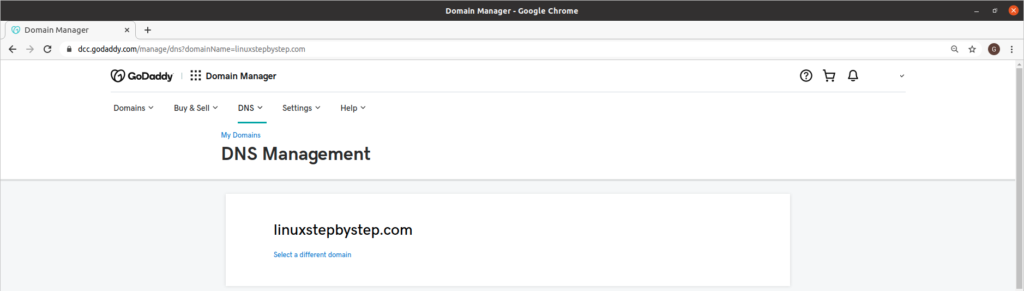
On the DNS tab’s pull-down menu, click on “Manage Zones” Search for your domain name:
This screen shows the DNS zone file information for the domain. MX is short for Mail eXchanger. TXT is short for text comment, but TXT records are used for security tokens and email subsystems like SPF and DKIM.
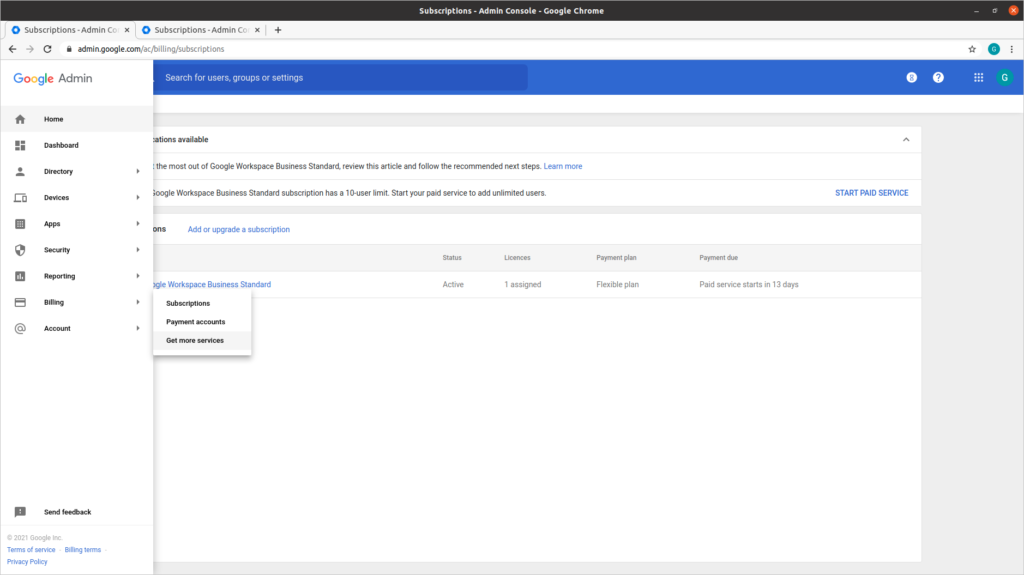
Visit the Google Workspace admin site. Click Accept:

On the left-side menu, hover over “Billing,” then click on the sub-option “Get more services”:
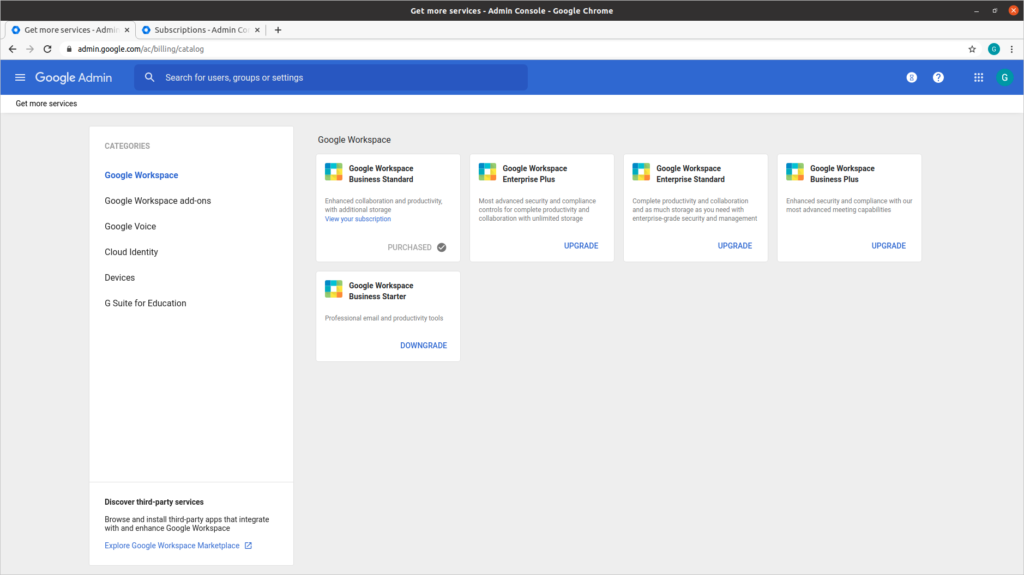
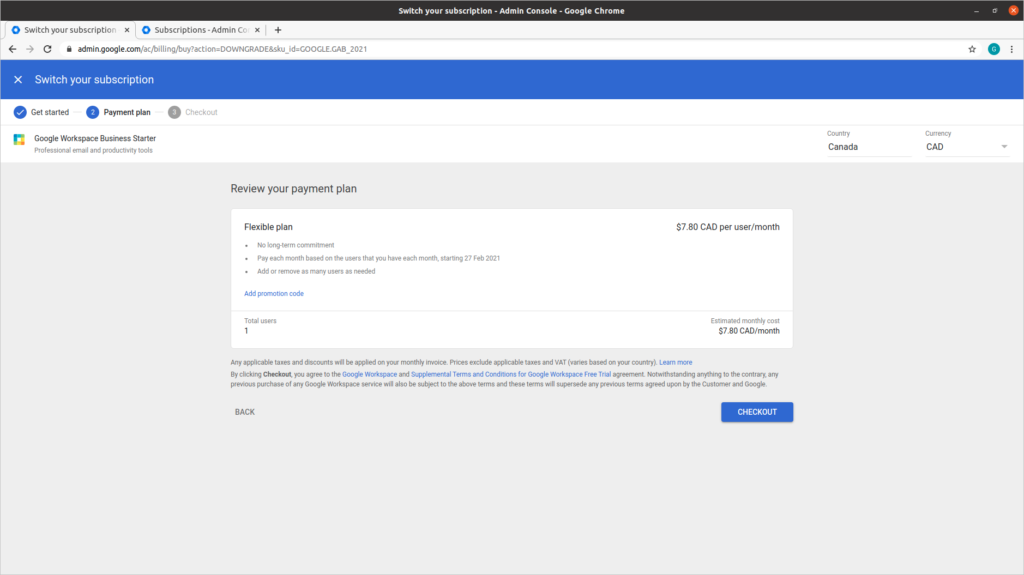
In the rectangle labeled “Google Workspace Business Starter,” click “Downgrade”:
Click “Checkout”:
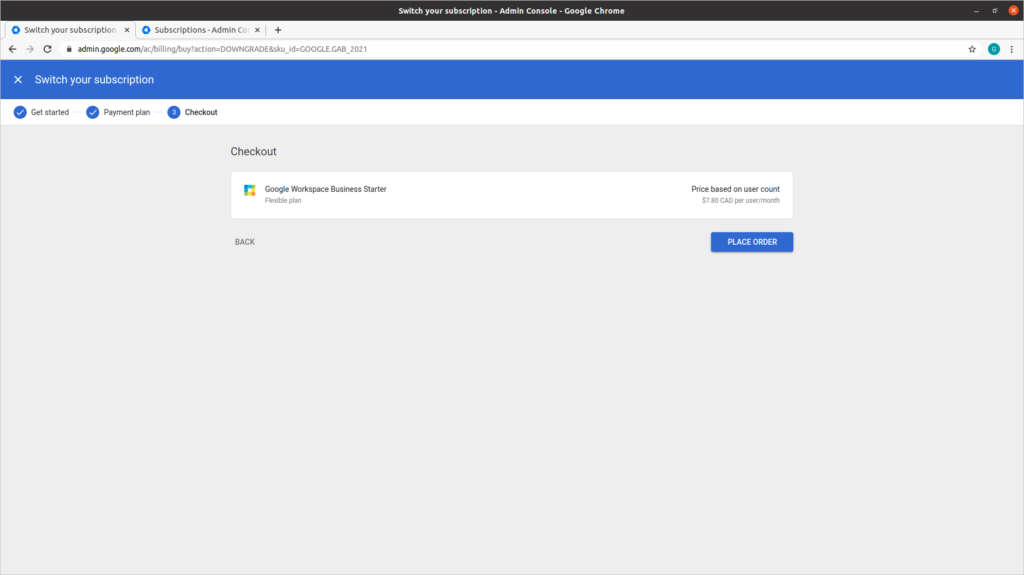
Click “Place order”:
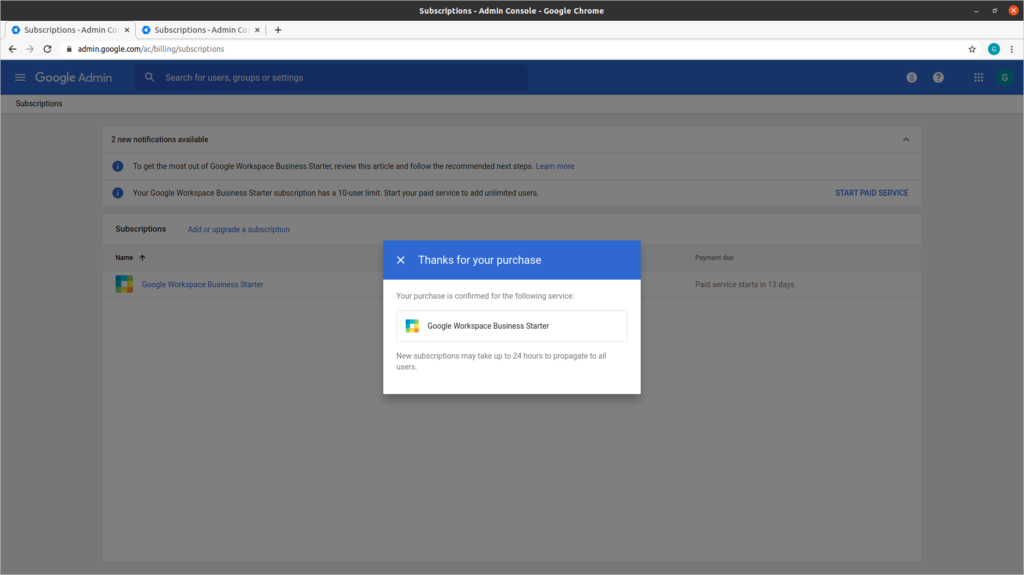
Google will present the following screen:
Previous step: Chapter 1: Buying a domain name from GoDaddy
Next step: Chapter 3: Buying an Ubuntu Linux cloud server from Digital Ocean