
Next step: Chapter 2: Buying branded email from Gmail
Web presence step by step is a series of posts that show you to how to build a web presence.
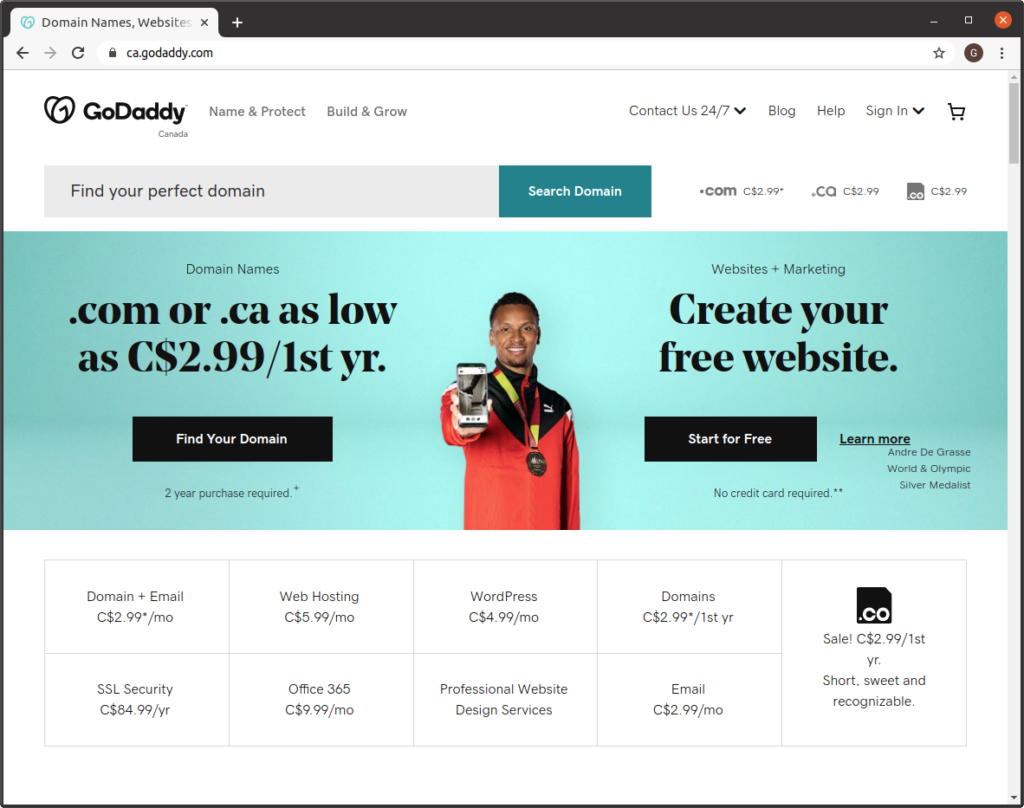
In this post, we register a domain name with GoDaddy, a domain name registrar.
Make sure that you select private registration. Skip the offers for email and website builders. Use the default name servers (DNS servers) provided by GoDaddy.
(In later chapters, we will build out our email and website capabilities with other vendors.)
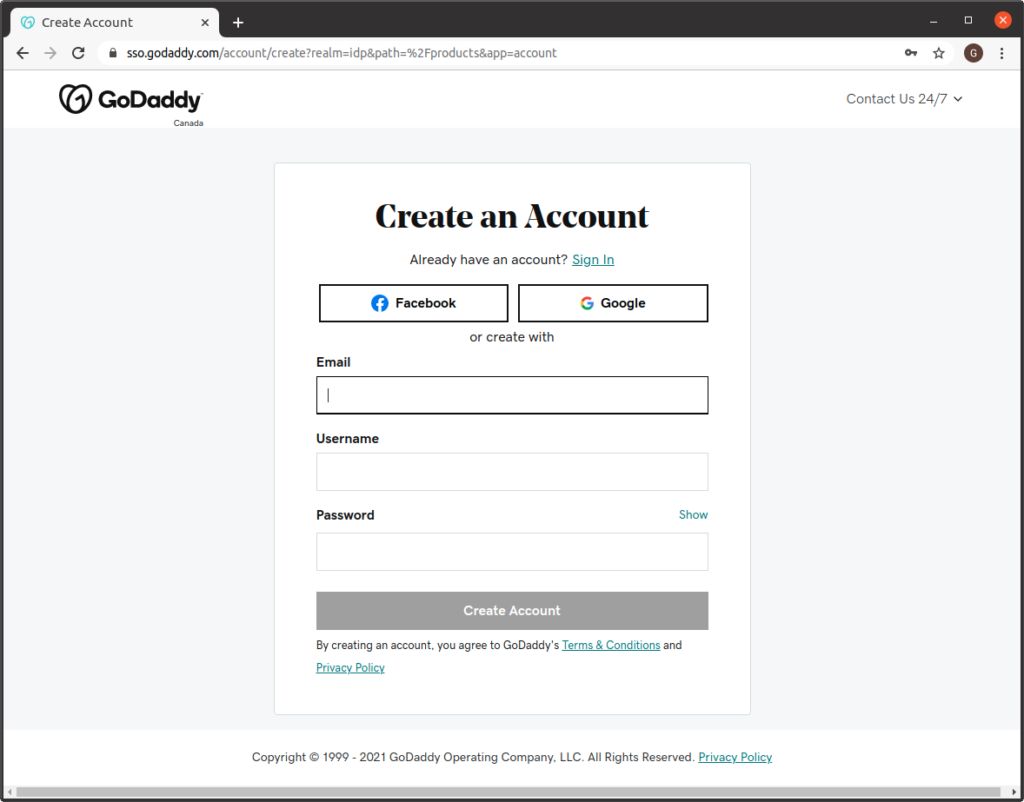
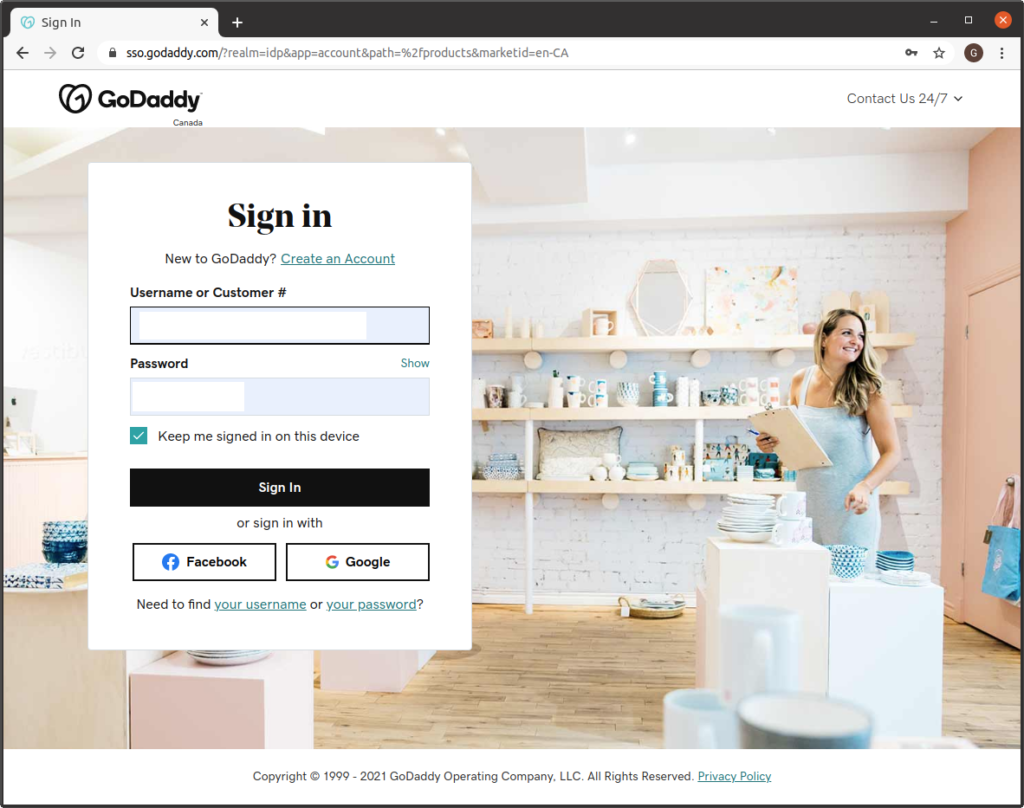
Create an account or sign in to an existing GoDaddy account:
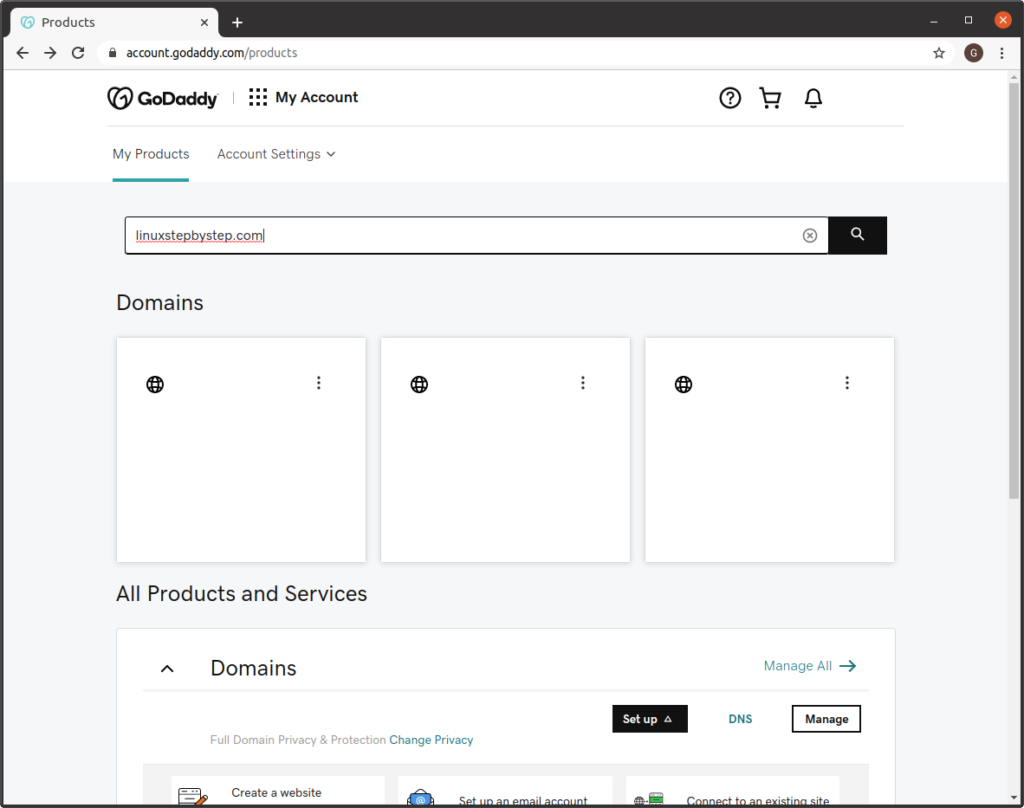
enter the name of the domain you would like:
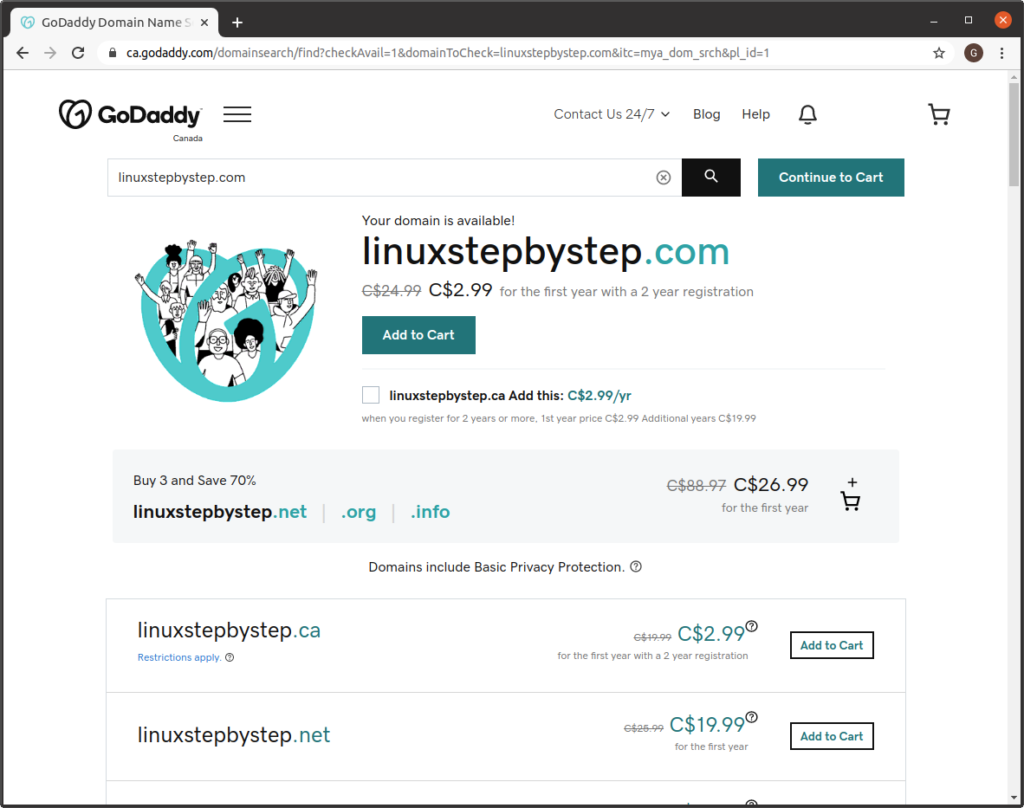
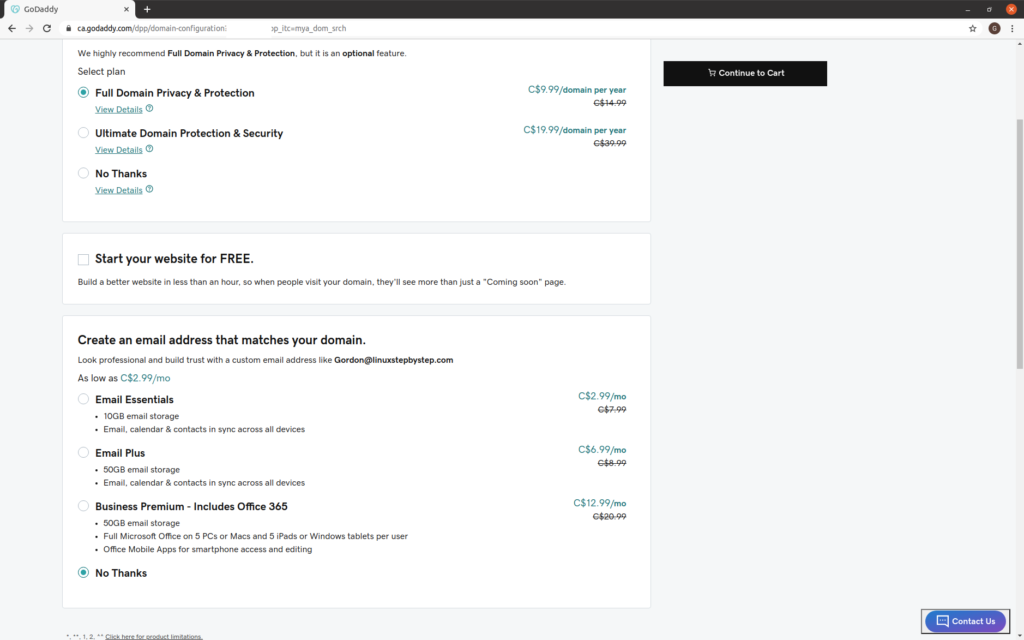
Choose “Full Domain Privacy & Protection.” Do not select “Start your website for FREE.” Do not take optional email services under “Create an email address that matches your domain.” Click “Continue to Cart”:
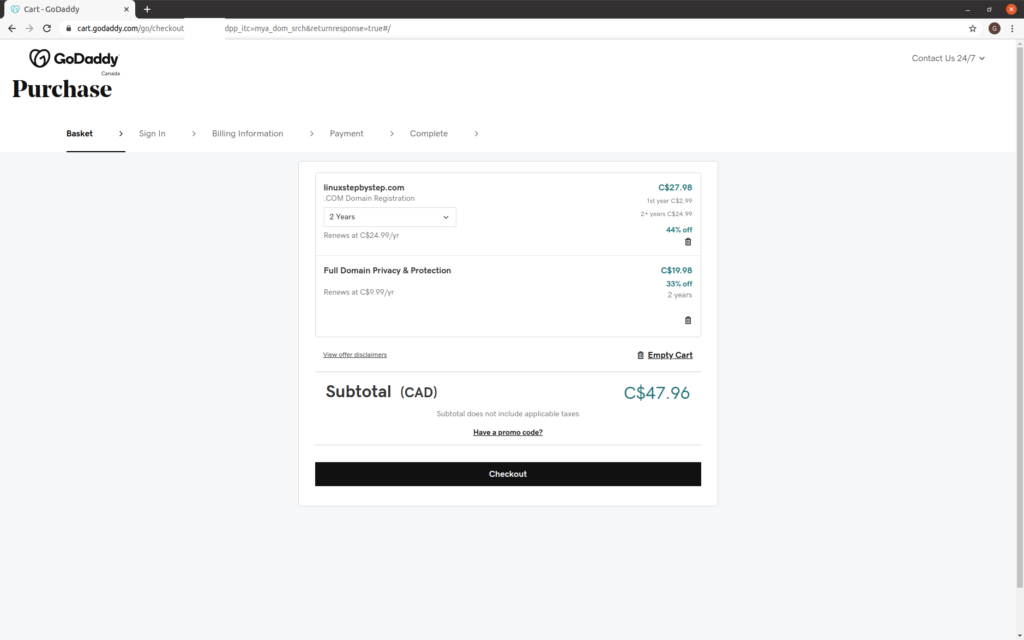
Click “Checkout”:
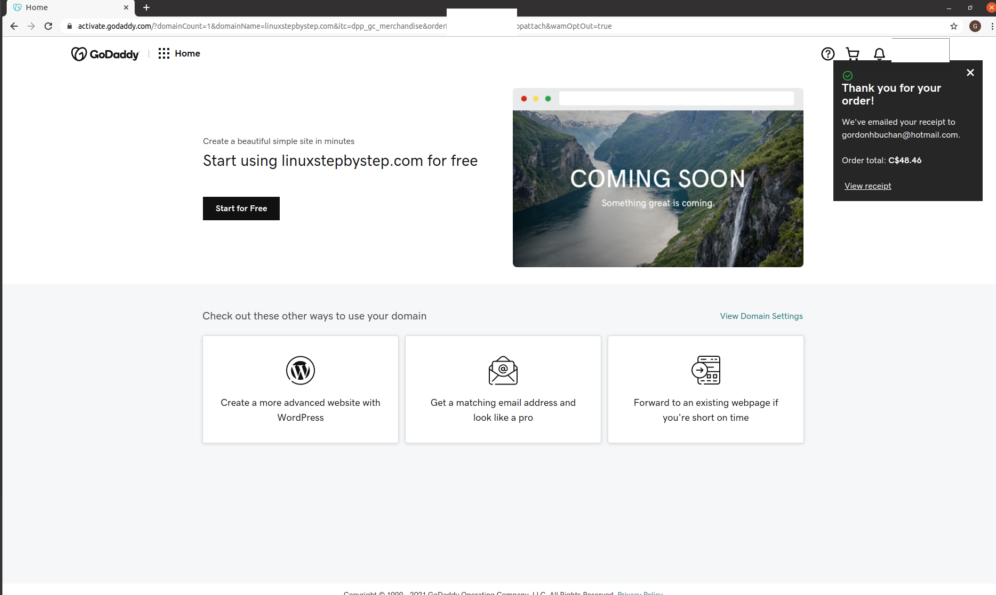
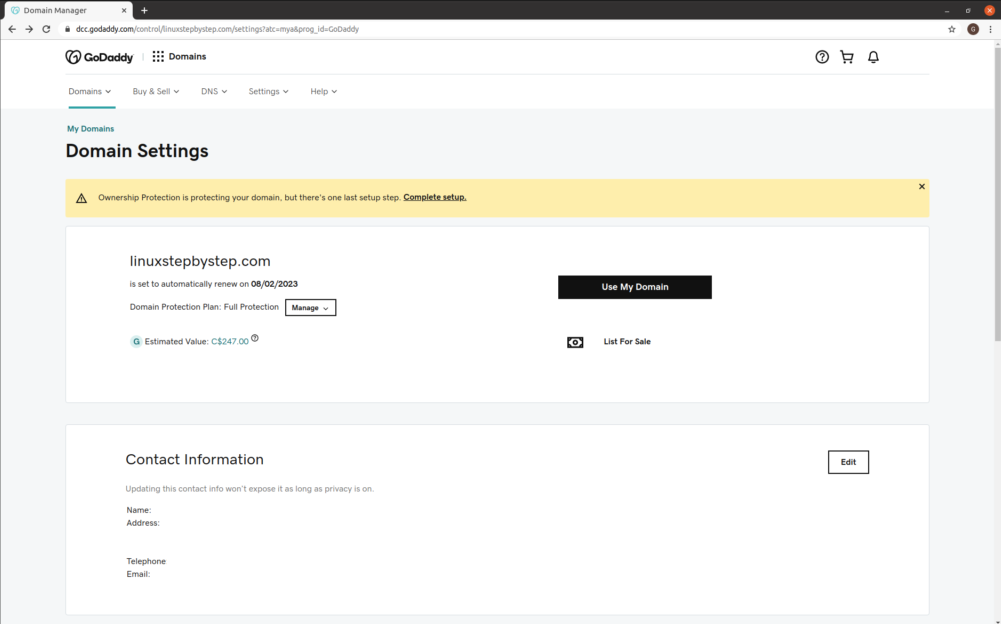
Click “View Domain Settings”:
Click “Complete setup”:
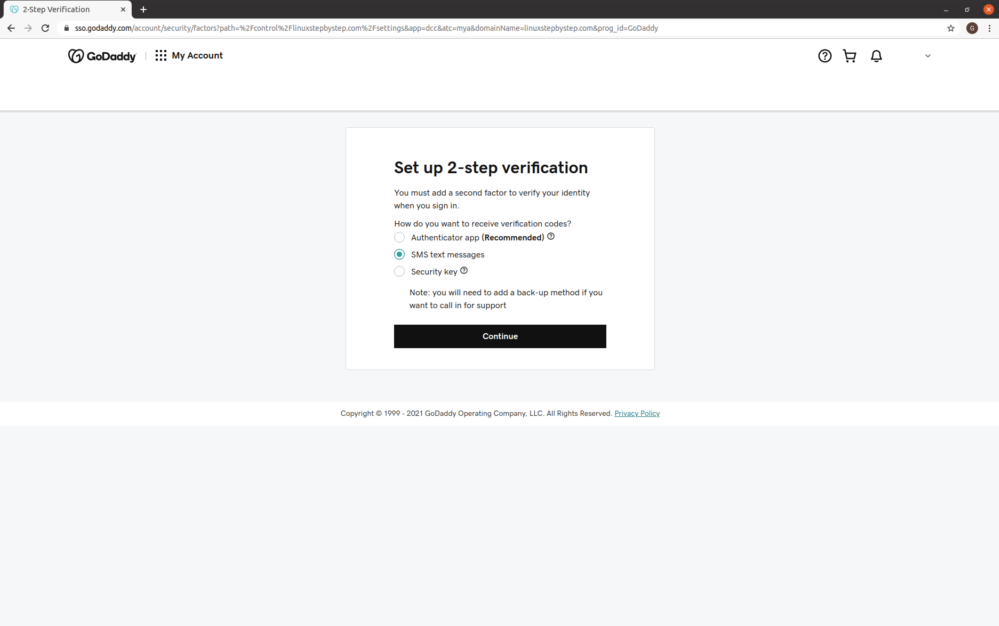
Select “SMS text messages.” Click Continue:
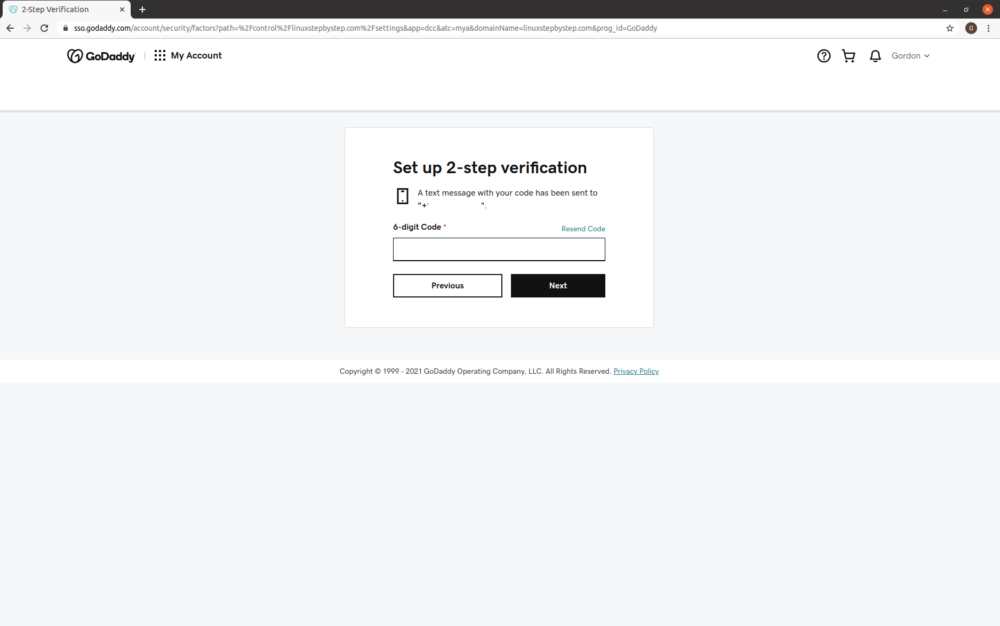
Enter the code sent by SMS text. Click “Next”:
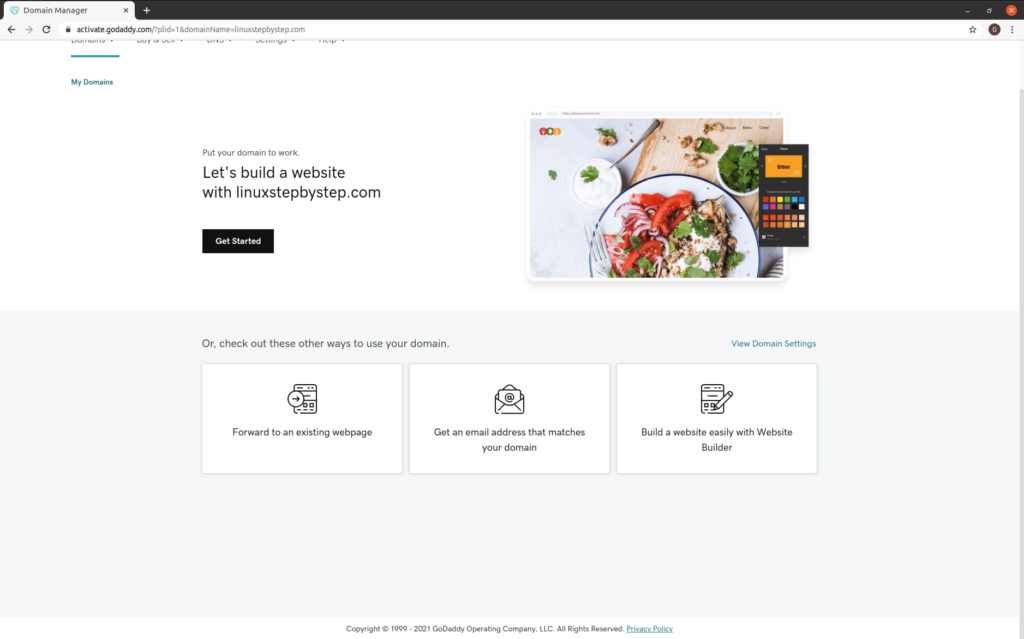
Click “View Domain Settings”:
From the DNS menu, select “Manage Zones”:
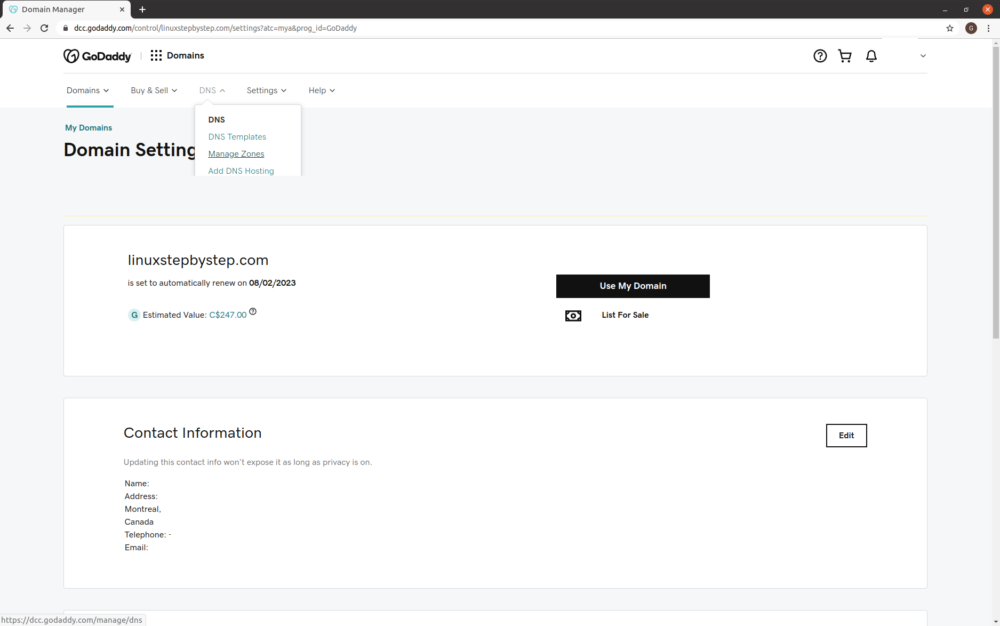
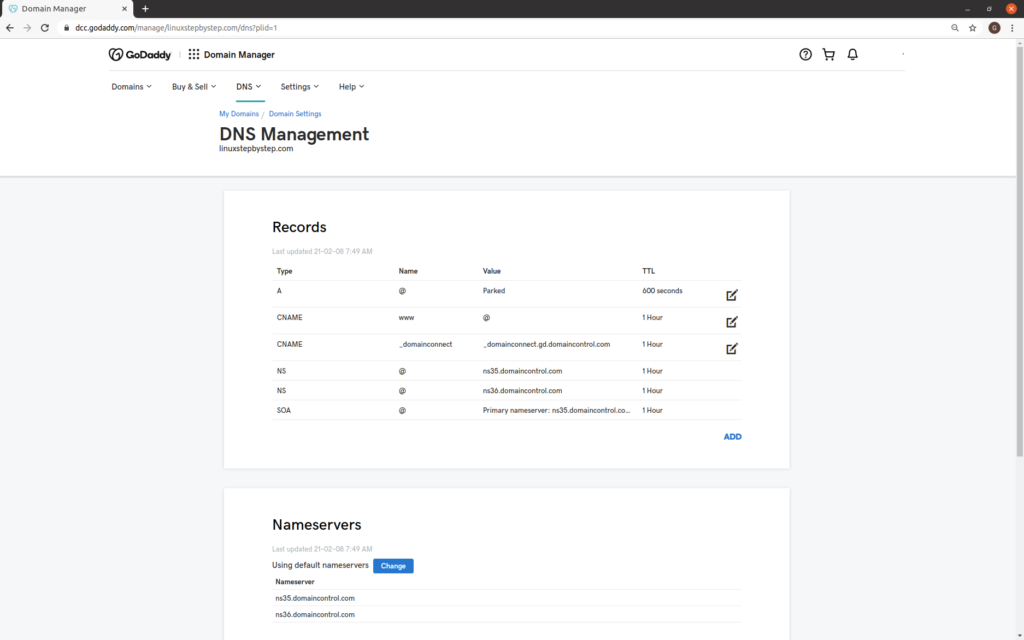
For now, just look. This is your DNS control panel.
You will use the GoDaddy DNS servers to control your domain in later steps.
Next step: Chapter 2: Buying branded email from Gmail