This post describes how to create a BASH script that opens the KVM virtual network adapter to outside traffic, and forwards ports from the KVM host to the KVM guest using iptables and Network Address Translation (NAT).
The KVM virtual network adapter rejects packets from the outside world by default
By default, the virtual network adapter for KVM (virbr0) is configured to block network traffic originating from outside the host computer. This can be resolved with iptables directives, which will be described below.
You do not need to use /etc/ufw/before.rules or /etc/libvirt/hooks/qemu to forward ports to a KVM guest
Many Internet articles and posts on this subject give the incorrect impression that the only way to forward ports to a KVM guest is via UFW and its /etc/ufw/before.rules file, and/or that you need to create a post-configuration script as a qemu “hook” in the /etc/libvirt/hooks/qemu file. You can open the virtual network adapter to outside traffic and forward ports to the KVM guest under NAT solely using iptables directives.
An example of a BASH script that opens the virtual adapter to outside traffic, and forwards ports from the host to the guest
To illustrate the solution, here is a sample BASH script that contains iptables directives that open the virtual adapter to outside traffic, and forwards ports 80/tcp, 443/tcp, and 8022/tcp from the host to the guest.
A note about the source code view below
For formatting reasons, the text is limited to a fixed width. To fully view the text, you can scroll to the right to see the ends of lines, or use the print view for this blog post.
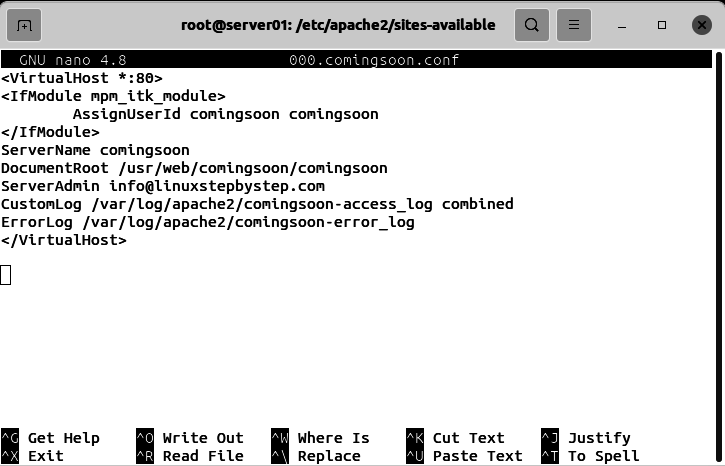
#!/usr/bin/bash
# generated 2021/04/07 20:37:46 EDT by forwardportstoguestgenerator.php v0102
# Gordon Buchan https://gordonbuchan.com

# values
kvmsubnet="192.168.122.0/24"
wanadaptername="enx4ce1734b693e"
wanadapterip="192.168.46.123"
kvmadaptername="virbr0"
kvmadapterip="192.168.122.174"

# allow virtual adapter to accept packets from outside the host
iptables -I FORWARD -i $wanadaptername -o $kvmadaptername -d $kvmsubnet -j ACCEPT
iptables -I FORWARD -i $kvmadapterip -o $wanadaptername -s $kvmsubnet -j ACCEPT
# forward ports from host to guest
iptables -t nat -A PREROUTING -i $wanadaptername -d $wanadapterip -p tcp --dport 80 -j  DNAT --to-destination $kvmadapterip:80
iptables -t nat -A PREROUTING -i $wanadaptername -d $wanadapterip -p tcp --dport 443 -j DNAT --to-destination $kvmadapterip:443
iptables -t nat -A PREROUTING -i $wanadaptername -d $wanadapterip -p tcp --dport 8022 -j DNAT --to-destination $kvmadapterip:22
A PHP script that generates a BASH script that opens the virtual network adapter to outside traffic, and forwards ports from the host to the guest
This script runs the ifconfig and virsh commands to compile lists of possible WAN interfaces and KVM guests. This script prompts for choices at console, and generates a text file containing a BASH script with iptables directives that open the virtual adapter to outside traffic, and forward ports from the host to the guest using network address translation (NAT).
A note about the source code view below
For formatting reasons, the text is limited to a fixed width. To fully view the text, you can scroll to the right to see the ends of lines, or use the print view for this blog post.
To view the source code in an another text editor, download and uncompress the zip file described below, or select and copy the text from the source code example below, and paste the text into a file on your computer called “forwardportstoguest.php”
Consider copying the file to your server’s /usr/bin directory with a chmod of 755 so that it can be executed from the system path. Steps to do so are included in the procedure below.
Saving the PHP script to a file called forwardportstoguestgenerator.php
Download this zip file:
https://blog.gordonbuchan.com/files/forwardtoguest0102.zip
Uncompress the zip file to extract the file “forwardportstoguestgenerator.php” then copy the file to your KVM host computer.
or
Select and copy the text from the source code example above, and paste the text into a file on your computer called “forwardportstoguestgenerator.php”
#!/usr/bin/php
<?PHP
// forwardportstoguestgenerator.php
// v0102
// scan ifconfig and virsh, create iptables directives to forward ports to kvm guests
// chmod this script 755 to run as ./forwardportstoguestgenerator.php or run with php forwardportstoguestgenerator.php
// writes to a text file the BASH script forwardportstoguestscript.sh

// 2021/04/07
// Gordon Buchan https://gordonbuchan.com
// MIT license https://mit-license.org

// overview
// run the command "ifconfig" to isolate potential wan adapter names and ip addresses
// infer the KVM subnet based on the first 3 sections of the ip address of the "virbr0" adapter
// run the command "virsh net-dhcp-leases default" to isolate potential kvm guest names and ip addresses
// ask client to choose WAN adapter
// ask client to choose KVM guest
// create a batch file containing iptables directives to open the virtual adapter to packets from outside the host
// and to forward ports from the host adapter to the KVM guest adapter 80/tcp, and 443/tcp, 8022/tcp

// //////////////////////////////////////////////////////////////////////////////////
// start function sink

// str_contains() polyfill for pre PHP8
if (!function_exists('str_contains')) {
    function str_contains(string $haystack, string $needle): bool
    {
        return '' === $needle || false !== strpos($haystack, $needle);
    }
}

// end function sink
// //////////////////////////////////////////////////////////////////////////////////

// start get the WAN adapter names and ip addresses

// capture output of ifconfig command to variable $ifcstr
$ifcstr = `ifconfig`;

// convert string $ifcstr to array of lines $ifcstrarr
// use linefeed as field delimiter in array population
$ifcstrarr = explode("\n",$ifcstr);

// count lines in the array
$ifcstrarrnumlines = count($ifcstrarr);

$adnamestrarr = array();
$adipstrarr = array();

$kvmsubnet = "";

// iterate through array of lines
for ( $i=0;$i<$ifcstrarrnumlines;$i++) {

    if ( str_contains($ifcstrarr[$i],"flags")) {
        $flagsstr = "flags";
        $flagsstrloc = strpos("$ifcstrarr[$i]", $flagsstr) - 2;
        $adnamestr = substr($ifcstrarr[$i],0,$flagsstrloc);
    } // close if str contains "flags"

    // we will eventually filter virbr0, but for now we can find out the subnet for the KVM guest network

    if ( str_contains($ifcstrarr[$i],"inet") && !str_contains($ifcstrarr[$i],"inet6") ) {

        $inetstr = "inet";
        $inetstrloc = strpos("$ifcstrarr[$i]",$inetstr) + 5;
        $adipstr = substr($ifcstrarr[$i],$inetstrloc,"20");
        $spacestrloc = strpos("$adipstr"," ");
        // trimming the variable
        $adipstr = substr($adipstr,0,$spacestrloc);

        if (str_contains($adnamestr,"virbr0")) {
            // start infer KVM subnet
            // //////////////////////////////////////////////////////////
            // do stuff here to get the virbr0 ip address so we can infer subnet
            $kvmsubnetraw = $adipstr;
            $lastdotloc = strrpos($kvmsubnetraw,".");
            $kvmsubnet = substr($kvmsubnetraw,0,$lastdotloc) . ".0/24";
            echo "\nKVM subnet\nkvmsubnet: $kvmsubnet\n\n";
            // end infer KVM subnet
            // //////////////////////////////////////////////////////////
        } else {
            // stuff the arrays they will match by number because done at same time
            // filter for loopback device
            if (!($adipstr == "127.0.0.1")) {
                $adnamestrarr[] = $adnamestr;
                $adipstrarr[] = $adipstr;
            }
        }

    } // close if str contains "inet"

} // end for $i

//so we are always defined
$adnamestrarrnumlines = "";
$adnamestrarrnumlines = count ($adnamestrarr);
if (!$adnamestrarrnumlines) {
    echo "no WAN adapters found.\nStopping.\n";
    exit();
}

// if we do not have a KVM subnet, then something is wrong. Stop.
if (!$kvmsubnet) {
    echo "KVM subnet not detected. Stopping.\n";
    exit();
}

// end get the WAN adapter names and ip addresses
// //////////////////////////////////////////////////////////////////////////////////

// start get the KVM guest names and ip addresses

// capture output of virsh command to variable $ifcstr
$virshleastr = `virsh net-dhcp-leases default`;

// convert string $virshleastr to array of lines $virshleastrarr
// use linefeed as field delimiter in array population
$virshleastrarr = explode("\n",$virshleastr);

// count lines in the array
$virshleastrarrnumlines = count($virshleastrarr);

$kvmnamestrarr = array();
$kvmipstrarr = array();

// iterate through array of lines
for ( $j=0;$j<$virshleastrarrnumlines;$j++) {
    if ( str_contains($virshleastrarr[$j],"ipv4")) {
        $ipv4str = "ipv4";
        $ipv4strloc = strpos("$virshleastrarr[$j]", $ipv4str) + 11;
        $kvmlinestr = substr($virshleastrarr[$j],$ipv4strloc,50);
        $slashstr = "/";
        $slashstrloc = strpos("$kvmlinestr",$slashstr);
        $kvmipstr = substr($kvmlinestr,0,$slashstrloc);
        $kvmnamestr = substr($kvmlinestr,$slashstrloc+5,12);
        $kvmnamestr = trim($kvmnamestr);
        //stuff the arrays they will match by number because done at same time
        $kvmnamestrarr[] = $kvmnamestr;
        $kvmipstrarr[] = $kvmipstr;
    } // close if str contains "ipv4"
} // end for $j

$kvmnumlines = count ($kvmnamestrarr);
if (!$kvmnumlines) {
    echo "no VM guest DHCP leases found. Please start a VM.\nStopping.\n";
    exit();
}

// end get the KVM guest names and ip addresses
// //////////////////////////////////////////////////////////////////////////////////

// start ask client to choose WAN adapter

// show the possible WAN adapters as a numbered list to console:
echo "WAN adapters\n";
for ($k=0;$k<$adnamestrarrnumlines;$k++) {
    $displaynum = $k + 1;
    echo "$displaynum. $adnamestrarr[$k] $adipstrarr[$k]\n";
}

echo "\n";

// use readline function to ask questions interactively
// trap function in a while condition for sanity checking on input until satisfied
$wananswer = "";
while (!$wananswer || ($wananswer>$displaynum) || !is_numeric($wananswer) ) {
    $wananswer = readline("Please choose a WAN adapter (1-$displaynum): ");
}

echo "choice entered: $wananswer\n";

// because humans start at 1 and computers start at 0
$wanchoiceminus = $wananswer - 1;

$wanadaptername = $adnamestrarr[$wanchoiceminus];
$wanadapterip = $adipstrarr[$wanchoiceminus];

echo "\n";
echo "wanadaptername: $wanadaptername\n";
echo "wanadapterip: $wanadapterip\n";
echo "\n";

// end ask client to choose WAN adapter
// //////////////////////////////////////////////////////////////////////////////////

// start ask client to choose KVM guest

// show the possible KVM guests as a numbered list to console:
echo "KVM guests\n";
echo "(hint: if a VM is not listed here, start the VM so it gets a DHCP lease)\n";
for ($m=0;$m<$kvmnumlines;$m++) {
    $displaynum = $m + 1;
    echo "$displaynum. $kvmnamestrarr[$m] $kvmipstrarr[$m]\n";
}

echo "\n";

// use readline function to ask questions interactively
// trap function in a while condition for sanity checking on input until satisfied
$kvmanswer = "";
while (!$kvmanswer || ($kvmanswer>$displaynum) || !is_numeric($kvmanswer) ) {
    $kvmanswer = readline("Please choose a KVM guest (1-$displaynum): ");
}

echo "choice entered: $kvmanswer\n";

// because humans start at 1 and computers start at 0
$kvmchoiceminus = $kvmanswer - 1;

// we should not confuse kvm guest name with kvmadaptername
// we hardcode the name of the kvm adapter as the string "virbr0"
$kvmadaptername = "virbr0";
$kvmadapterip = $kvmipstrarr[$kvmchoiceminus];

echo "\n";
echo "kvmadaptername: $kvmadaptername\n";
echo "kvmadapterip: $kvmadapterip\n";
echo "\n";

// end ask client to choose KVM guest
// //////////////////////////////////////////////////////////////////////////////////

// start engine section

// construct the string variable containing the contents of the script file

$timestring = date("Y/m/d H:i:s T");

// start from nothing
$scriptcontents = "";

$scriptcontents .= "#!/usr/bin/bash\n";
$scriptcontents .= "# generated $timestring by forwardportstoguestgenerator.php v0102\n";
$scriptcontents .= "# Gordon Buchan https://gordonbuchan.com\n";
$scriptcontents .= "\n";
$scriptcontents .= "# values\n";
$scriptcontents .= "kvmsubnet=\"$kvmsubnet\"\n";
$scriptcontents .= "wanadaptername=\"$wanadaptername\"\n";
$scriptcontents .= "wanadapterip=\"$wanadapterip\"\n";
$scriptcontents .= "kvmadaptername=\"$kvmadaptername\"\n";
$scriptcontents .= "kvmadapterip=\"$kvmadapterip\"\n";
$scriptcontents .= "\n";
$scriptcontents .= "# allow virtual adapter to accept packets from outside the host\n";
$scriptcontents .= "iptables -I FORWARD -i \$wanadaptername -o \$kvmadaptername -d \$kvmsubnet -j ACCEPT\n";
$scriptcontents .= "iptables -I FORWARD -i \$kvmadapterip -o \$wanadaptername -s \$kvmsubnet -j ACCEPT\n";
$scriptcontents .= "# forward ports from host to guest\n";
$scriptcontents .= "iptables -t nat -A PREROUTING -i \$wanadaptername -d \$wanadapterip -p tcp --dport 80 -j  DNAT --to-destination \$kvmadapterip:80\n";
$scriptcontents .= "iptables -t nat -A PREROUTING -i \$wanadaptername -d \$wanadapterip -p tcp --dport 443 -j DNAT --to-destination \$kvmadapterip:443\n";
$scriptcontents .= "iptables -t nat -A PREROUTING -i \$wanadaptername -d \$wanadapterip -p tcp --dport 8022 -j DNAT --to-destination \$kvmadapterip:22\n";

$scriptfilename = "forwardportstoguestscript.sh";

# write the text file
$fh = fopen("$scriptfilename","w");
$filesuccess = fwrite($fh,$scriptcontents);
fclose($fh);

if ($filesuccess) {
    echo "SUCCESS script written to file: $scriptfilename\n";
    chmod("$scriptfilename", 0755);
    $scriptperms = substr(sprintf('%o', fileperms("$scriptfilename")), -4);
    echo "scriptperms: $scriptperms\n";
    if ($scriptperms == "0755") {
        echo "SUCCESS chmod 755 $scriptfilename successful.\n";
    } else {
        echo "ERROR chmod 755 not $scriptfilename not successful.\n";
    }
} else {
    echo "ERROR script not written to file: $scriptfilename\n";
}

// end engine section
// /////////////////////
Executing as root
If you have not logged in as root, please escalate to root.
Enter this command:
sudo su
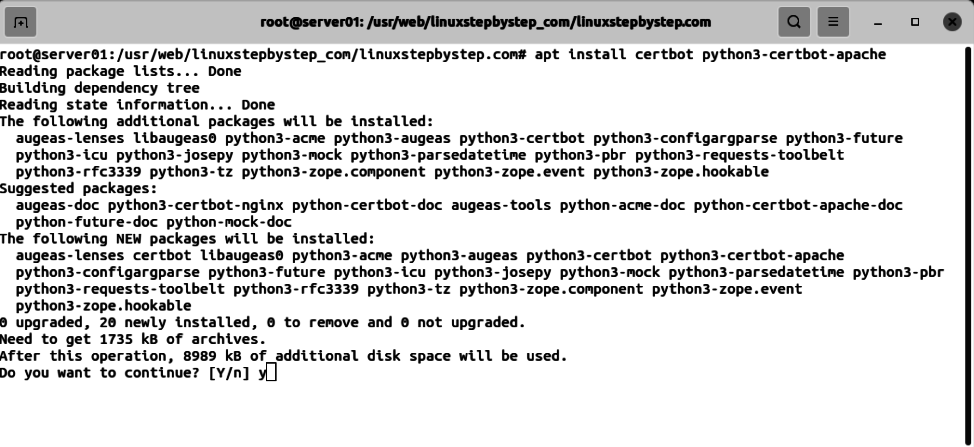
Installing php cli and net-tools
The PHP script requires the php cli and the ifconfig command from net-tools. The script also requires virsh, but you likely have that tool installed already if you are hosting KVM guests.
Ubuntu
Enter the command:
apt install php-cli net-tools
Fedora
Enter the command:
dnf install php-cli net-tools
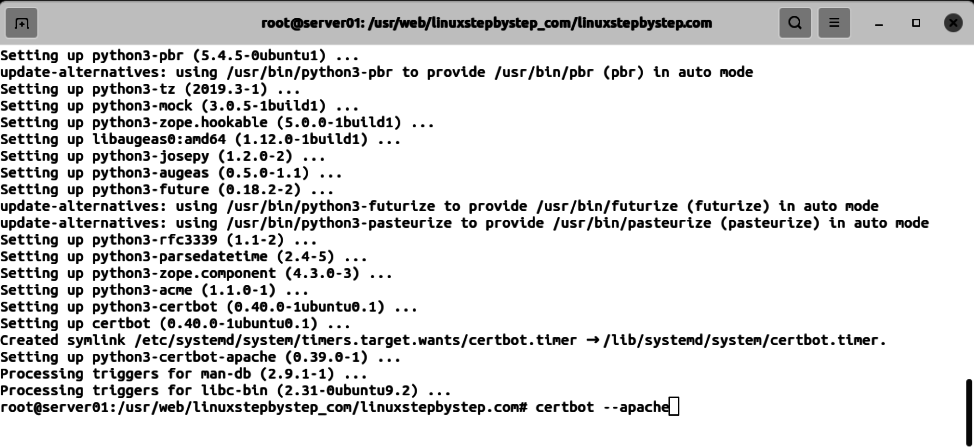
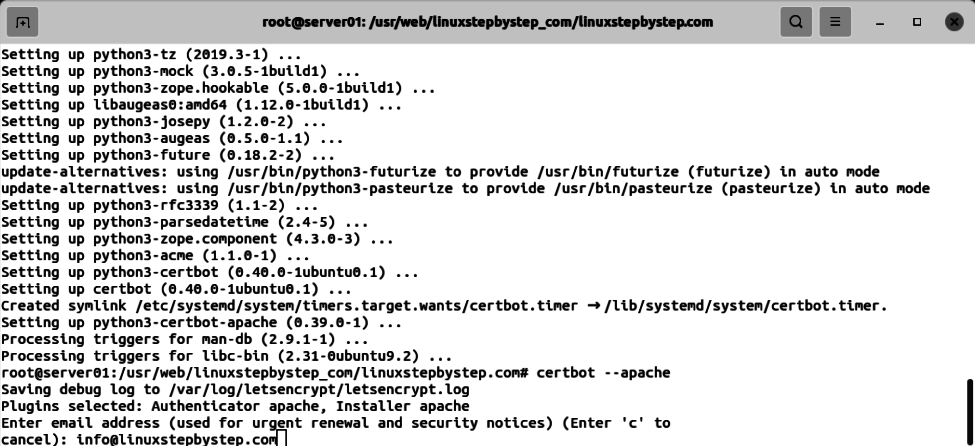
Executing the PHP script forwardportstoguestgenerator.php to generate the BASH script forwardportstoguestscript.sh
Enter the command:
php forwardportstoguestgenerator.php
When prompted, choose a WAN adapter and a KVM guest.
You will see output similar to the following:
root@server:/usr/bin# php forwardportstoguestgenerator.php
KVM subnet
kvmsubnet: 192.168.122.0/24
WAN adapters
1. enx4ce1734b693e 192.168.46.123
2. wlp0s20f3 192.168.46.103
Please choose a WAN adapter (1-2): 1
choice entered: 1
wanadaptername: enx4ce1734b693e
wanadapterip: 192.168.46.123
KVM guests
(hint: if a VM is not listed here, start the VM so it gets a DHCP lease)
1. midland 192.168.122.174
Please choose a KVM guest (1-1): 1
choice entered: 1
kvmadaptername: virbr0
kvmadapterip: 192.168.122.174
SUCCESS script written to file: forwardportstoguestscript.sh
scriptperms: 0755
SUCCESS chmod 755 forwardportstoguestscript.sh successful.
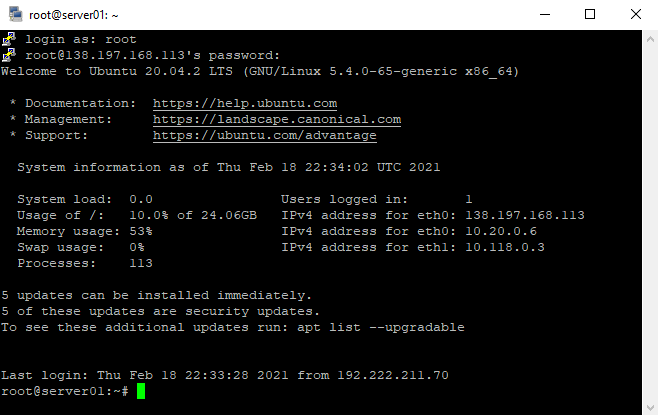
Executing the BASH script forwardportstoguestscript.sh
Enter the command:
bash forwardportstoguestscript.sh
Testing the forwarded ports
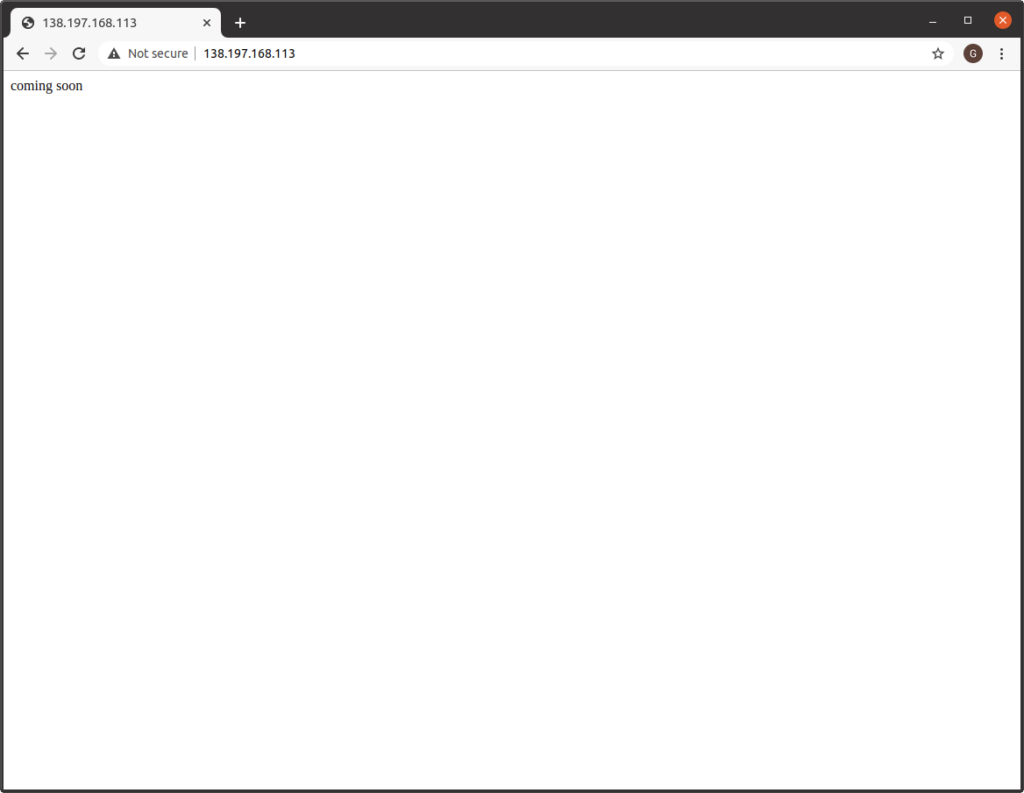
Using a different workstation on the network, connect to the IP address of the computer hosting the KVM guest.
If you have forwarded the public-facing ports on your router to the IP address of the computer hosting the KVM guest, test whether traffic on the ports is forwarded to the KVM guest.