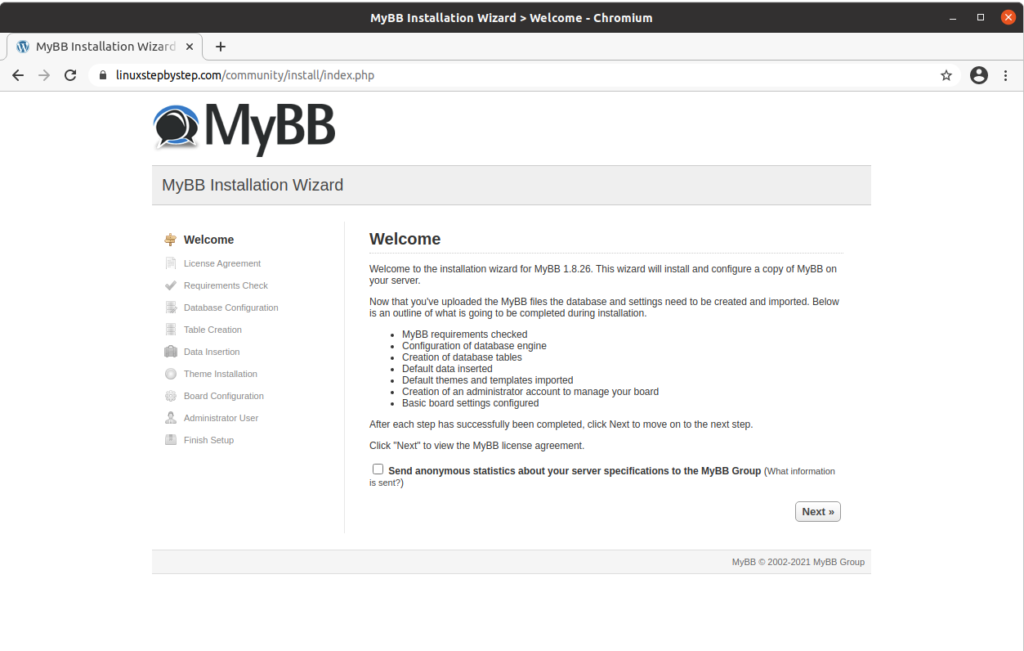
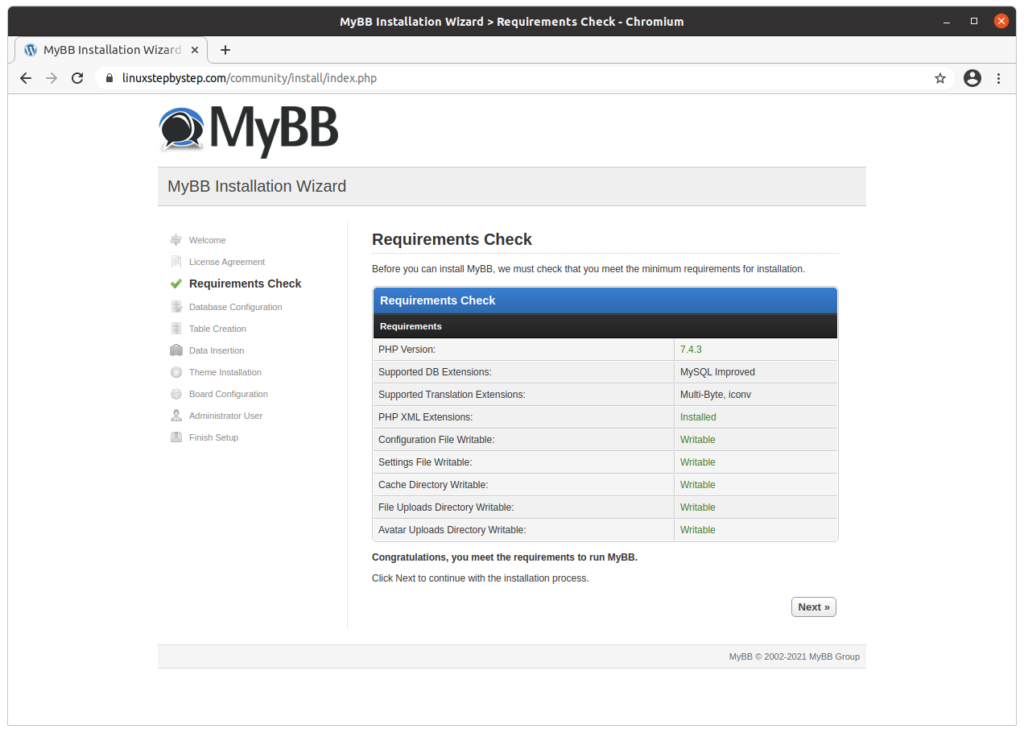
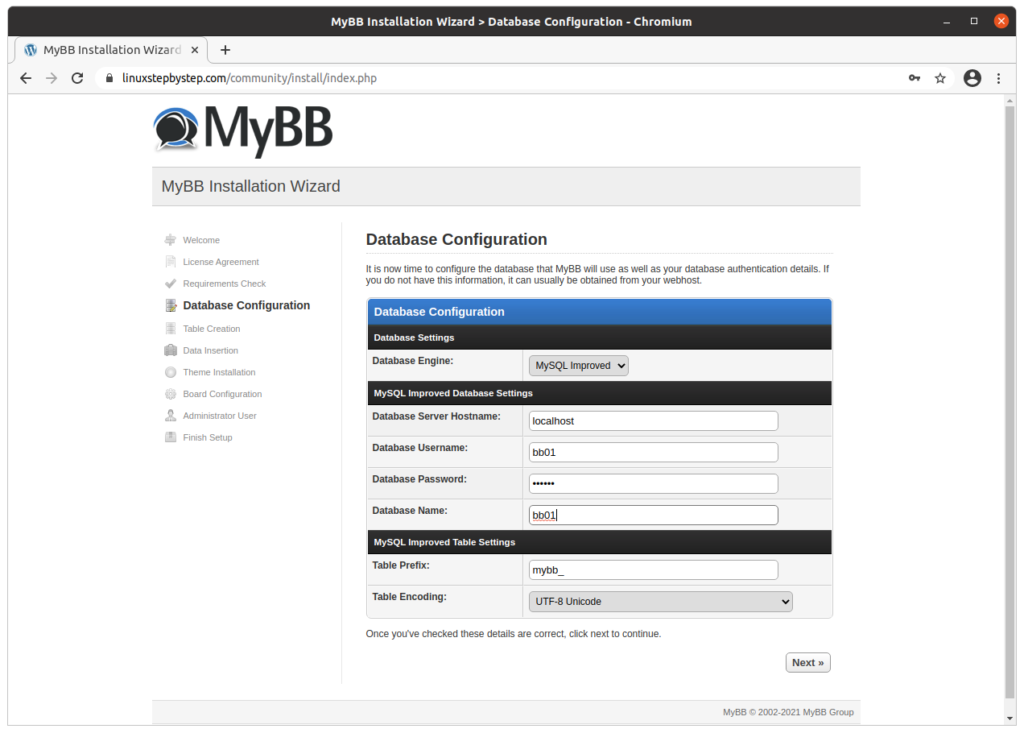
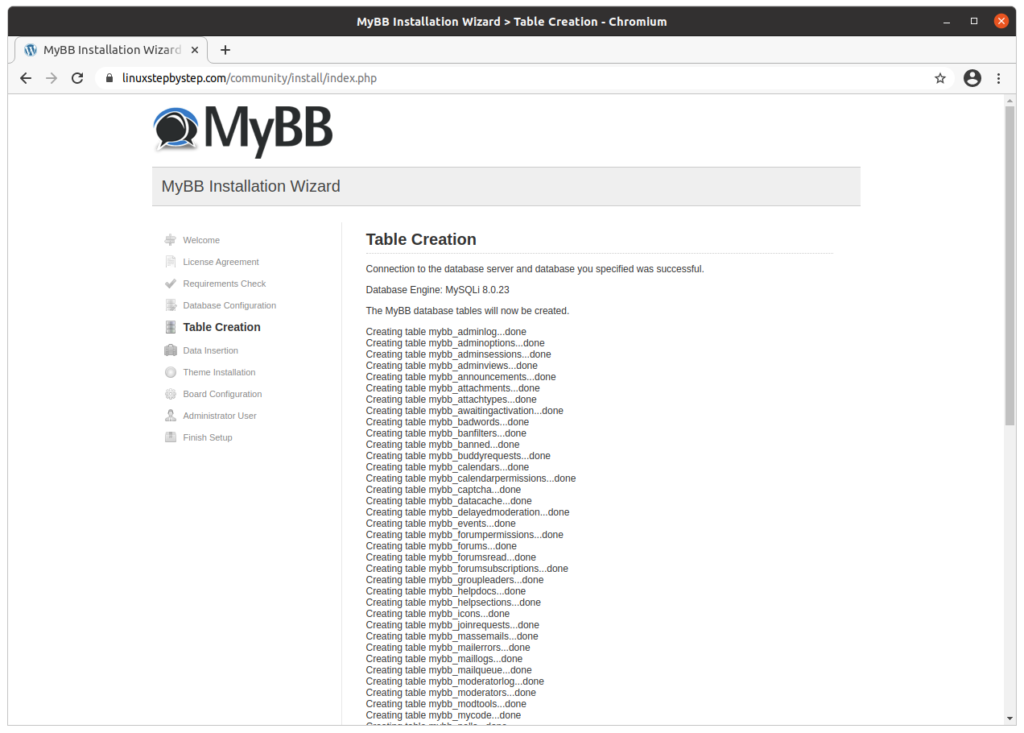
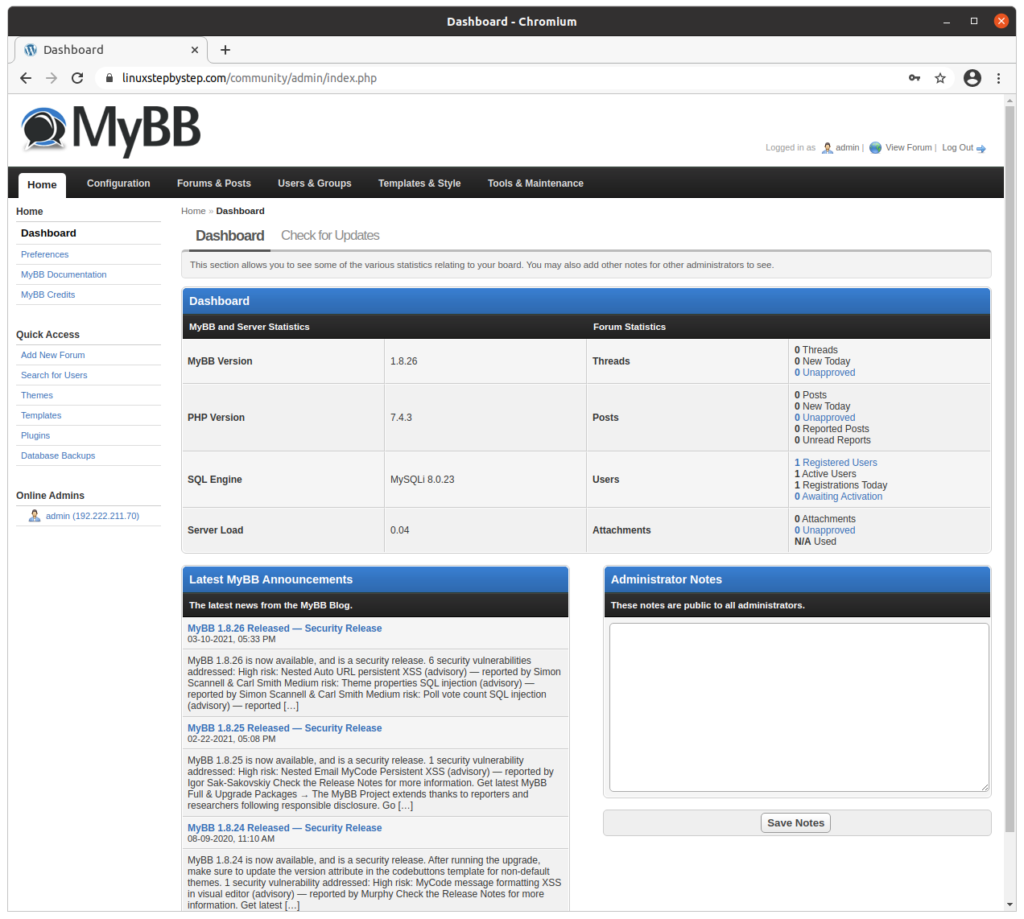
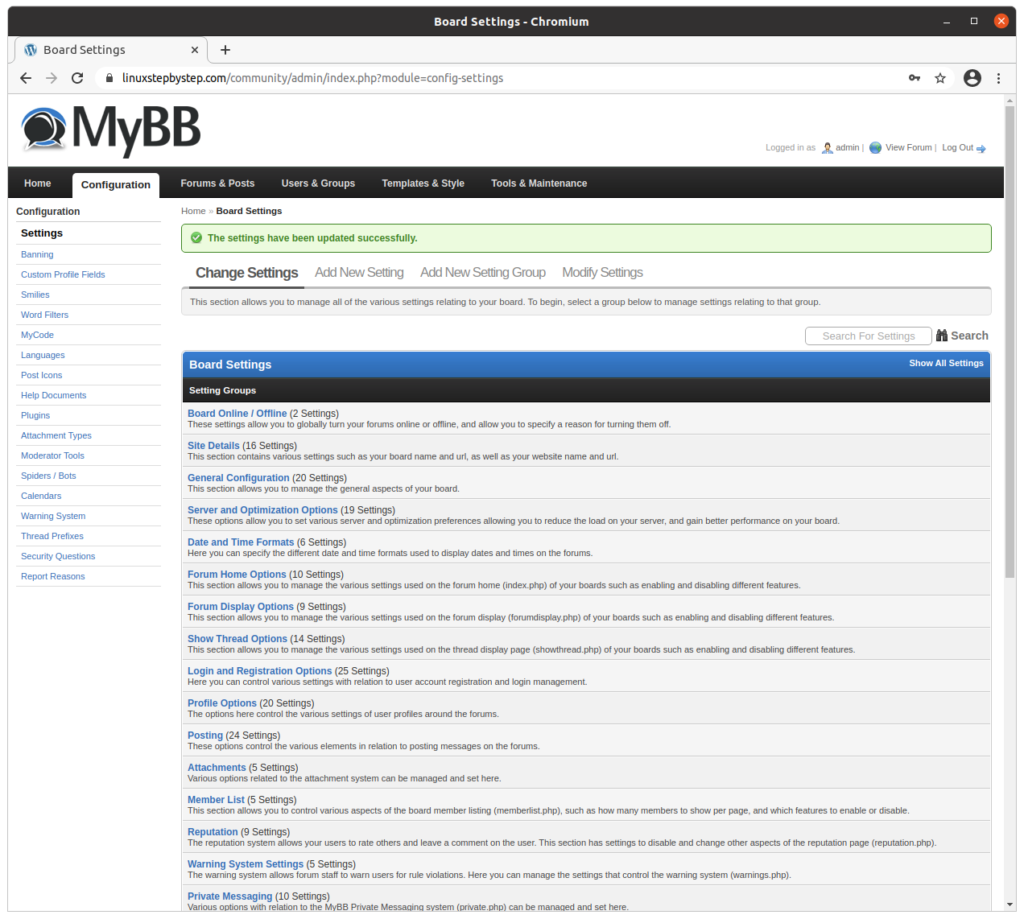
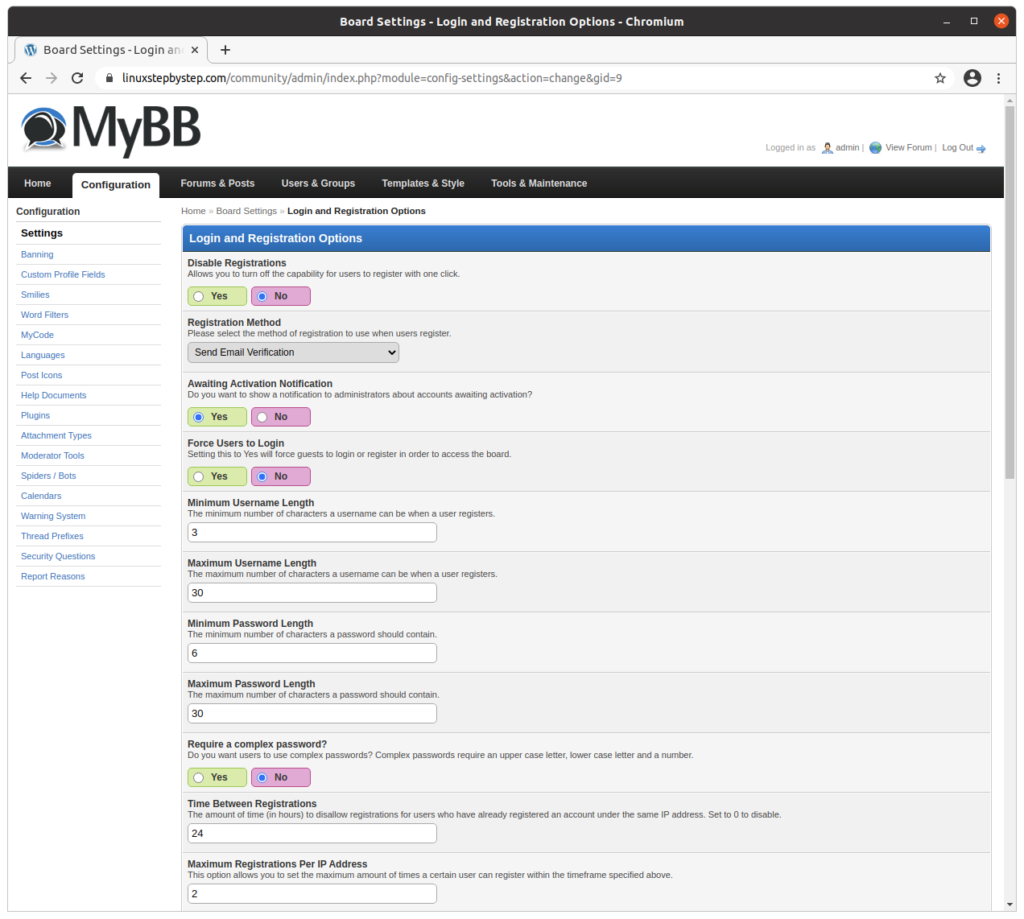
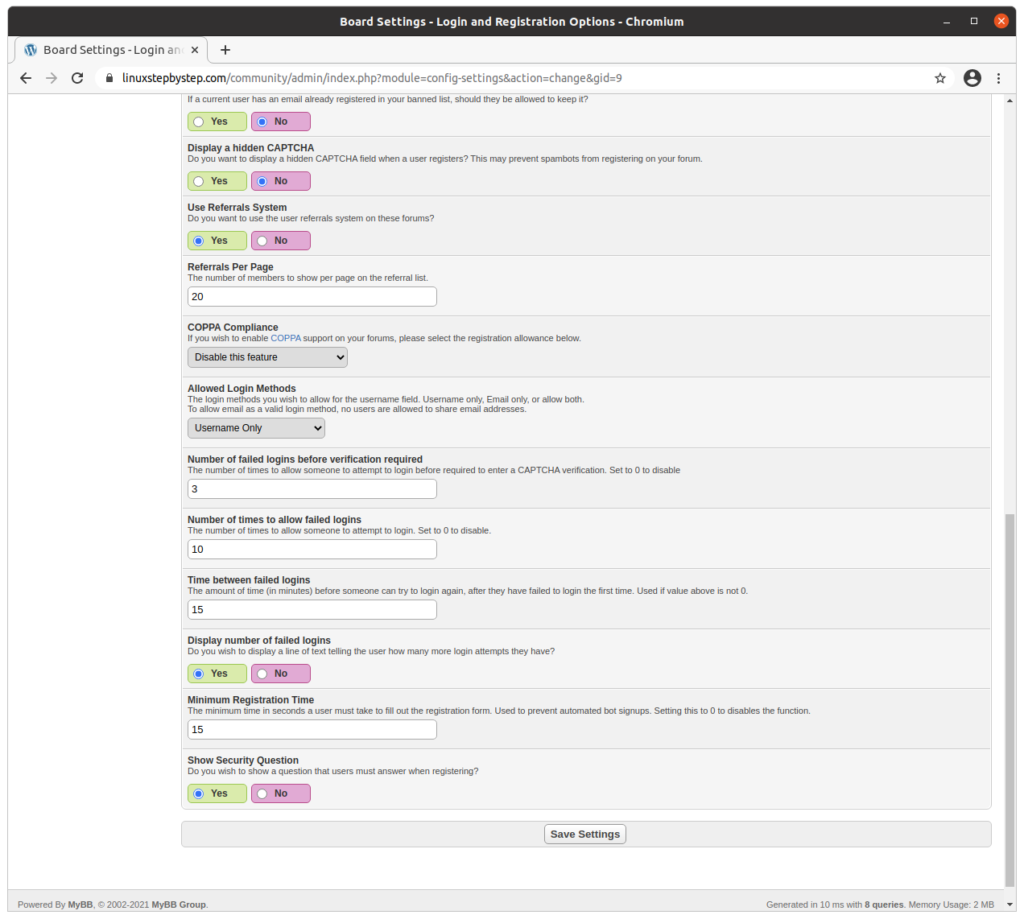
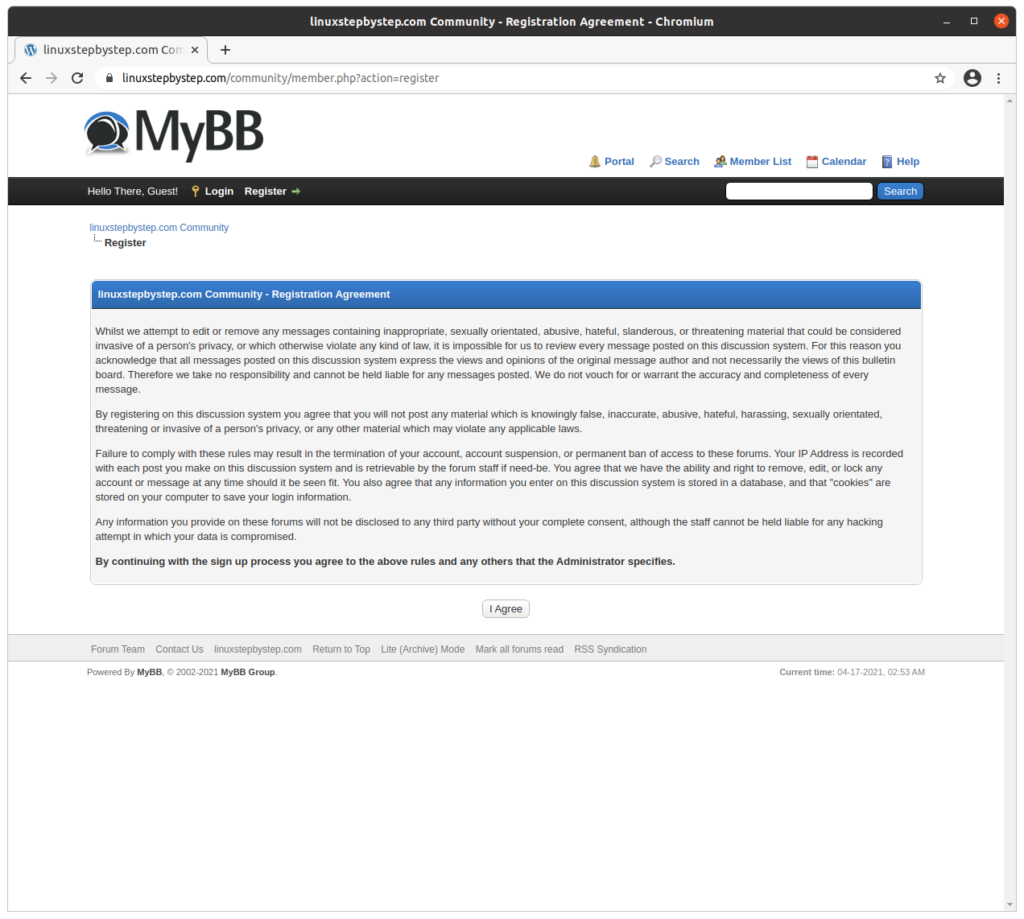
Previous step: Chapter 13: Installing and configuring MyBB to create a community forum site
Next step: Chapter 15: Using dwservice.net to provide remote technical support as an alternative to TeamViewer
Web presence step by step is a series of posts that show you to how to build a web presence.
In this chapter we install and configure Live Helper Chat to add text chat support to a website.
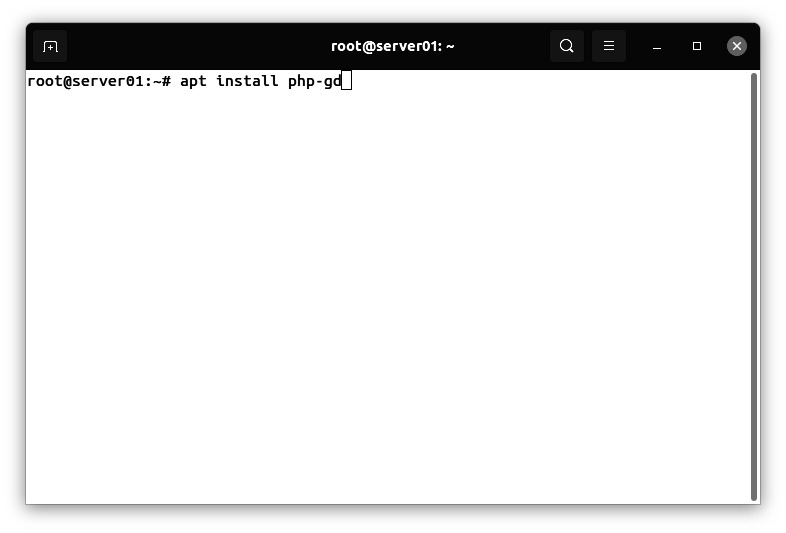
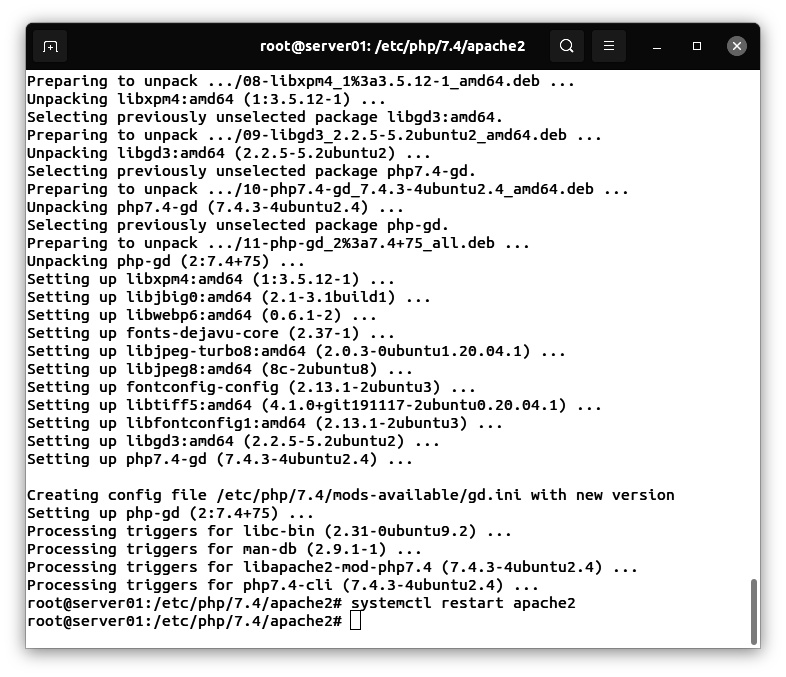
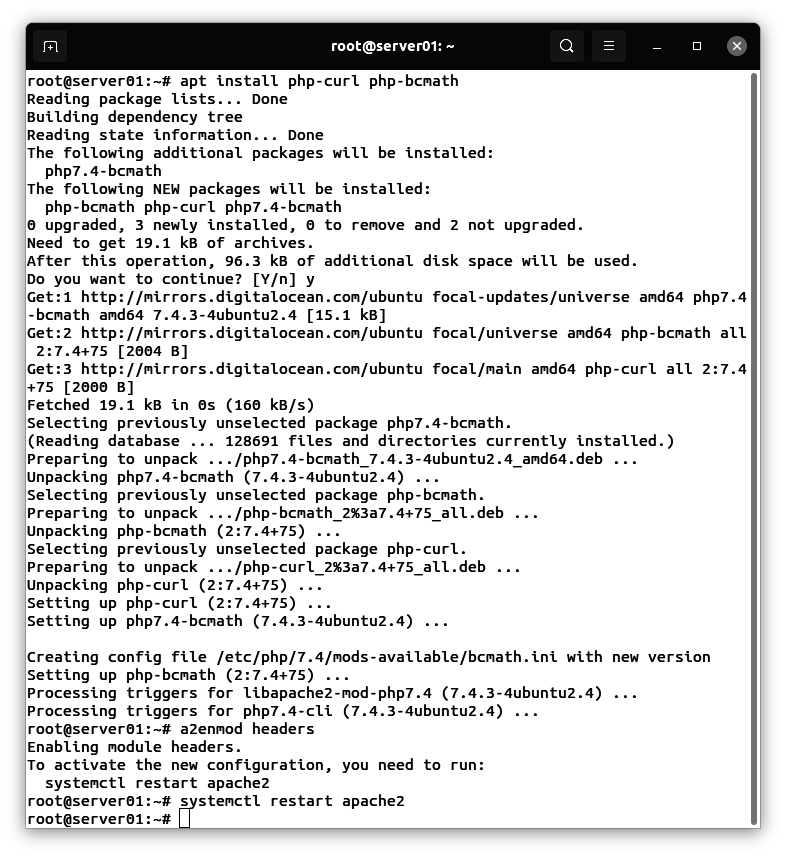
Installing the php-curl and php-bcmath extensions, enabling the Apache headers module, and restarting the Apache web server
Live Helper Chat requires the php-curl library, the php-bcmath library, and the headers Apache module.
Use an SSH terminal program to connect to the Ubuntu Linux cloud server you created in Chapter 3: Buying an Ubuntu Linux cloud server from Digital Ocean.
Enter these commands:
apt install php-curl php-bcmath
a2enmod headers
apachectl restart
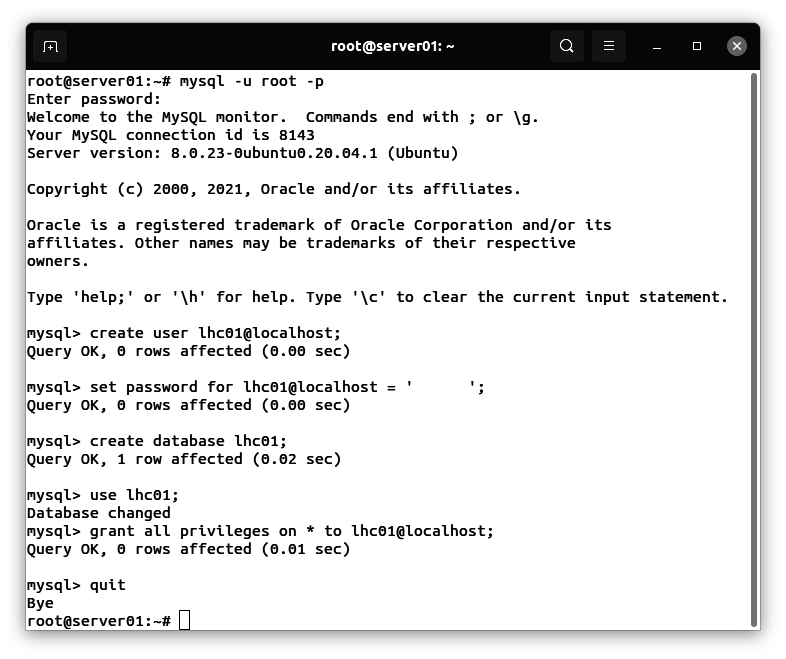
Creating the MySQL database that will store data for the Live Helper Chat software
Enter this command:
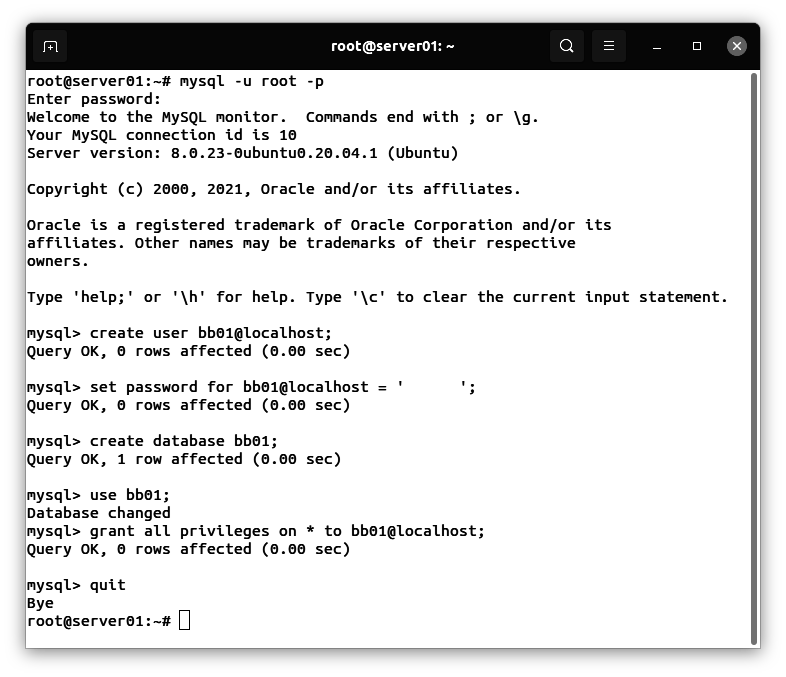
mysql -u root -p
In the MySQL console, enter these commands (where ‘xxxxxx’ is your password):
create user lhc01@localhost;
set password for lhc01@localhost = 'xxxxxx';
create database lhc01;
use lhc01;
grant all privileges on * to lhc01@localhost;
quit
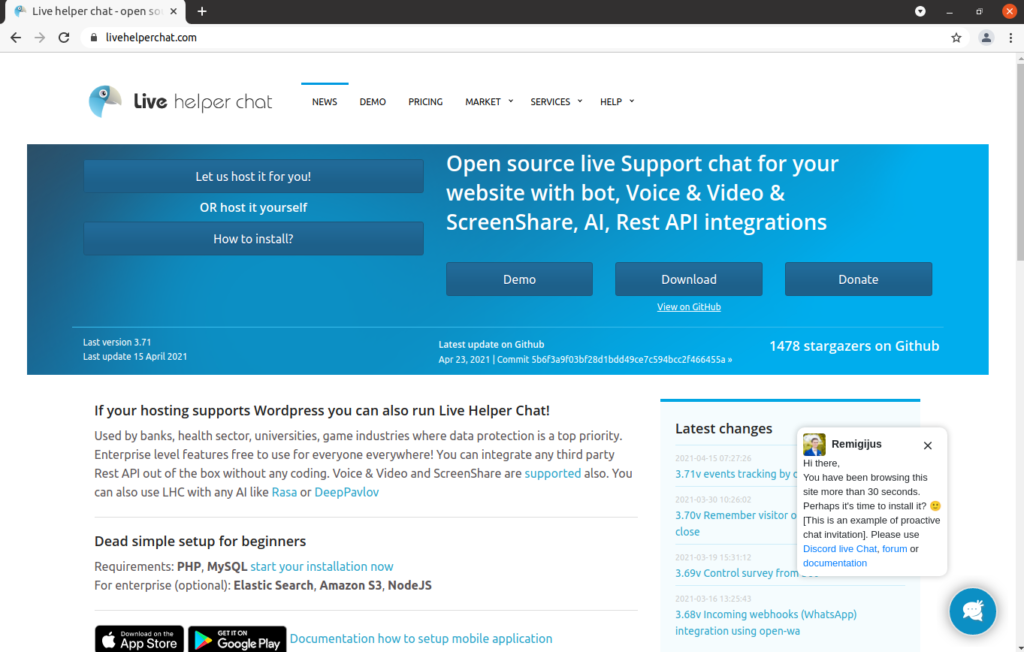
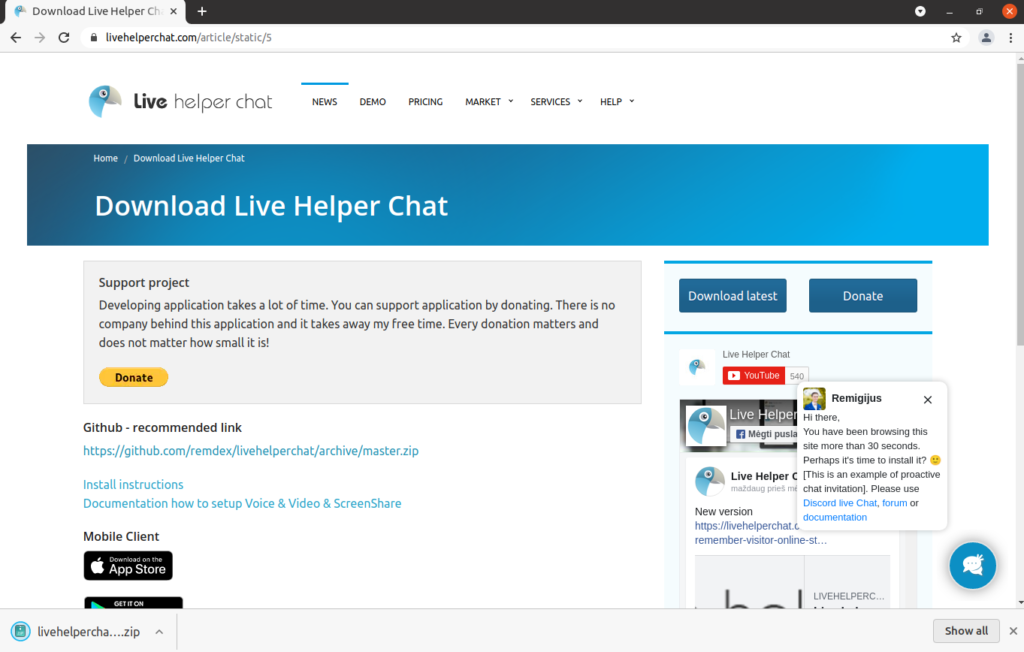
Downloading the zip file containing the Live Helper Chat software
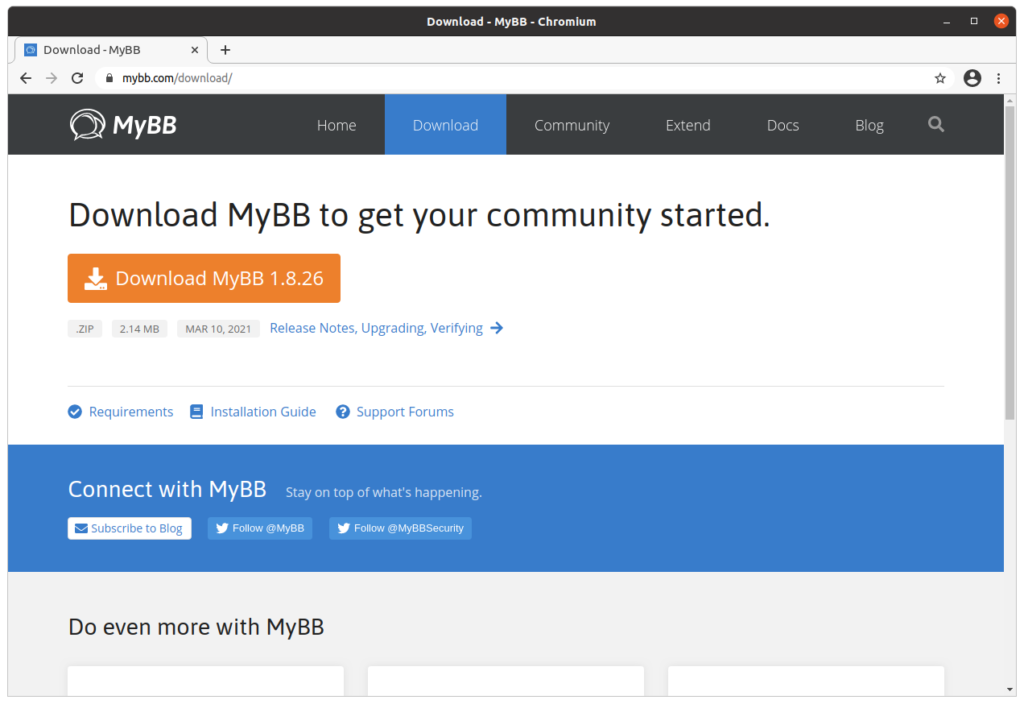
Visit this site:
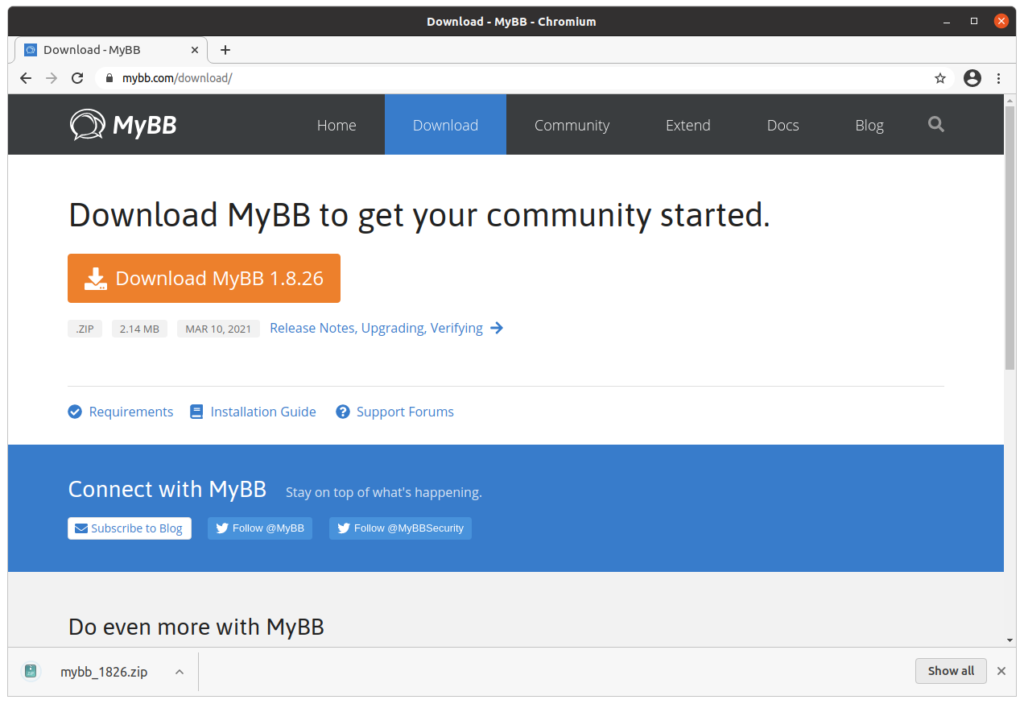
Click on “Download”:
Click on on the link below “Github – recommended link”:
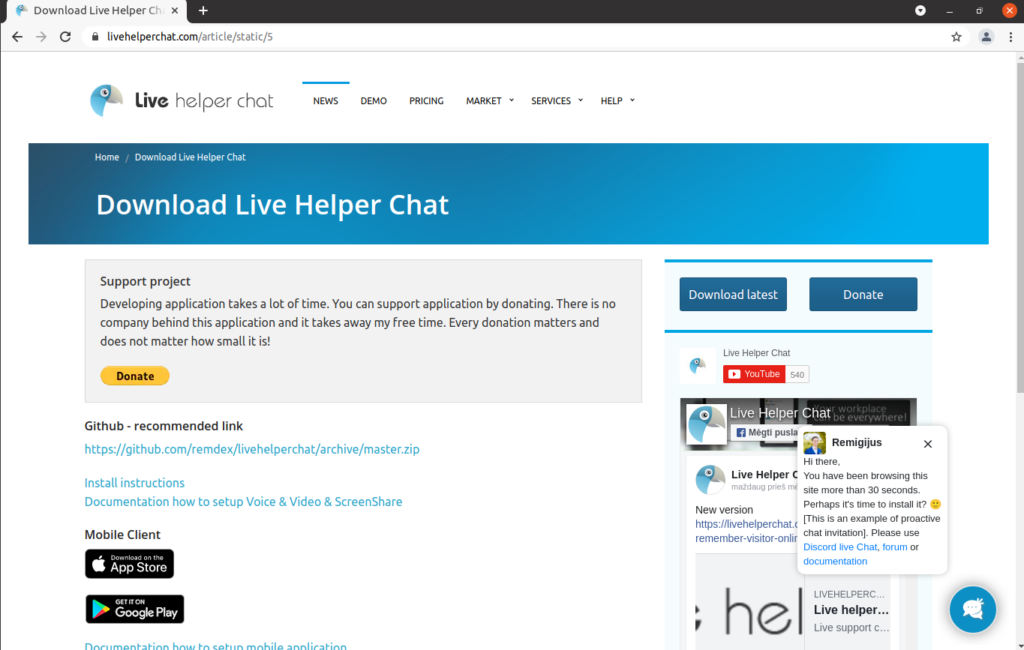
The file downloads:
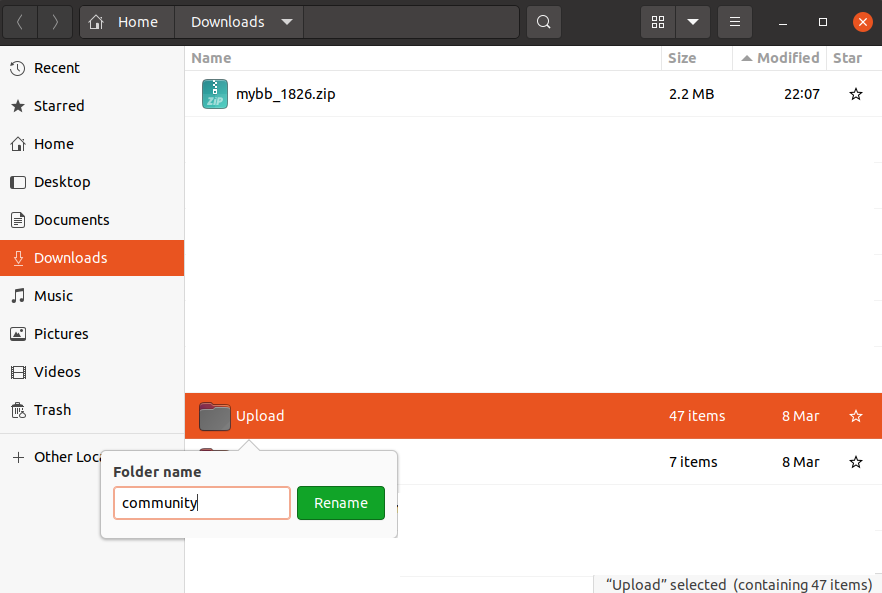
Extracting the contents of the zip file
If you need detailed instructions on how to uncompress zip files or rename directories on Windows, MacOS, or Linux
This chapter assumes that you have followed the steps in Chapter 8: Installing and configuring WordPress to create a website, and Chapter 9: Installing and configuring phpMyAdmin to manage MySQL databases. If you have not read those chapters, and you are not familiar with how to uncompress a zip file or rename a directory using your operating system, please consult those chapters.
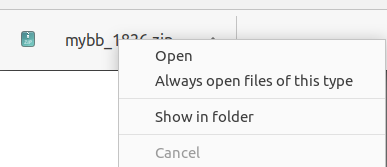
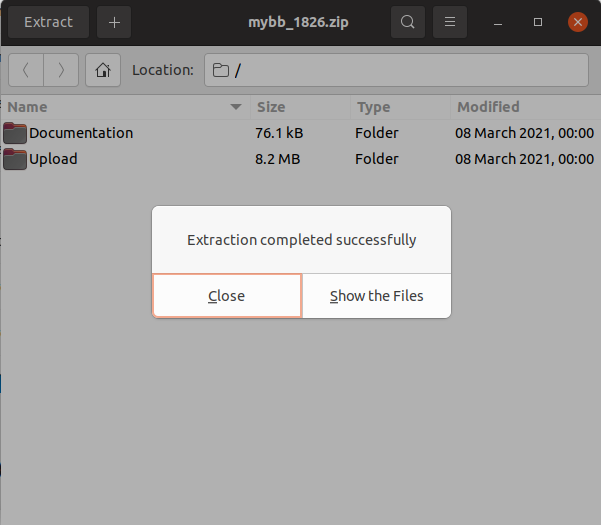
Uncompressing the livehelperchat-master.zip file
We need to uncompress the livehelperchat-master.zip file:
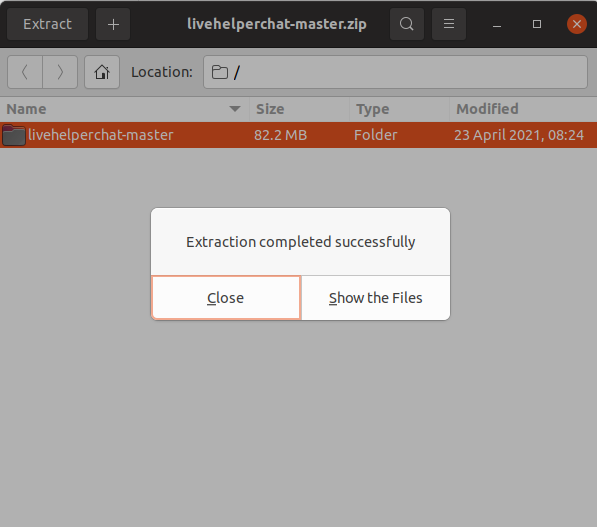
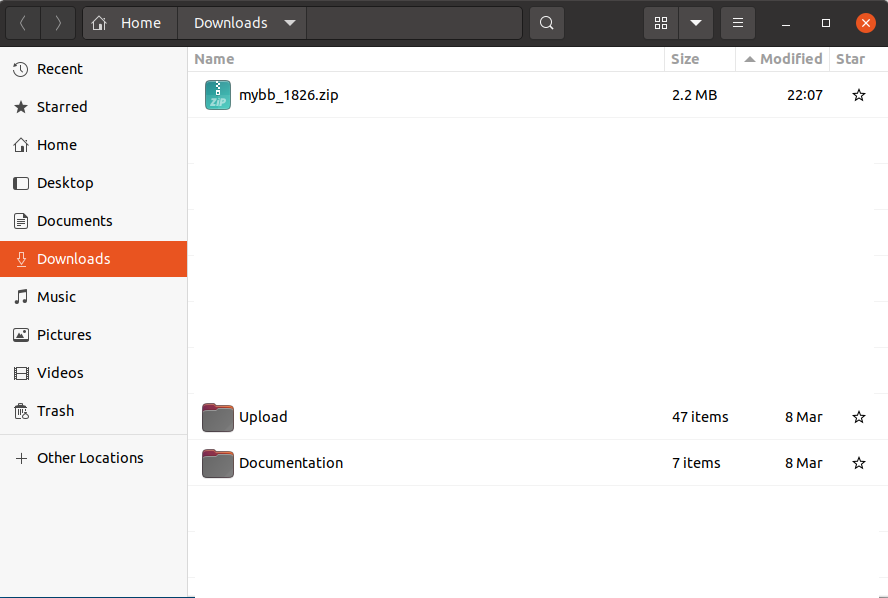
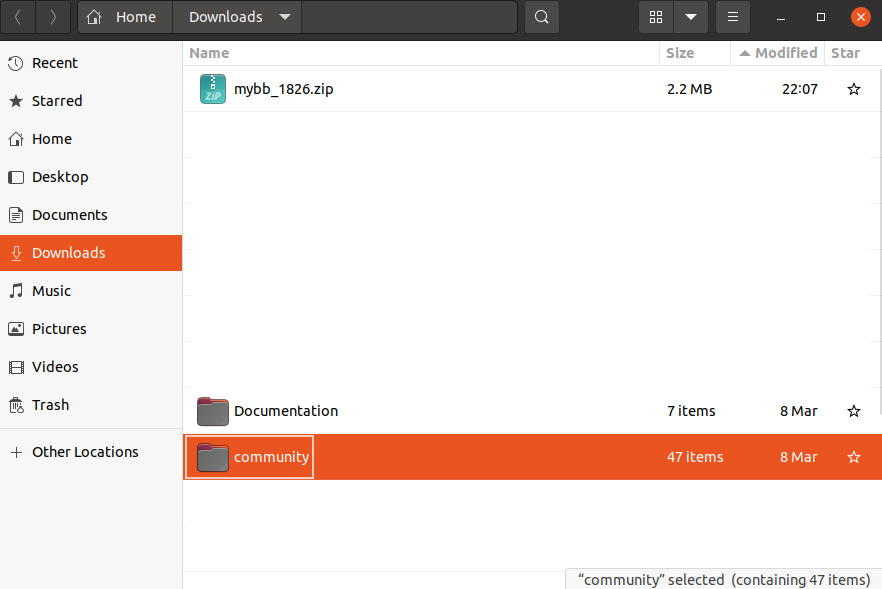
Viewing the extracted folders and files
We can see the lhc_web directory:

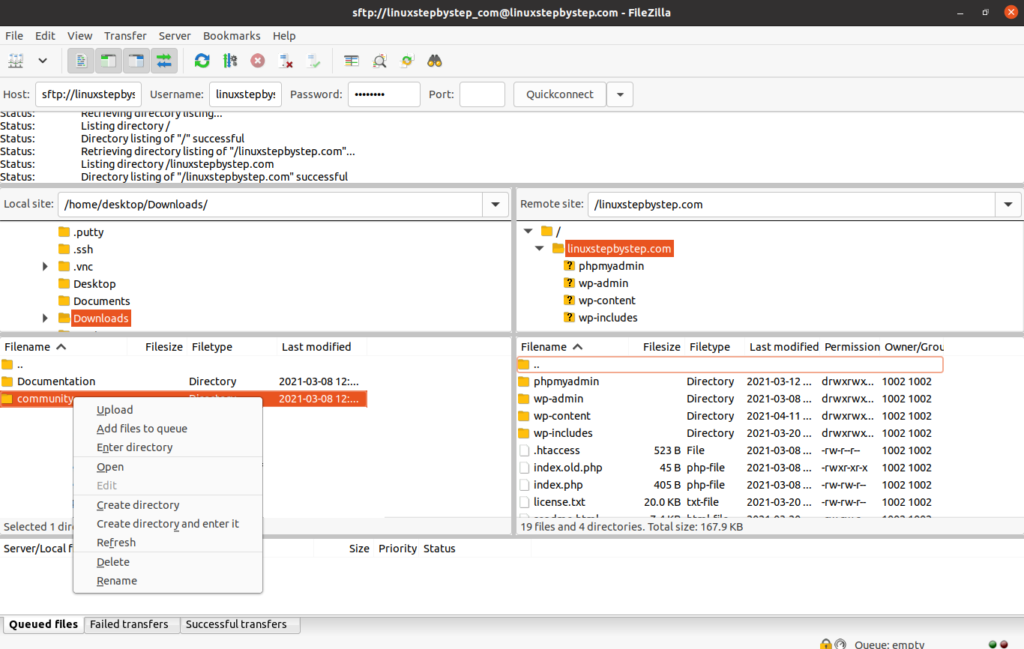
Using FileZilla to upload the lhc_web directory to the directory containing the documents for your website
We will use the FileZilla file transfer program to upload the directory “lhc_web” to the directory containing the documents for your website.
If you need detailed instructions on how to install and use FileZilla on Windows, MacOS, or Linux
This chapter assumes that you have read Chapter 7: Configuring the SSH server on an Ubuntu Linux cloud server to limit SFTP directory visibility within chroot jail directories, or that you are familiar with the FileZilla file transfer program.
Using Filezilla, connect to the Ubuntu Linux cloud server you created in Chapter 3: Buying an Ubuntu Linux cloud server from Digital Ocean. On the right (remote) side, select the directory that contains the documents for your website. On the left (local) side, select the directory that contains the “lhc_web” directory. Right-click or command-click on the directory, select Upload:
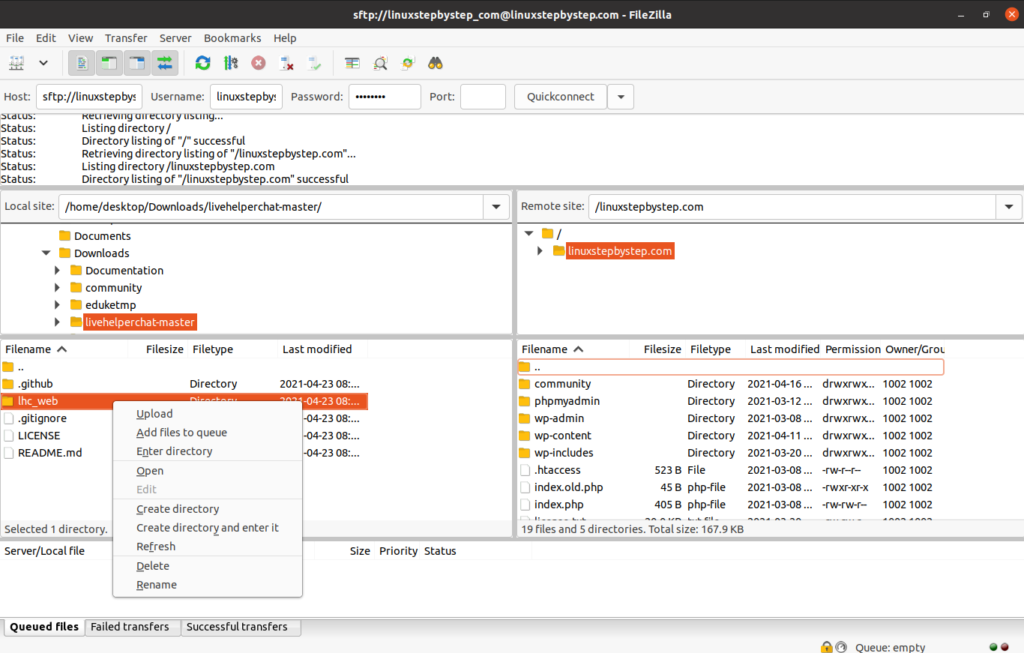
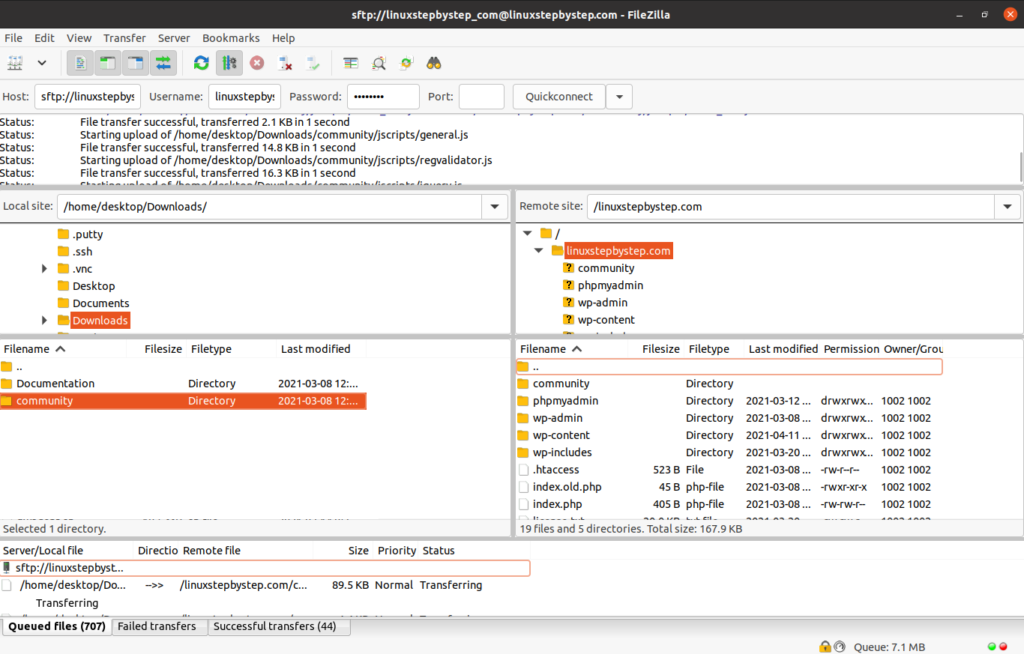
The transfer completes:

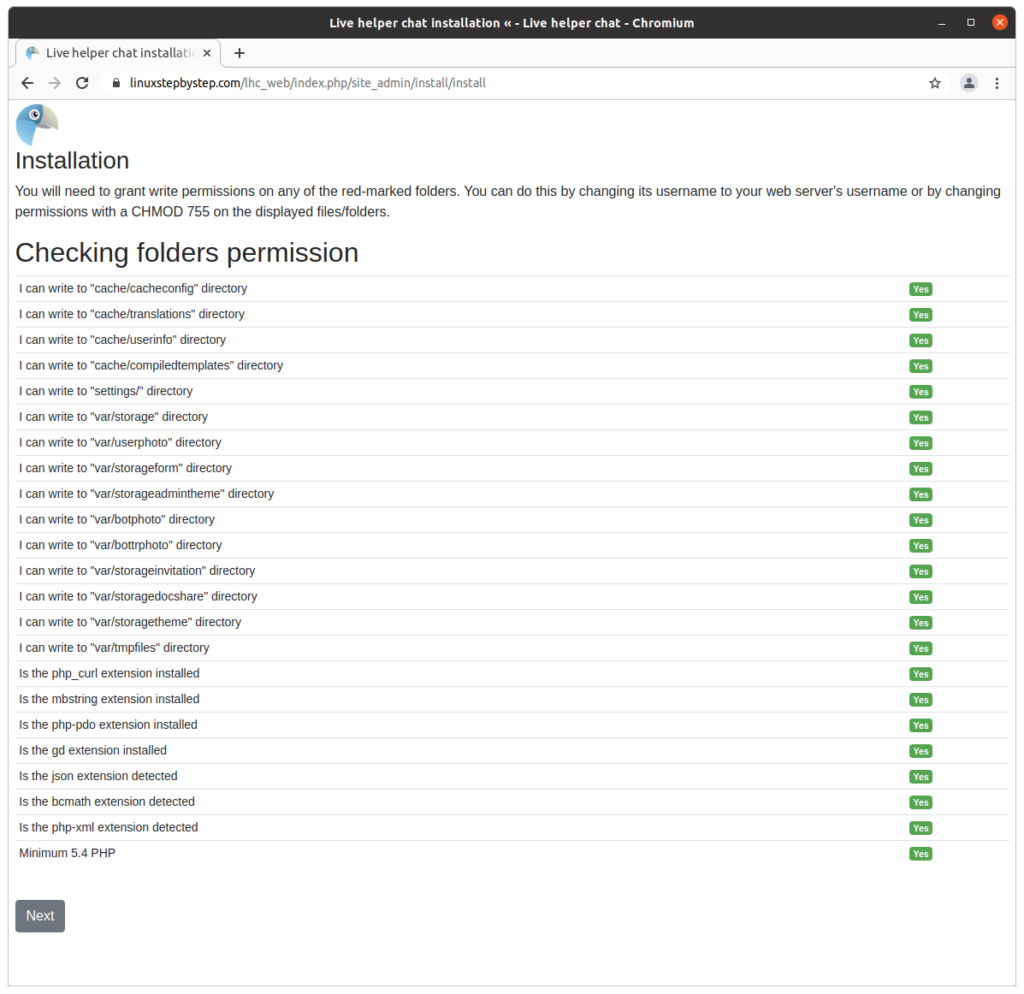
Installing the Live Helper Chat software using the Live Helper Chat installation wizard
For our example domain, we will visit:
https://linuxstepbystep.com/lhc_web/index.php/site_admin/install/install
(substitute your domain name)
Click “Next”:
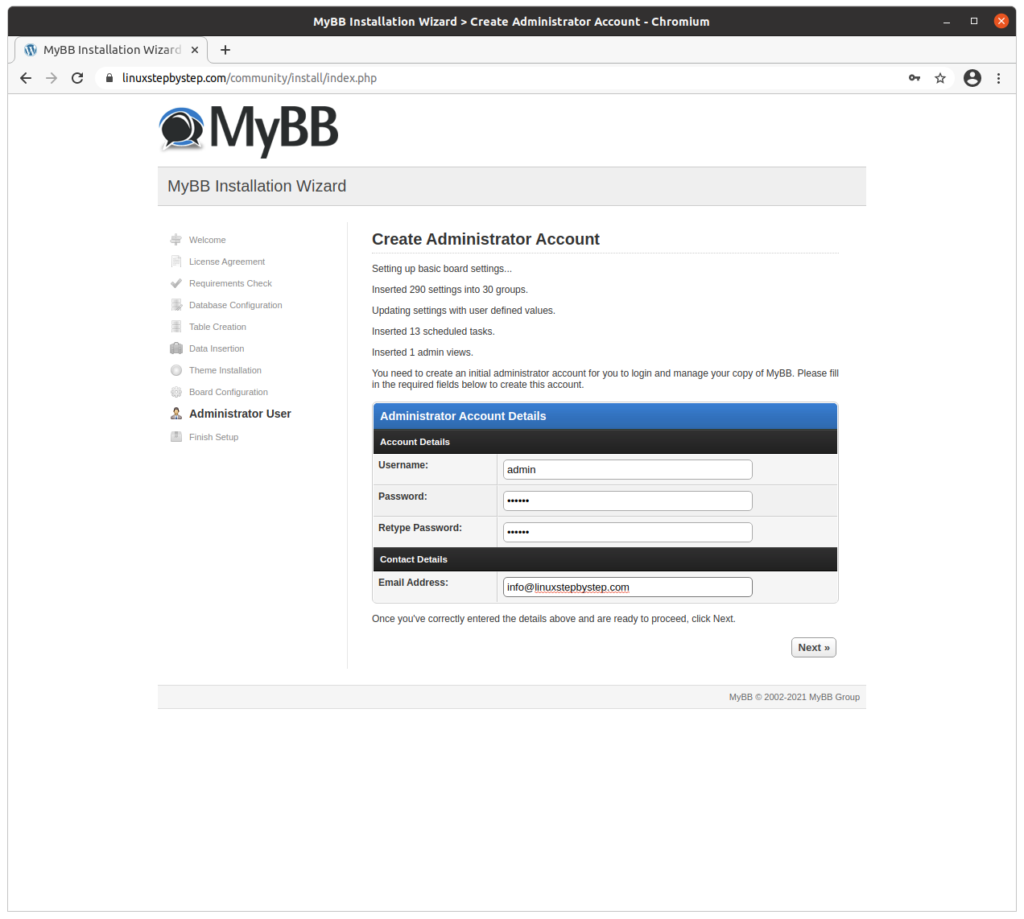
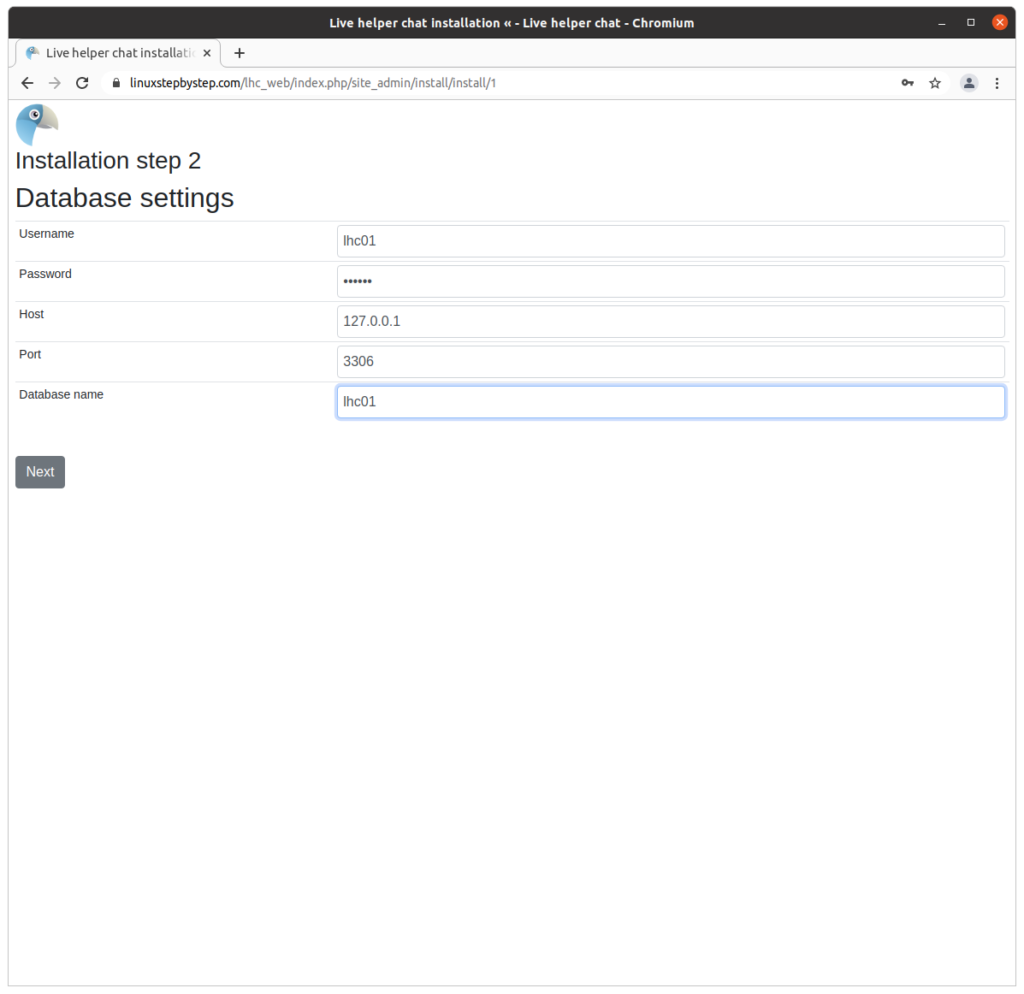
Complete the fields as shown. Click “Next”:
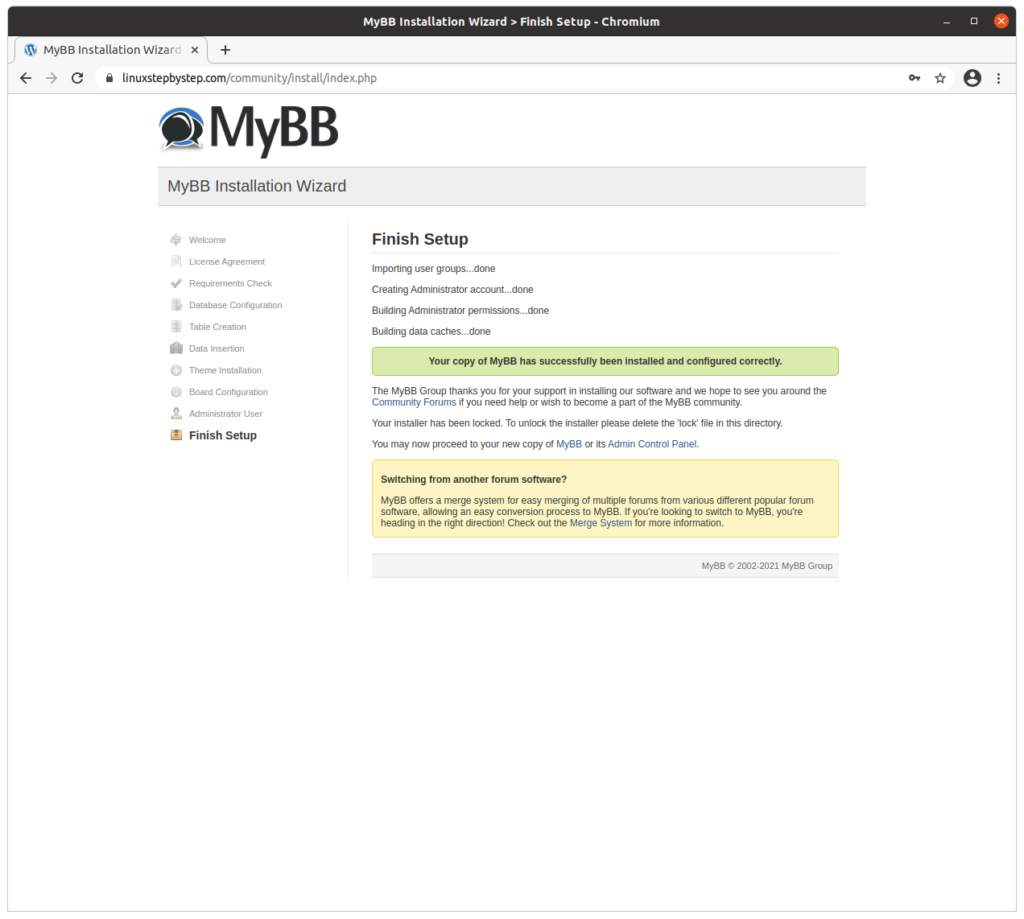
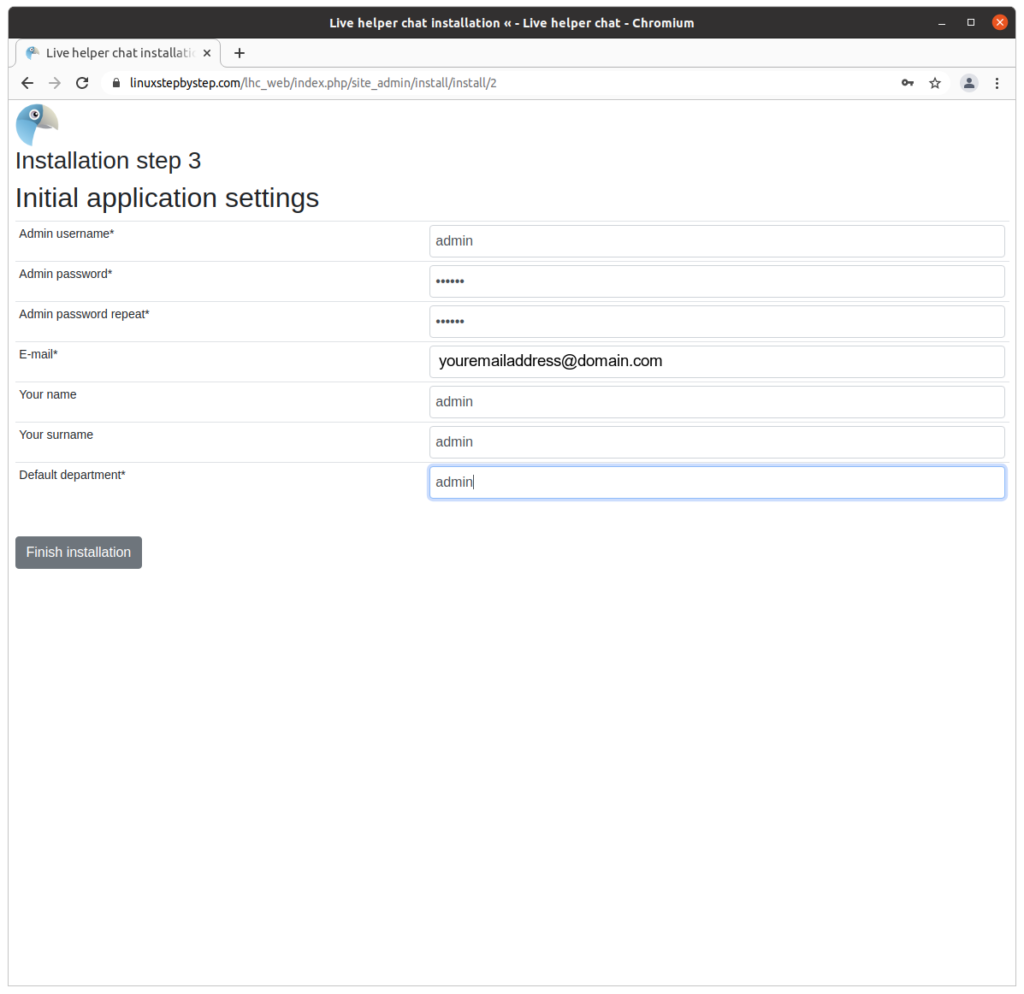
Complete the field as shown below. Click “Finish installation”:
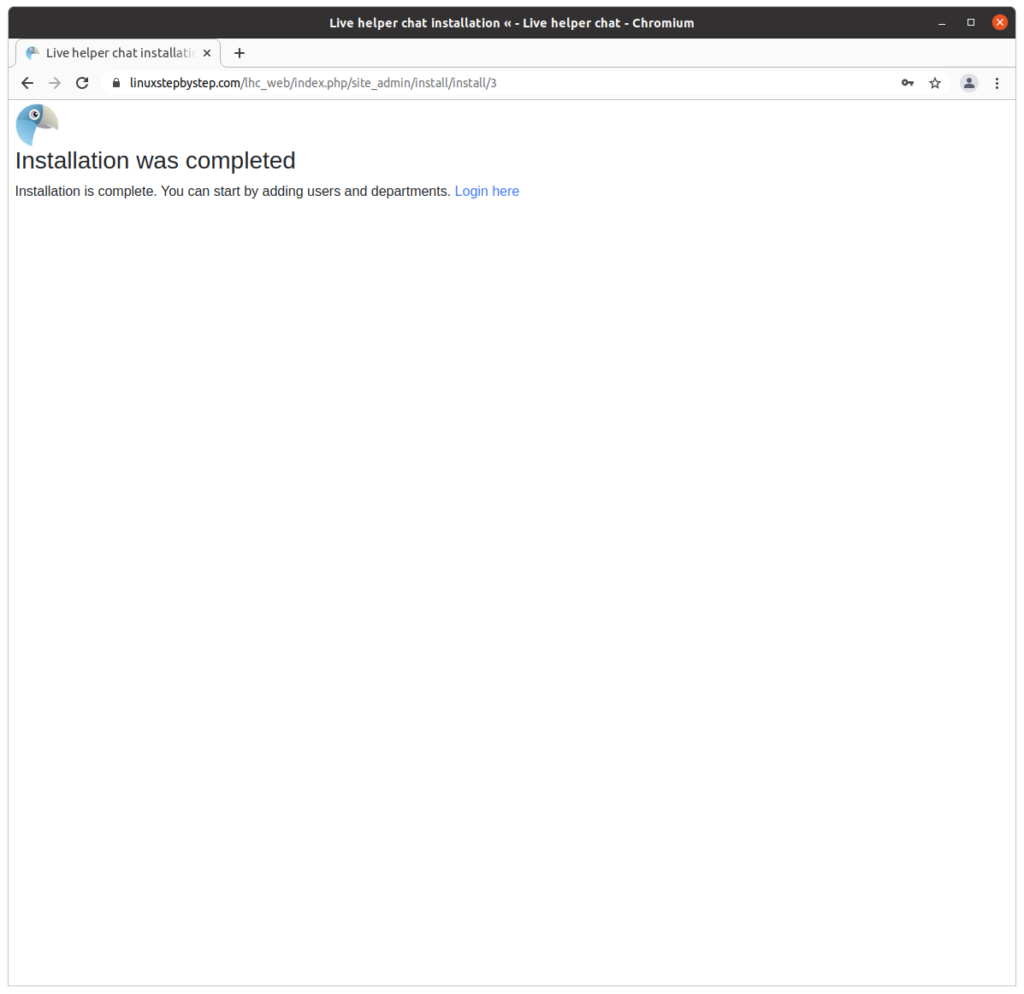
Click “Login here”:
Generating the Live Helper Chat JavaScript text to add to an HTML header
(Note: for our example domain, we can visit this site at https://linuxstepbyste.com/lhc_web/index.php/site_admin)
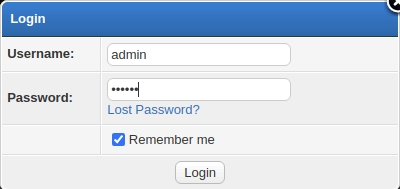
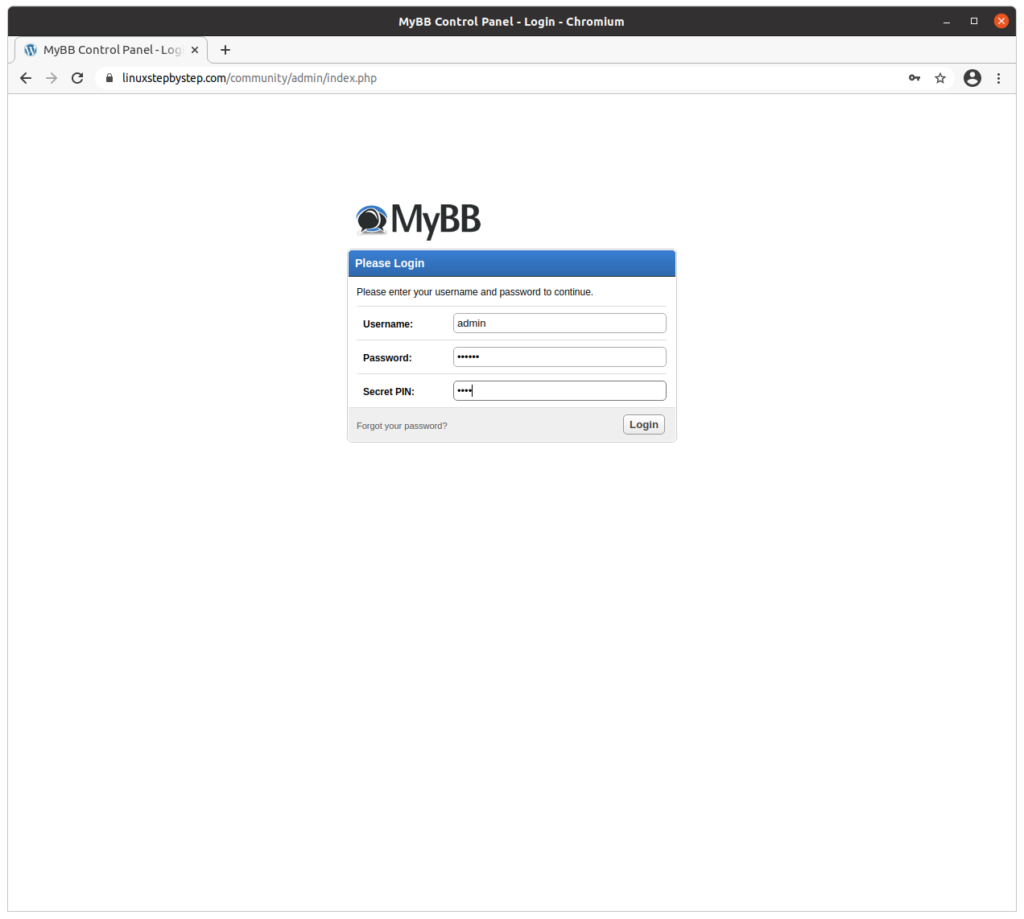
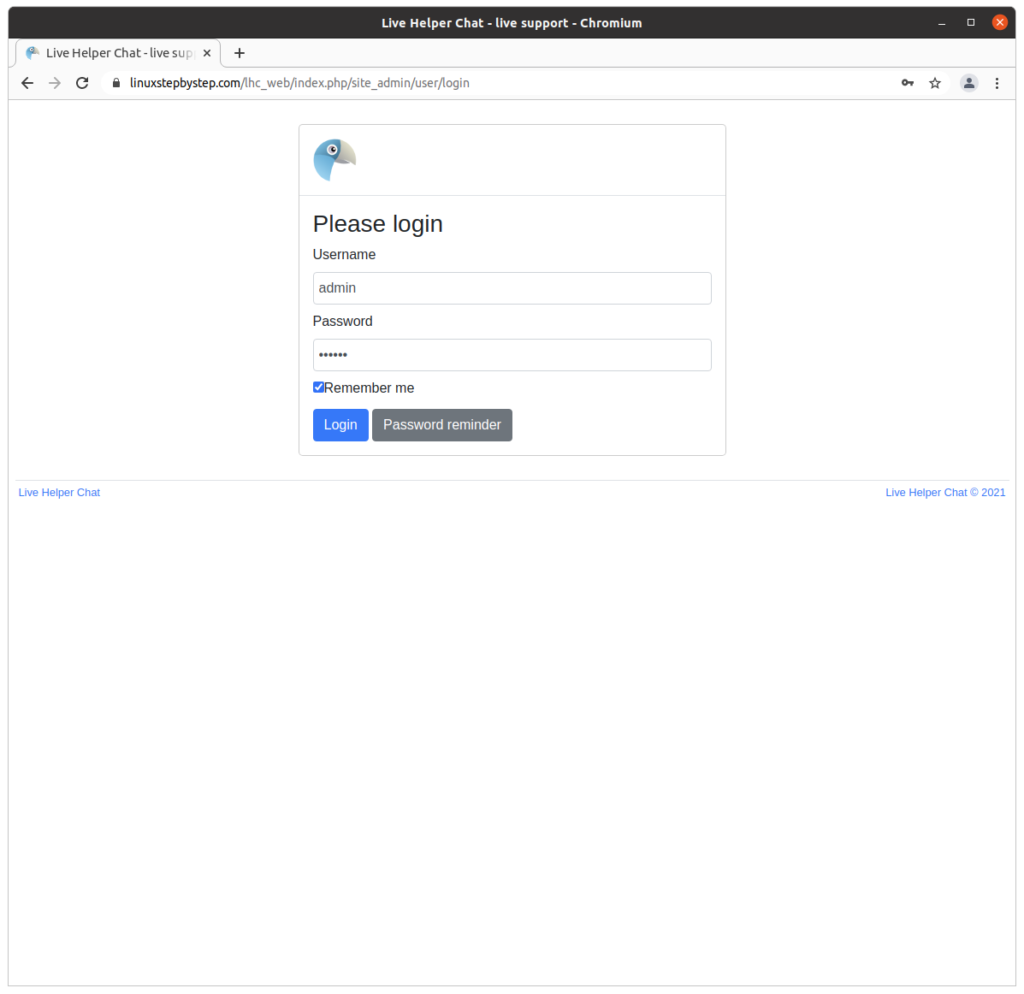
Enter your username and password. Click “Login”:
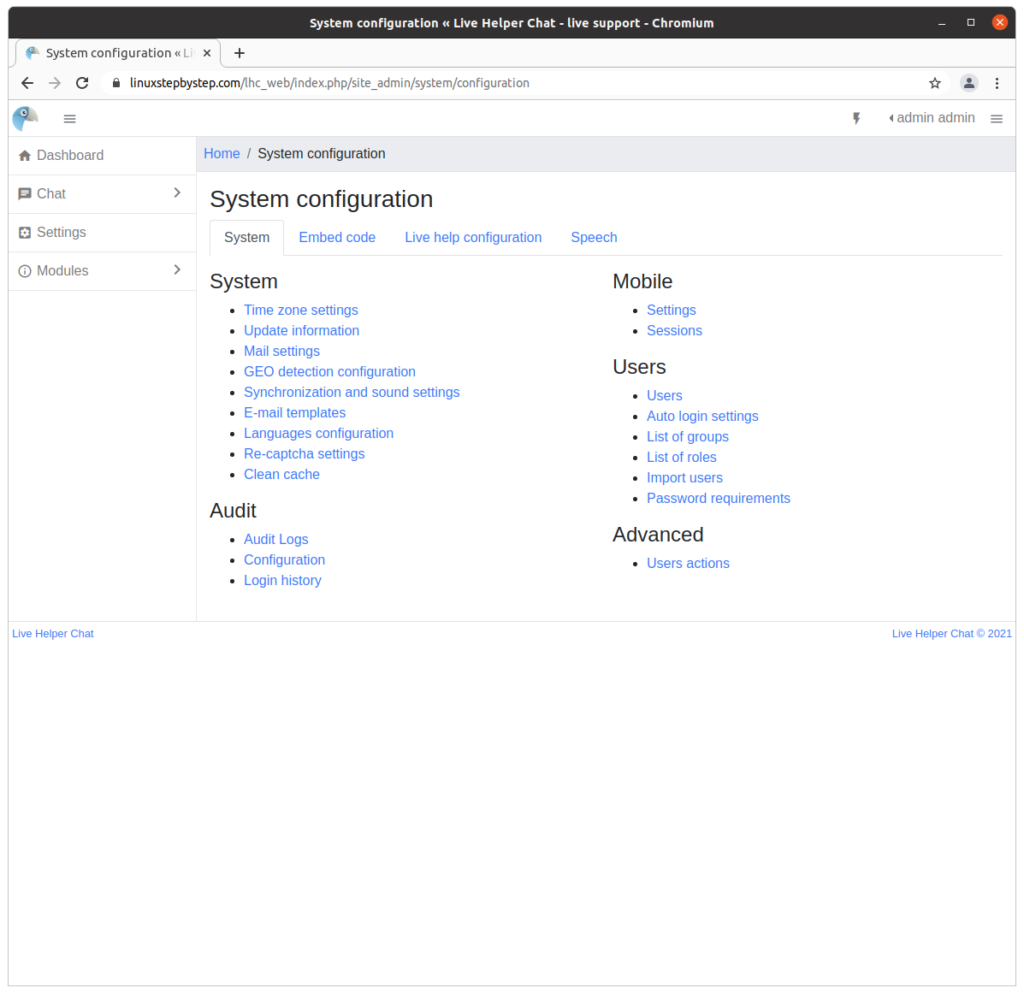
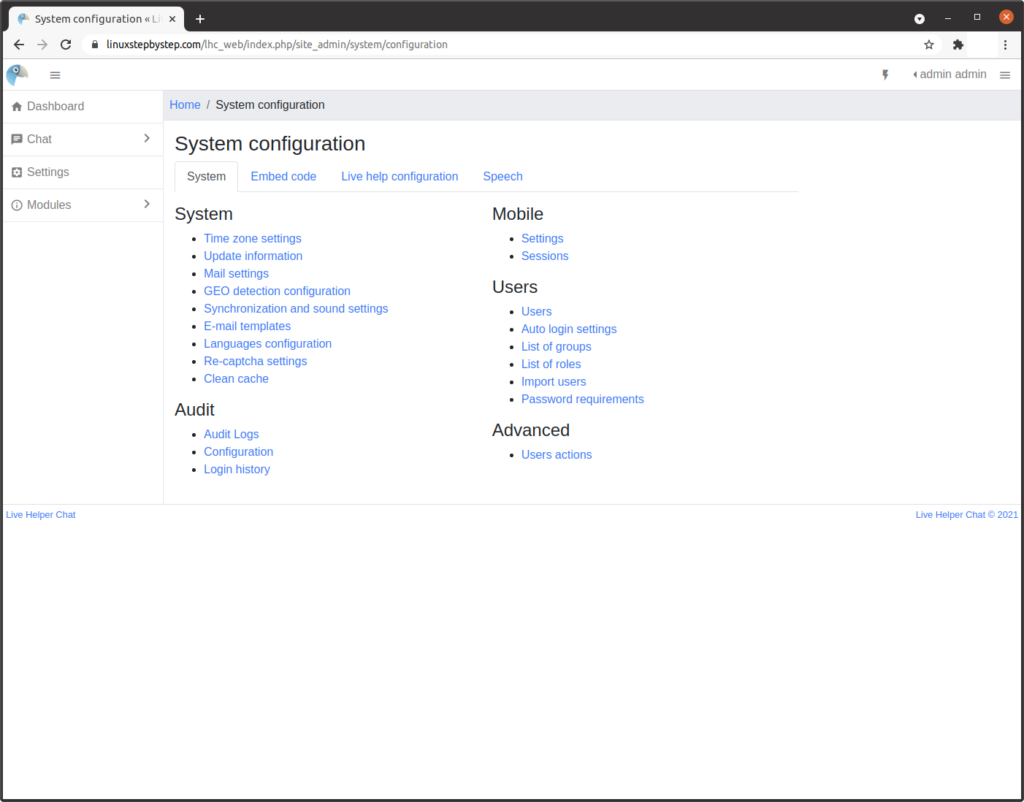
Click on “Settings”:
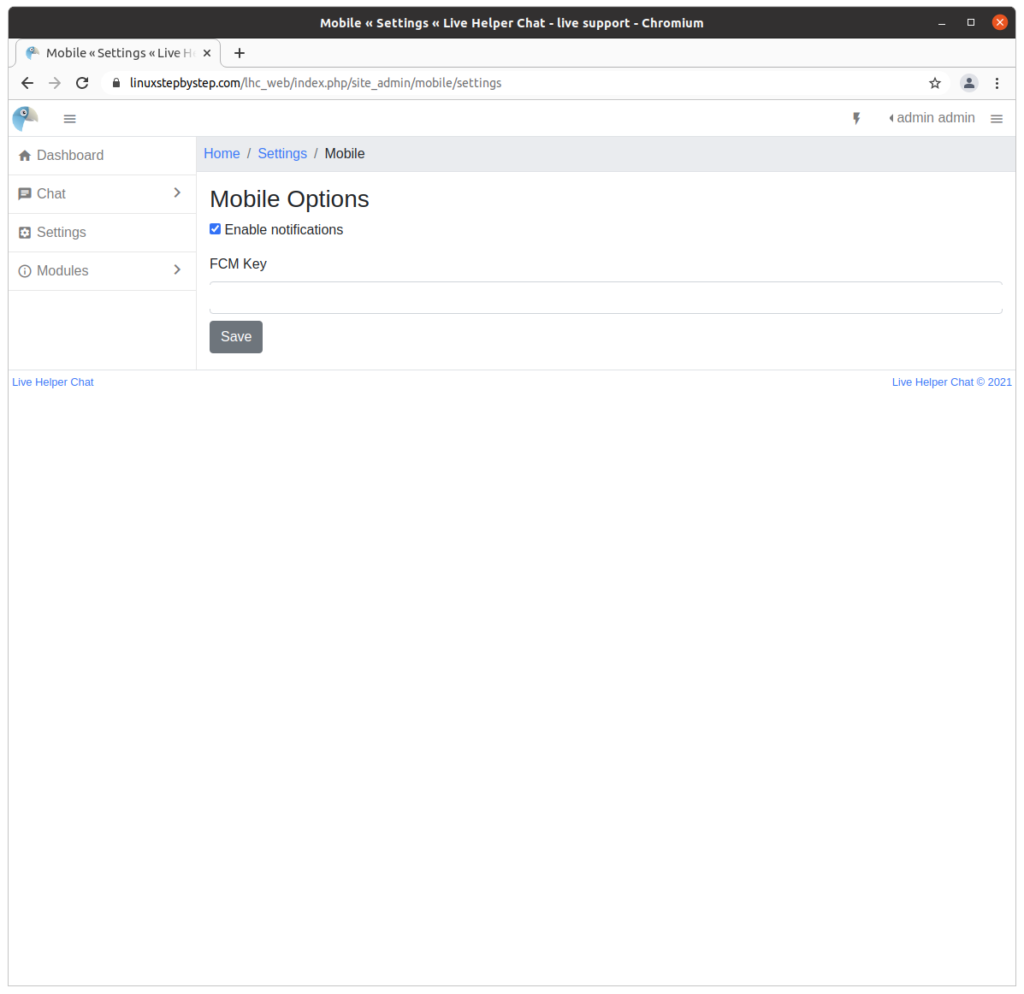
Under “Mobile,” click on “Settings”:
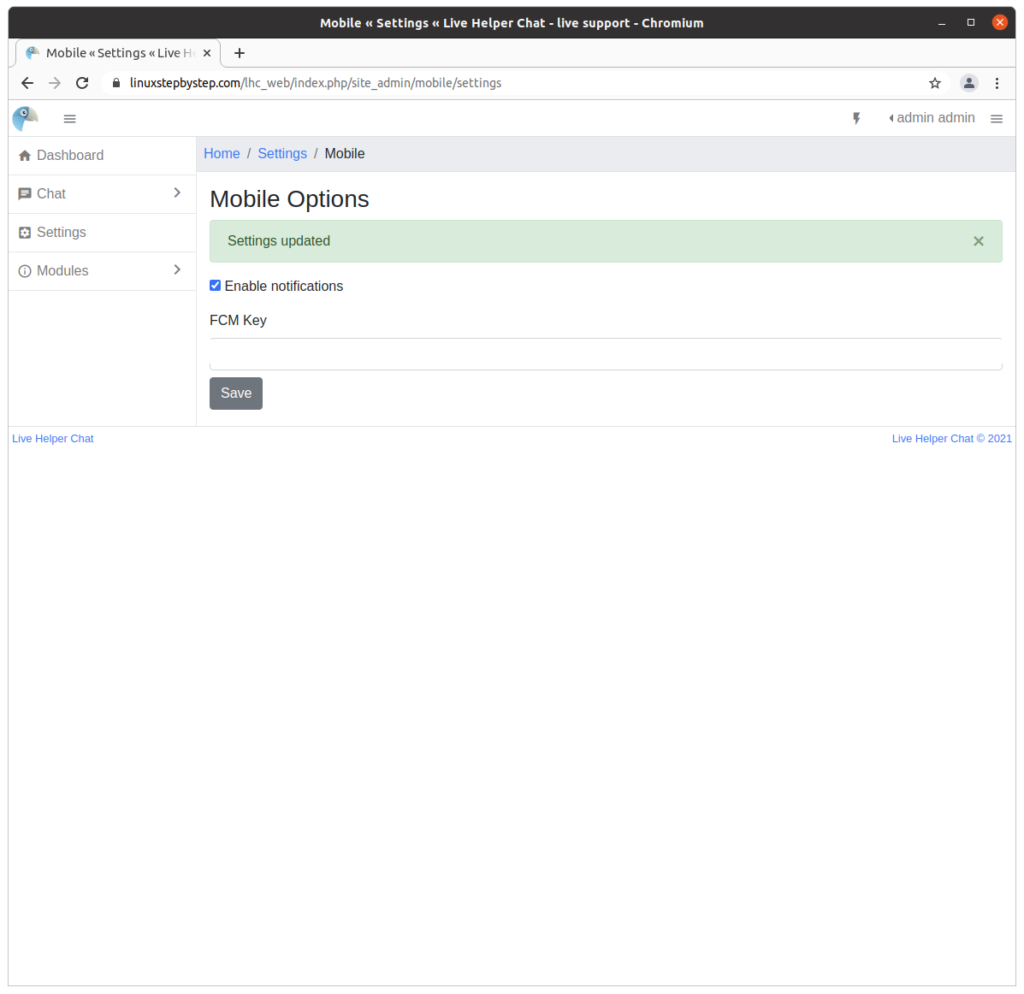
Select the checkbox “Enable notifications,” click on “Save”:
Click on “Settings”:
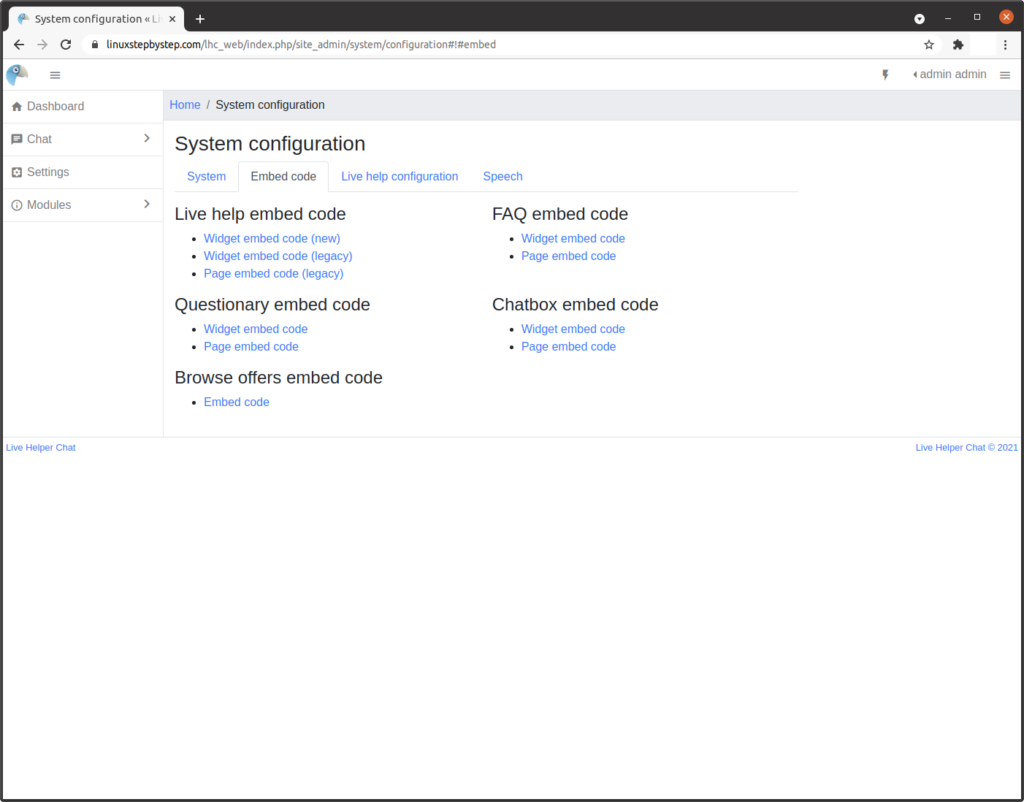
Click on “Embed code”:
Click on “Widget embed code (new):
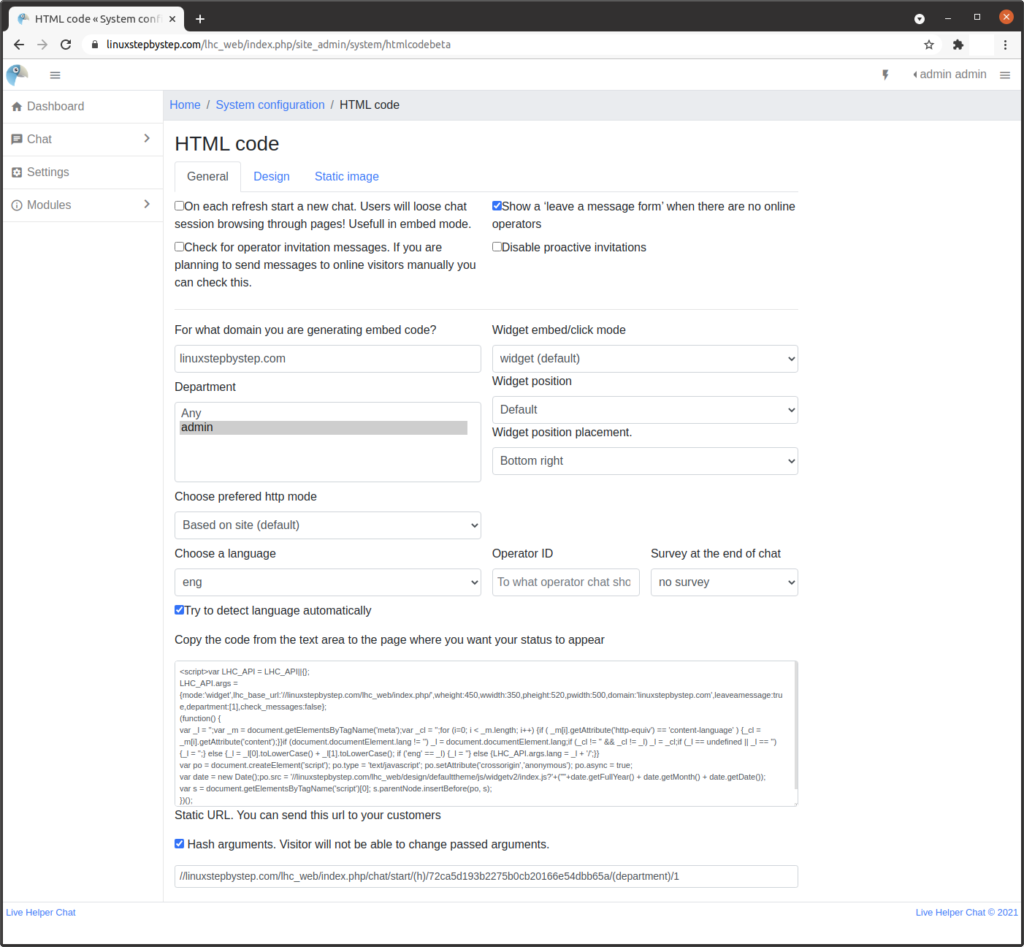
Complete the fields and select the options as required for your site. Copy the code from the text area to the page where you would like the web chat window to appear:
Embedding Live Helper Chat in a WordPress site
To embed the Live Helper Chat application in a WordPress site, we must first install the Insert Headers and Footers plugin for WordPress.
Installing the Insert Headers and Footers WordPress plugin
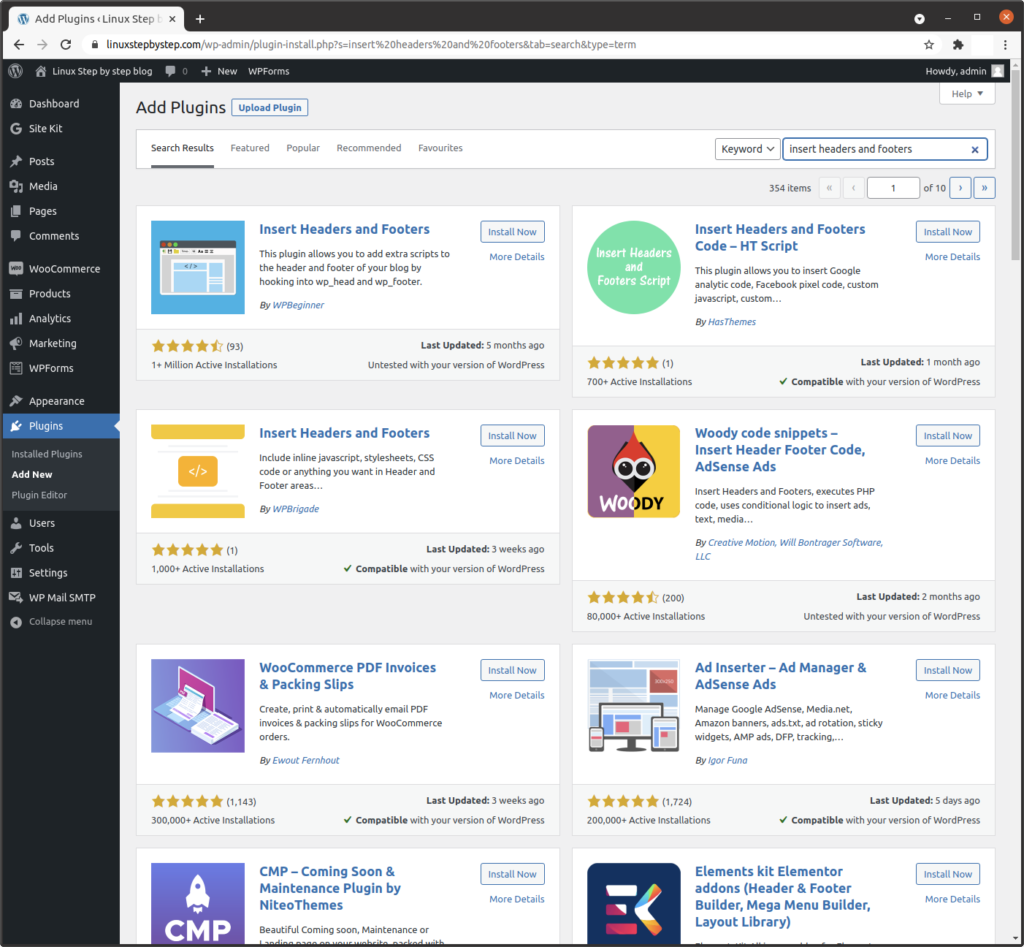
In your WordPress control panel, click on “Plugins,” then click on “Add New”:
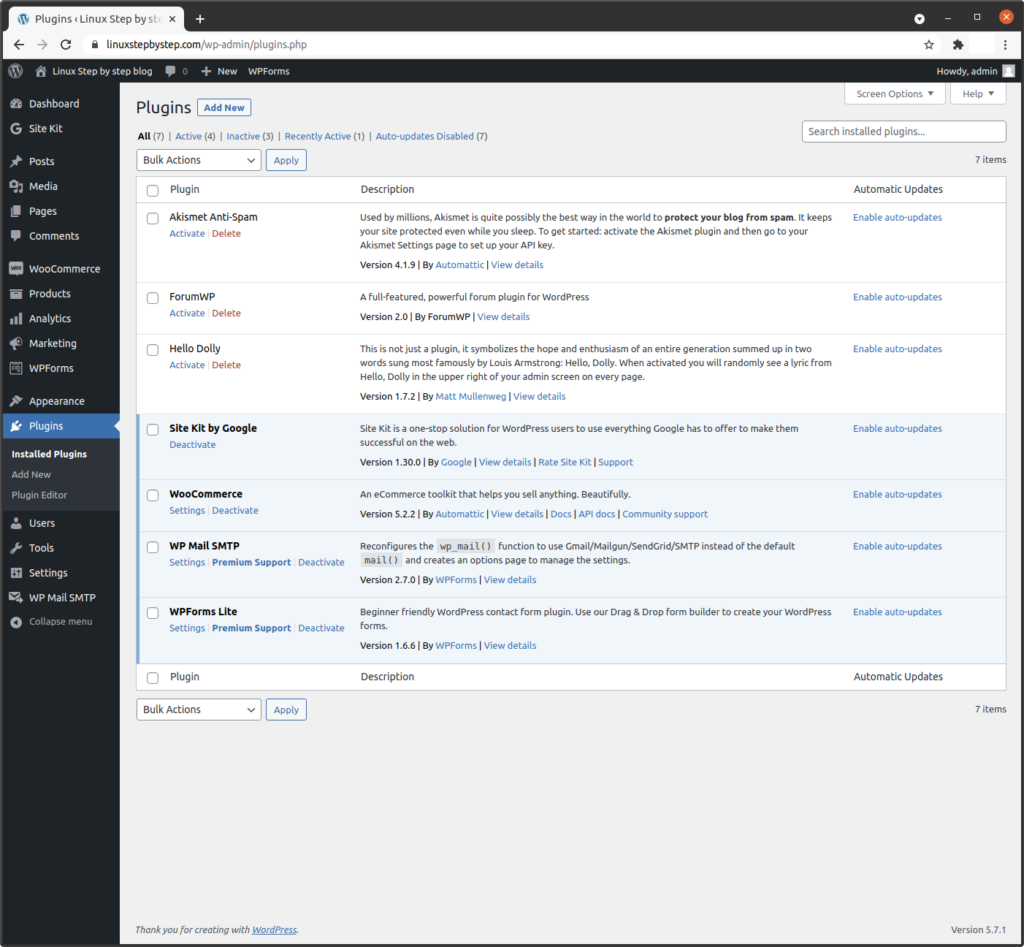
In the search window, enter the text “insert headers and footers,” locate the plugin “Insert Headers and Footers,” click on “Install Now”:
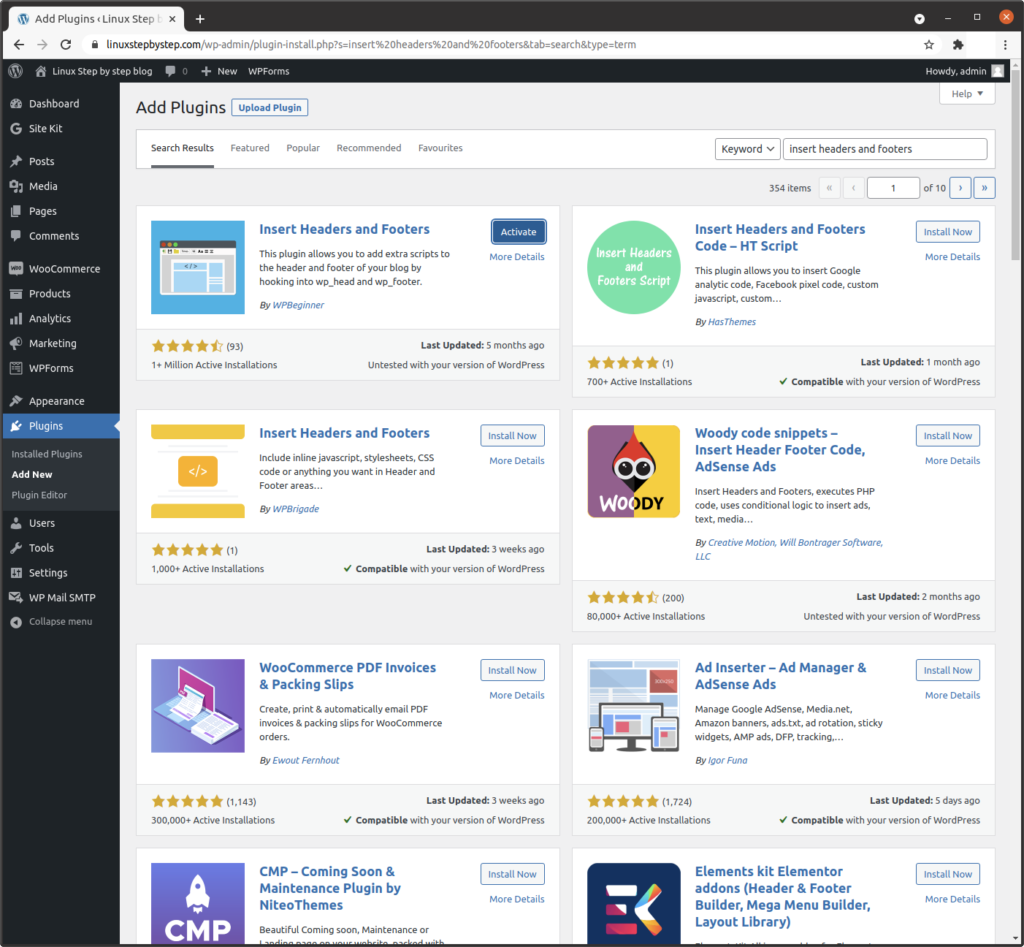
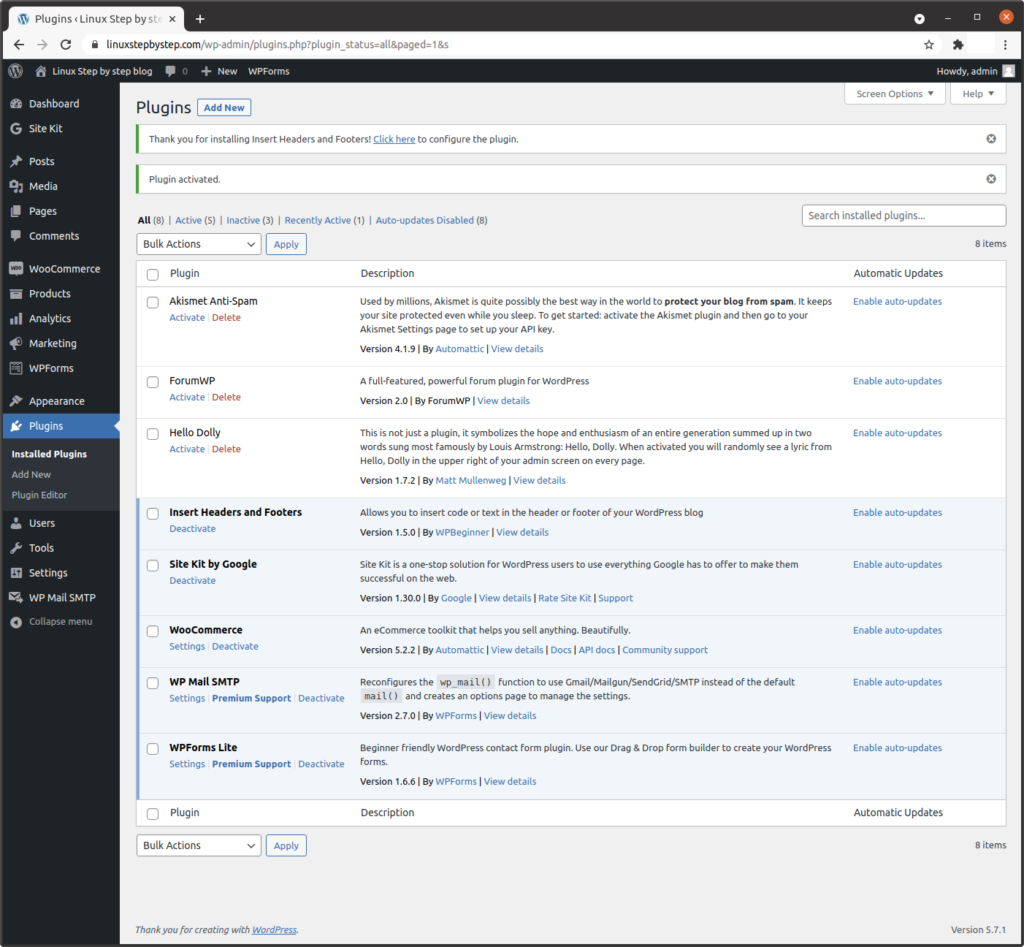
Click on “Activate”:
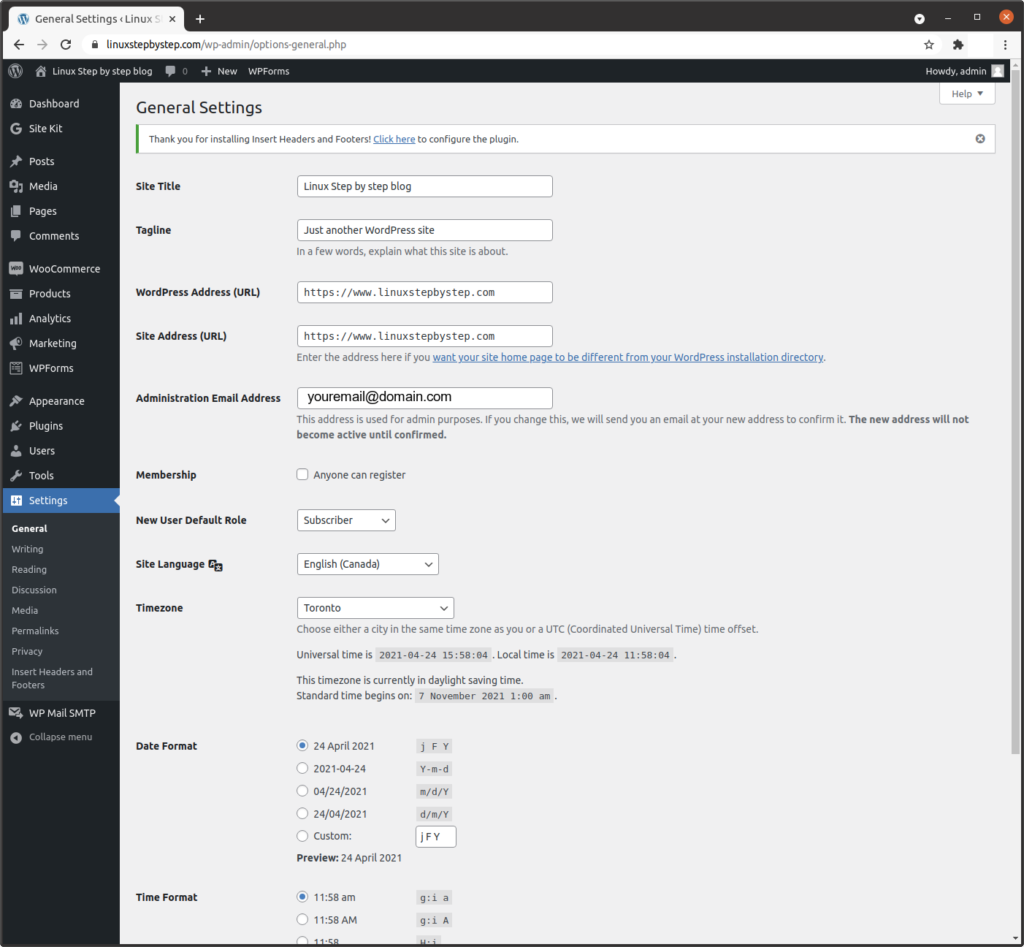
Click on “Settings,” then click on “Insert Headers and Footers”:
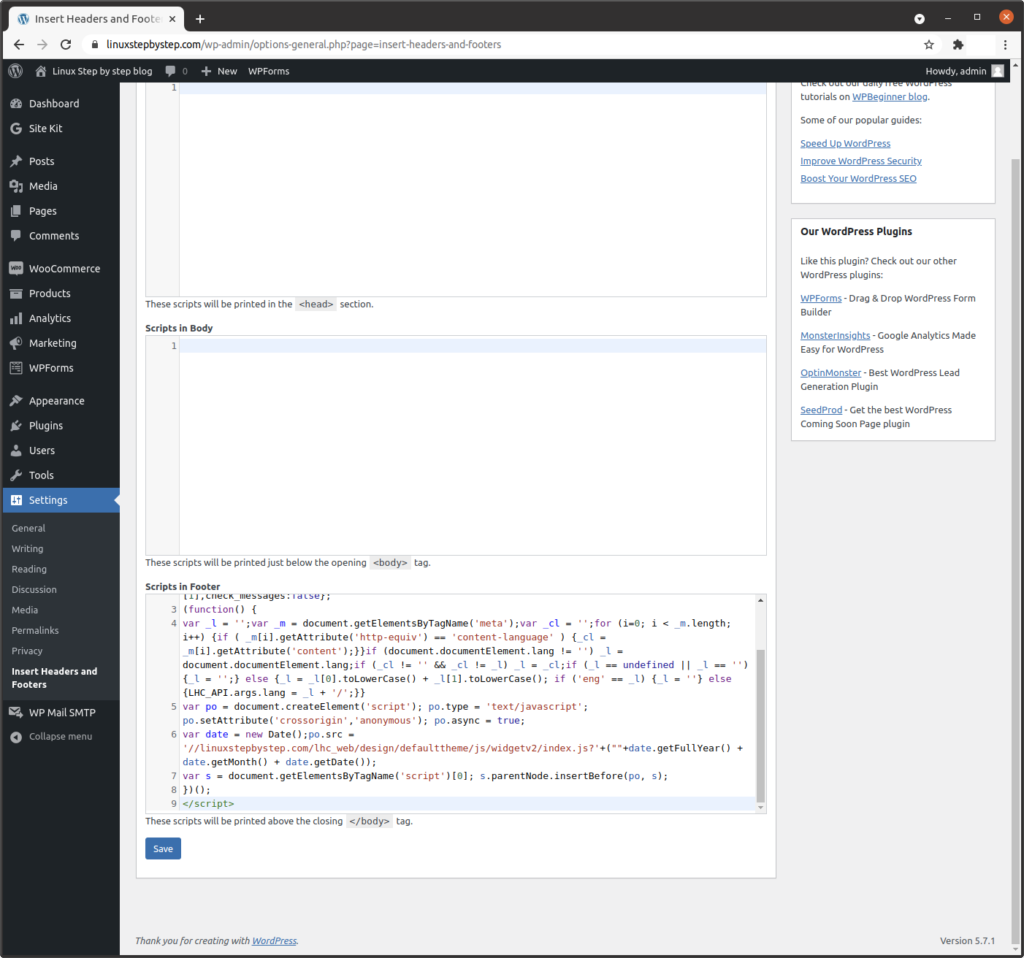
Adding the JavaScript code using the Insert Headers and Footers WordPress plugin
Complete the fields as shown.
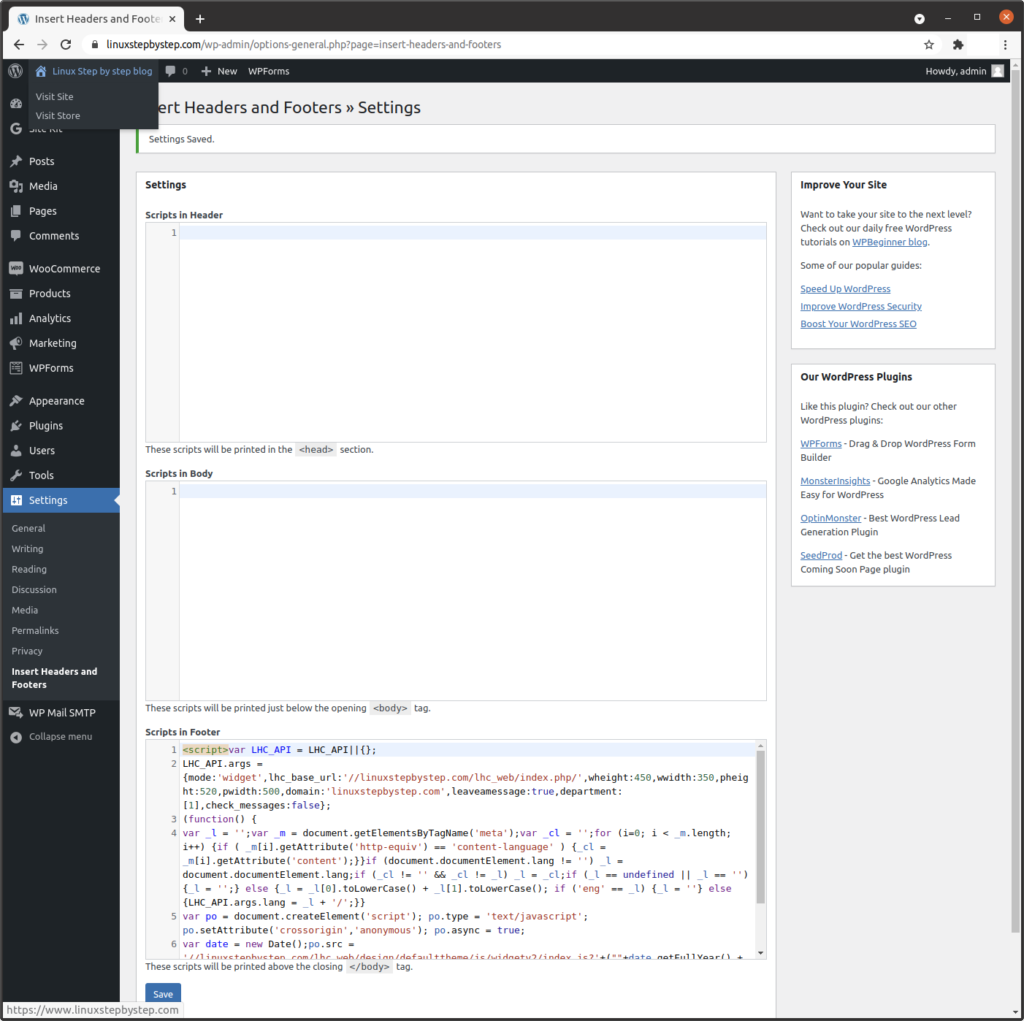
Scroll to the bottom of the page. Paste the JavaScript code you generated earlier in the section “Generating the Live Help Chat JavaScript text to add to an HTML header” to the field “Scripts in Footer,” click “Save”:
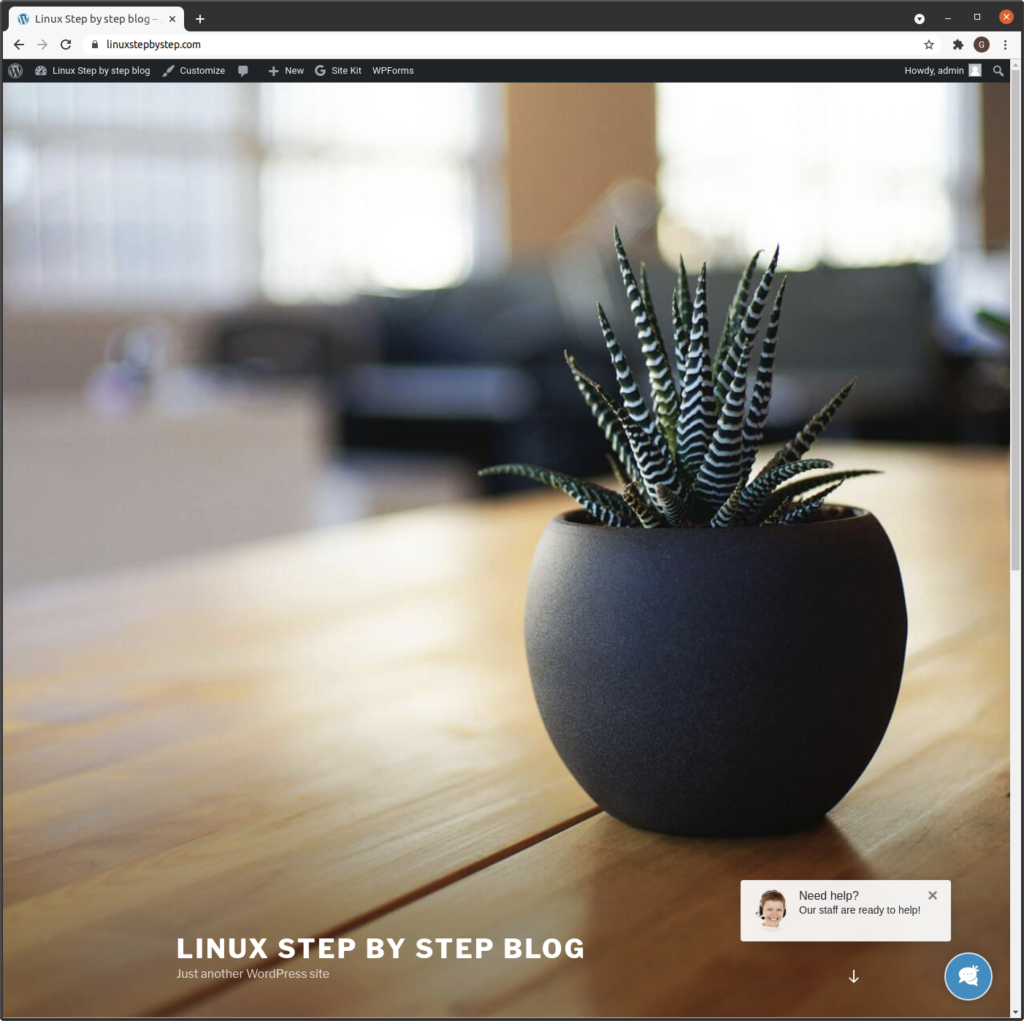
Cick on “Visit Site”:
The chat window is visible on the WordPress site:
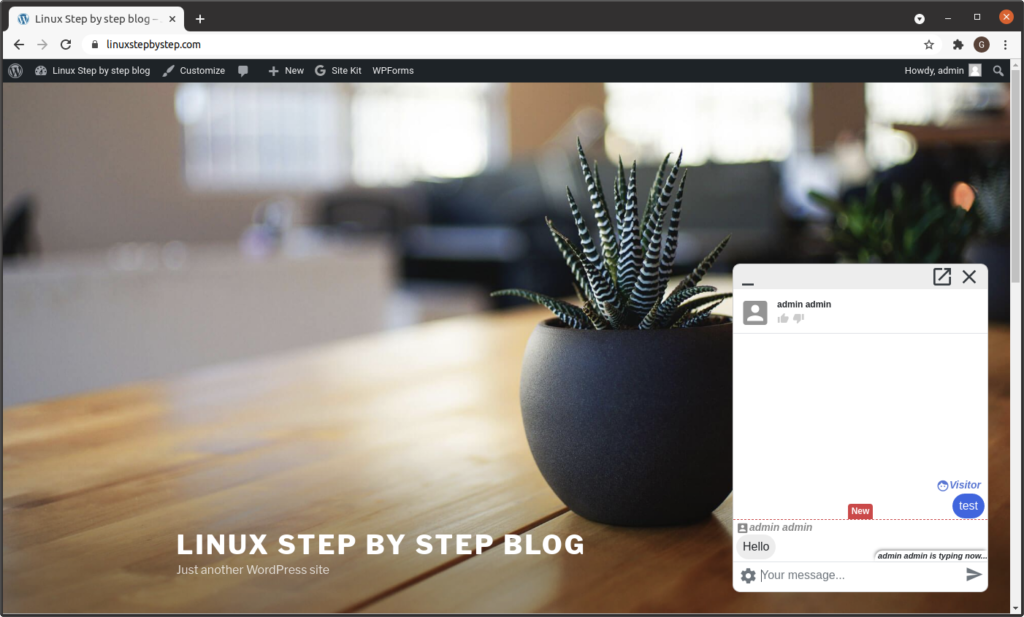
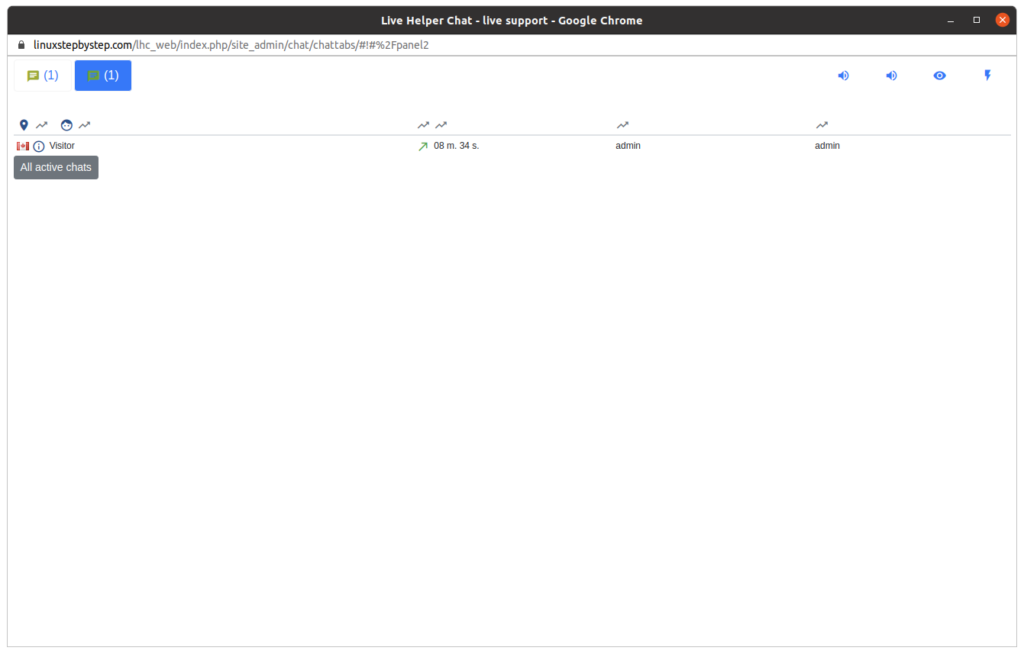
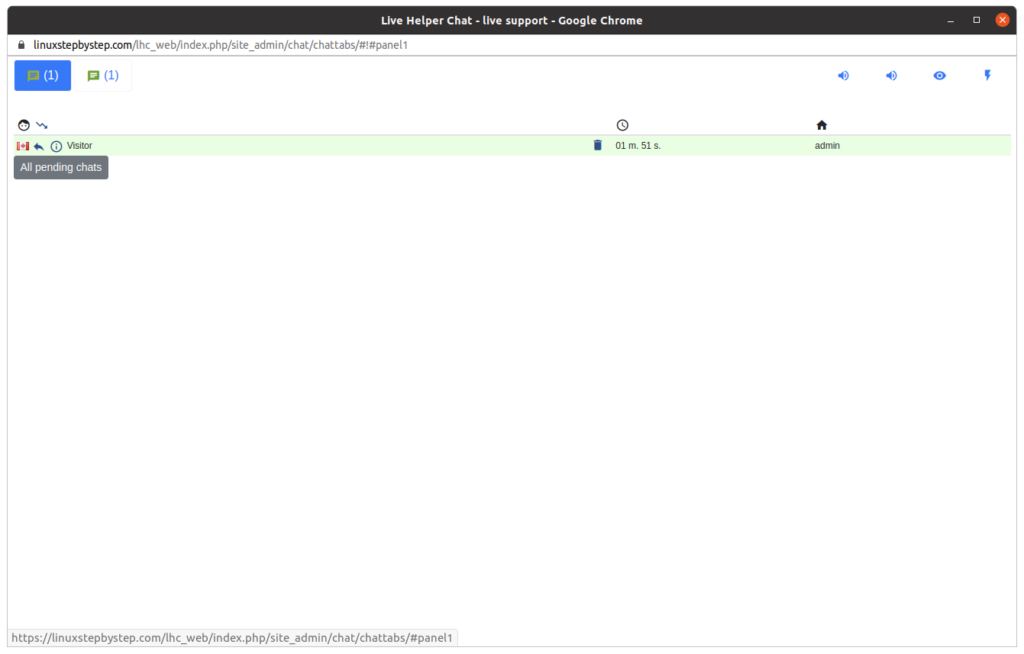
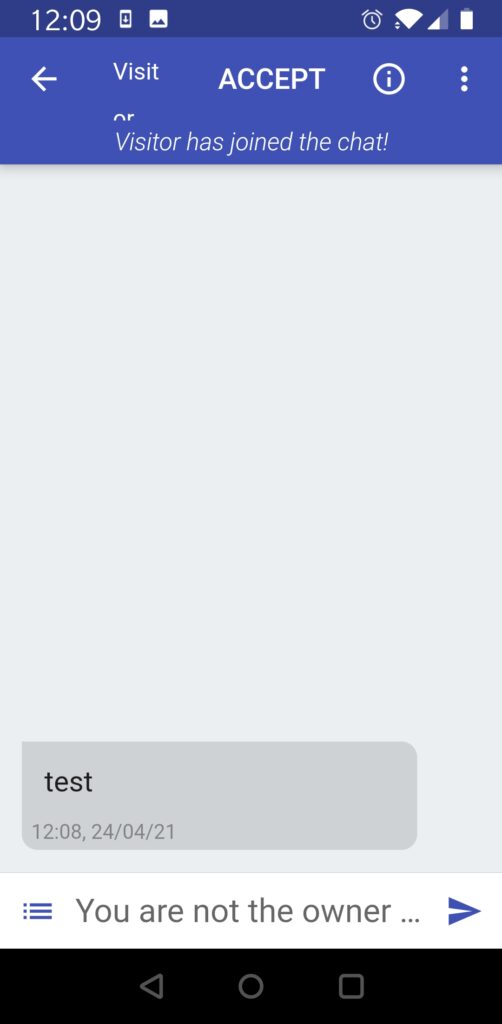
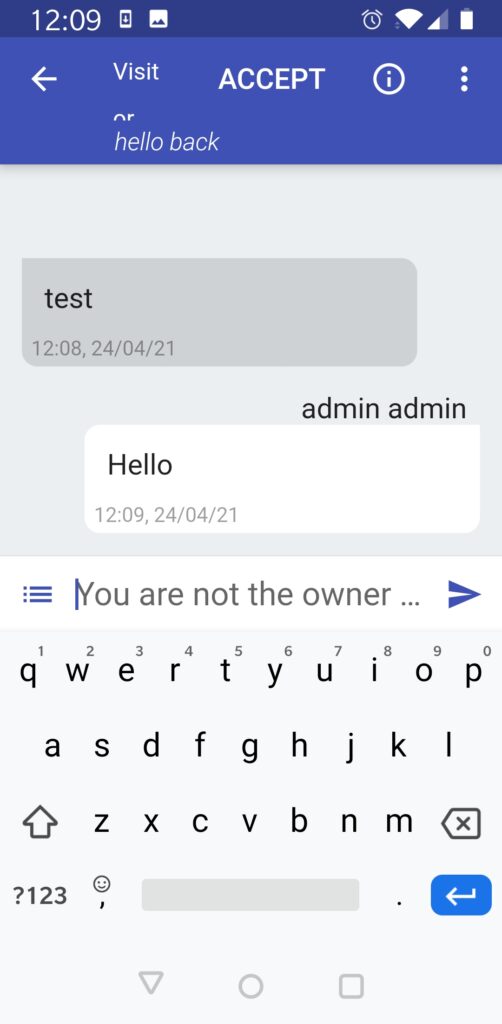
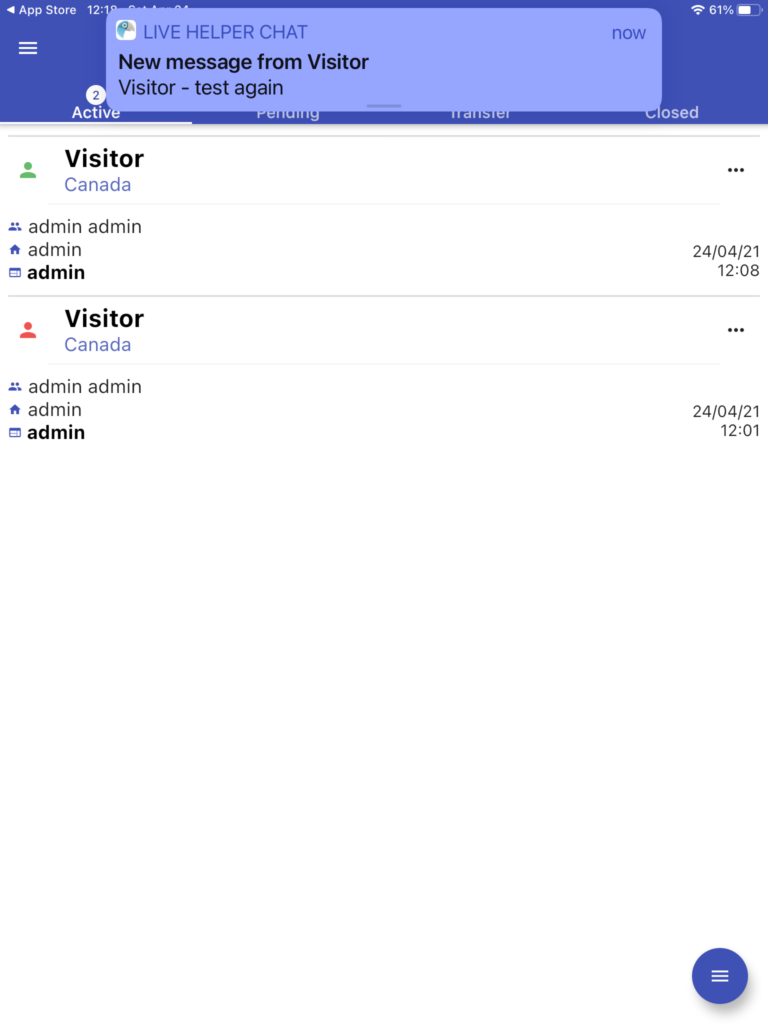
Texting between the site’s visitors and the site’s operators:
Embedding Live Helper Chat in a simple web page
We can add the Live Helper Chat text chat window to a simple web page.
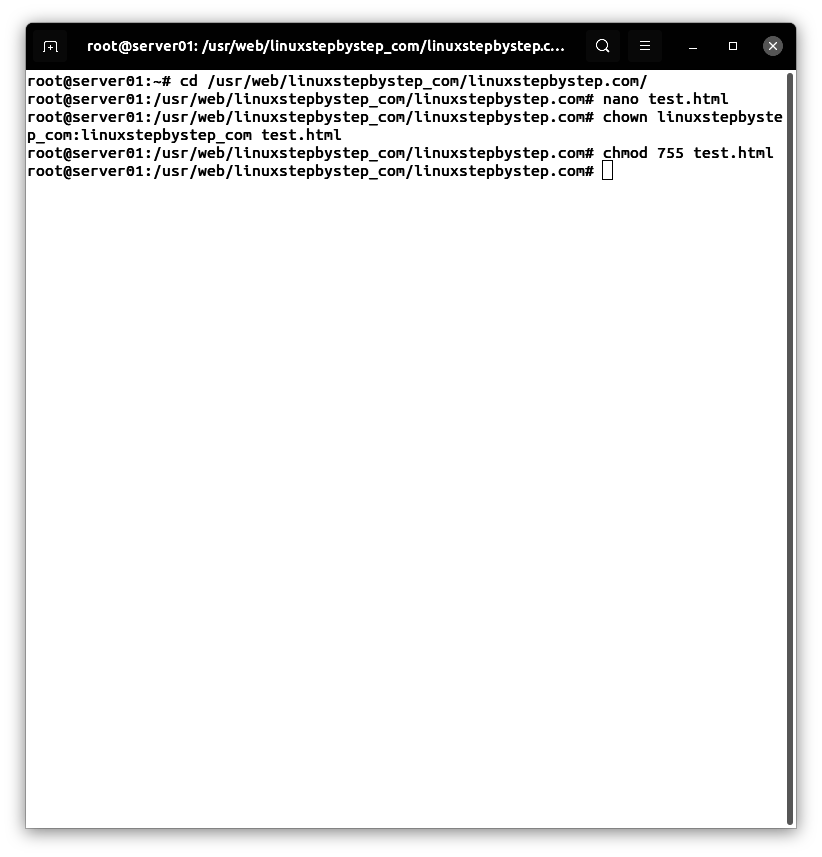
Using an SSH terminal program, connect to your Ubuntu Linux cloud server. Change to the directory containing the documents for your website. Enter the command:
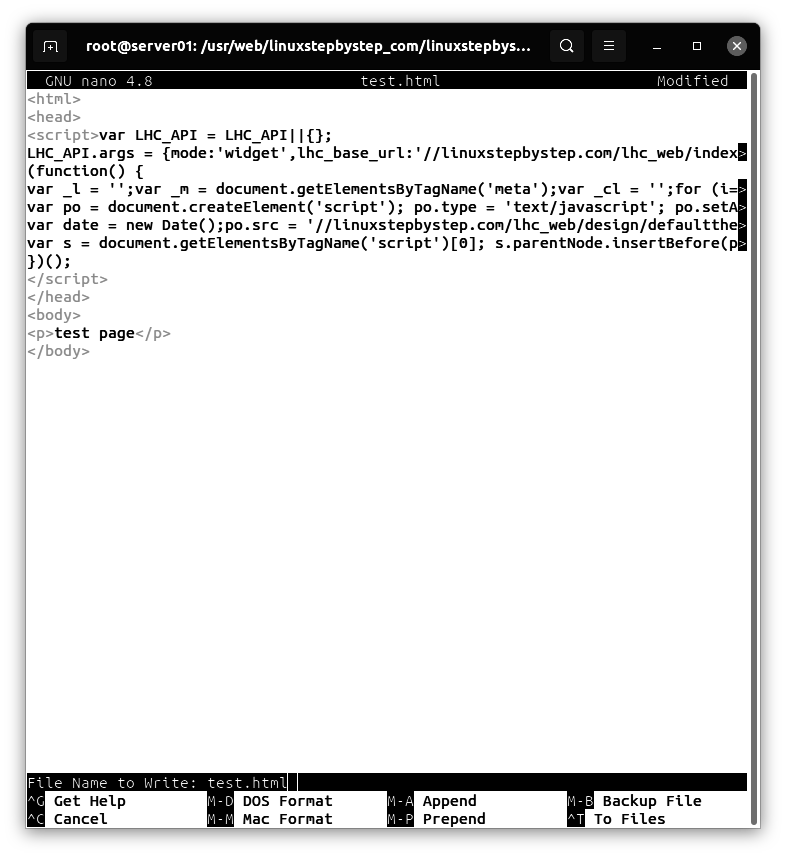
nano test.html
Paste the JavaScript code you generated in the section “Generating the Live Help Chat JavaScript text to add to an HTML header,” press Control-X to save and exit the file:
Enter these commands (where username is the username that owns the documents for the website):
chown username:username test.html
chmod 755 test.html
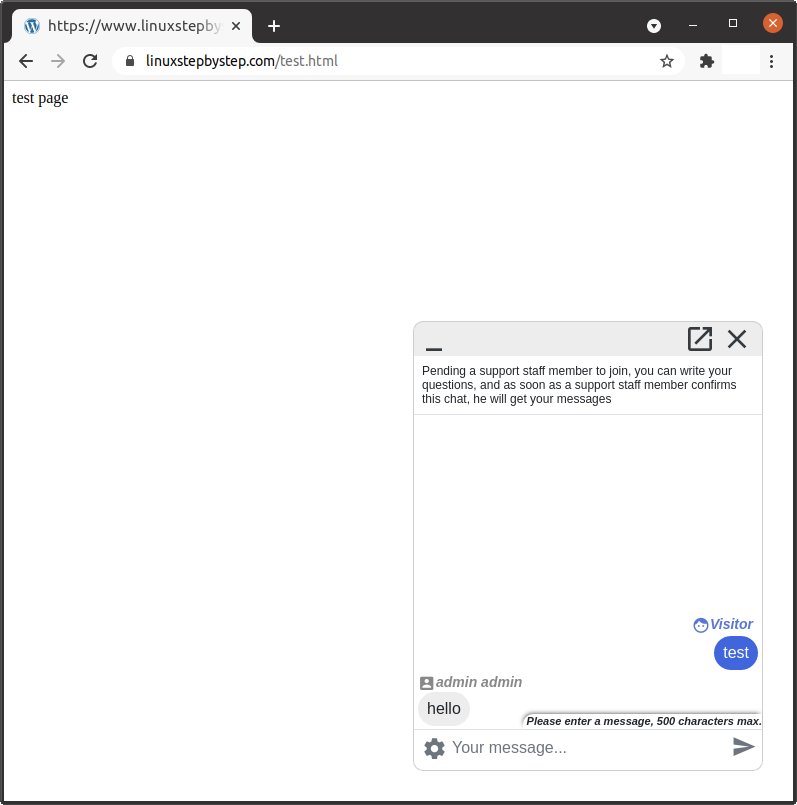
View the test.html page in a web browser:
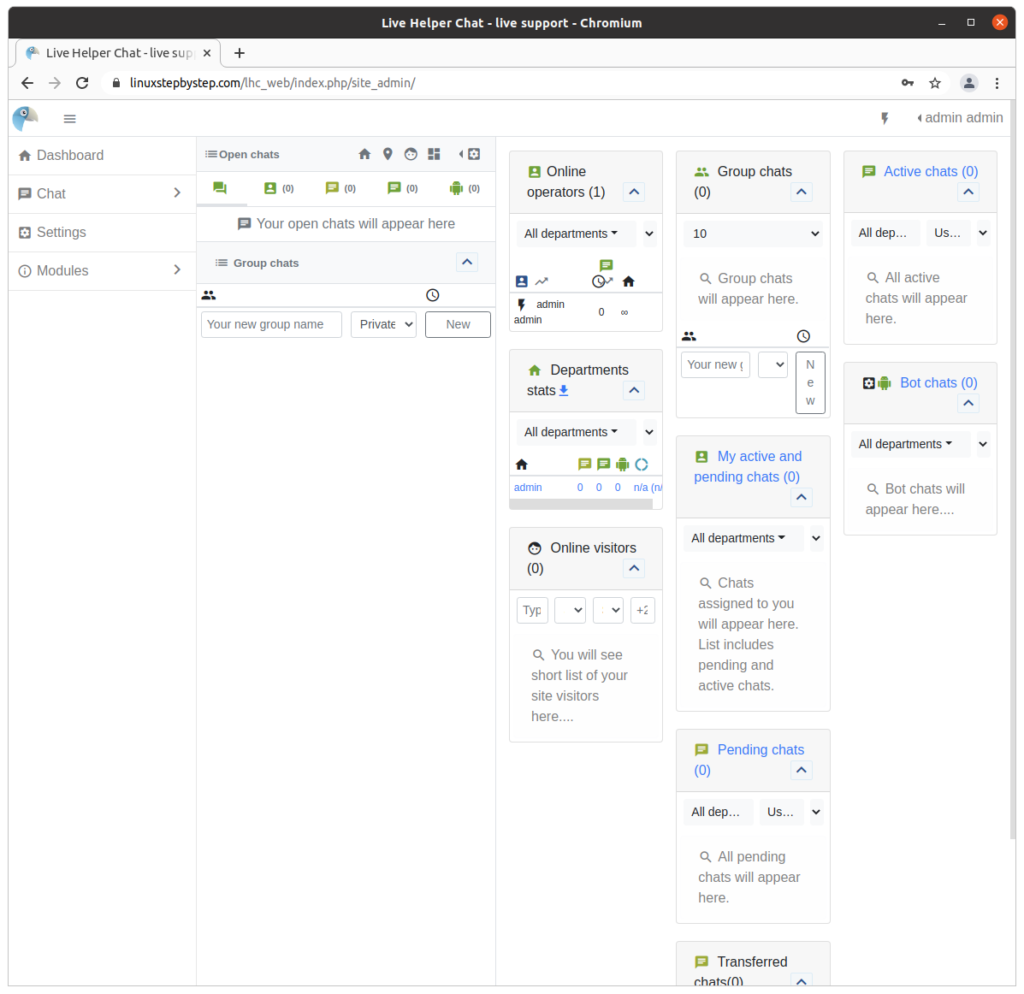
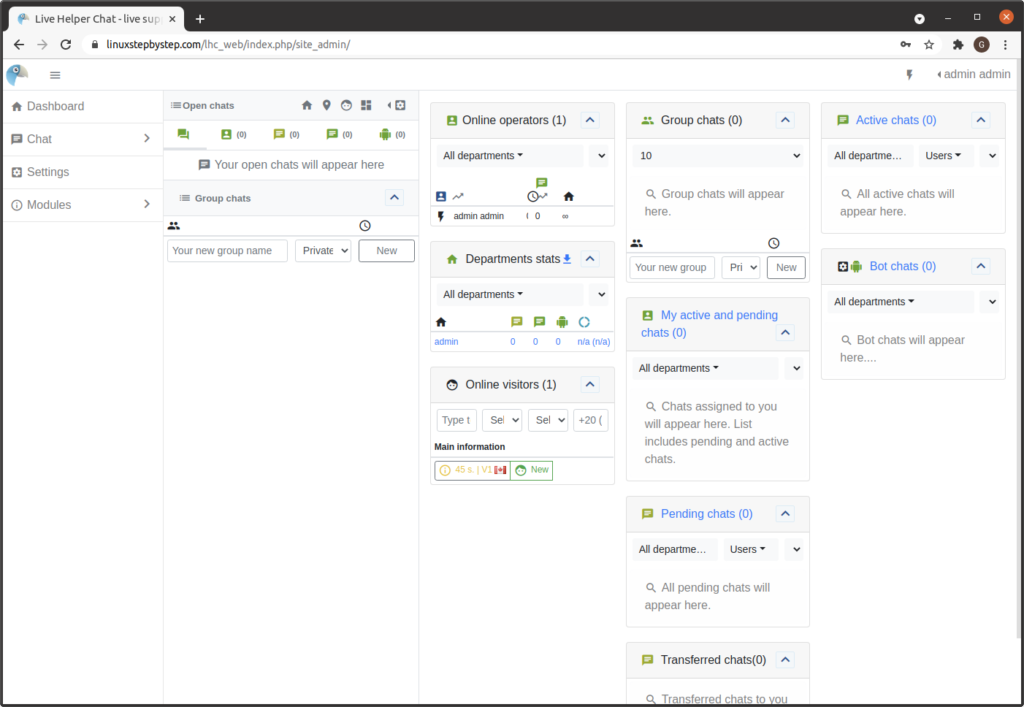
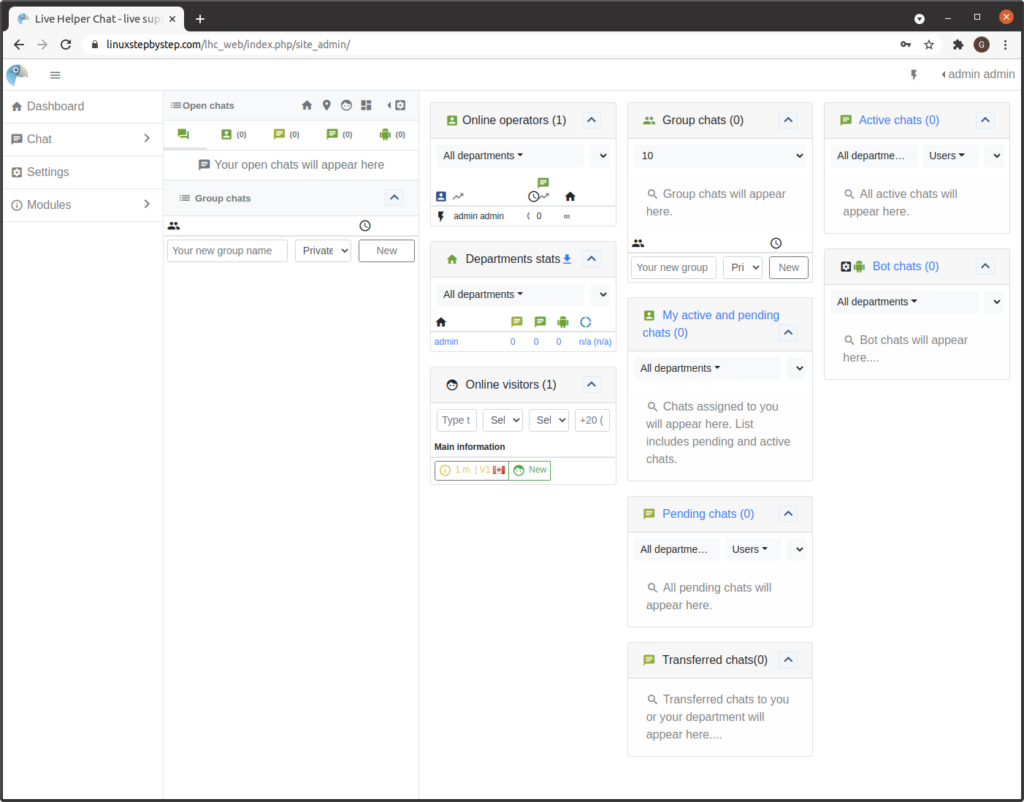
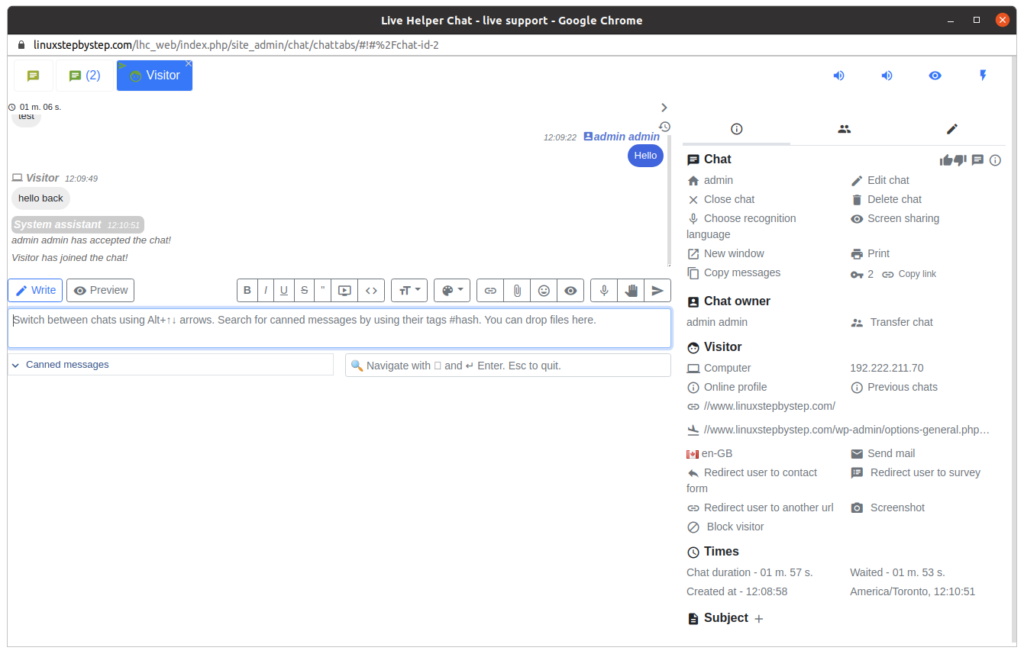
Accessing the Live Helper Chat operator panel
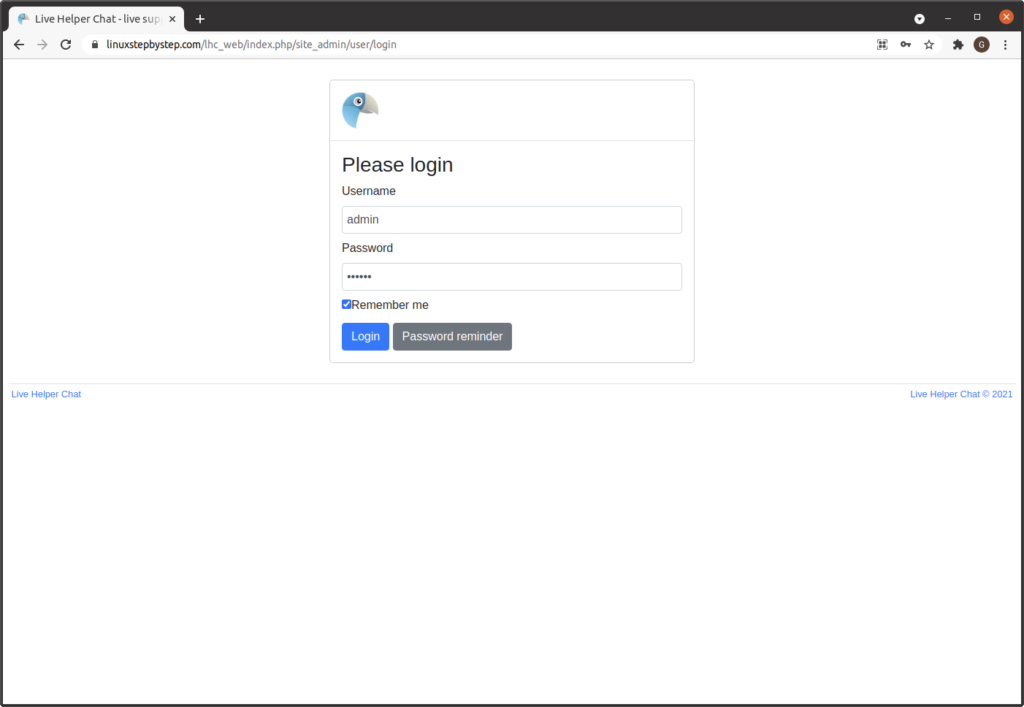
For our example domain, we can visit this site at https://linuxstepbyste.com/lhc_web/index.php/site_admin (Substitute your domain name.)
Enter your username and password. Click “Login”:
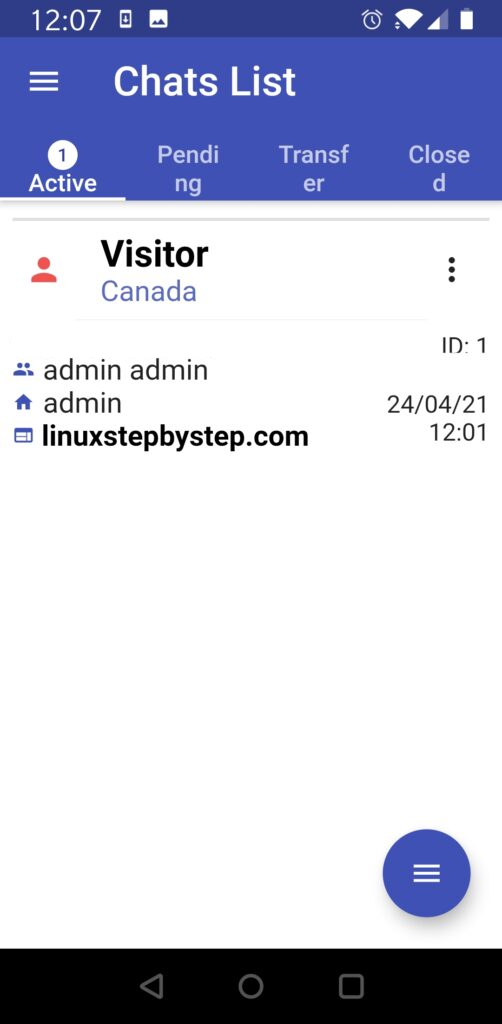
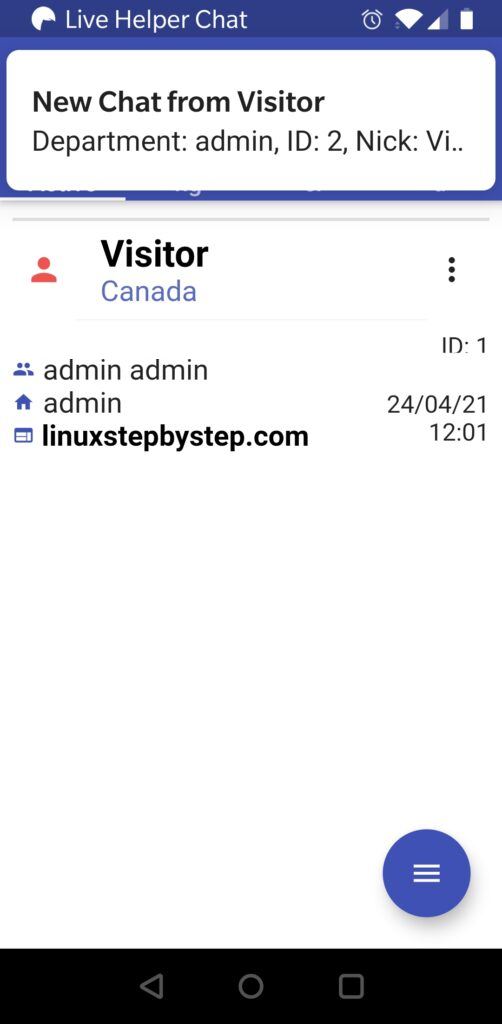
Click on “Chat”:
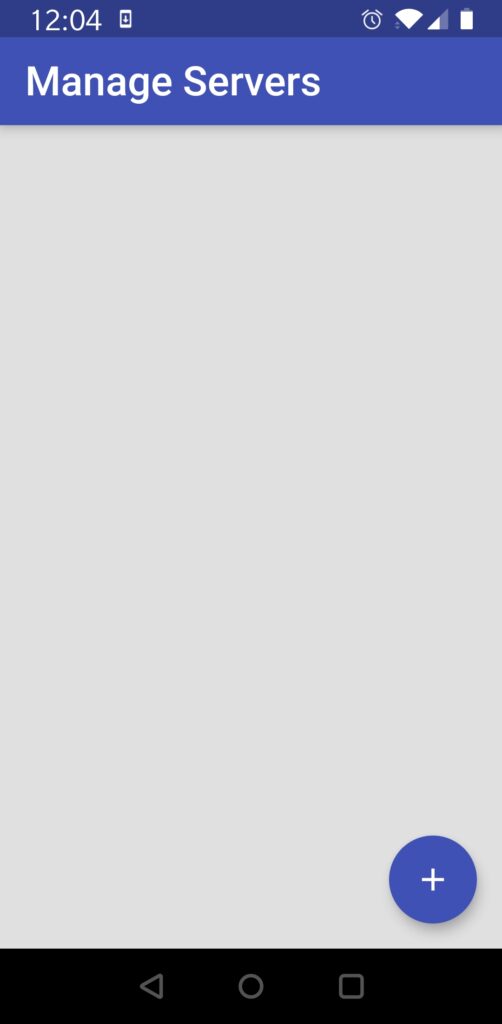
Configuring and Using the Android client
Download the “Live Helper Chat” app from the Google Play Store. When you launch the application, you will see this screen. Click on “+”:
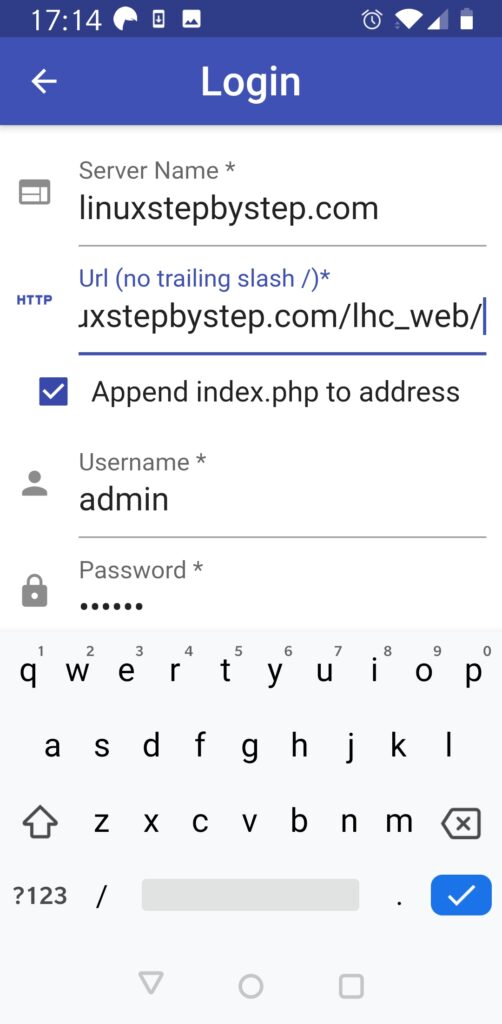
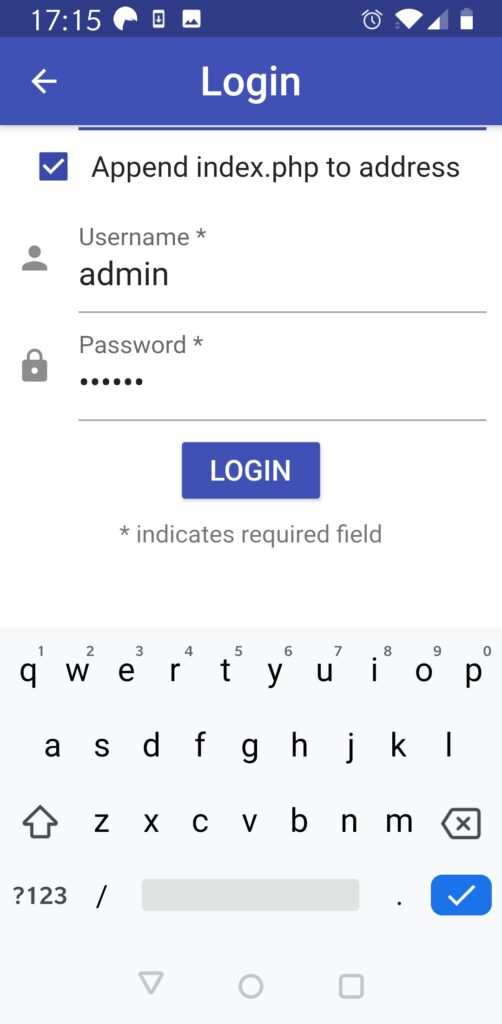
Complete the fields below as shown (substitute your domain name). Click “Login”:
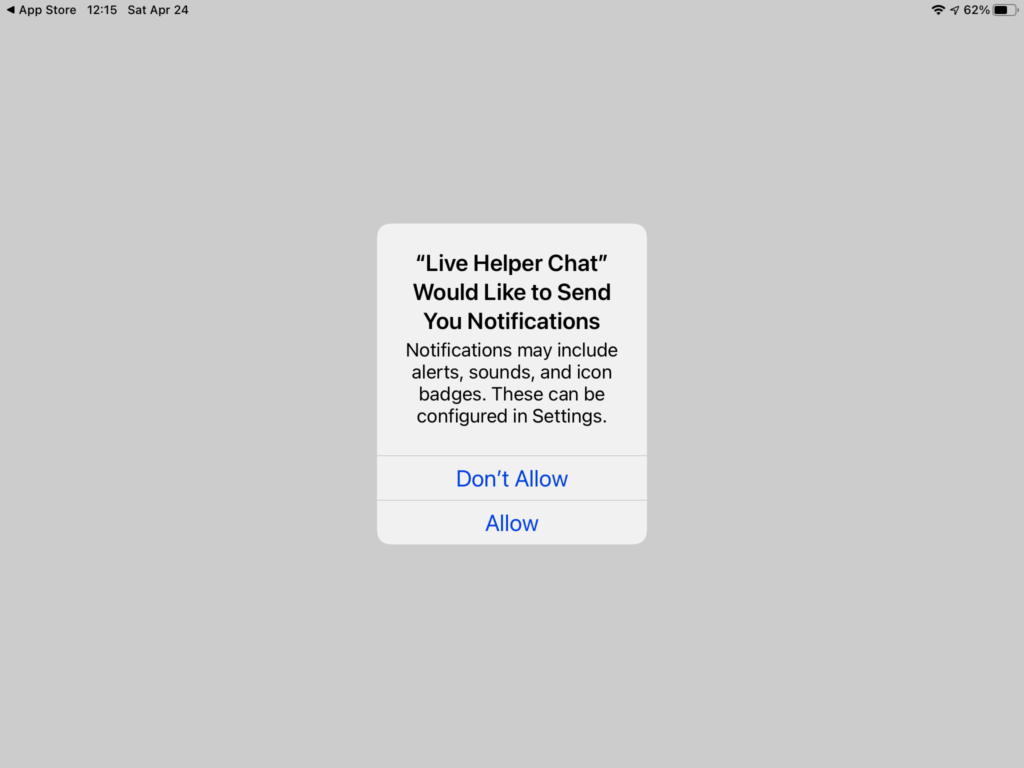
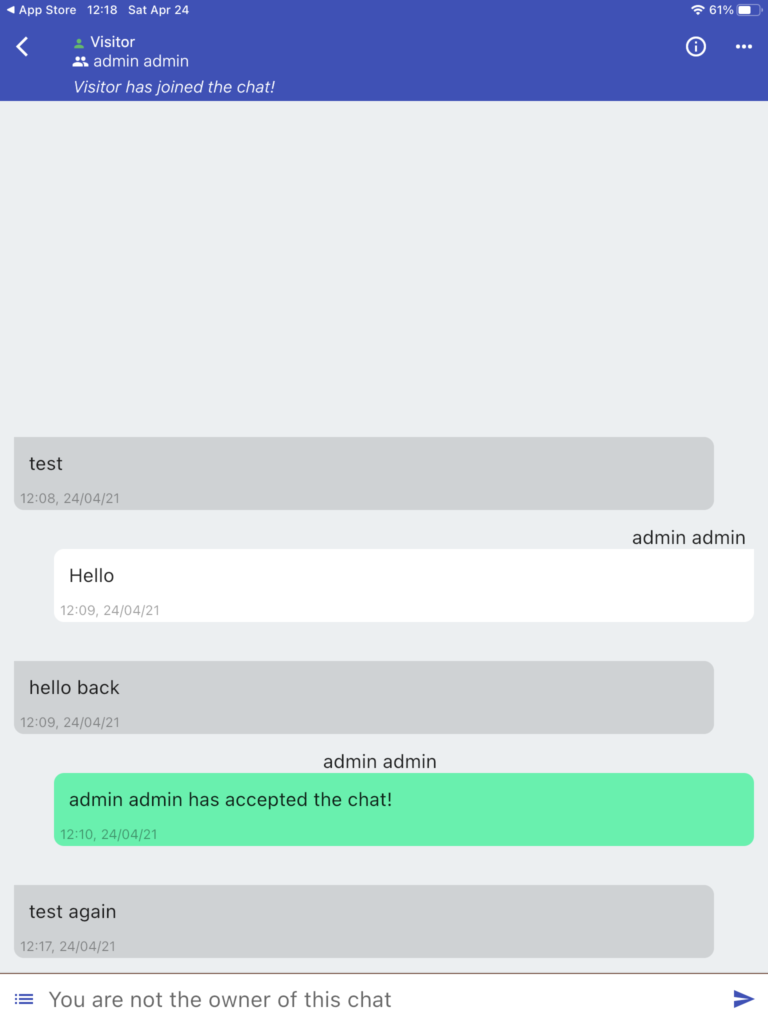
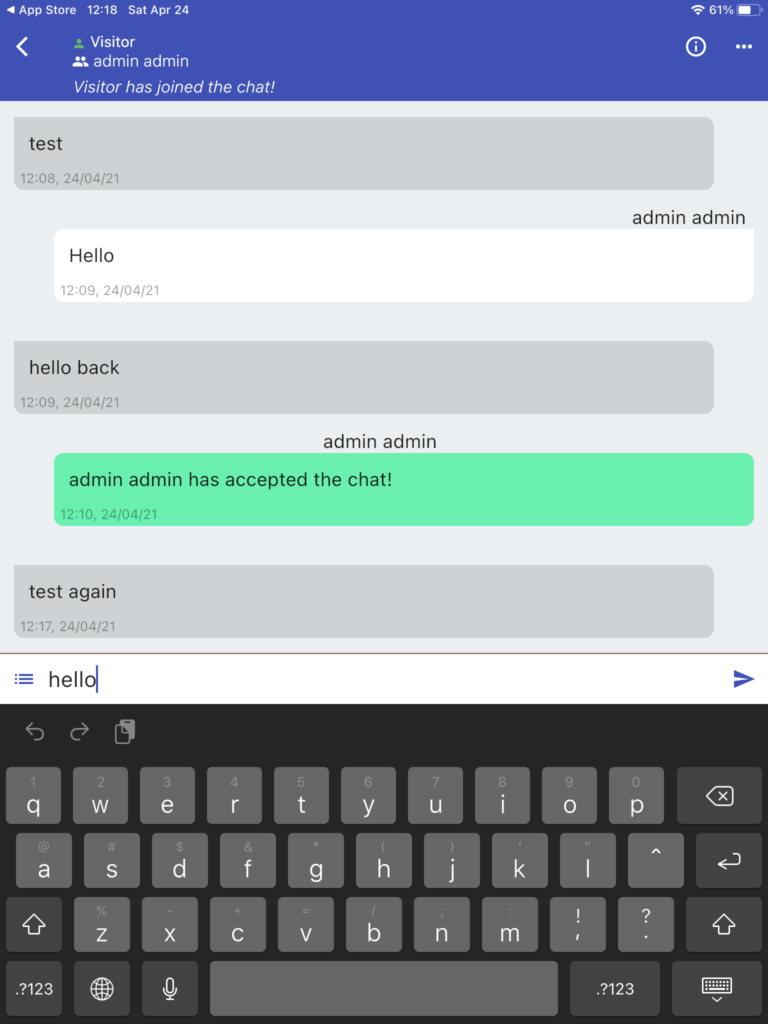
Configuring and using the iOS client
Download the “Live Helper Chat” app from the Apple App Store. When you launch the application, you will see this screen. Click on “Allow”:
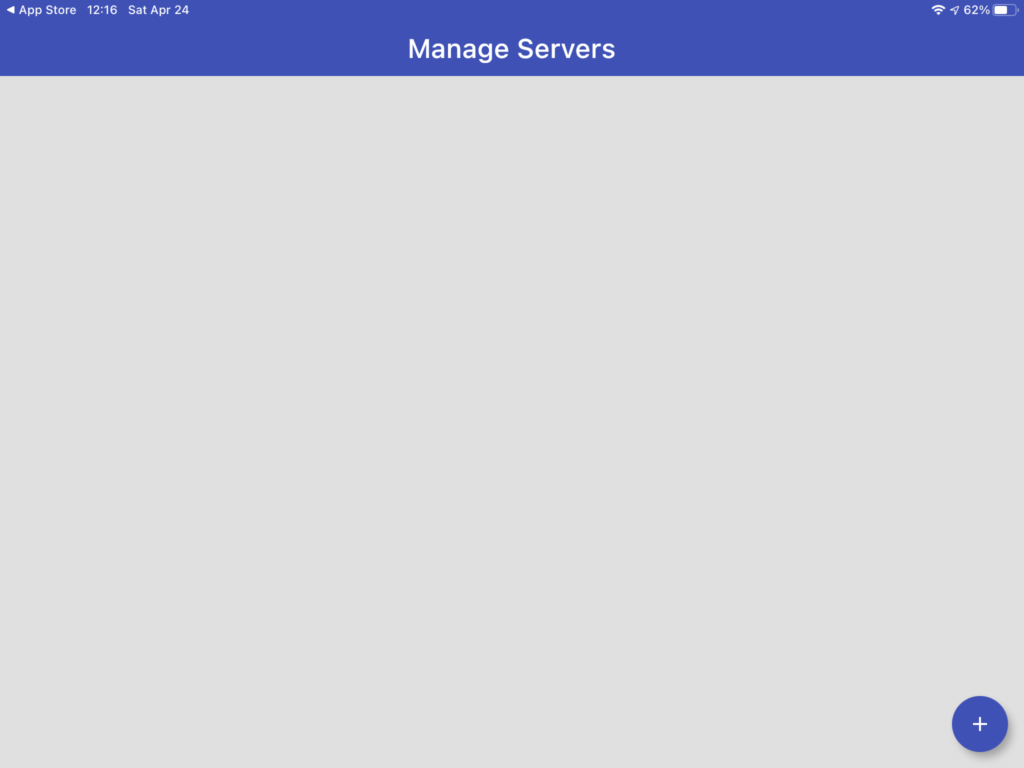
Click on “+”:
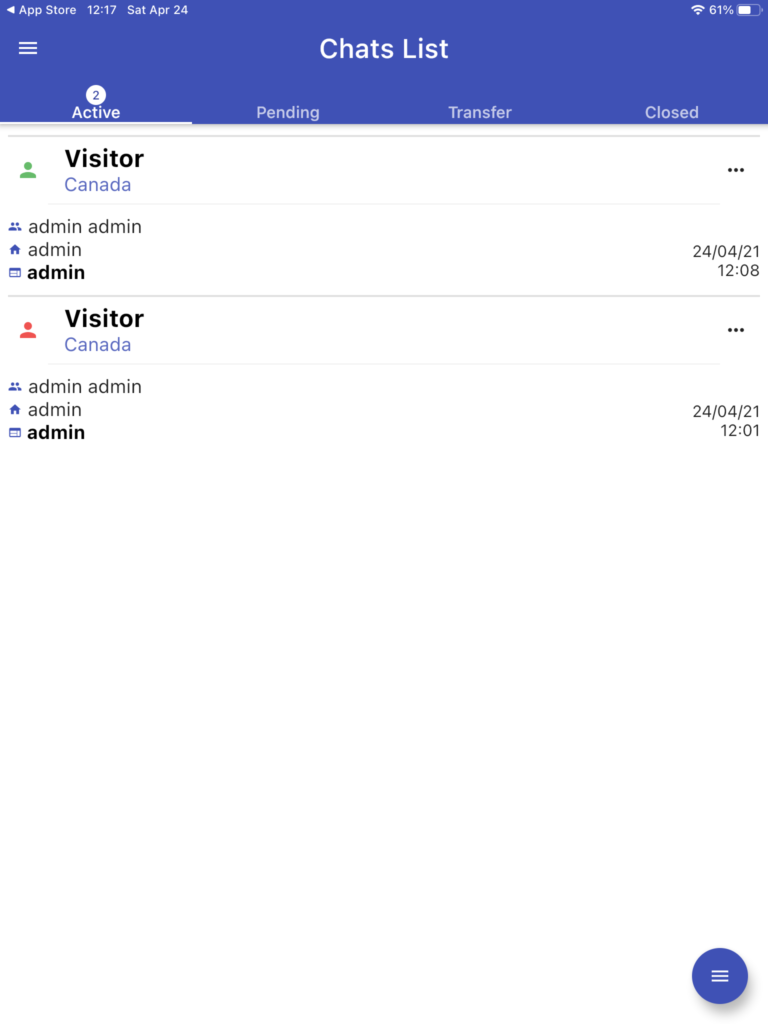
Complete the fields as shown (substitute your domain name). Click “Login”:


Previous step: Chapter 13: Installing and configuring MyBB to create a community forum site
Next step: Chapter 15: Using dwservice.net to provide remote technical support as an alternative to TeamViewer