
Previous step: Chapter 14: Installing and configuring Live Helper Chat to add text chat support to a website
Next step: Chapter 16: Using a script to automate the creation of a virtual host on an Apache web server
Web presence step by step is a series of posts that show you to how to build a web presence.
In this chapter we install and configure dwservice.net to provide remote technical support as an alternative to TeamViewer.
dwservice.net allows a client to share their computer’s desktop so you can provide technical support
When you build and maintain technical systems, you need to support the clients of those systems, including customers, colleagues, and contractors. dwservice.net allows you to invite a client to share their computer’s desktop so you can provide technical support.
Creating an account on the dwservice.net service
Visit the dwservice.net site:
Create a username and password for the dwservice.net site. You will need it later in this procedure.
dwservice.net provides client software for the Windows, MacOS, and Linux operating systems
This chapter contains sections describing how to install the dwservice.net client for Windows, MacOS, and Linux.
Windows
Visiting the website to download the installer on a Windows workstation
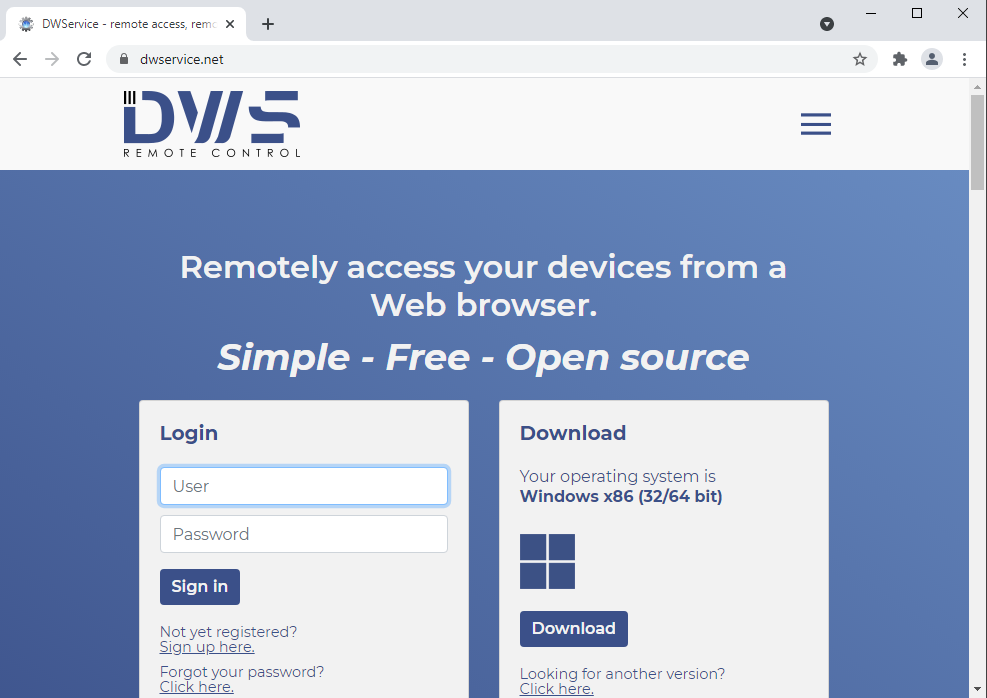
Visit the dwservice.net site:
Click on “Download”:
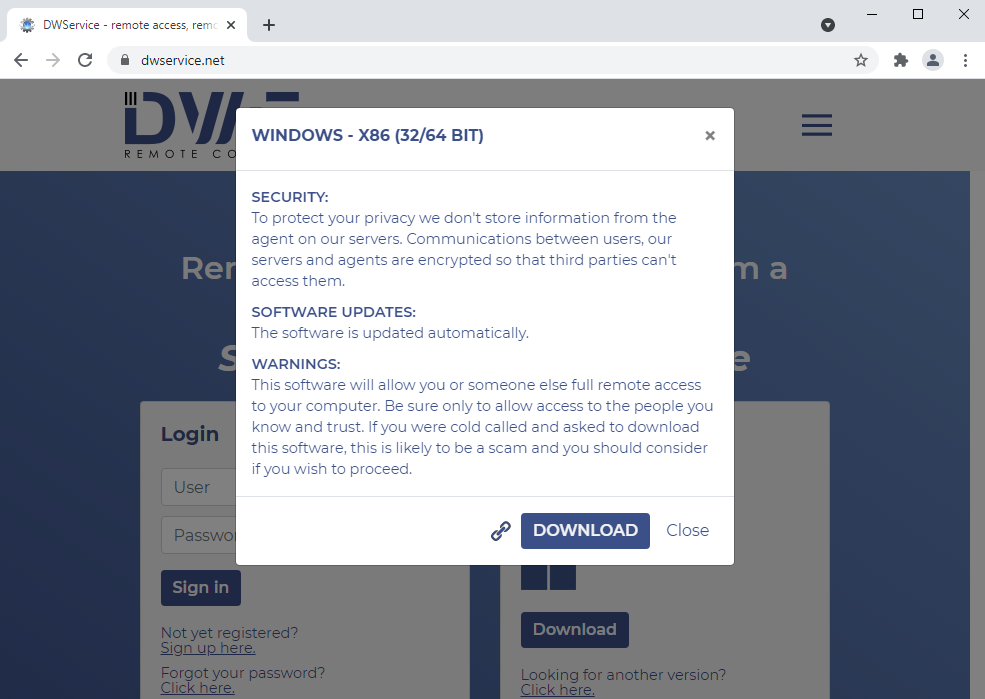
Click on “Download”:
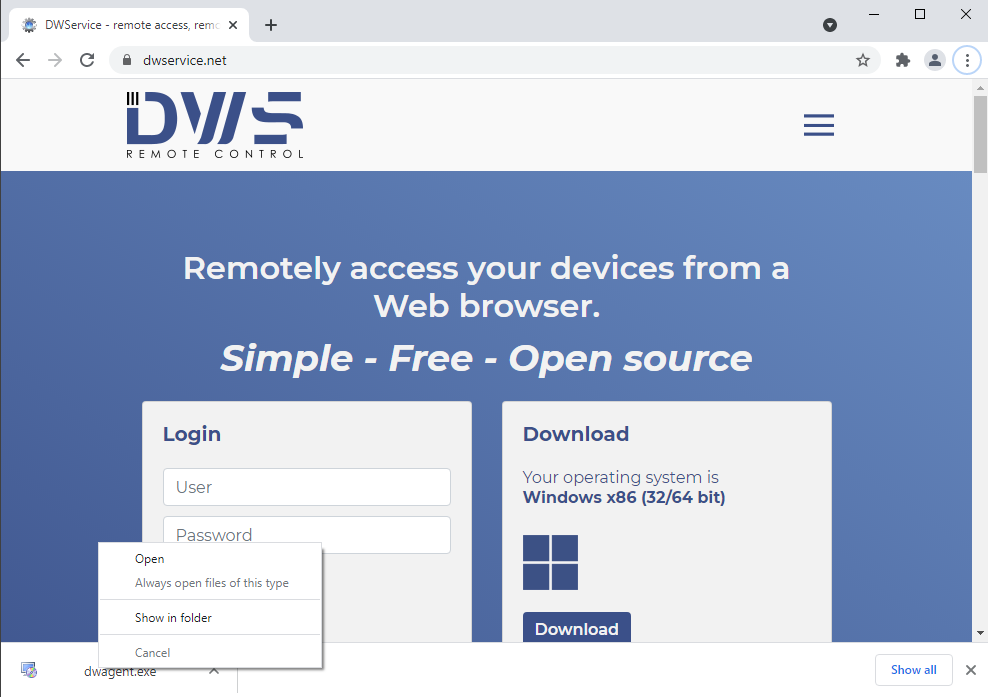
Right-click on the file name, click “Show in folder”:
Using the dwservice.net client on a Windows workstation in run-once mode
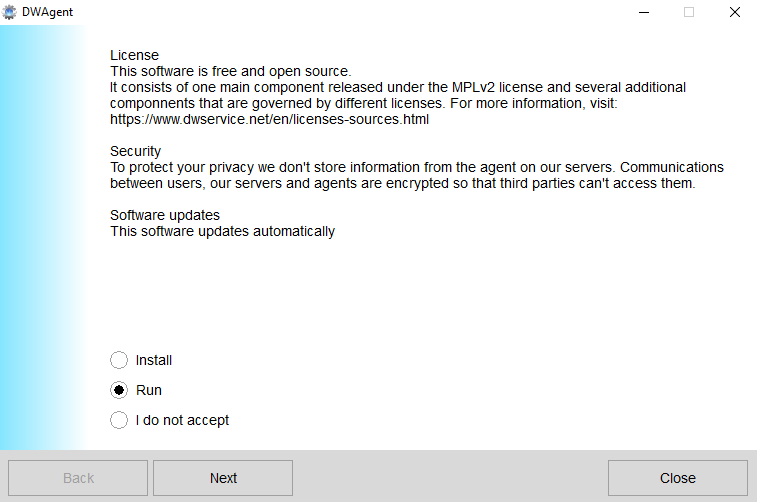
Double-click on the file to run the dwagent.exe setup program:
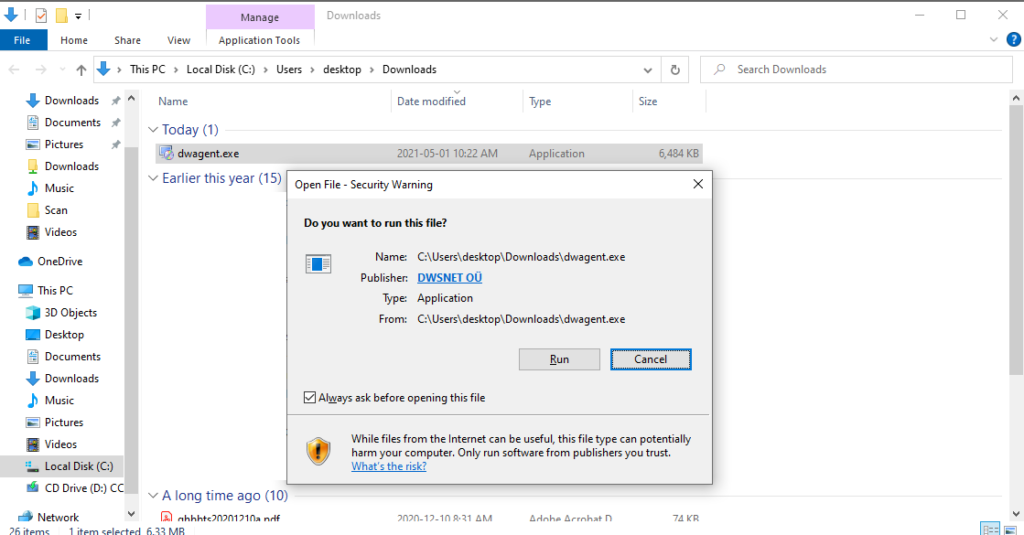
Select “Run,” click on “Next”:
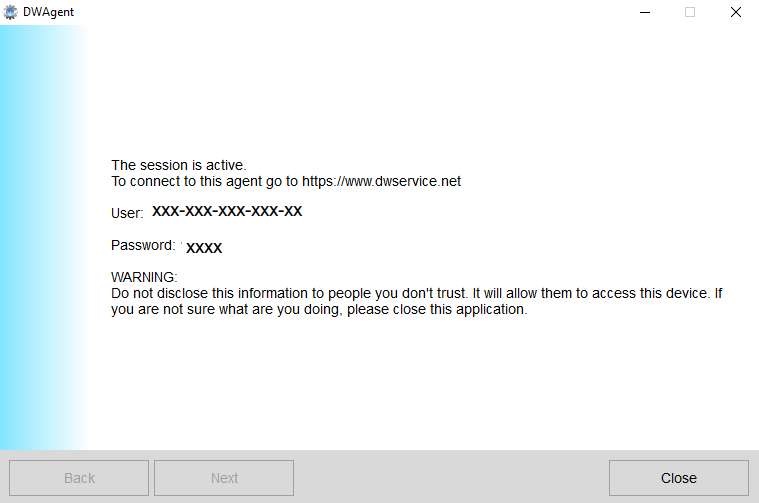
View on the Windows workstation:
Accessing the Windows workstation from the dwservice.net site
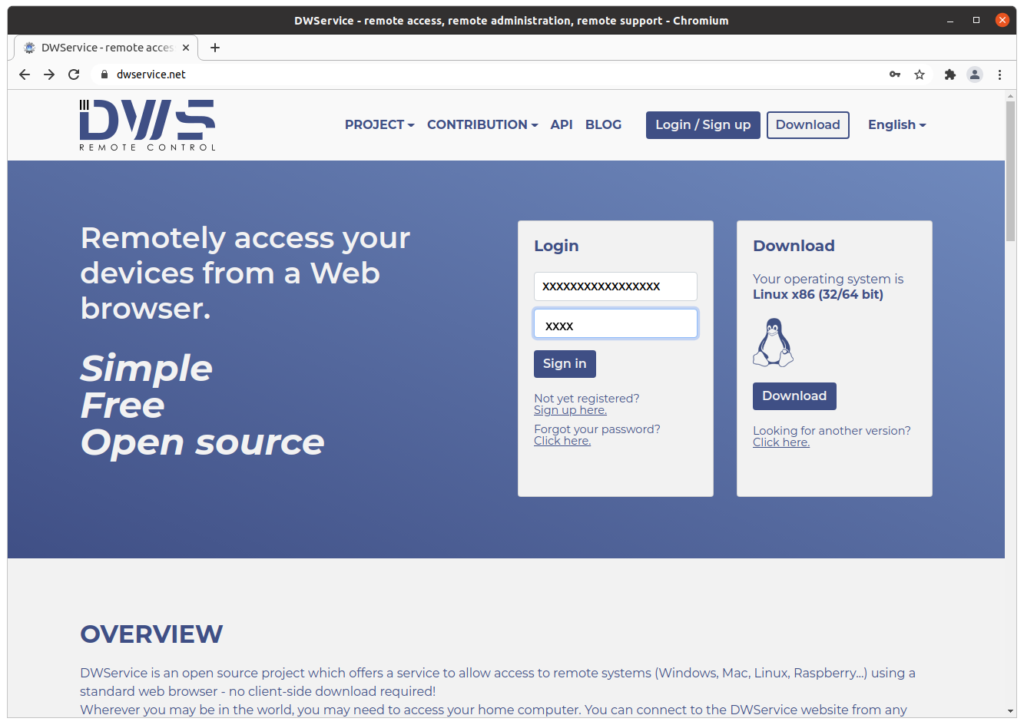
Visit the dwservice.net site:
Enter the username and password displayed on the Windows workstation running the dwservice.net client, click on “Sign in”:
Resources available on the Windows workstation
This page shows the resources available on the Windows workstation:

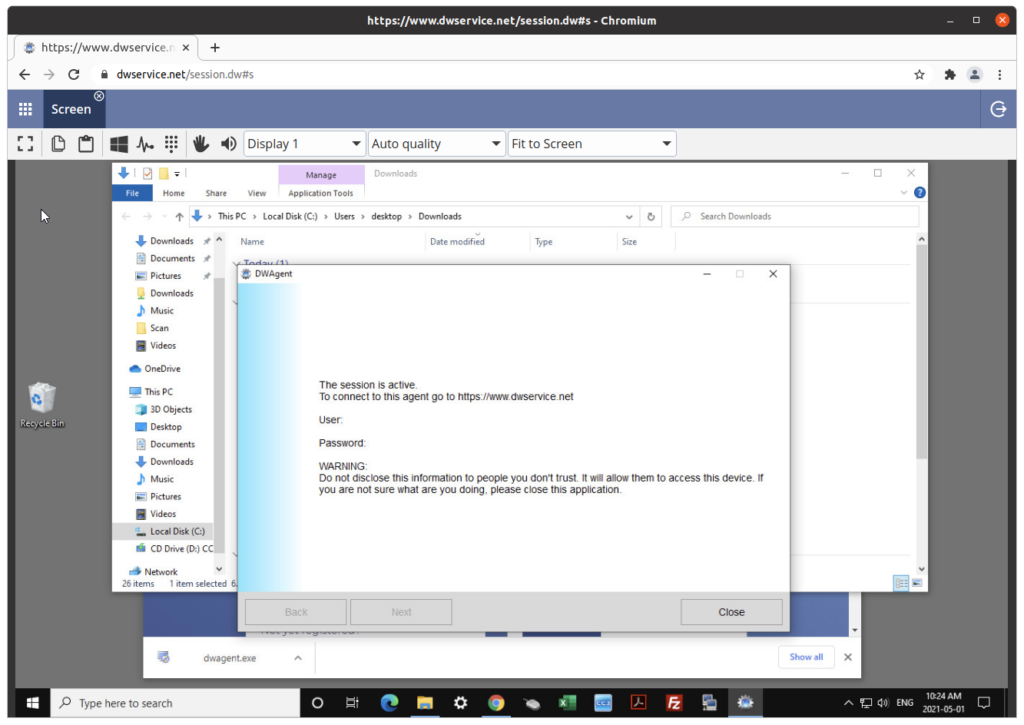
Screen (remote desktop)
Remote control of the desktop of the Windows workstation:
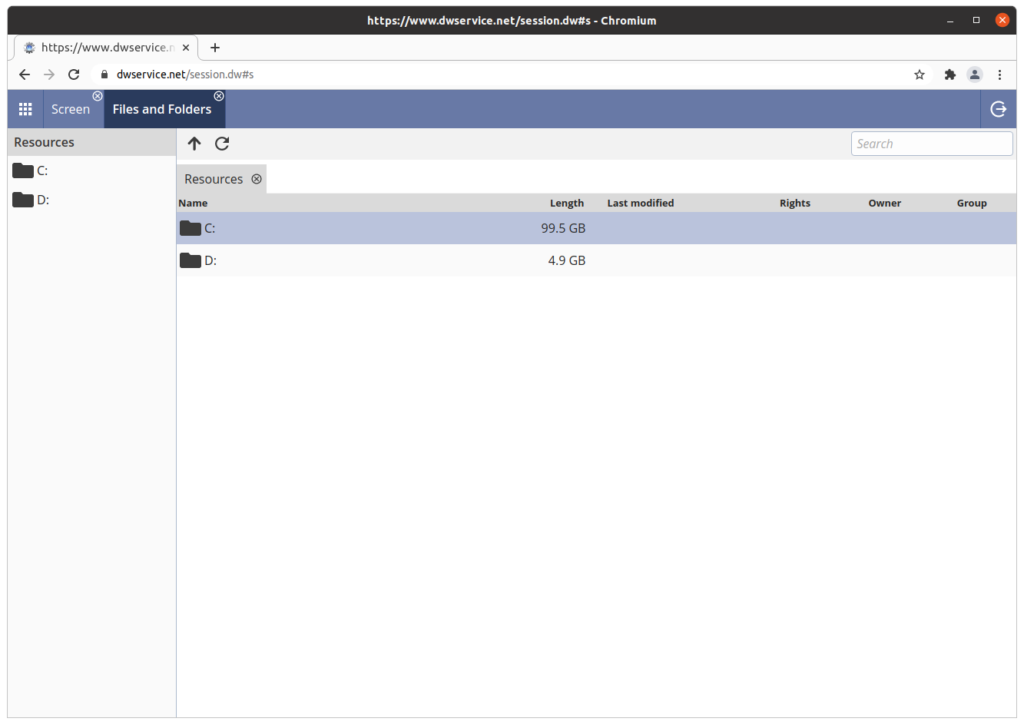
Files and Folders
Access to the filesystem on the Windows workstation:
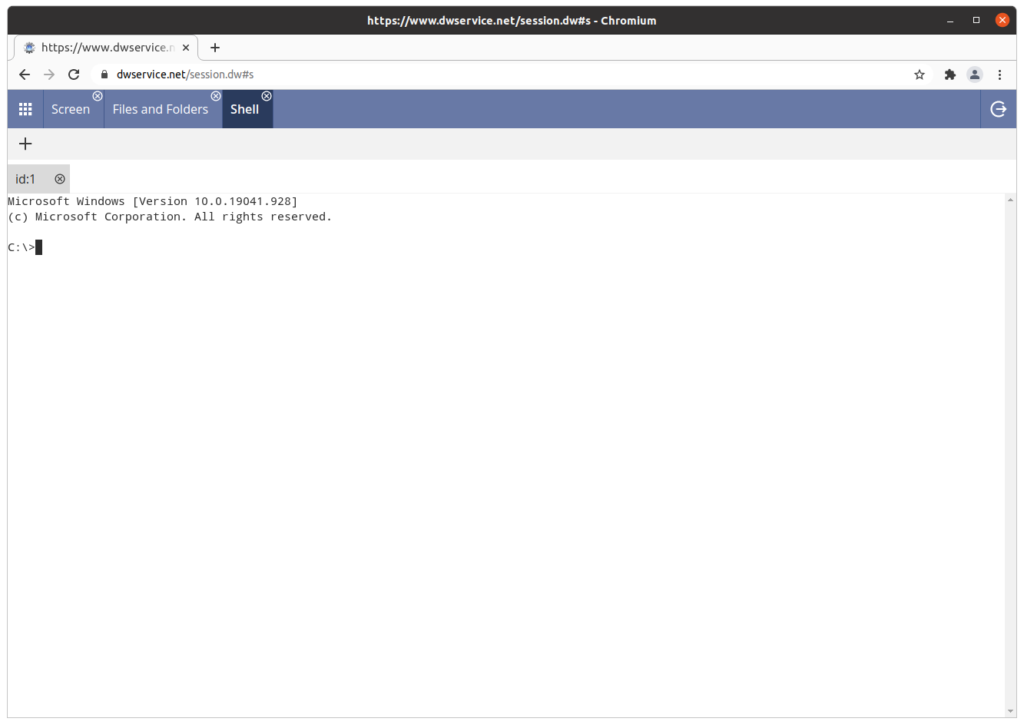
Shell
Access to the operating system shell prompt on the Windows workstation:
Installing the dwservice.net client on a Windows workstation to enable unattended access
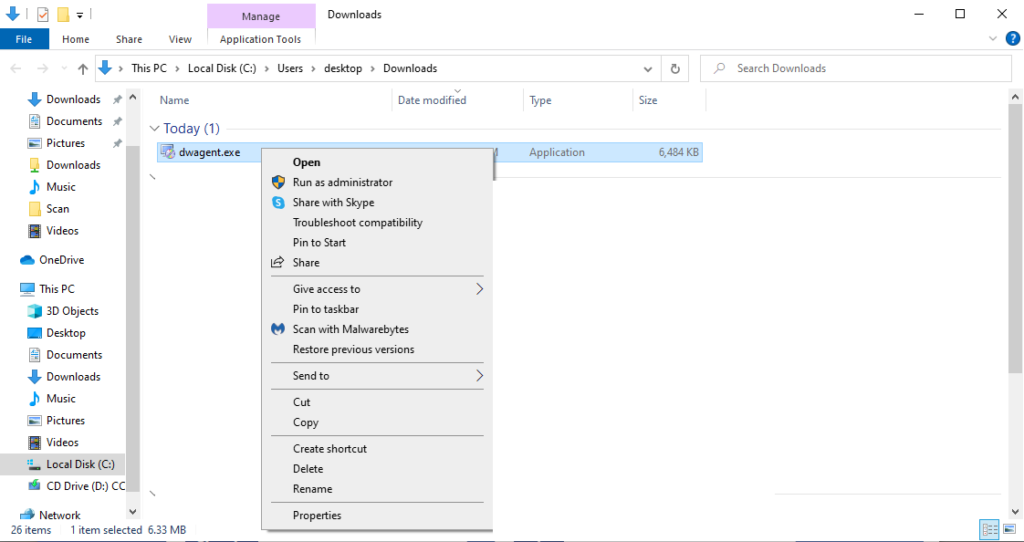
Right-click on the “dwagent.exe” file. Select “Run as administrator”:
Select “Install,” click on “Next”:

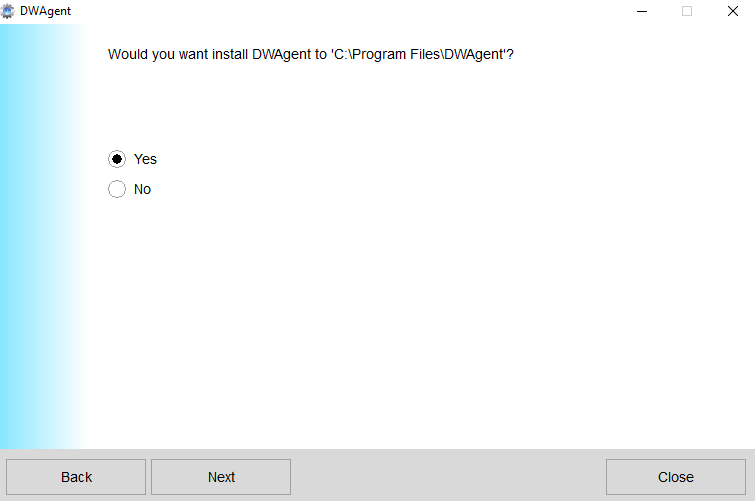
Select “Yes,” click on “Next”:
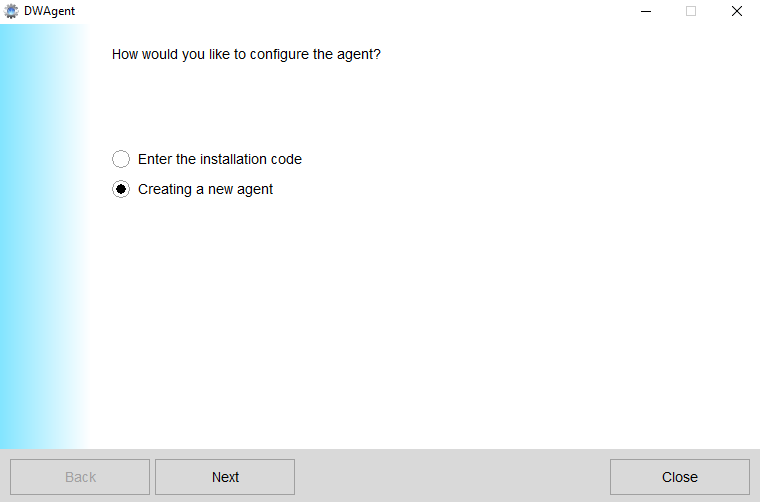
Select “Creating a new agent, click on “Next”:
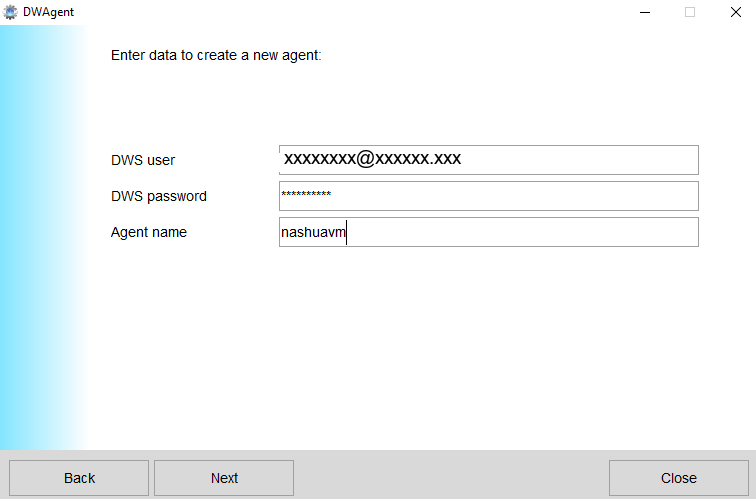
Enter the username and password of a valid dwservice.net account in the “DWS user” and DWS password” fields. Enter a name to describe the workstation in the “Agent name” field. Click on “Next”:
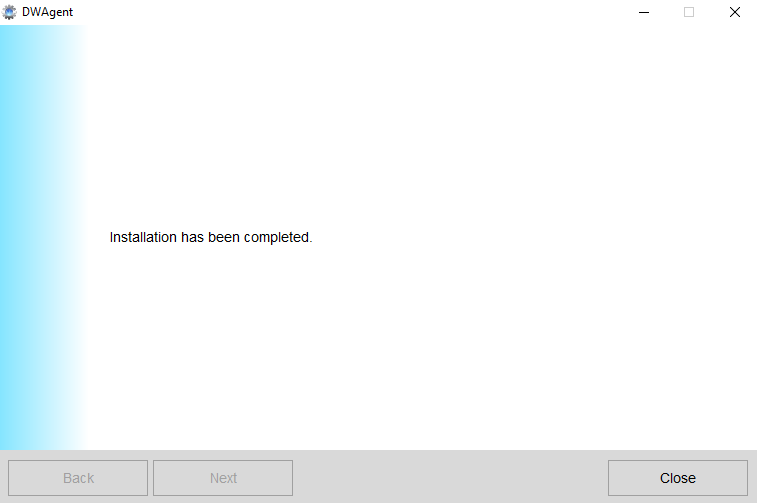
Click on “Close”:
Visit the dwservice.net site:
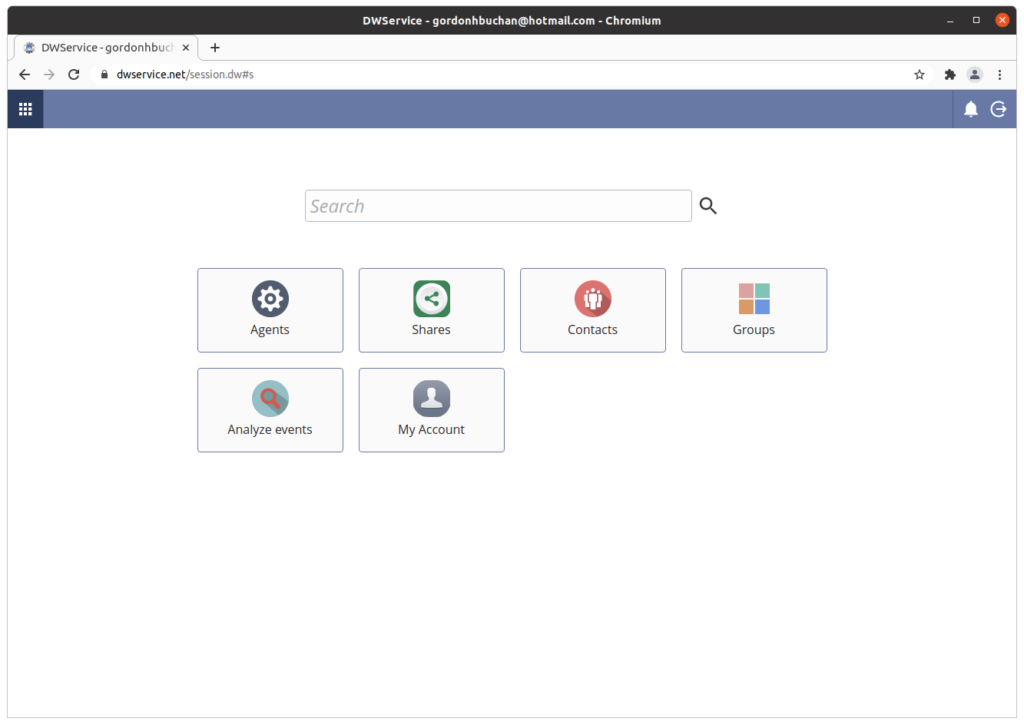
Enter the username and password of a valid dwservice.net account in the “DWS user” and DWS password” fields. Click on “Sign in”:

Click on “Agents”:
Click on the icon for the Windows workstation:
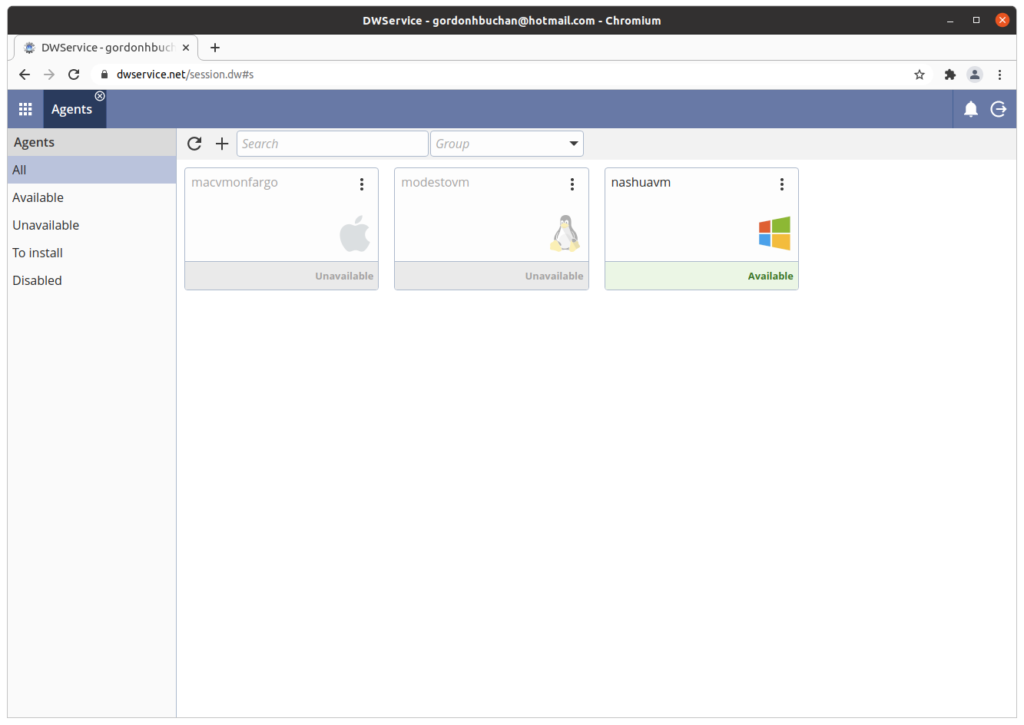
Resources available on the Windows workstation
This page shows the resources available on the Windows workstation:

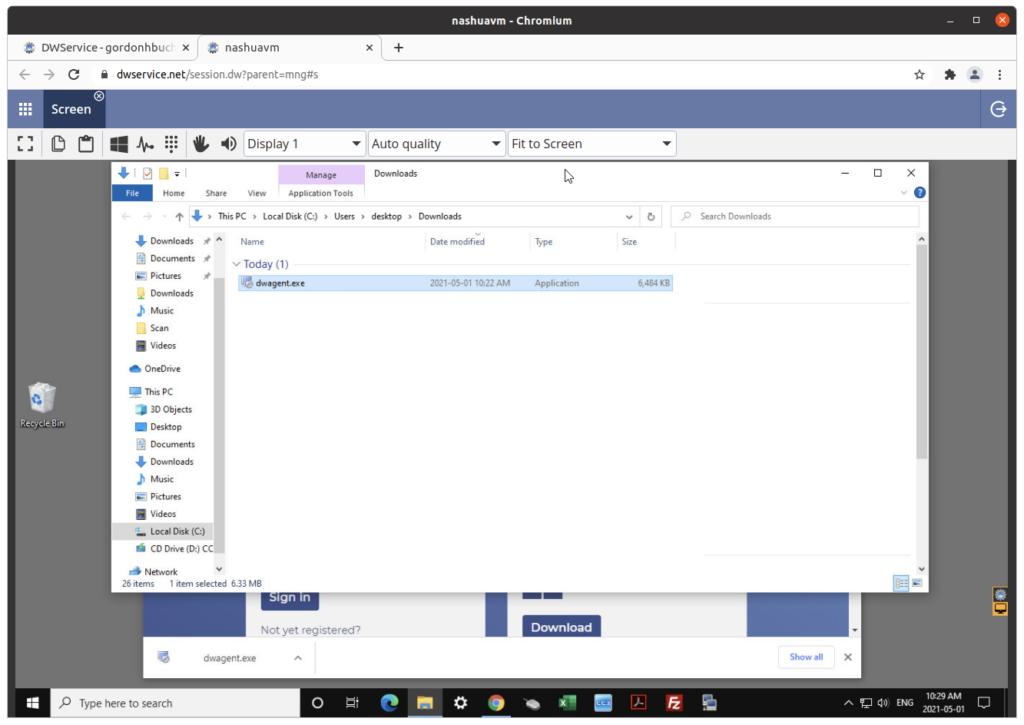
Screen (remote desktop)
Remote control of the desktop of the Windows workstation:
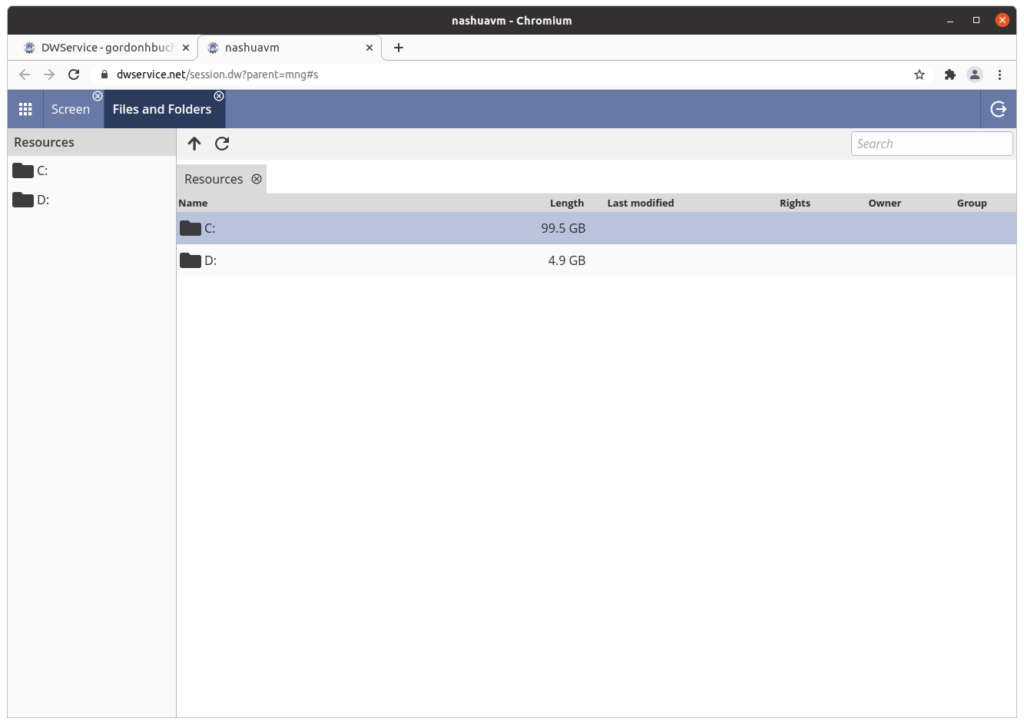
Files and Folders
Access to the filesystem on the Windows workstation:
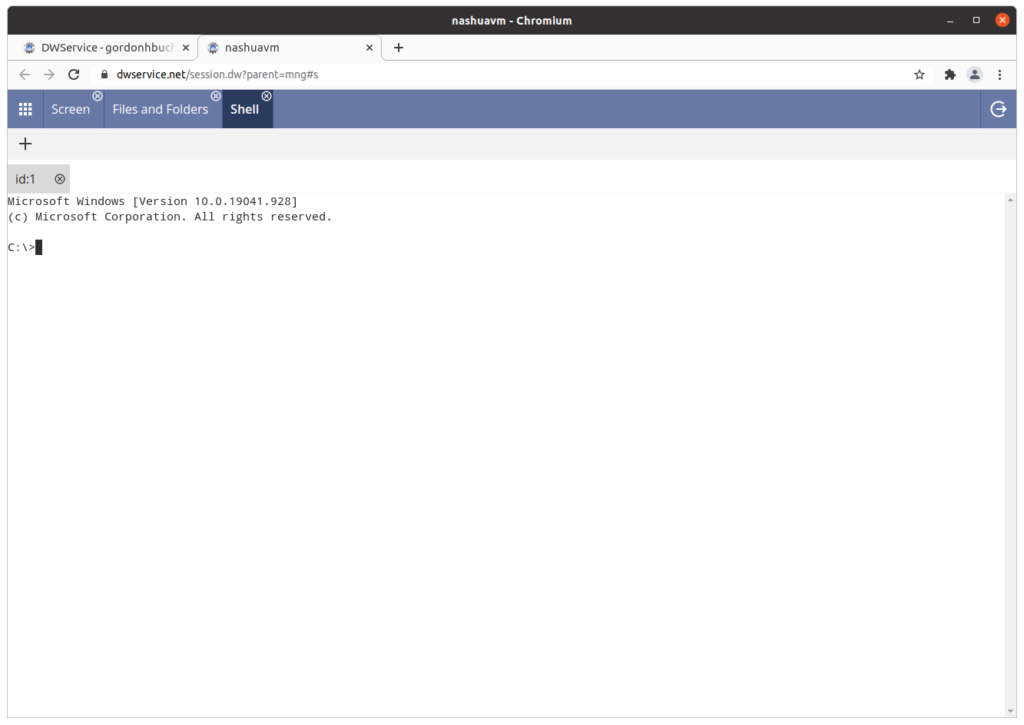
Shell
Access to the operating system shell prompt on the Windows workstation:
MacOS
Visiting the website to download the installer on a MacOS workstation
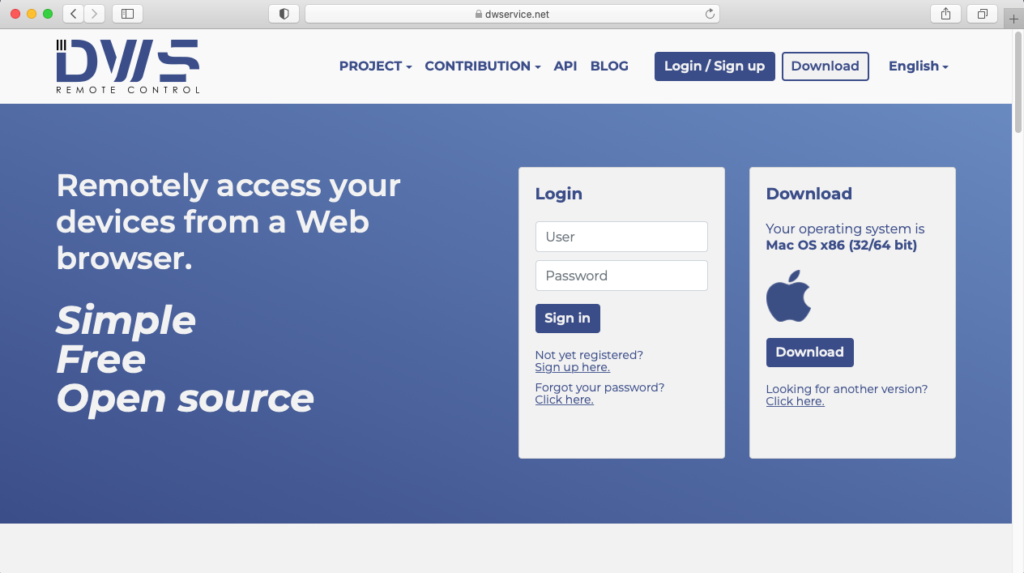
Visit the dwservice.net site:
Click on “Download”:
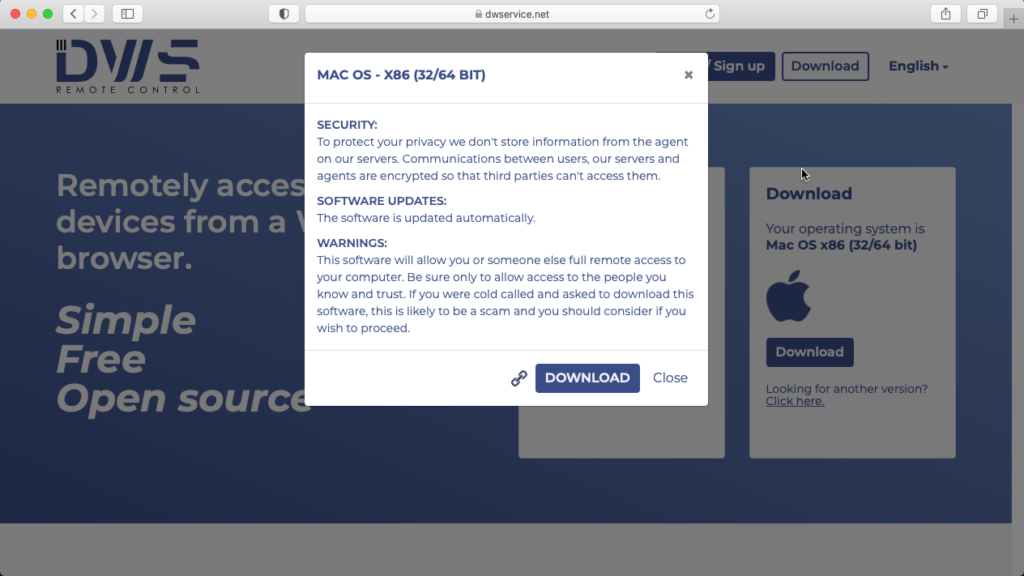
Click on “Download”:
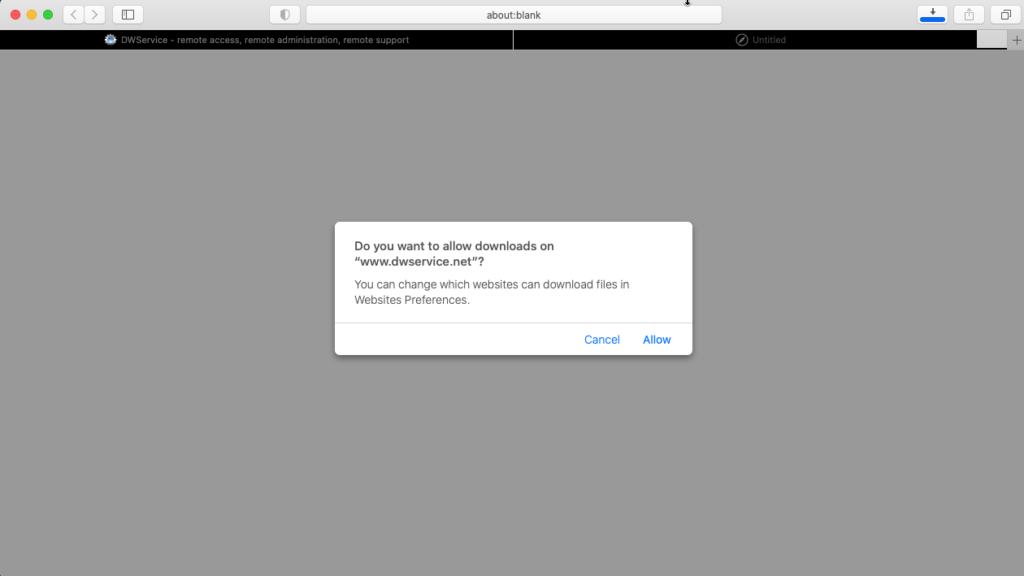
Click on “Allow”:
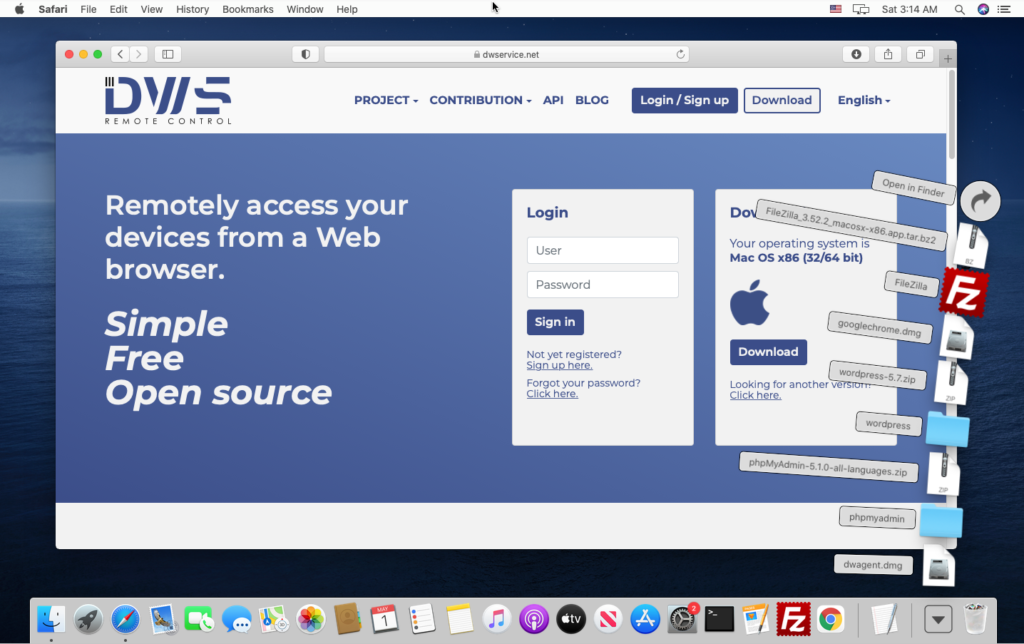
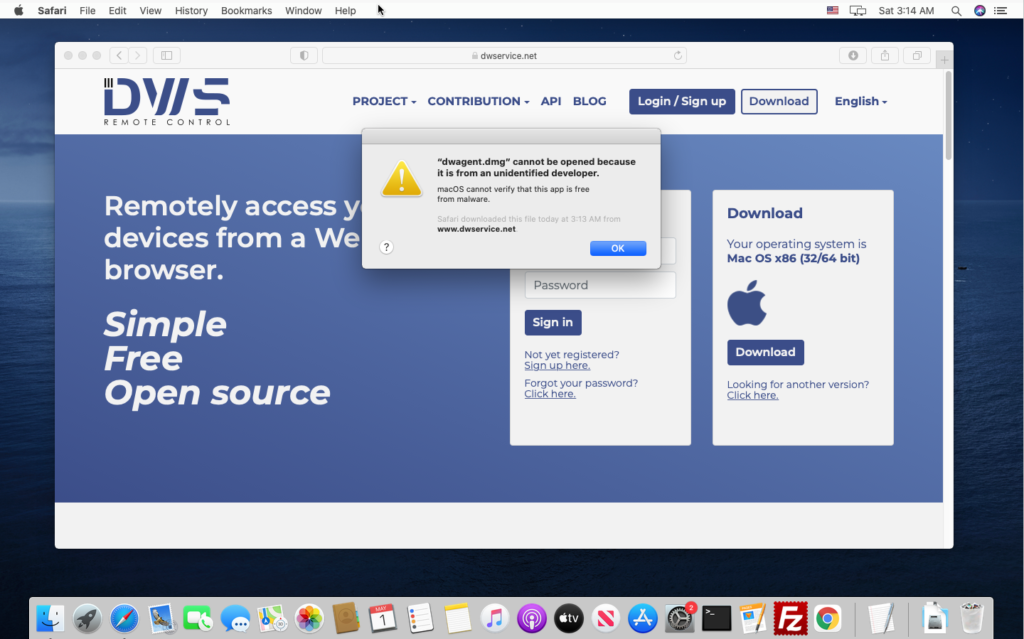
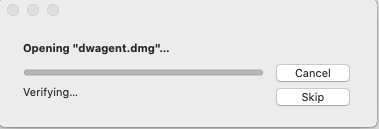
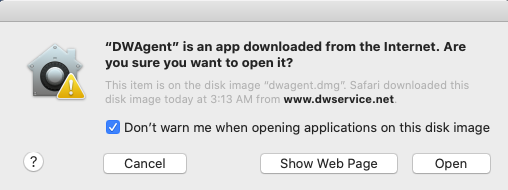
Locate the downloaded file, click on it:
This error message appears. Click on “OK”:
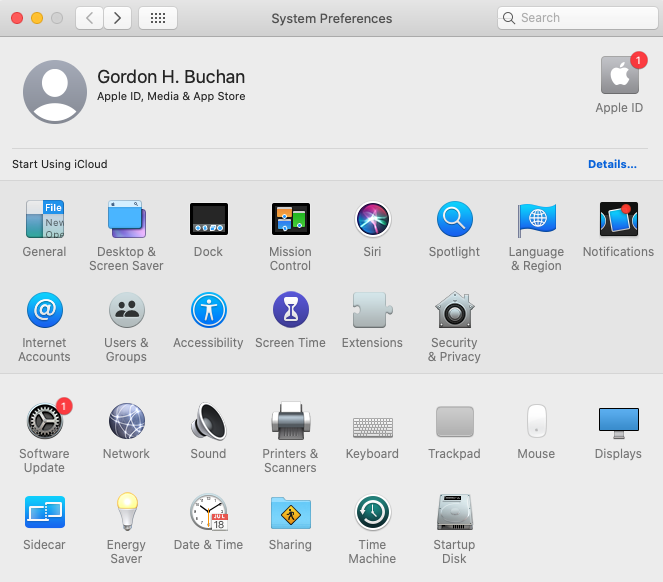
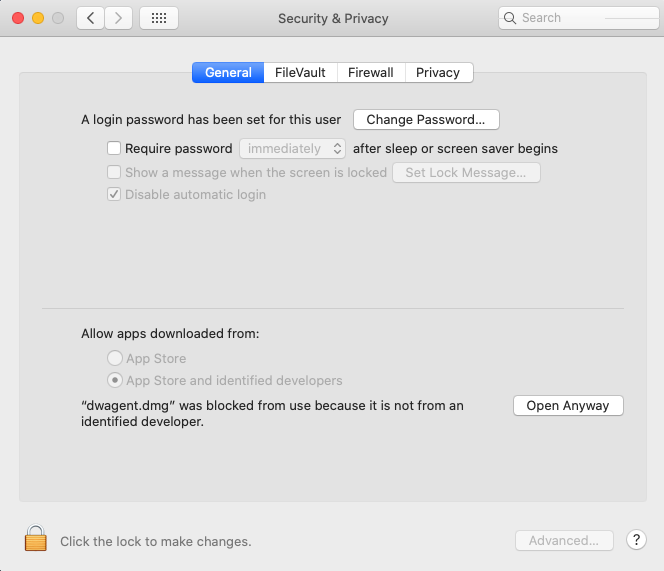
On the MacOS workstation, launch “System Preferences.” Click on “Security & Privacy”:
Click on “Open Anyway”:
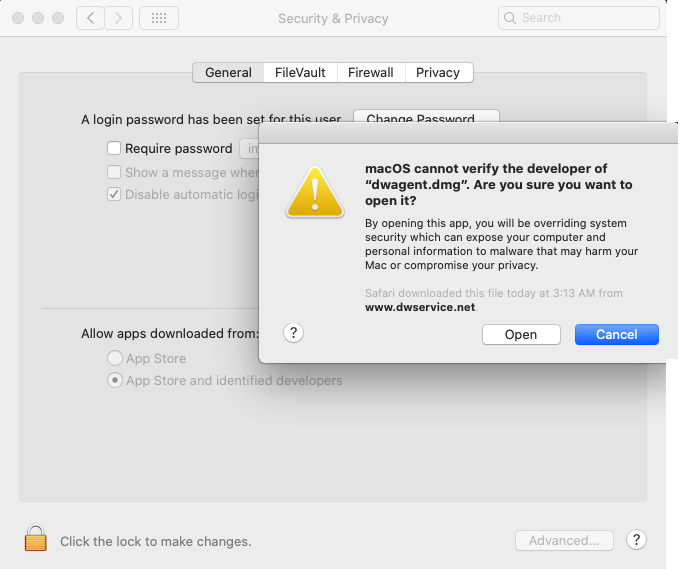
Click on “Open”:
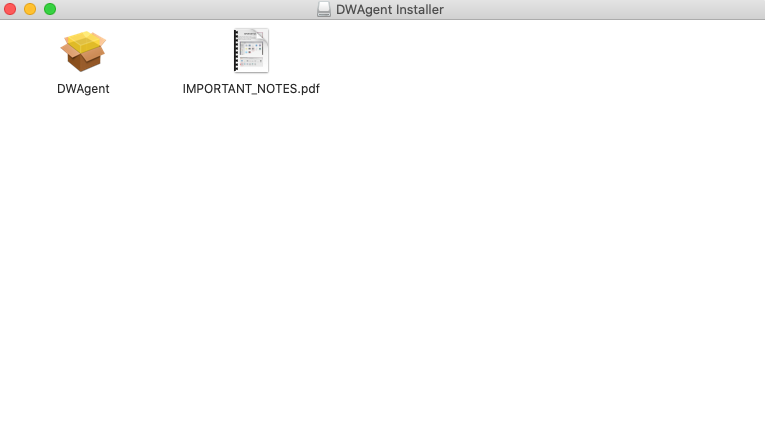
The dwservice.net package opens:
Click on “DWAgent”:
Click on “Run”:

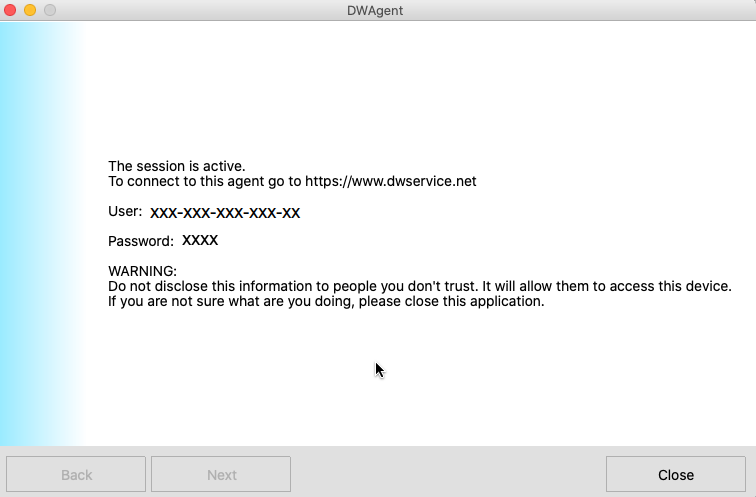
View on the MacOS workstation:
Accessing the MacOS workstation from the dwservice.net site
Visit the dwservice.net site:
Enter the username and password displayed on the MacOS workstation running the dwservice.net client, click on “Sign in”:
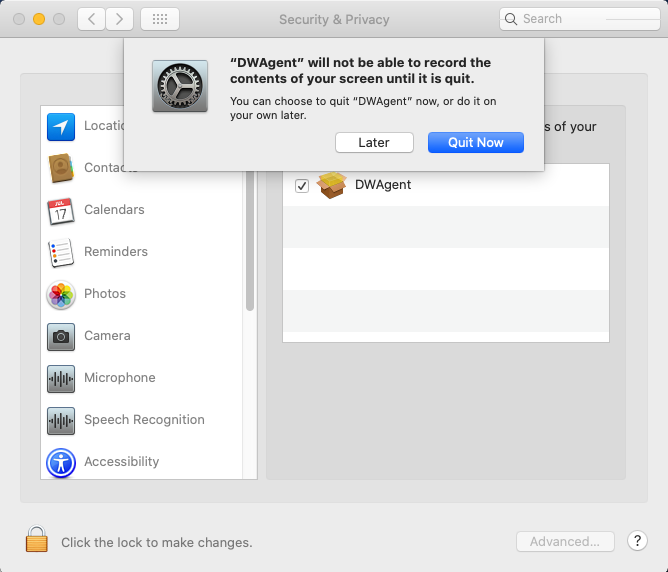
The following message appears on the MacOS workstation. Click on “Open System Preferences”:

Click on “Quit Now”:
On the MacOS workstation, restart the dwservice.net client.
Accessing the MacOS workstation from the dwservice.net site (again)
Visit the dwservice.net site:
Enter the username and password displayed on the MacOS workstation running the dwservice.net client, click on “Sign in”:
Resources available on the MacOS workstation
This page shows the resources available on the MacOS workstation:
Screen (remote desktop)
Remote control of the desktop of the MacOS workstation:
Files and Folders
Access to the filesystem on the MacOS workstation:

Shell
Access to the operating system shell prompt on the MacOS workstation:
Installing the dwservice.net client on a MacOS workstation to enable unattended access
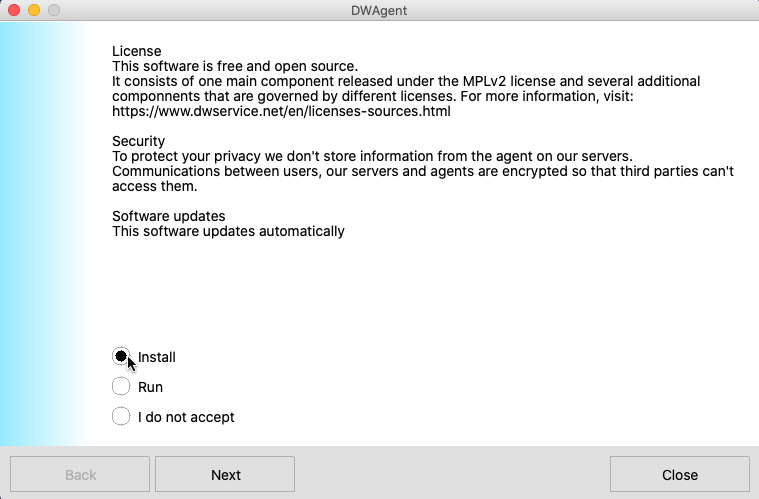
Click on “Open”:
Select “Install,” click on “Next”:
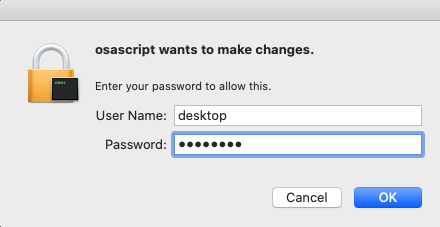
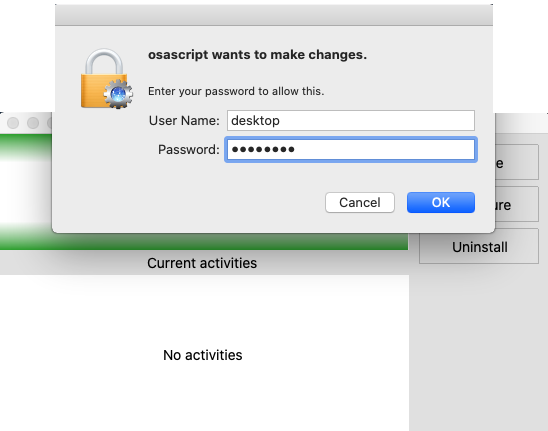
enter the “User Name” and “Password” for the MacOS workstation, click on “OK”:
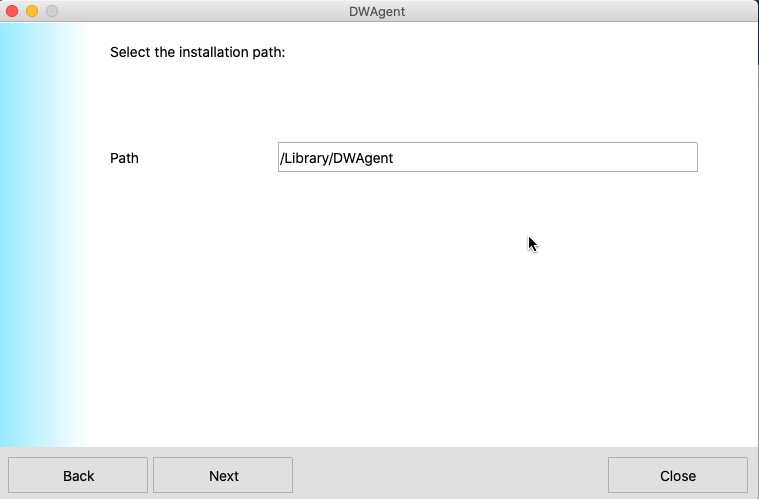
Click on “Next”:
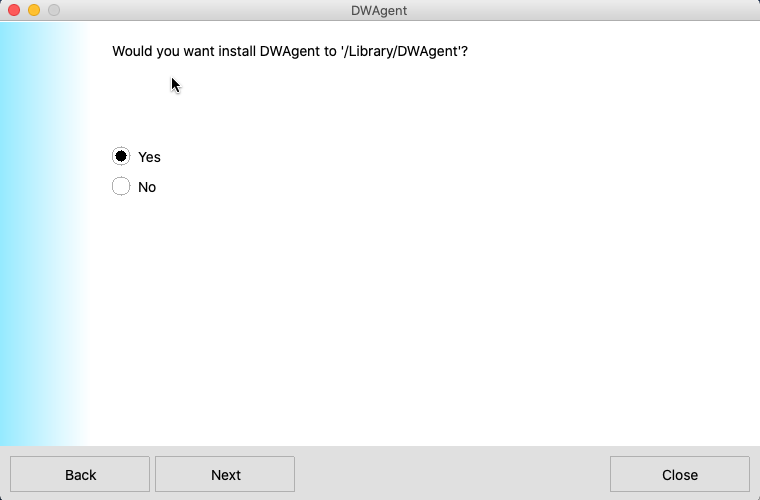
Select “Yes,” click on “Next”:
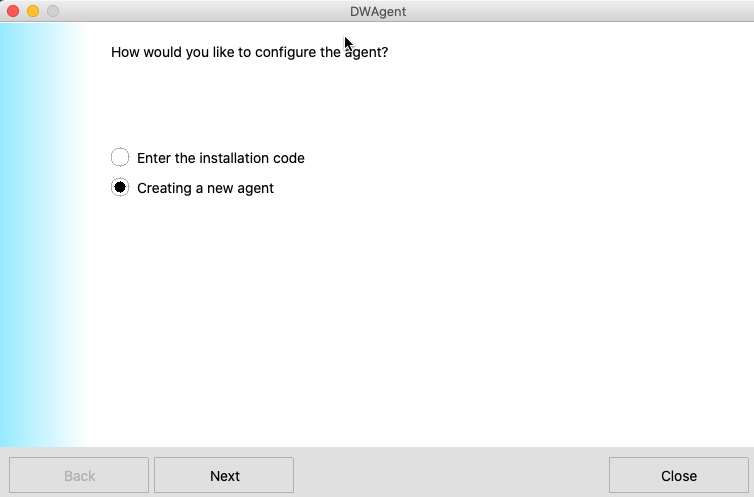
Select “Creating a new agent,” click on “Next”:
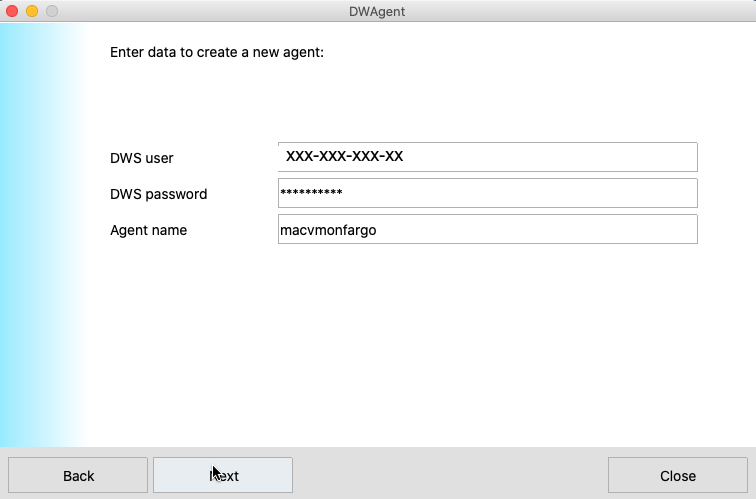
Enter the username and password of a valid dwservice.net account in the “DWS user” and DWS password” fields. Enter a name to describe the workstation in the “Agent name” field. Click on “Next”:
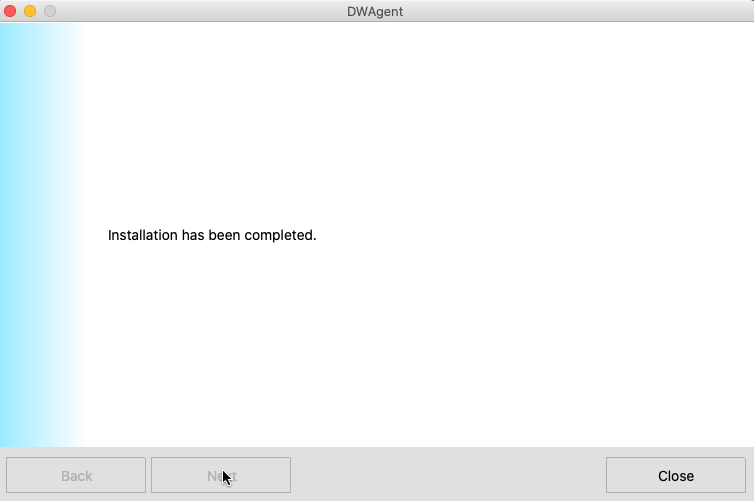
Click on “Close”:
View of the DWAgent Monitor on MacOS:
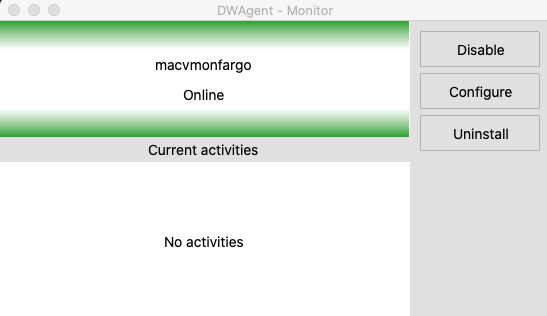
Click on “OK”:
Visit the dwservice.net site:
Enter the username and password of a valid dwservice.net account in the “DWS user” and DWS password” fields. Click on “Sign in”:

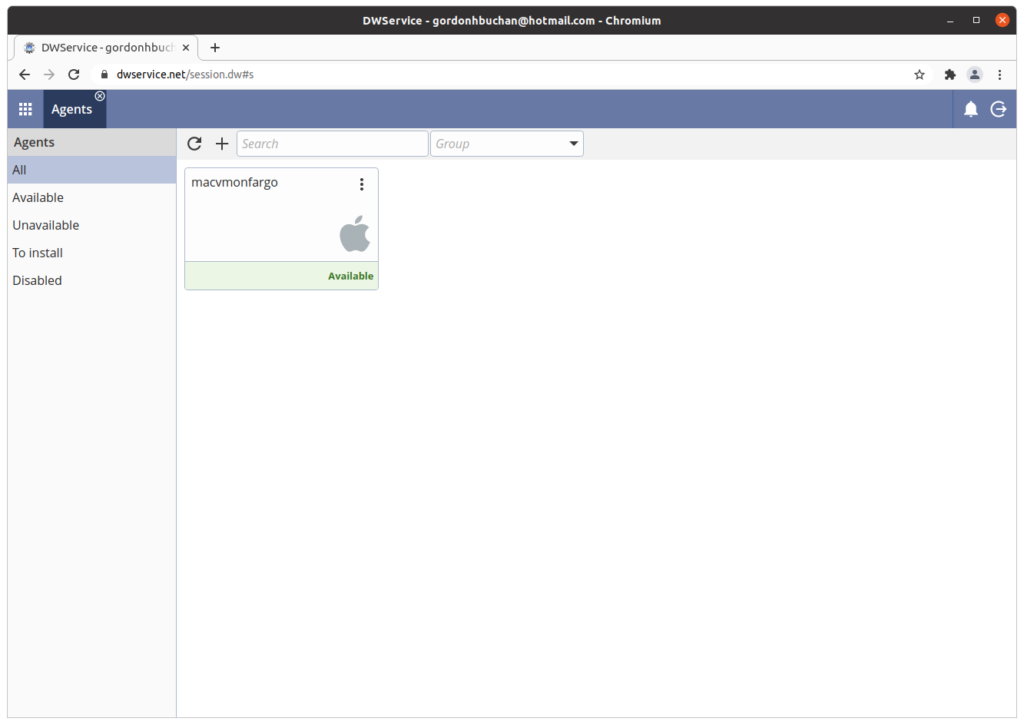
Click on “Agents”:

Click on the icon for the MacOS workstation:
Resources available on the MacOS workstation
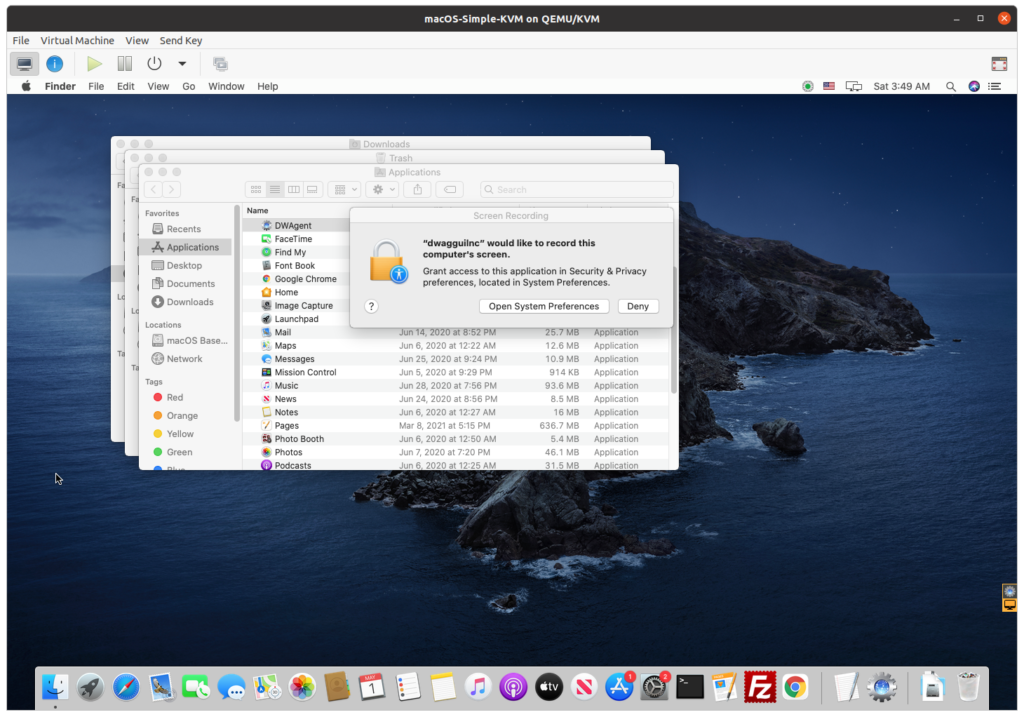
This page shows the resources available on the MacOS workstation. Click on “Screen”:

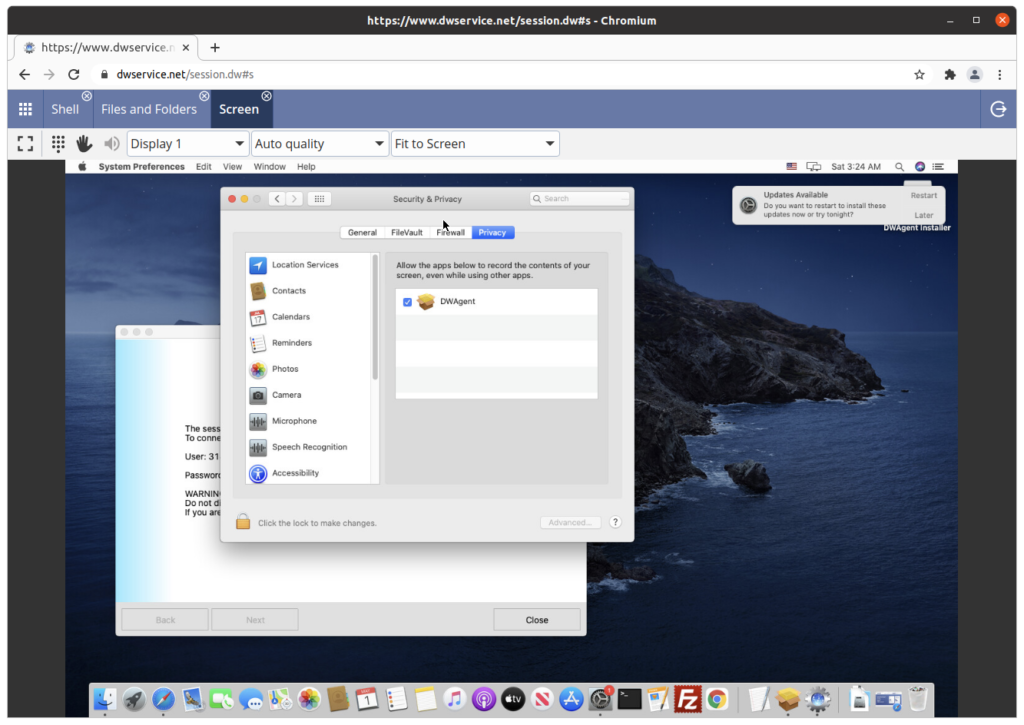
Allowing the dwaggui program to record the computer’s screen (needed for Screen/remote desktop access)
Click on “Open System Preferences”:
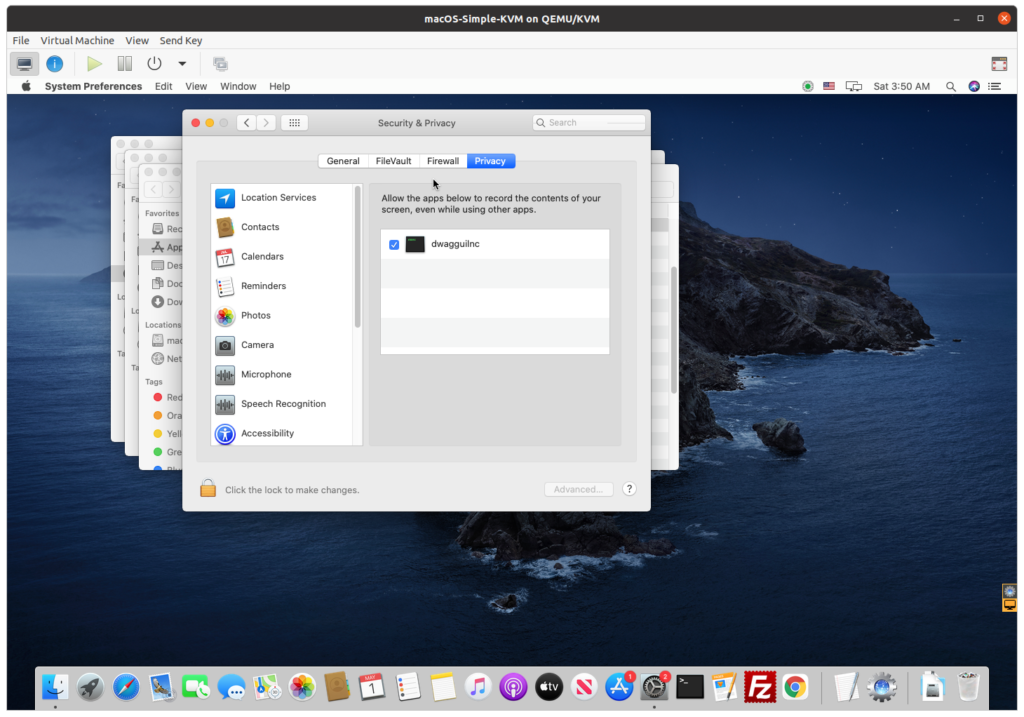
Allow the dwgguilnc program to record the screen:
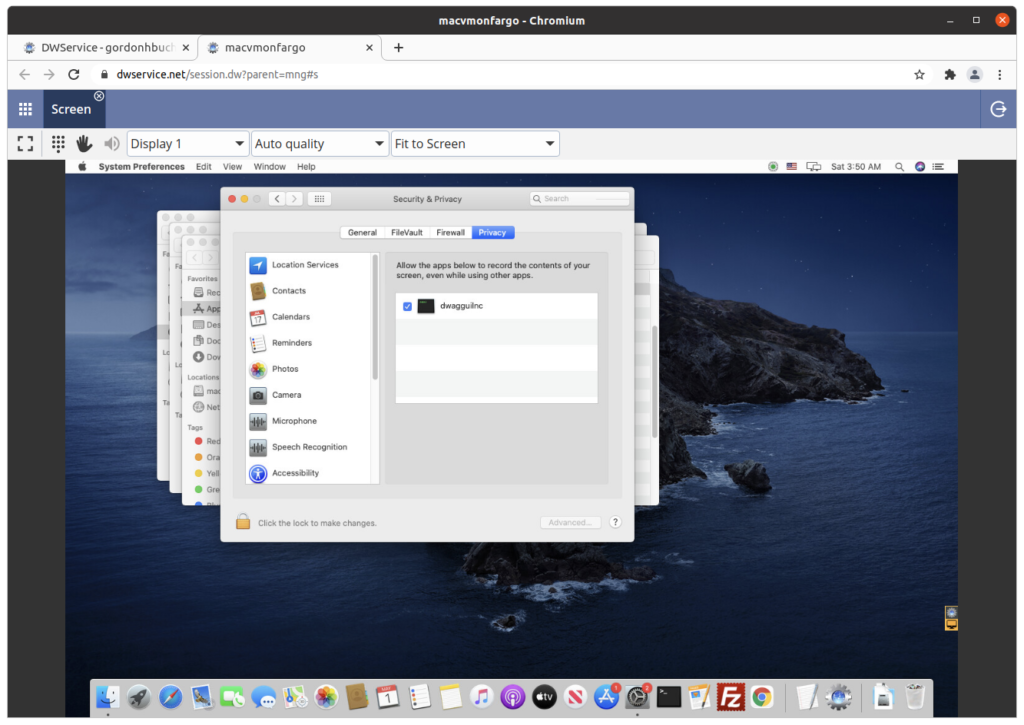
Screen (remote desktop)
Remote control of the desktop of the MacOS workstation:
Files and Folders
Access to the filesystem on the MacOS workstation:

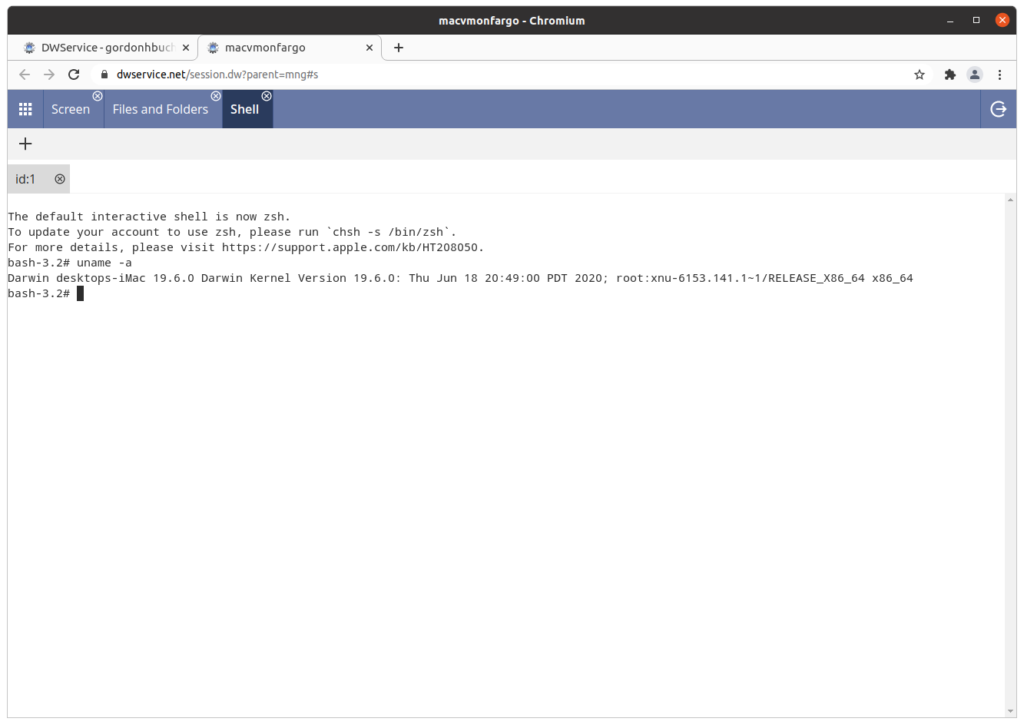
Shell
Access to the operating system shell prompt on the MacOS workstation:

Linux
Ensuring that Wayland is disabled
dwservice.net is not compatible with the Wayland display server.
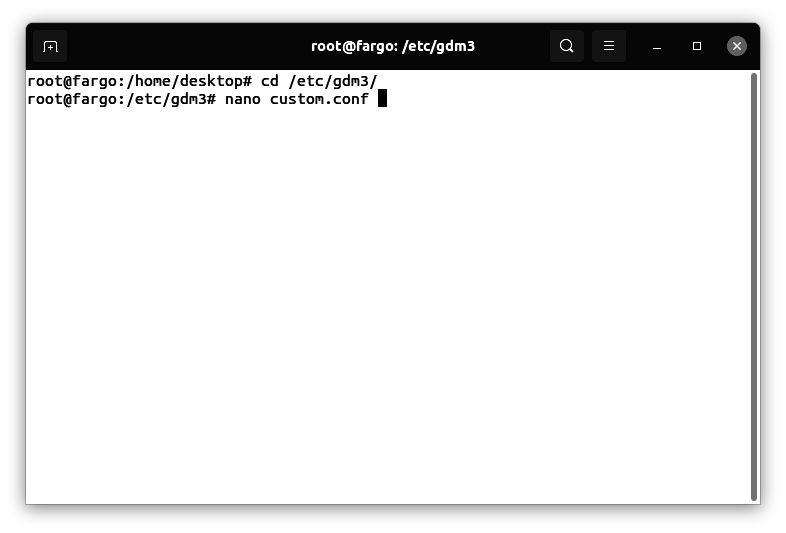
from a root operating system prompt (use “sudo su” if you are not yet logged in as root), enter these commands:
cd /etc/gdm3
nano custom.conf
(Note: the directory location varies by distribution. For the Fedora distribution, specify the directory “etc/gdm”).
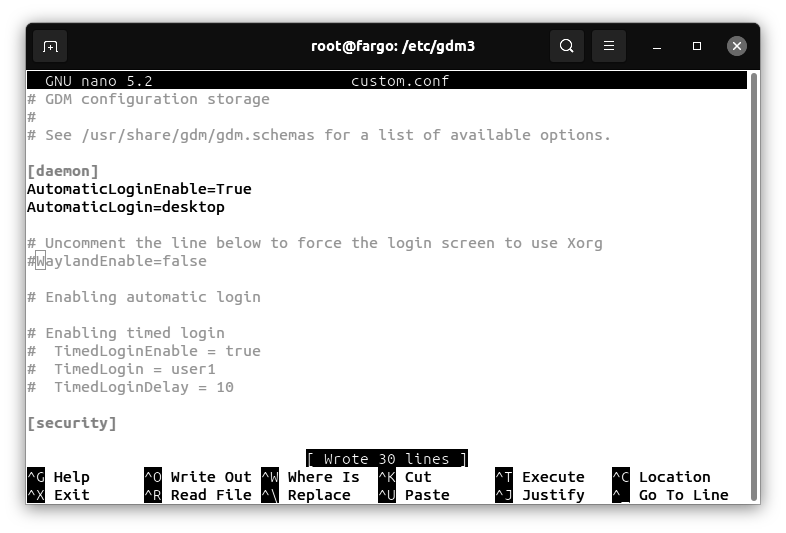
Remove the # comment before “WaylandEnable=false”:
Save and exit the file:
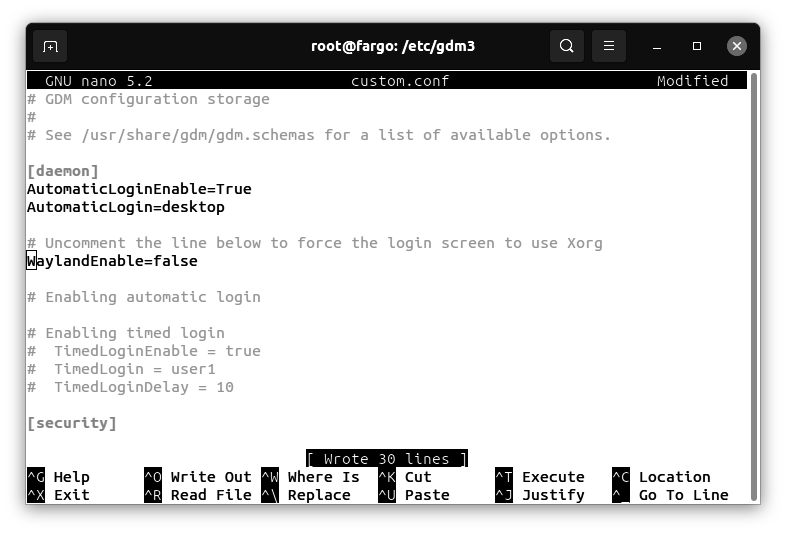
If you had to remove the “#” sign before “WaylandEnable=false” then reboot the Linux workstation so the change can take effect.
Visiting the website to download the installer on a Linux workstation
Visit the dwservice.net site:
Click on “Download”:
Using the dwservice.net client on a Linux workstation in run-once mode
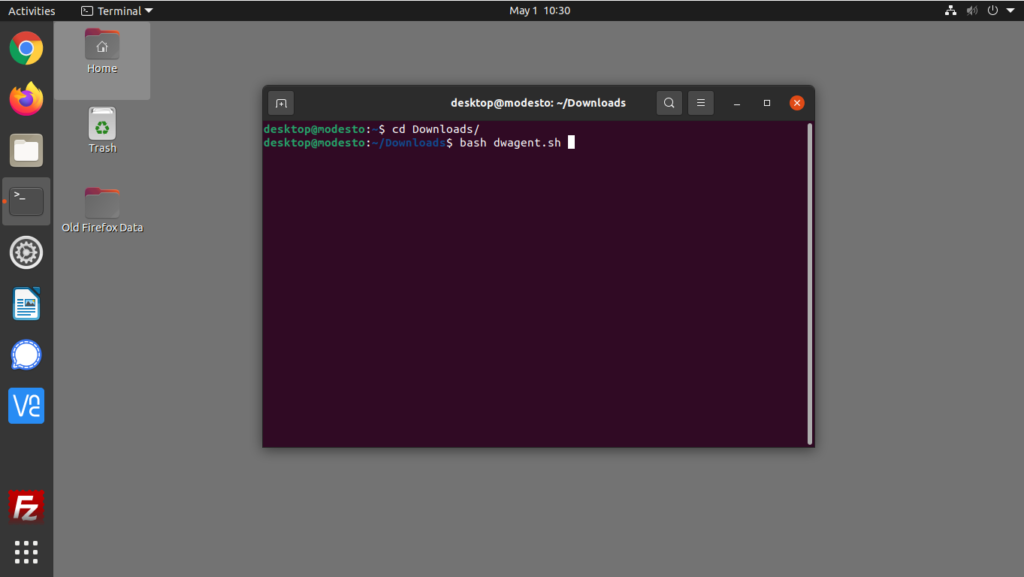
Open a terminal window on the Linux desktop. Change to the folder where the file was downloaded. Enter this command:
bash dwagent.sh
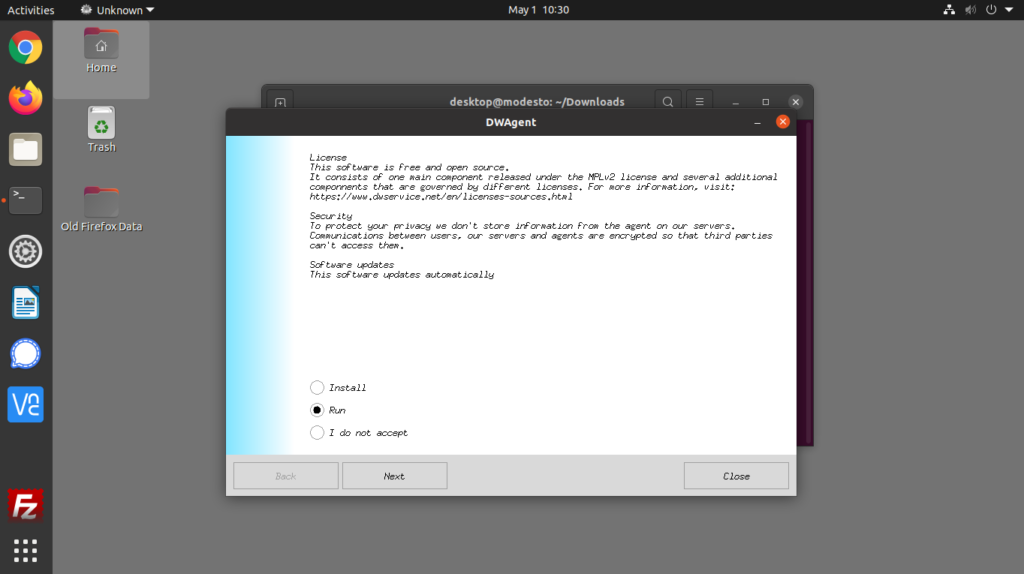
Select “Run,” click on “Next”:
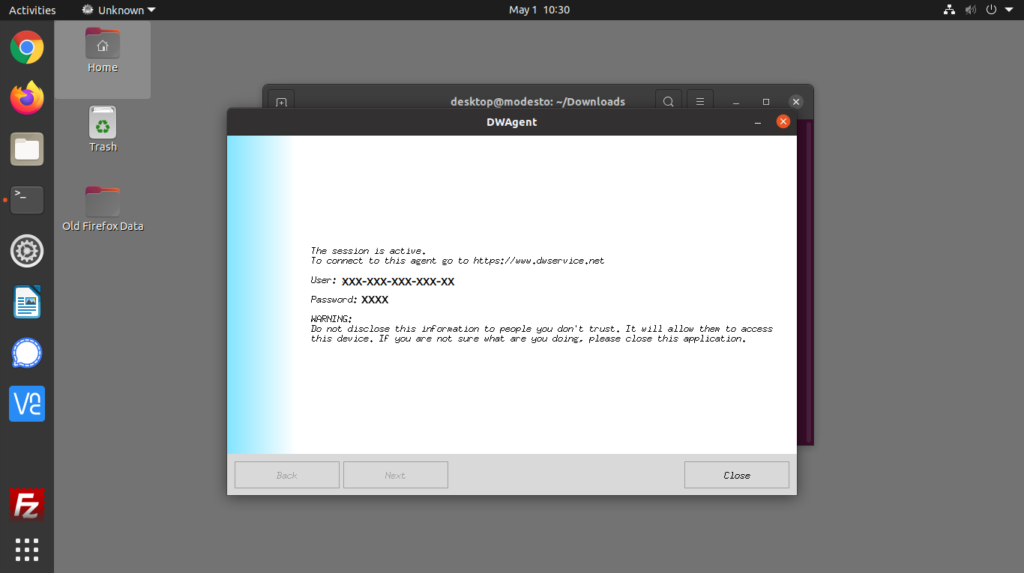
View on the Linux Workstation:
Accessing the Linux workstation from the dwservice.net site
Visit the dwservice.net site:
Enter the username and password displayed on the Linux workstation running the dwservice.net client, click on “Sign in”:

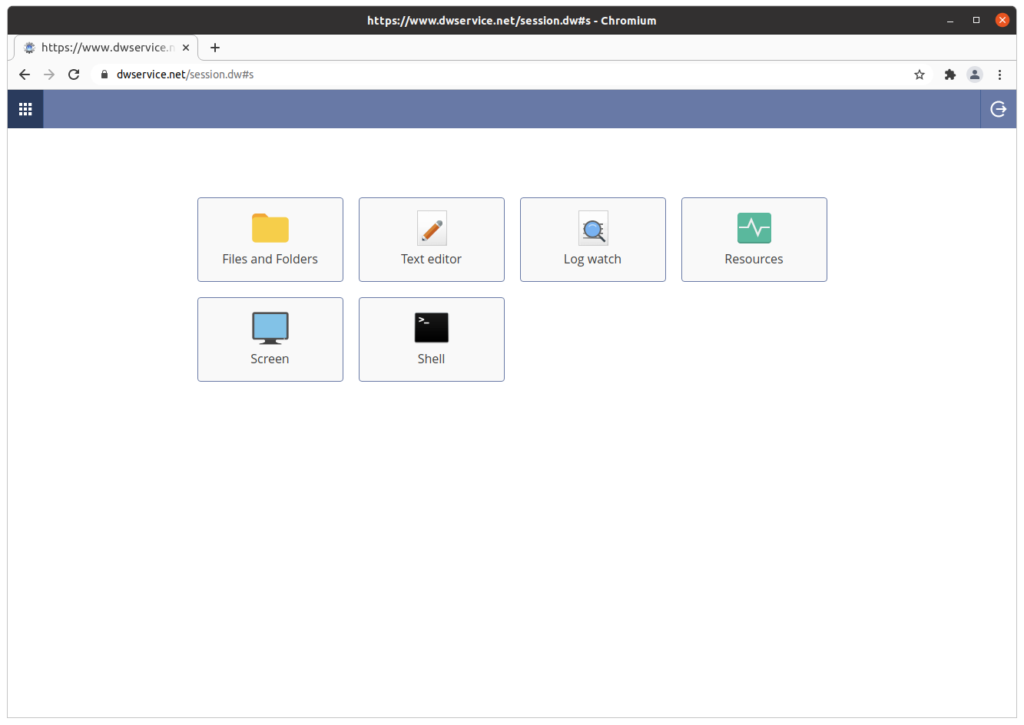
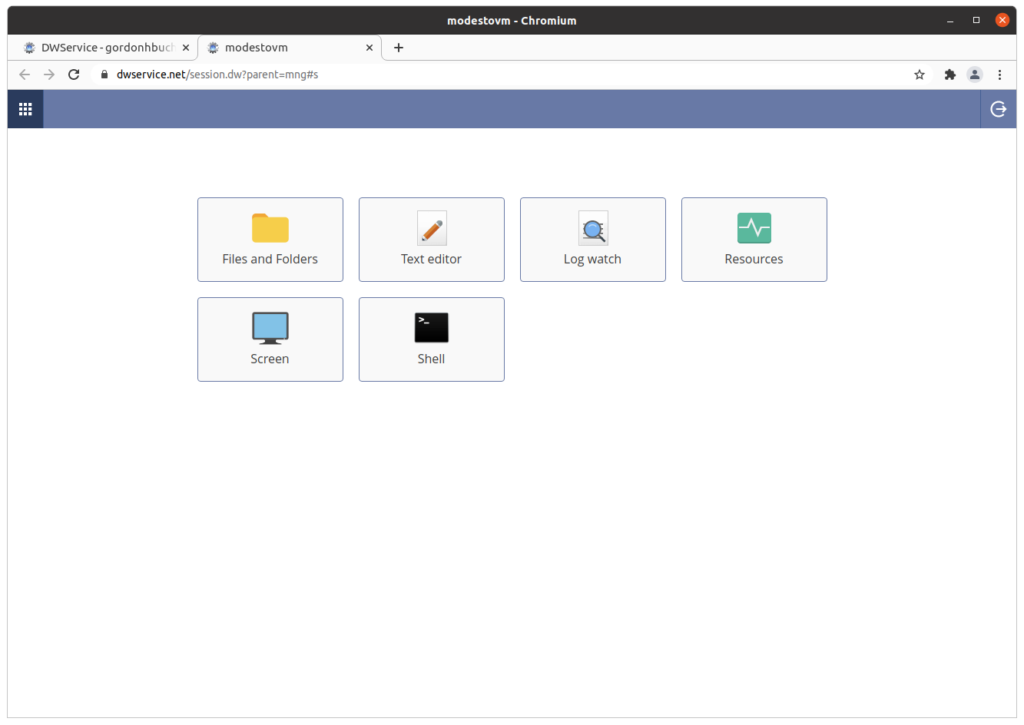
Resources available on the Linux workstation
This page shows the resources available on the Linux workstation:
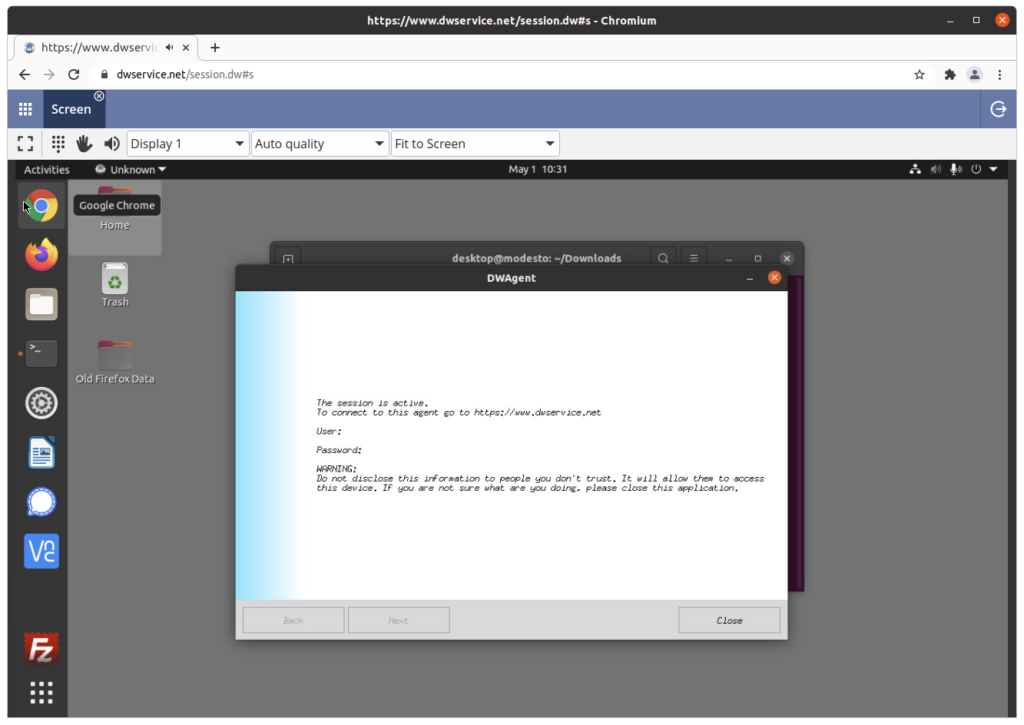
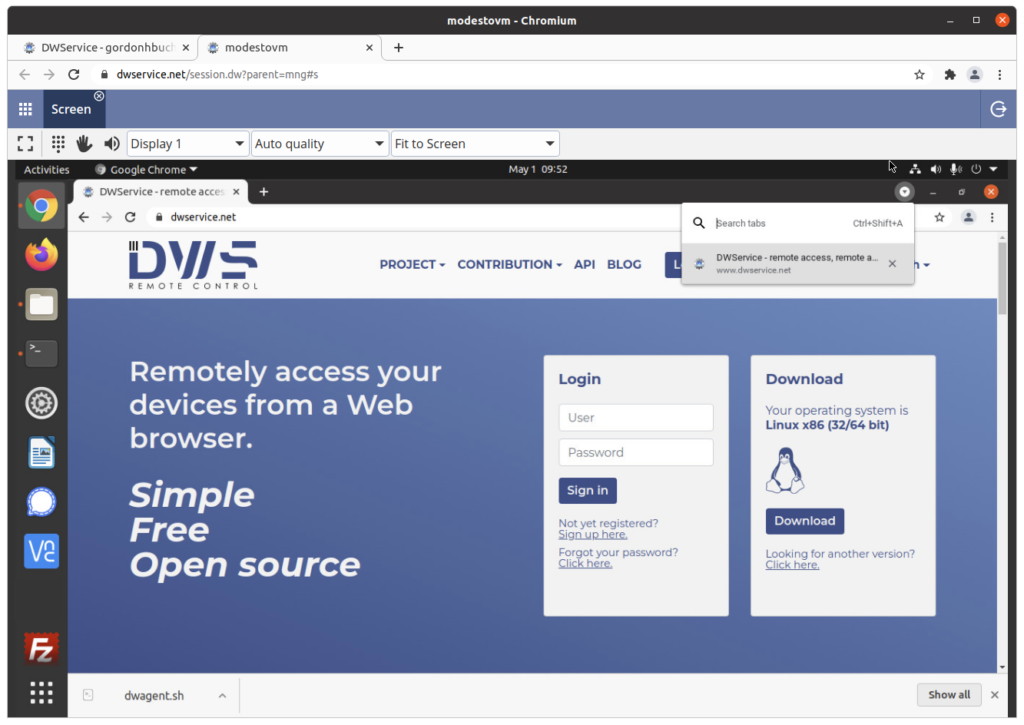
Screen (remote desktop)
Remote control of the desktop of the Linux workstation:
Files and Folders
Access to the filesystem on the Linux workstation:
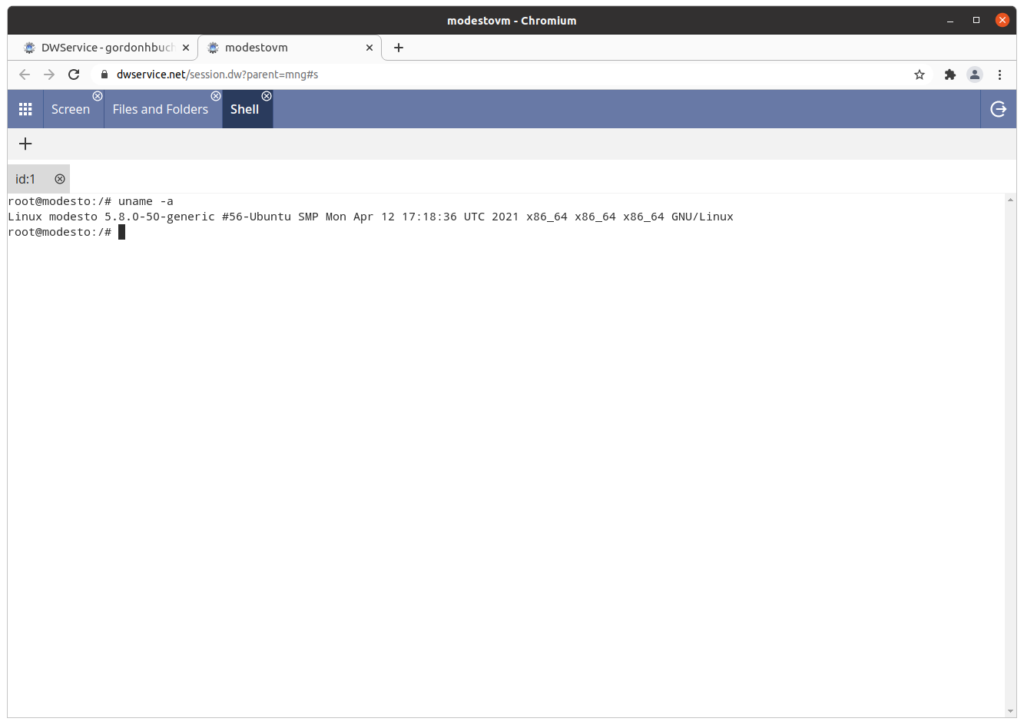
Shell
Access to the operating system shell prompt on the Linux workstation:

Installing the dwservice.net client on a Linux workstation to enable unattended access
Open a terminal window on the Linux desktop. Change to the folder where the file was downloaded.
Use “sudo su” to become root if you have not already done so. enter these commands:
Enter this command:
bash dwagent.sh
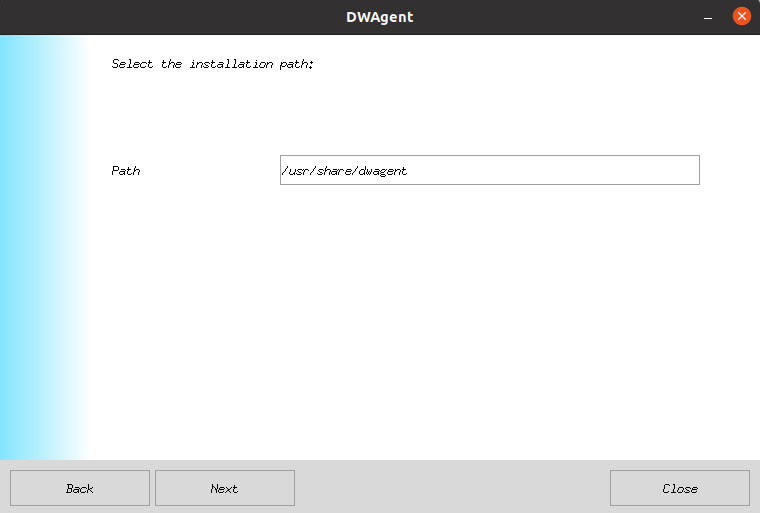
Select “Install,” click on “Next”:

Click on “Next”:
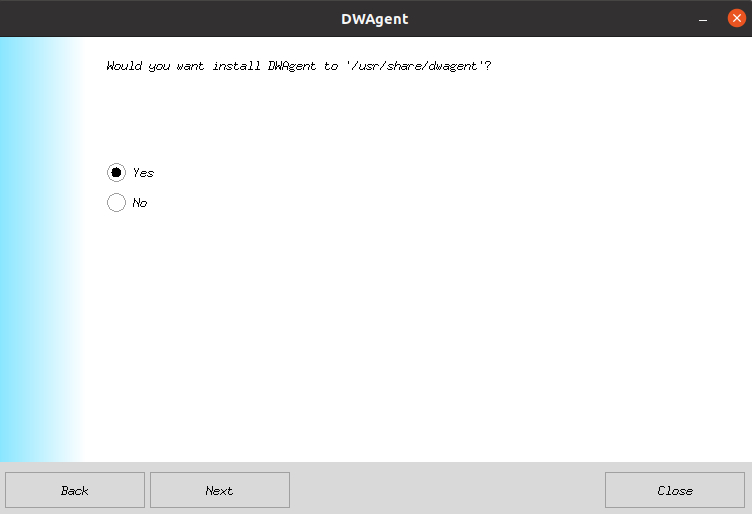
Select “Yes,” click on “Next”:
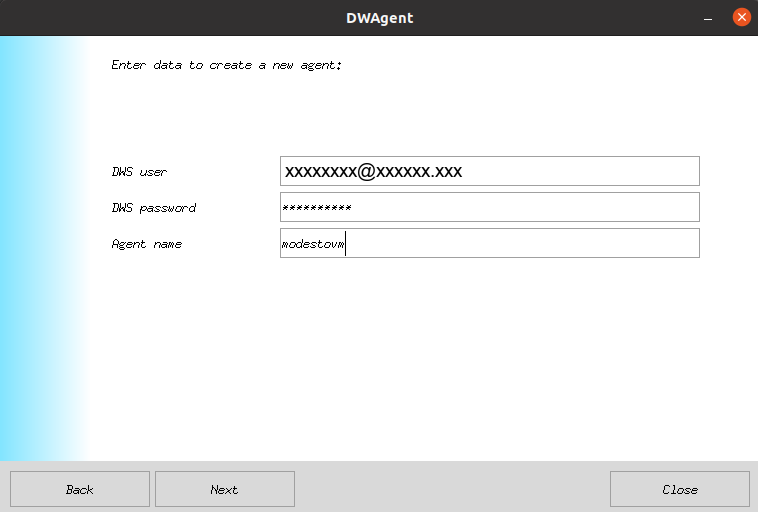
Enter the username and password of a valid dwservice.net account in the “DWS user” and DWS password” fields. Enter a name to describe the workstation in the “Agent name” field. Click on “Next”:
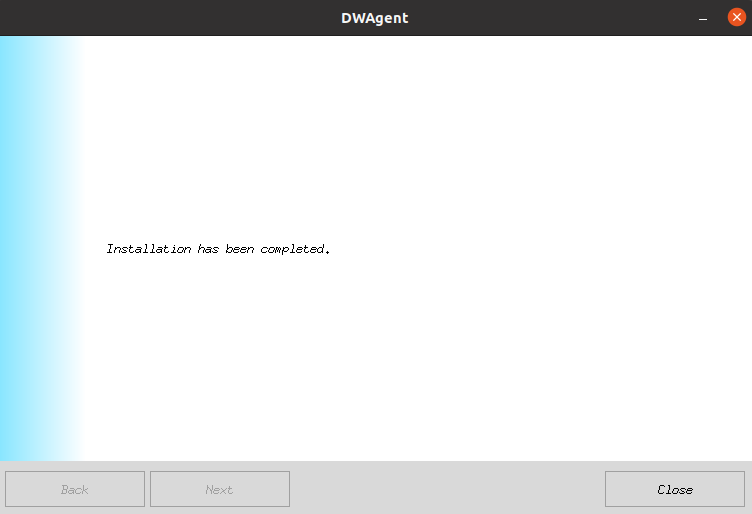
Click on “Close”:
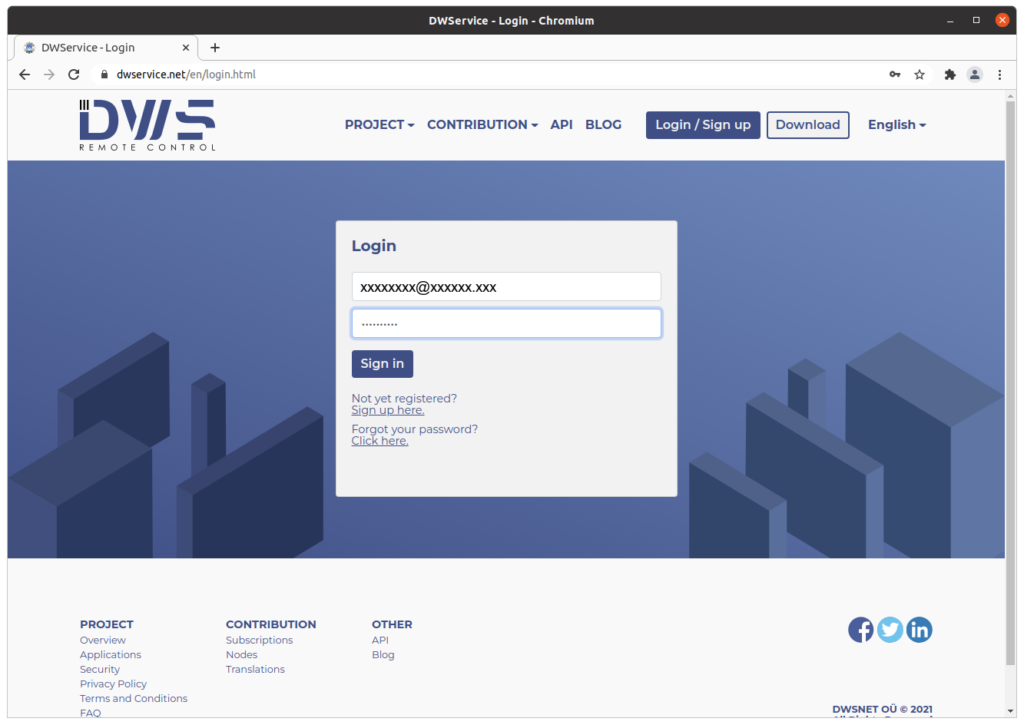
Visit the dwservice.net site:
Enter the username and password of a valid dwservice.net account in the “DWS user” and DWS password” fields. Click on “Sign in”:
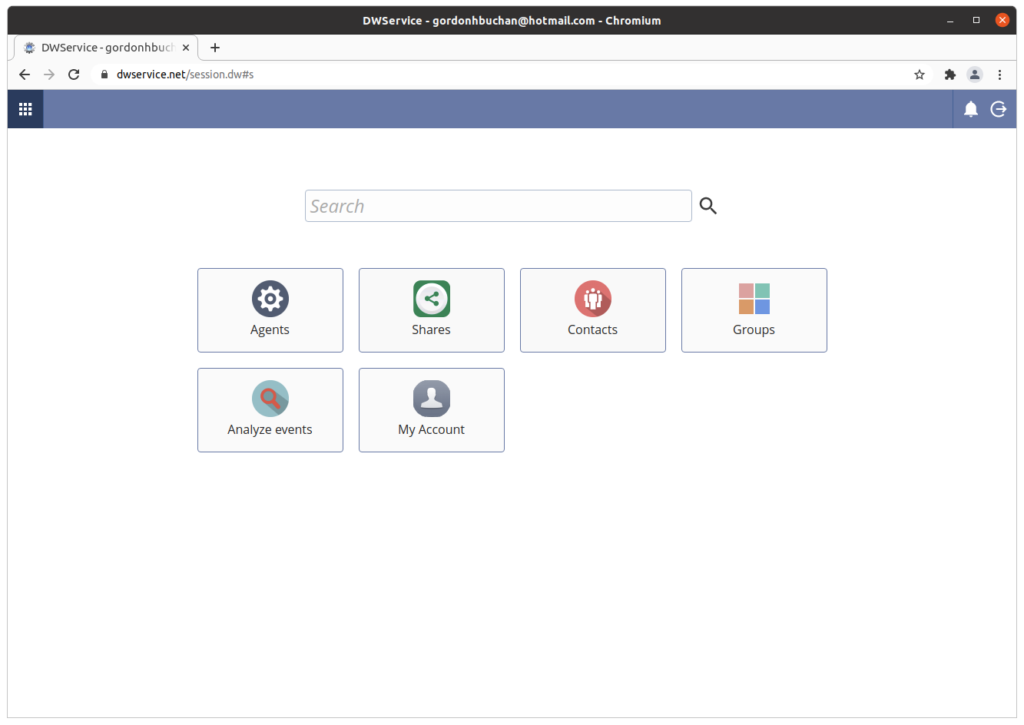
Click on “Agents”:
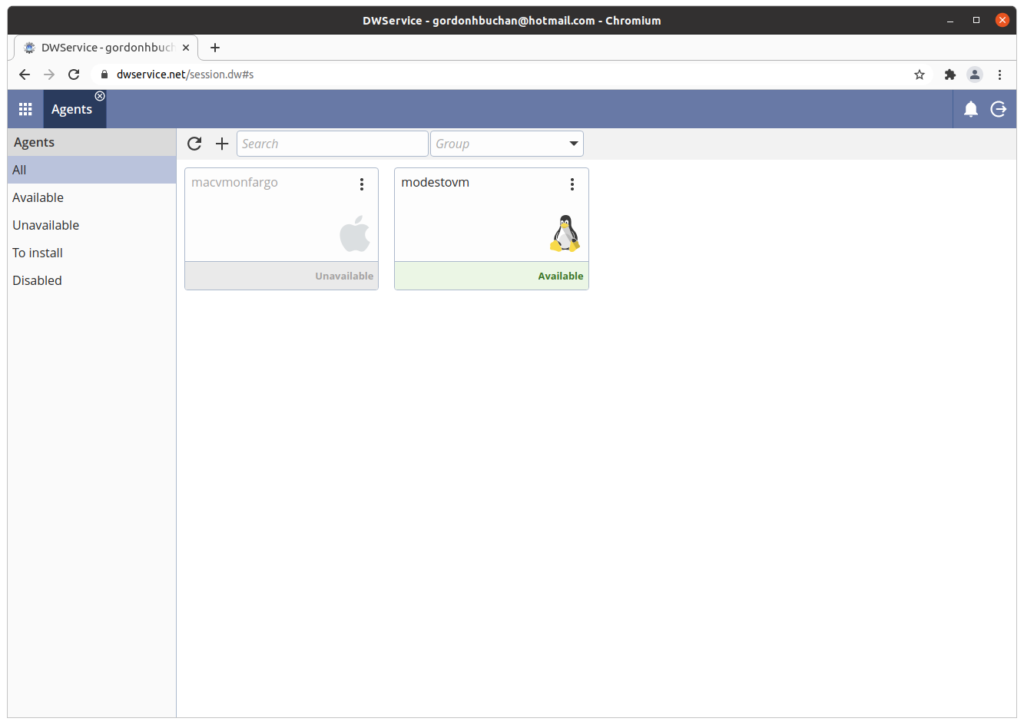
Click on the icon for the Linux workstation:
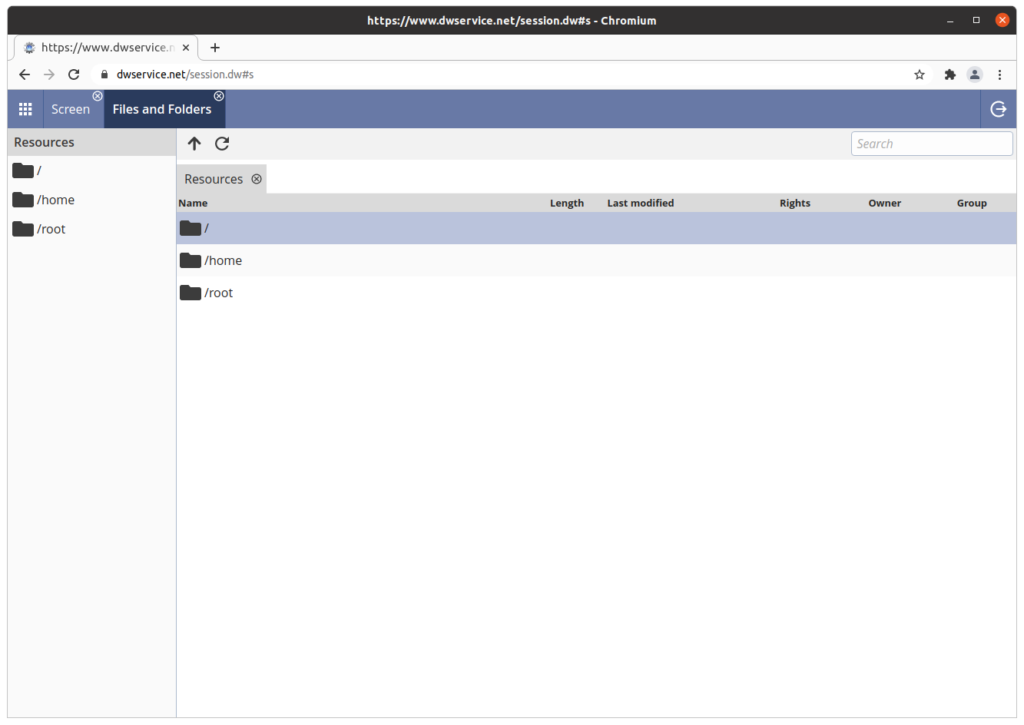
Resources available on the Linux workstation
This page shows the resources available on the Linux workstation:
Screen (remote desktop)
Remote control of the desktop of the Linux workstation:
Files and Folders
Access to the filesystem on the Linux workstation:

Shell
Access to the operating system shell prompt on the Linux workstation:
Previous step: Chapter 14: Installing and configuring Live Helper Chat to add text chat support to a website
Next step: Chapter 16: Using a script to automate the creation of a virtual host on an Apache web server