Web presence step by step Chapter 3: Buying an Ubuntu Linux cloud server from Digital Ocean

Previous step: Chapter 2: Buying branded email from Gmail
Next step: Chapter 4: Using an SSH terminal program to connect to an Ubuntu Linux cloud server

Web presence step by step is a series of posts that will show you how to build a web presence.

In this post, we buy an Ubuntu Linux cloud server from Digital Ocean.

Connecting to the Digital Ocean site

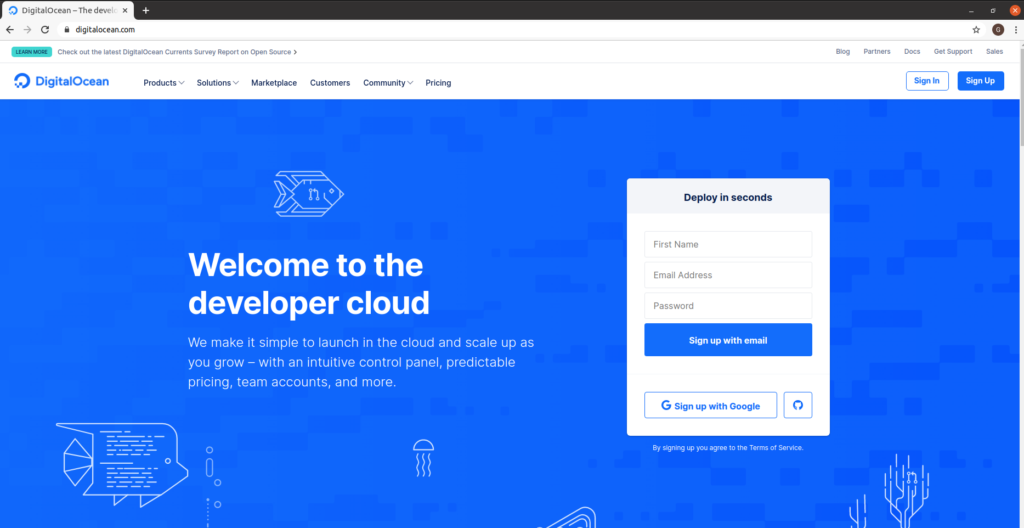
Visit the Digital Ocean site. Create an account, or login to an existing account.

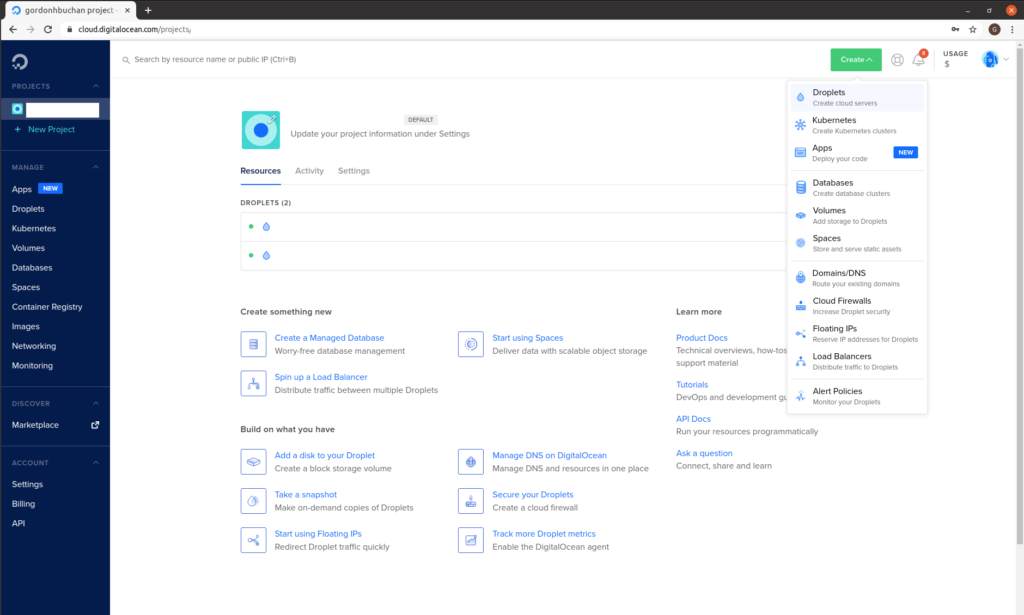
Click on “Create,” click on “Droplets”:


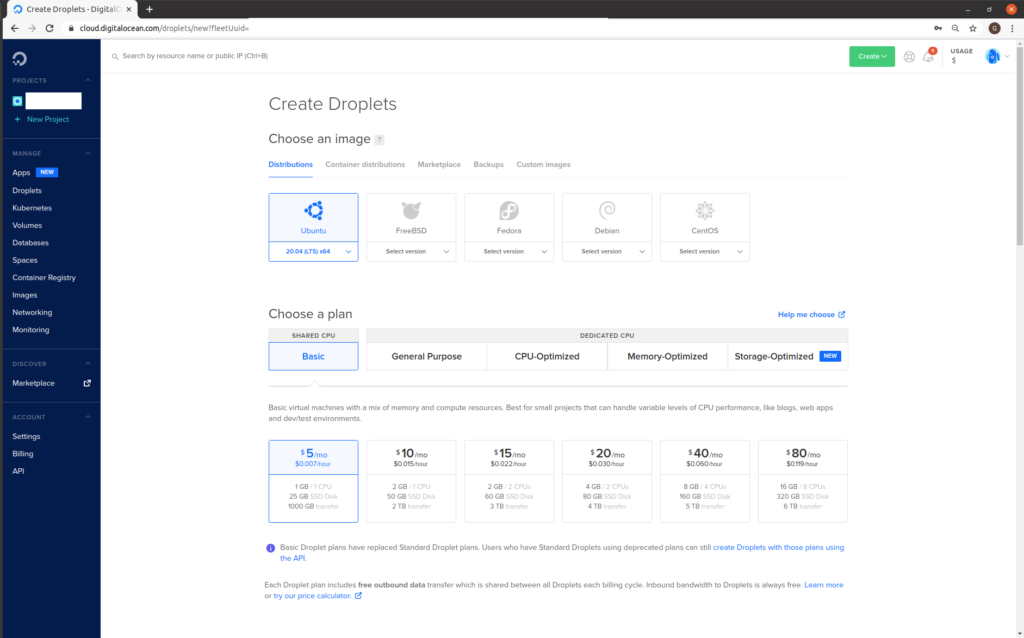
“Choose an image”: Ubuntu 20.04 (LTS) x64
“Choose a plan”: Shared CPU Basic

Click to select the option for “$5/mo”: (NOTE: this has recently changed to “$6/mo”)

Scroll down.

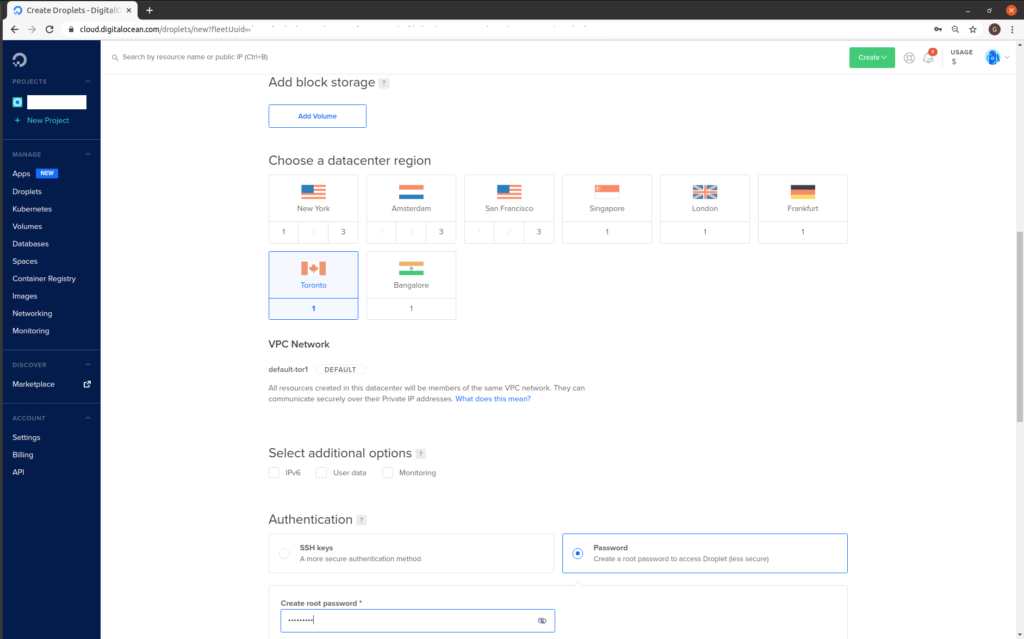
“Choose a datacenter region”: choose a region.
“Authentication”: click to select the option “Password.”
“Create root password”: enter a password.

Scroll down.

“Choose a hostname”: enter a hostname. This should in the format servername.yourdomain.com
“Add backups”: Click to select the option “Enable backups.”

Click Create Droplet:

For a few seconds, you can watch a progress bar as the cloud server is being created:

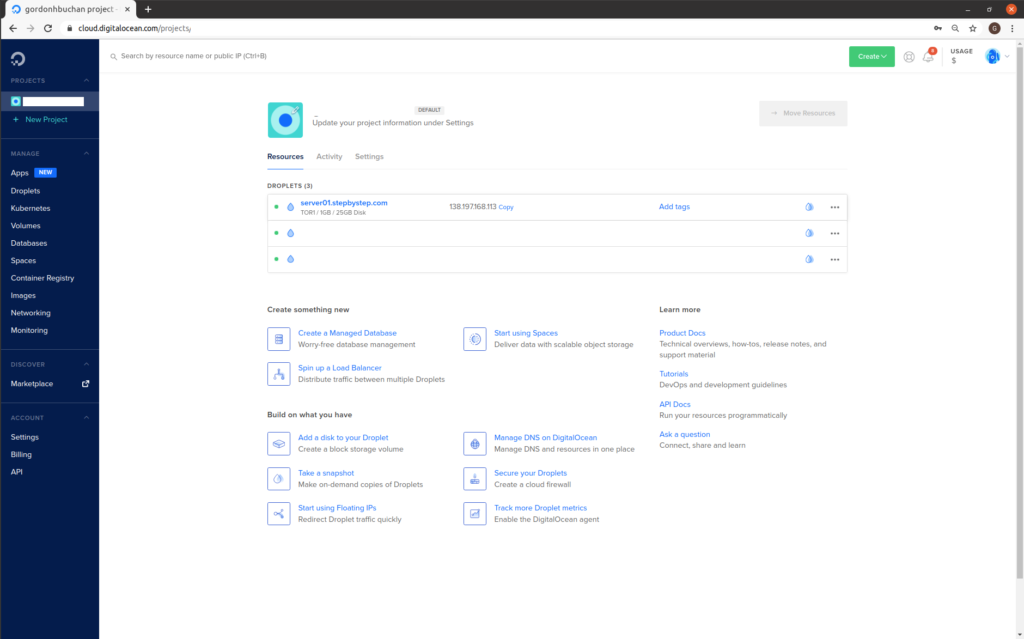
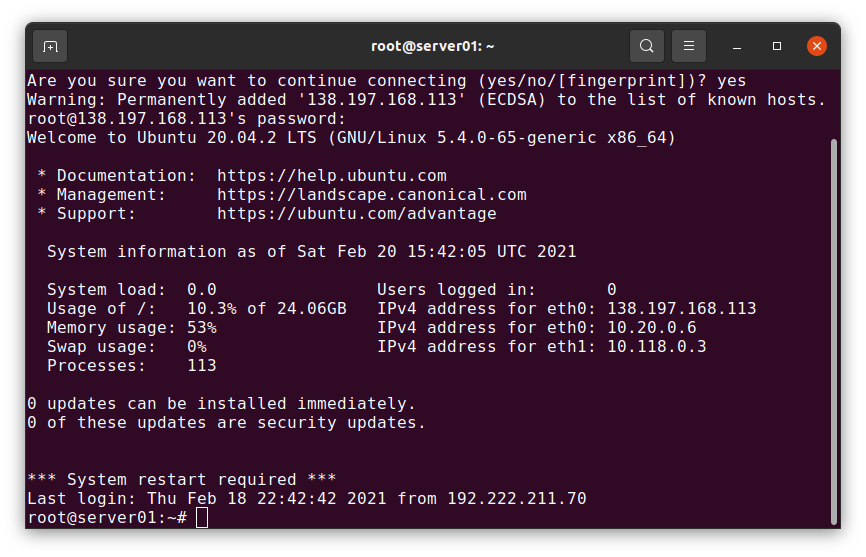
Take note of your new cloud server’s IP address.

Tip: If you move your mouse pointer over the IP address, you will see the word “copy.” You can click on the IP address to copy the IP address for the cloud server to the clipboard.

Previous step: Chapter 2: Buying branded email from Gmail
Next step: Chapter 4: Using an SSH terminal program to connect to an Ubuntu Linux cloud server

Web presence step by step Chapter 2: Buying branded email from Gmail

Previous step: Chapter 1: Buying a domain name from GoDaddy
Next step: Chapter 3: Buying an Ubuntu Linux cloud server from Digital Ocean

Web presence step by step is a series of posts that show you to how to build a web presence.

In this post, we set up branded email for the domain we registered in Chapter 1: Buying a domain name from GoDaddy, using Google Workspace, formerly Gmail for Business.

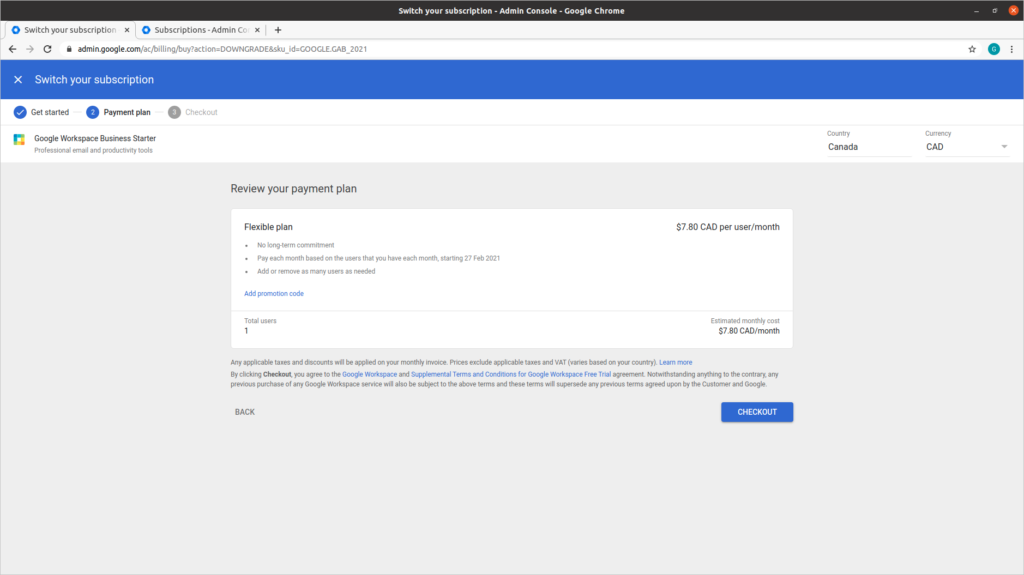
Google actually starts you with Workspace Business Standard for C$15/mo (US$12/mo). At the end of this procedure, we will downgrade to Workspace Business Starter for C$7/mo (US$6/mo).

(In later chapters, we will build out our website capabilities with other vendors.)

Start by logging into the GoDaddy account you used to register a domain in Chapter 1: Buying a domain name from GoDaddy. This will help the Google Workspace control panel to communicate with GoDaddy later in this procedure.

Visit the Google Workspace site. Click Get Started:

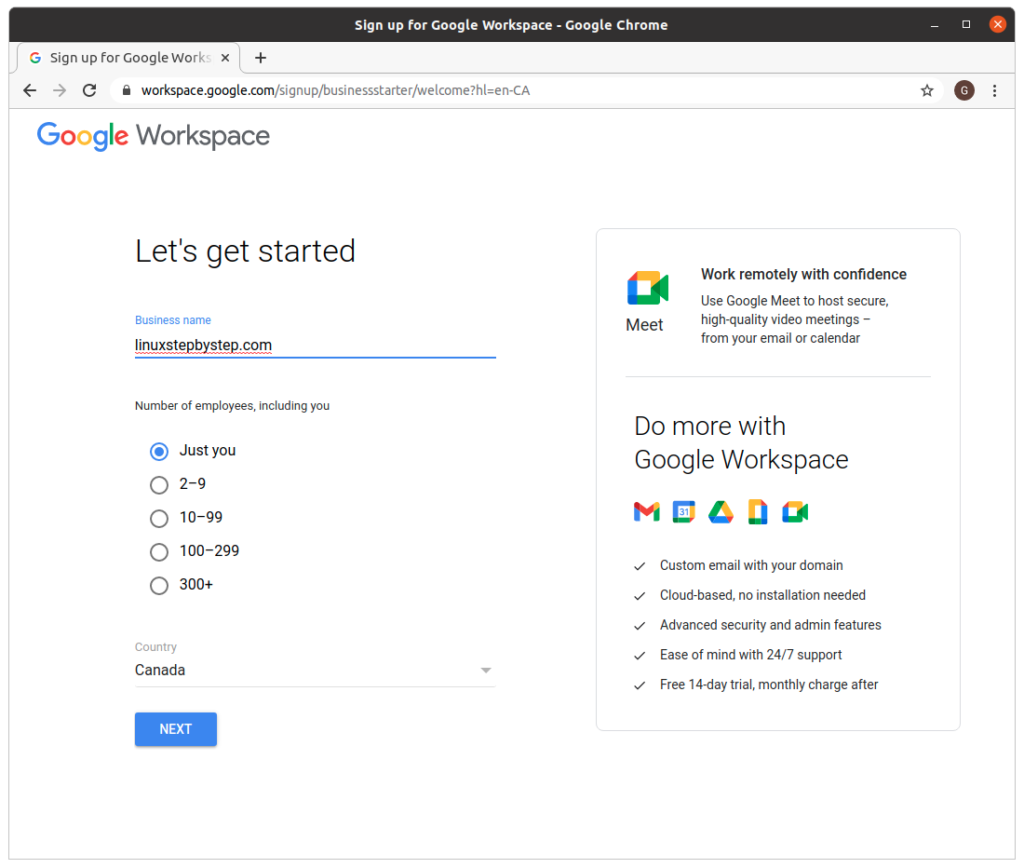
Under Business name, enter the name of your business. if you are not sure, enter the name of your domain as the business name. Under “Number of employees, including you,” choose “Just you” for now. You will be able to add other accounts later. Click “Next”:

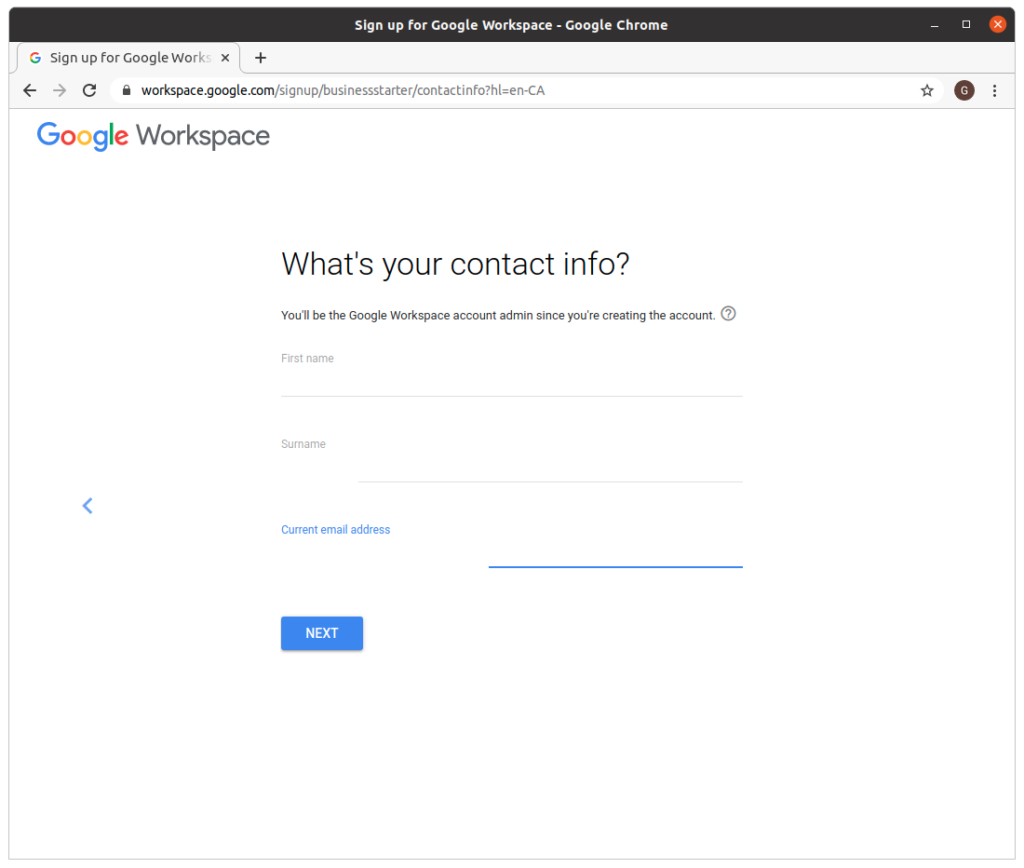
Enter “First name”,”Surname”,”Current email address.” Click “Next”:

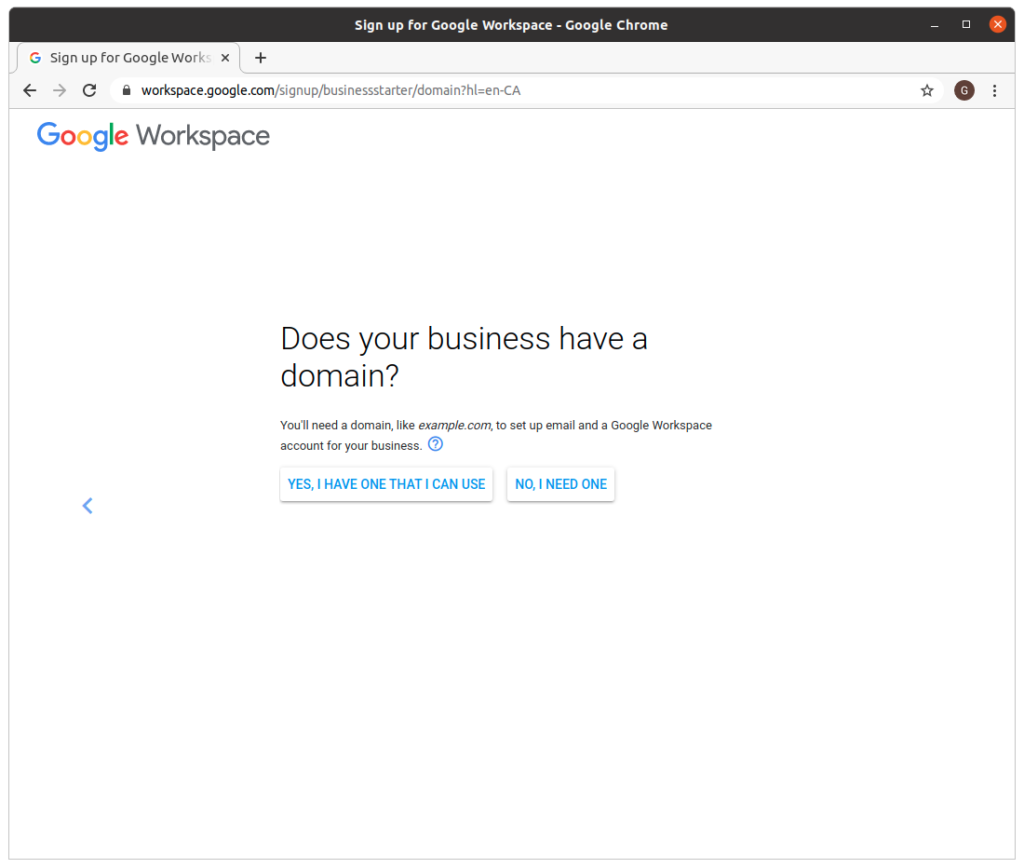
Click on “Yes, I have one that I can use”:

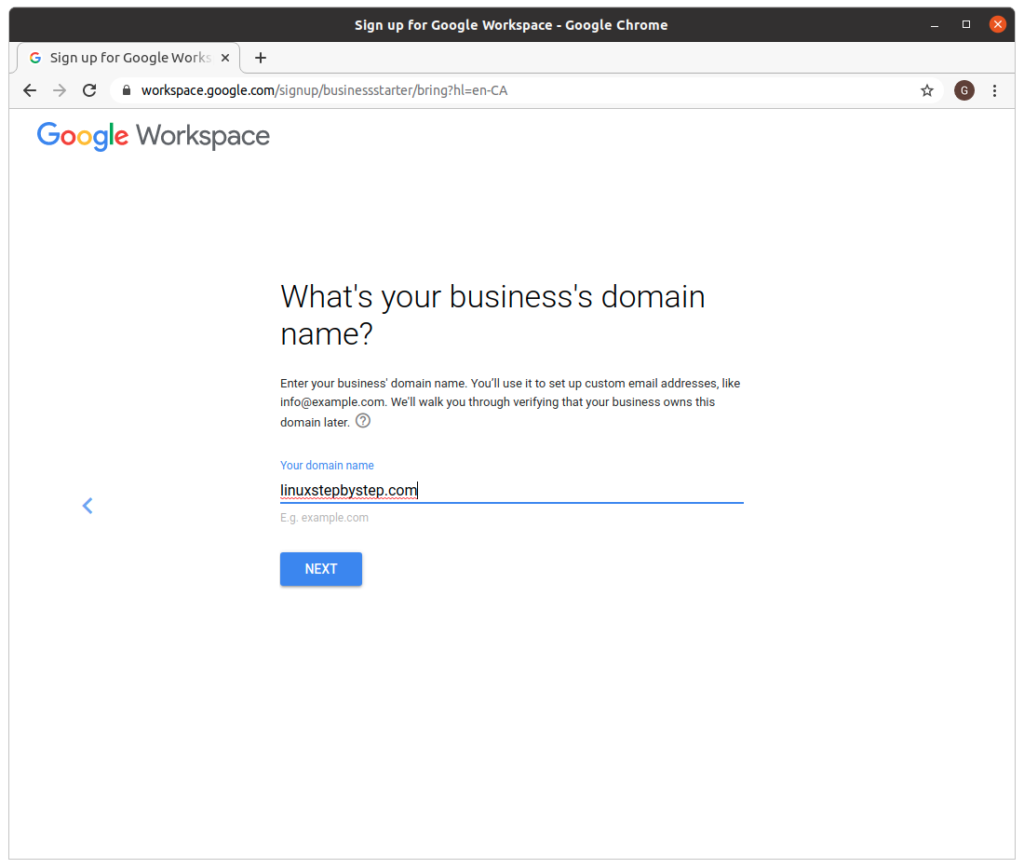
Enter “Your domain name”
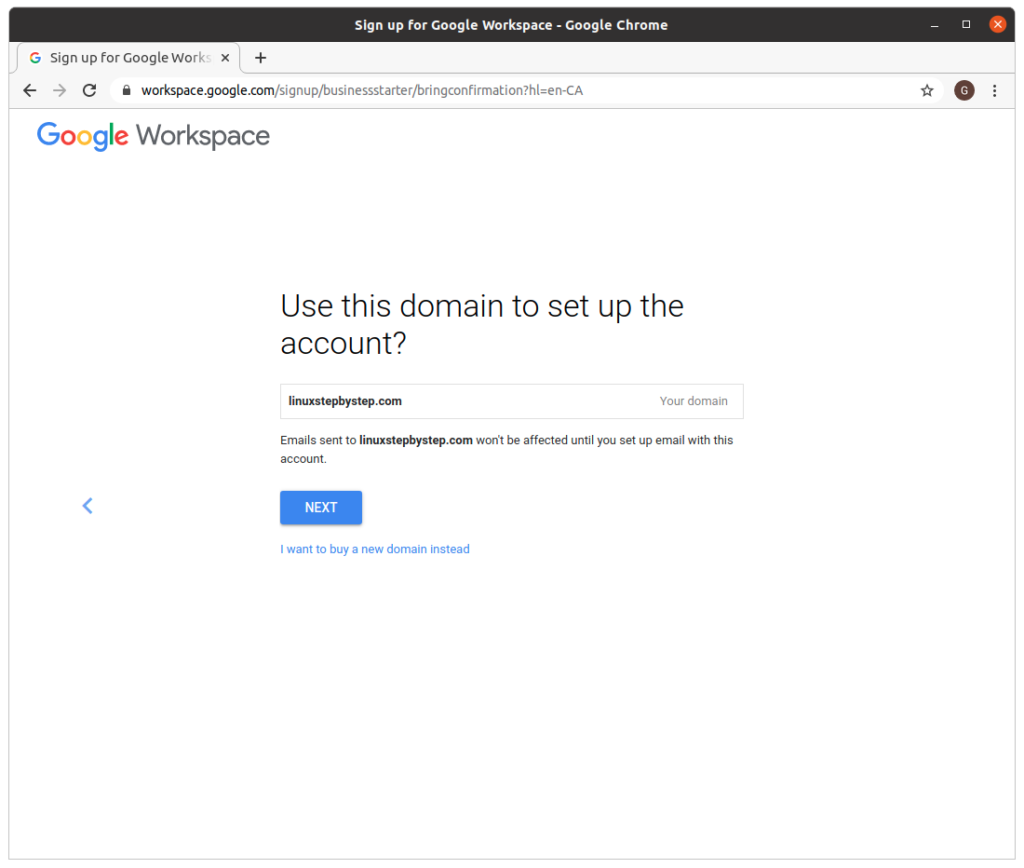
Click Next:

Click “Next”:

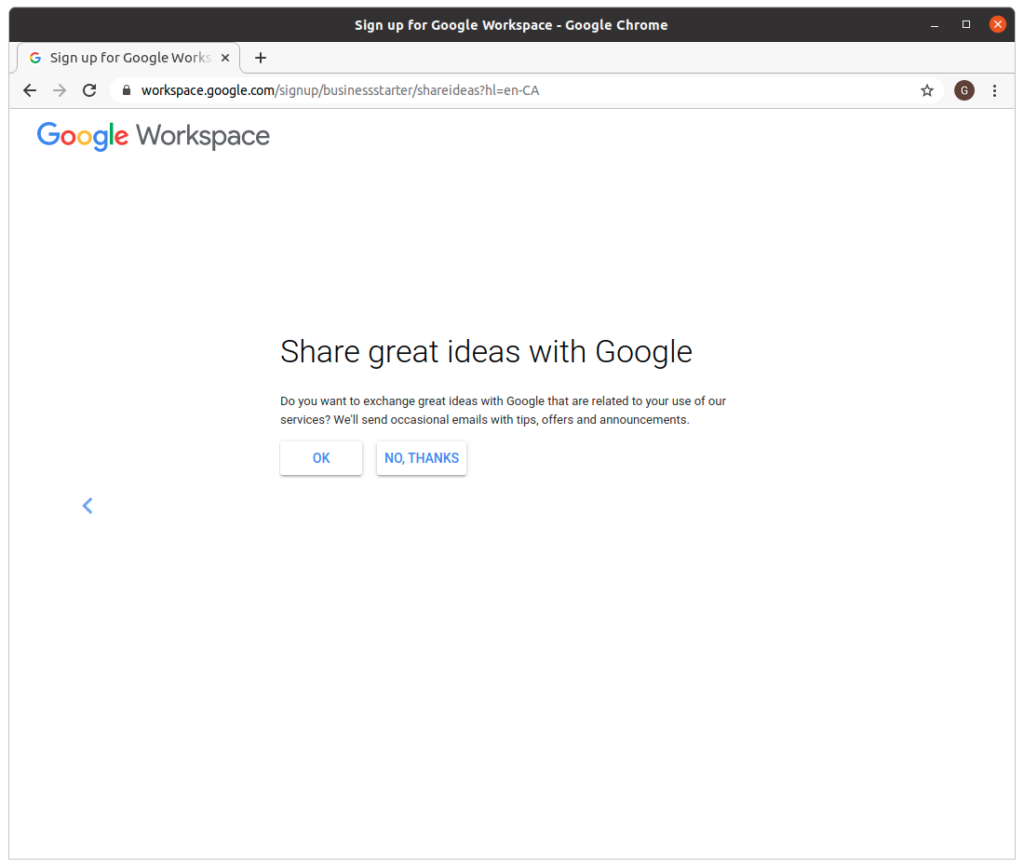
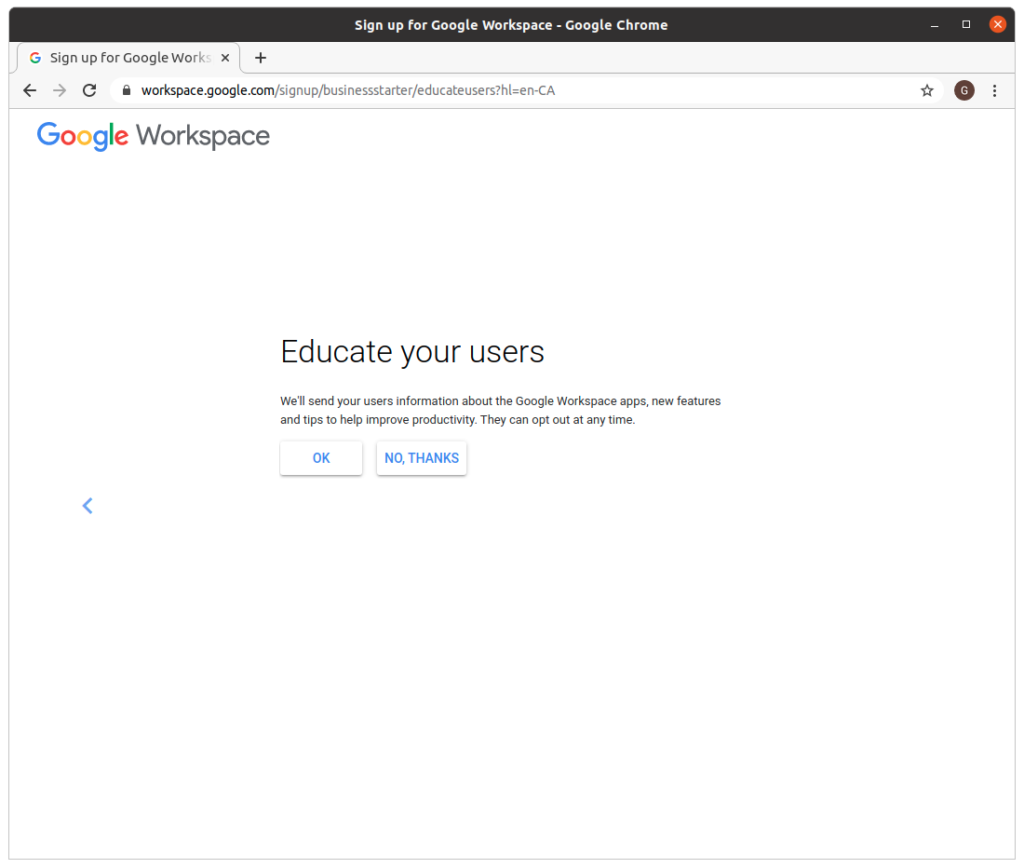
Click “No, thanks”:

Click “No, thanks”:

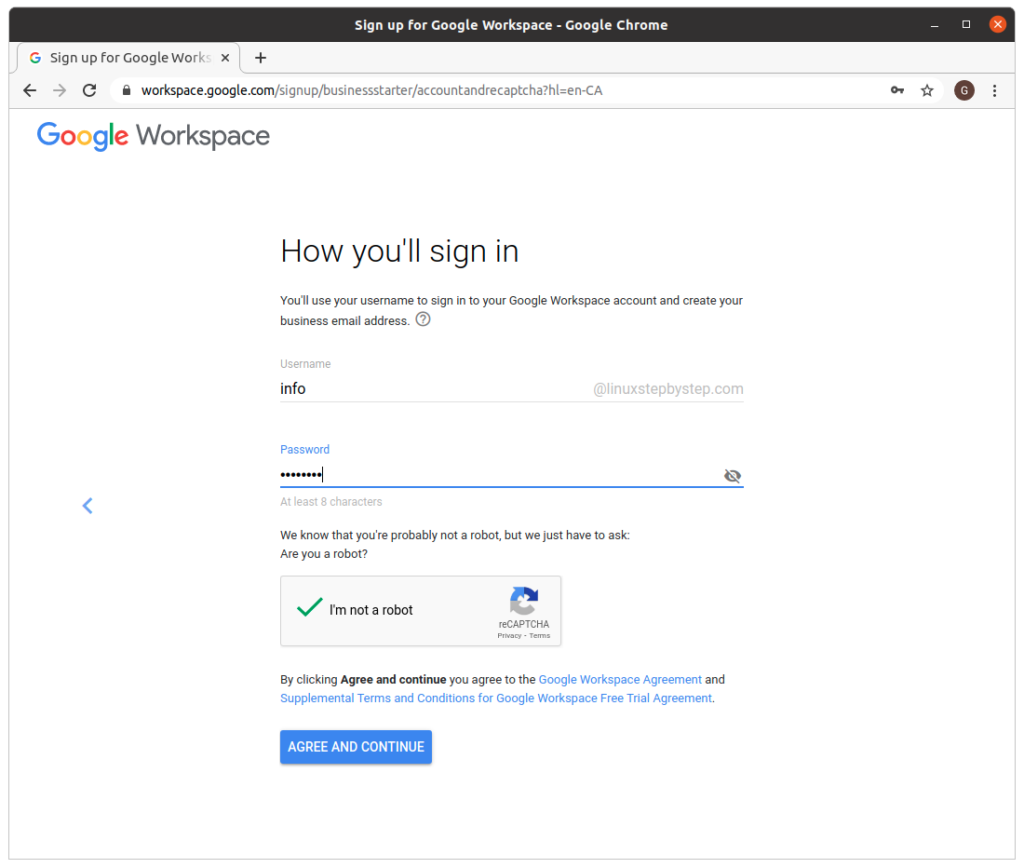
enter values for “Username” and “Password.” If you are not sure, use “info” as the “Username.” Click “Agree and continue”:

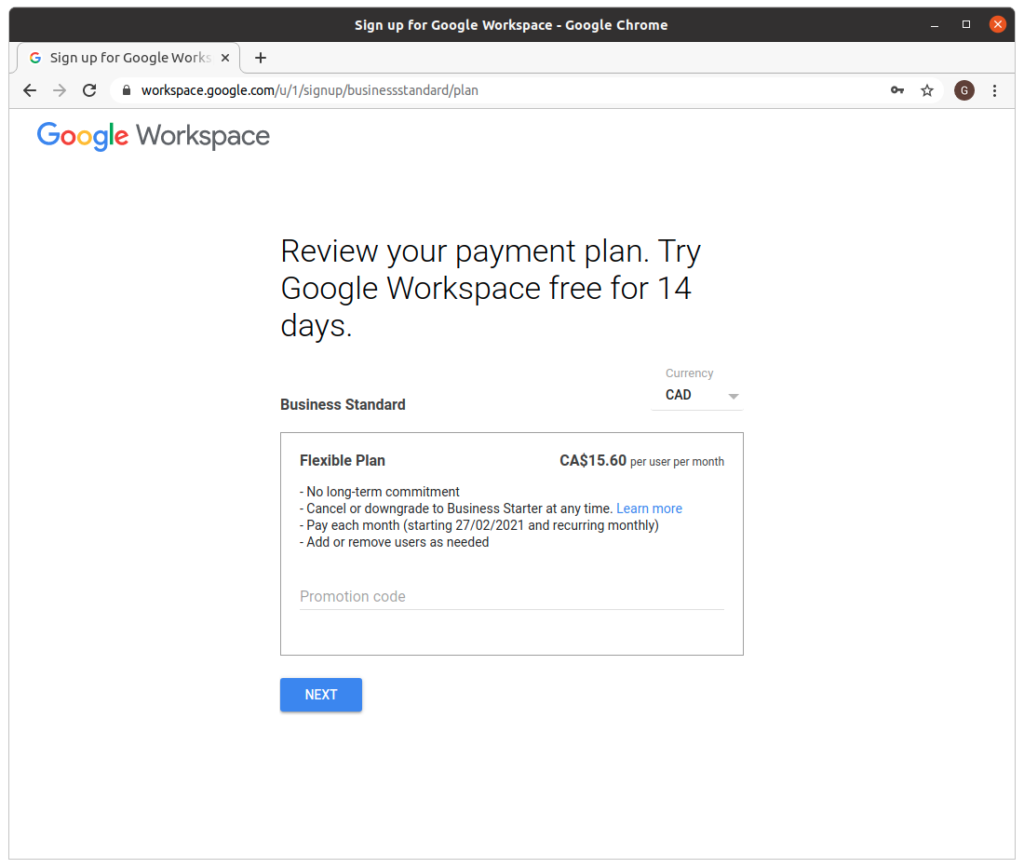
Click “Next”:

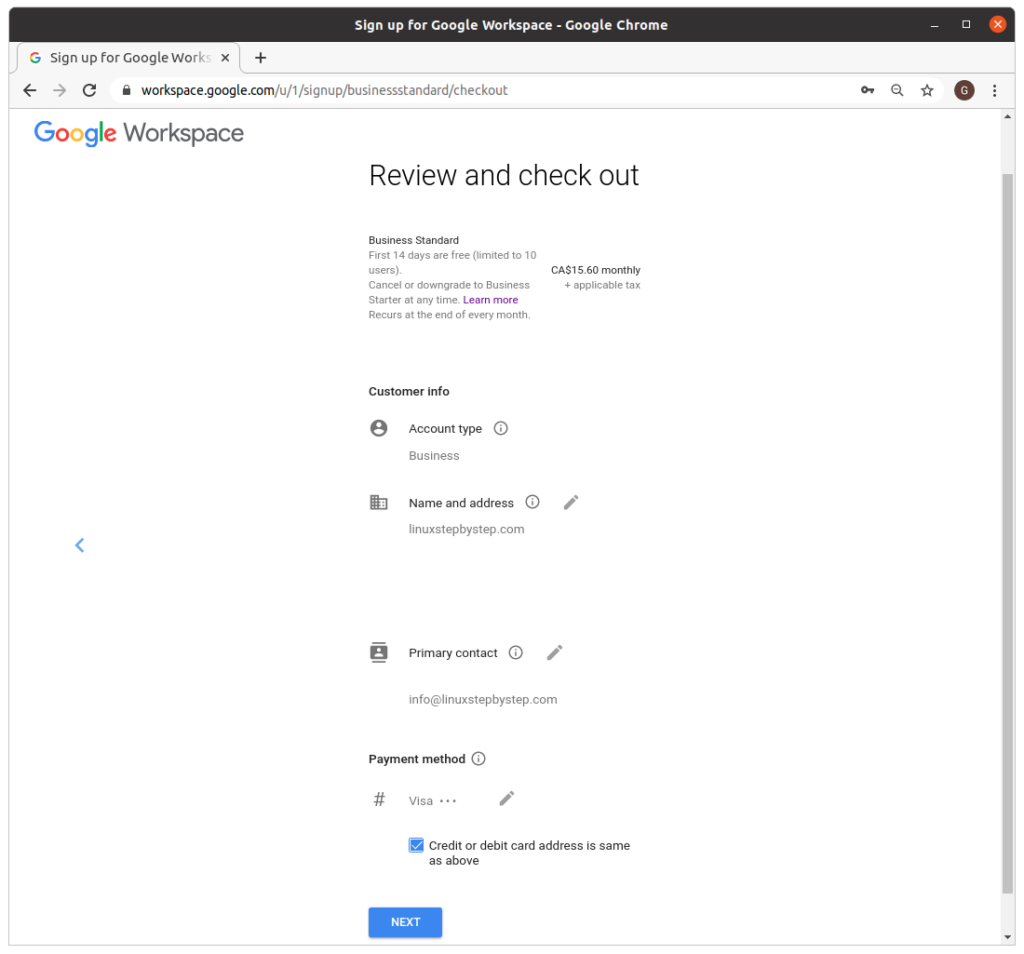
Enter information for “Name and address,” “Payment method.” Click “Next”:

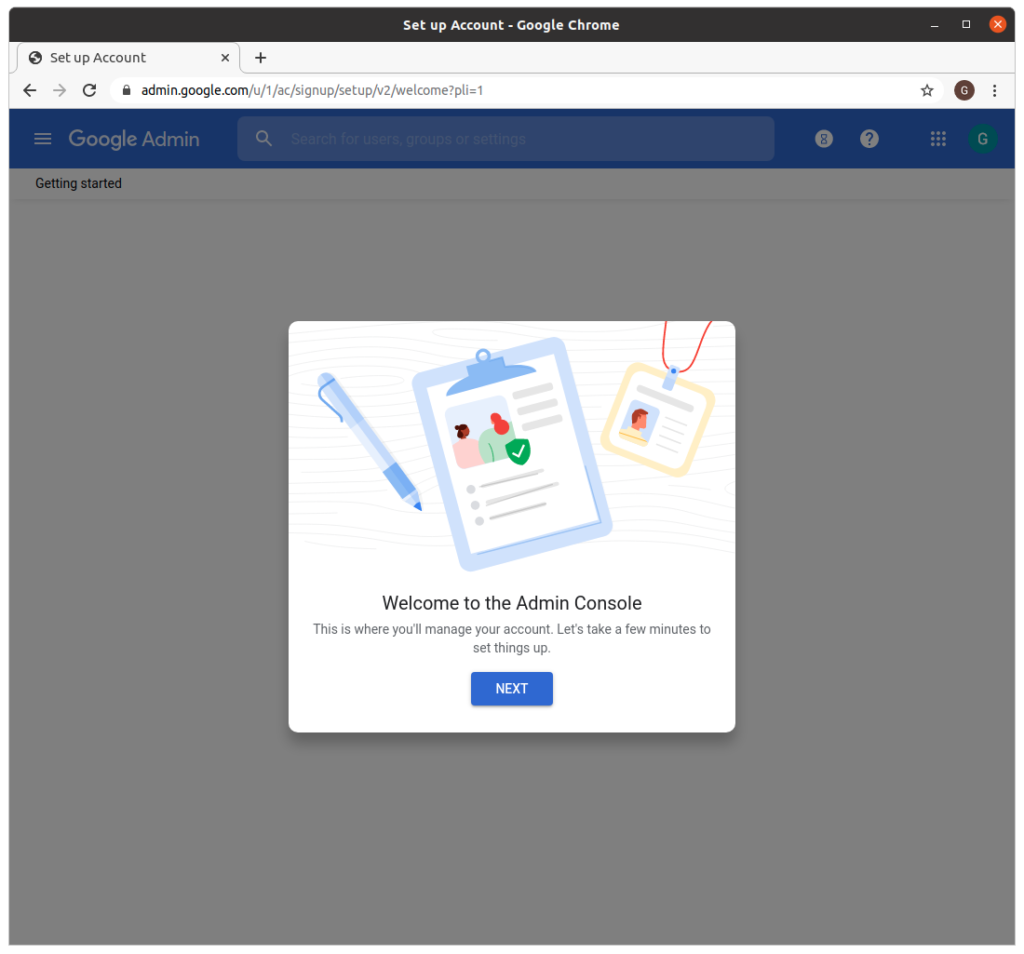
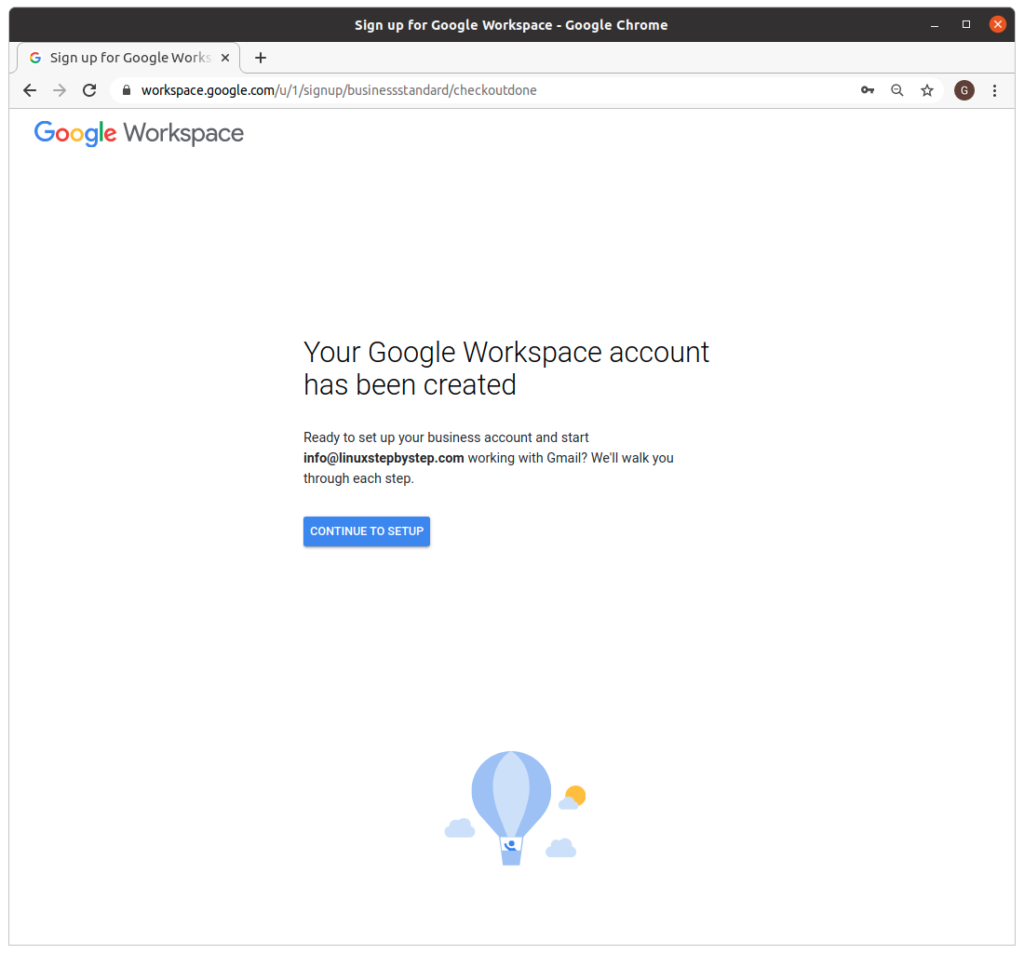
Click “Continue to setup”:

Click “Next”:

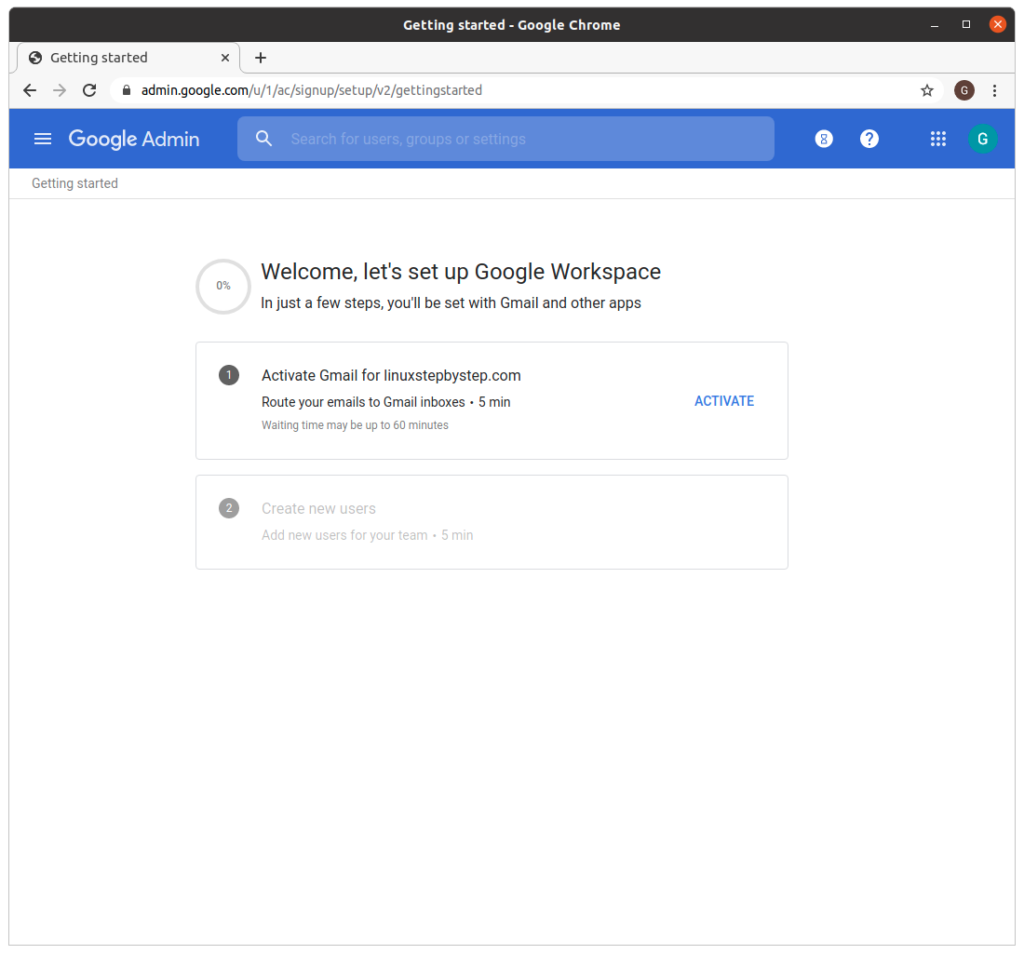
Click “Activate”:

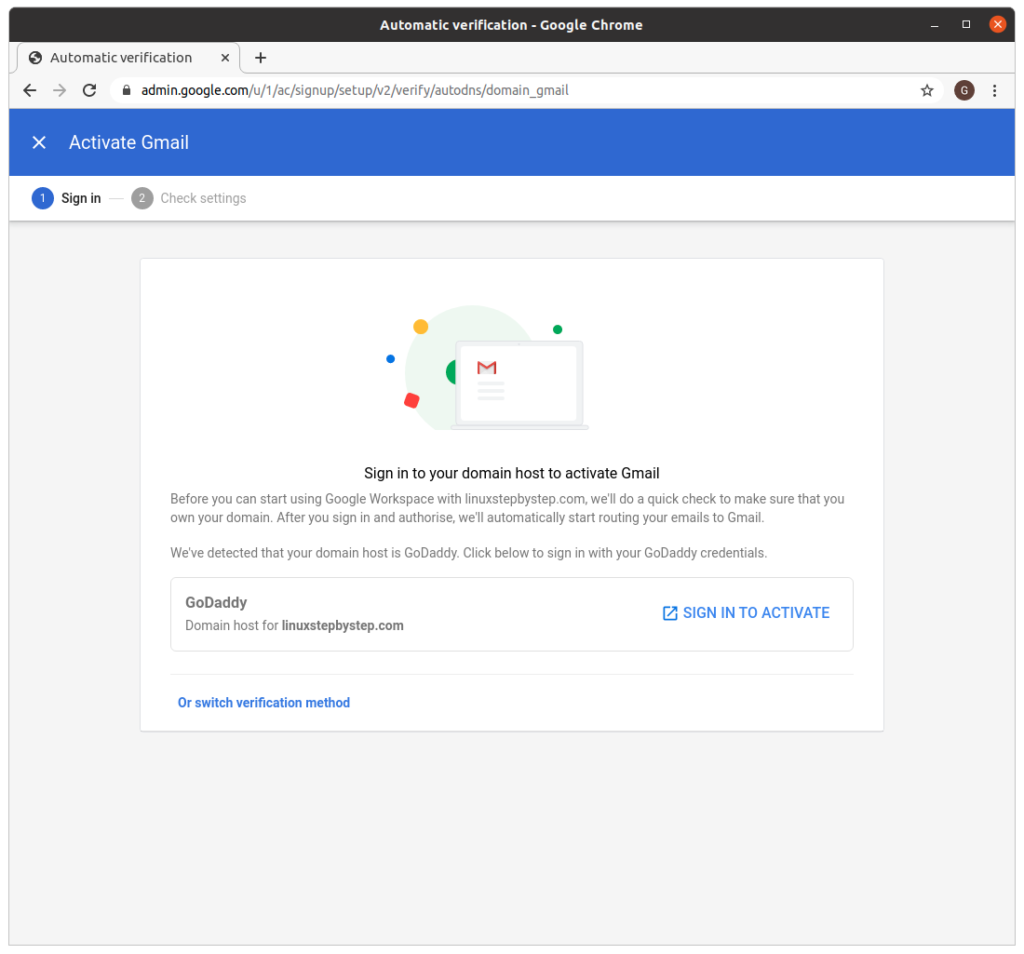
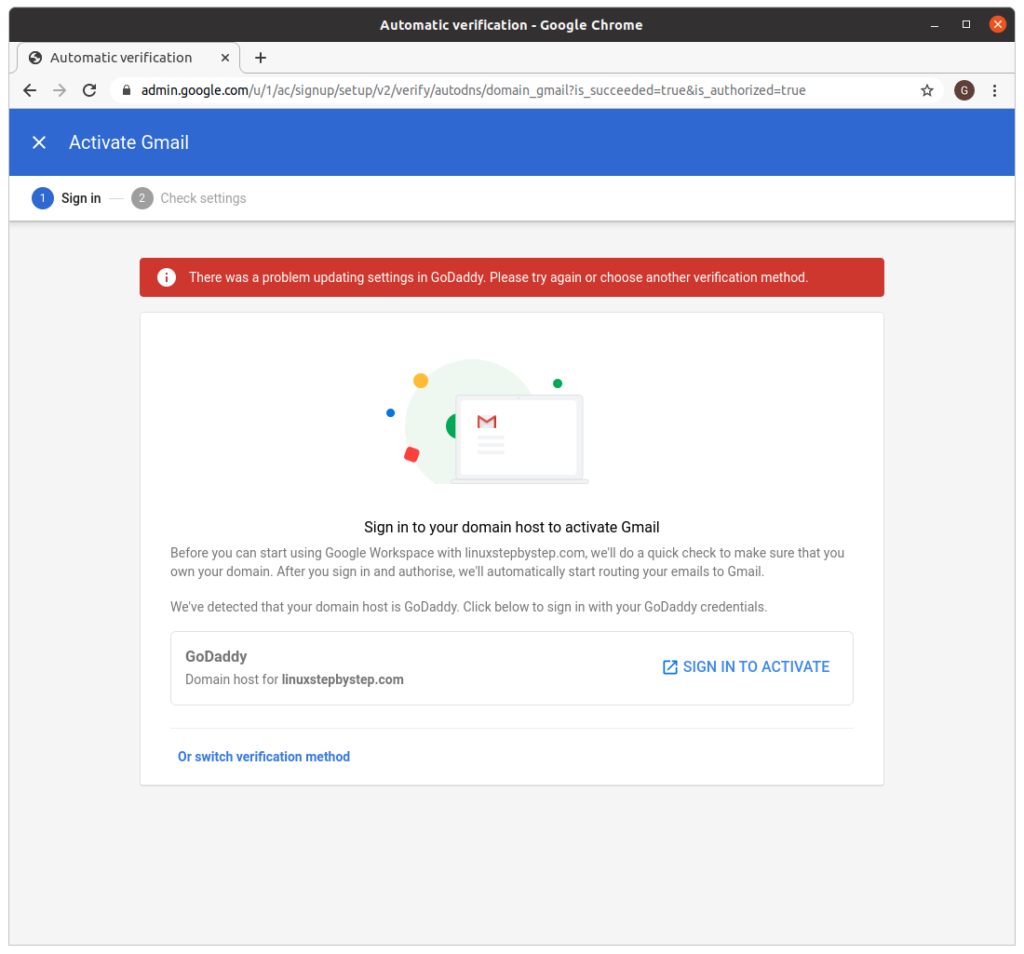
Click “Sign in to activate”:

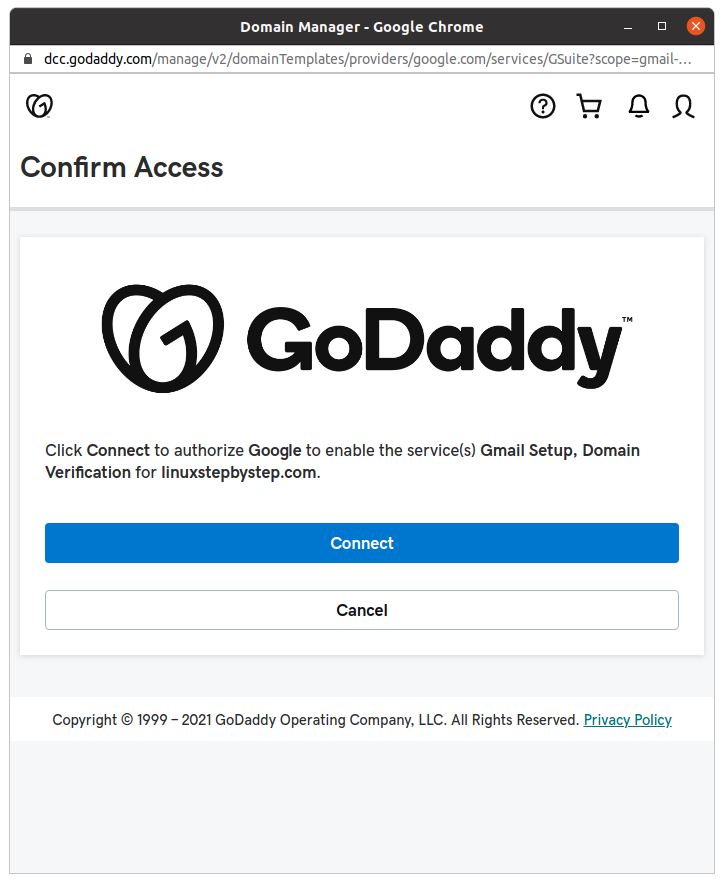
Click “Connect”:

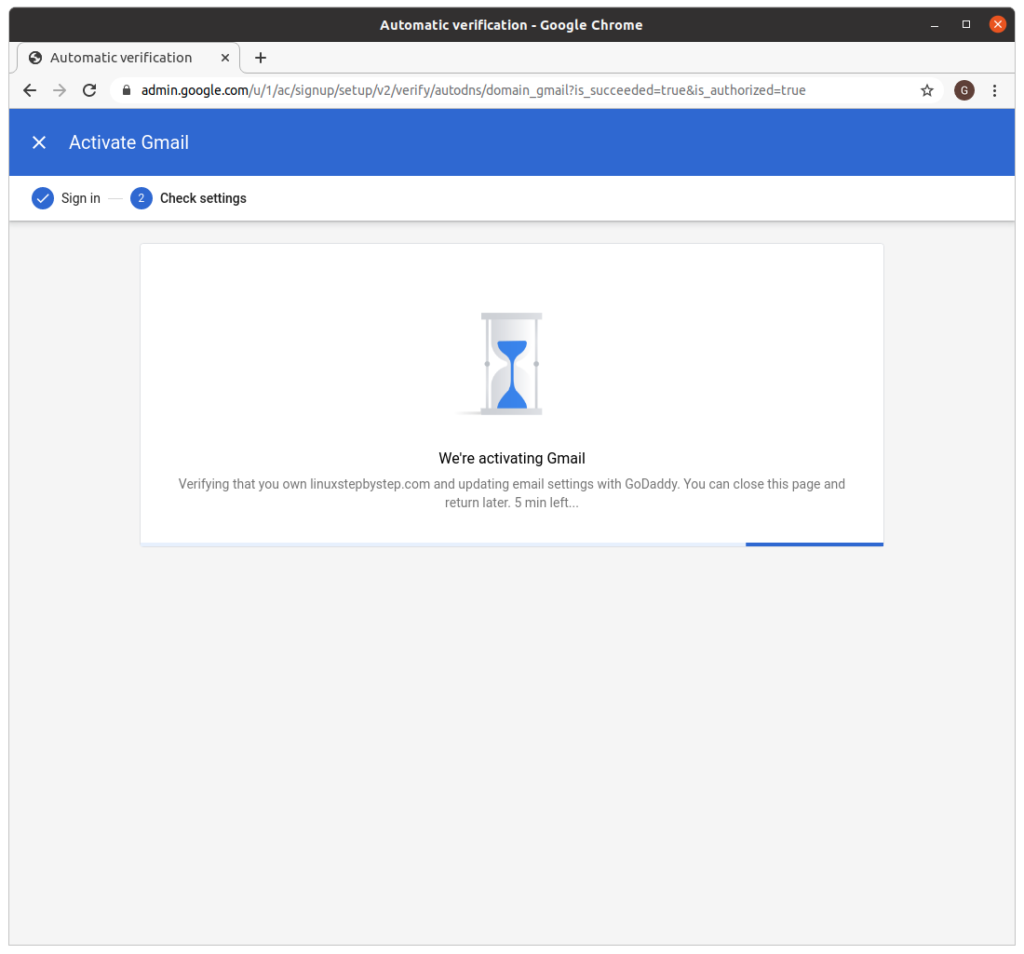
Google Workspace will attempt to connect to GoDaddy to setup email for the domain using the GoDaddy DNS servers:

Sometimes, the connection between Google Workspace and GoDaddy times out. If this happens, try again by clicking on “Sign in to activate”:

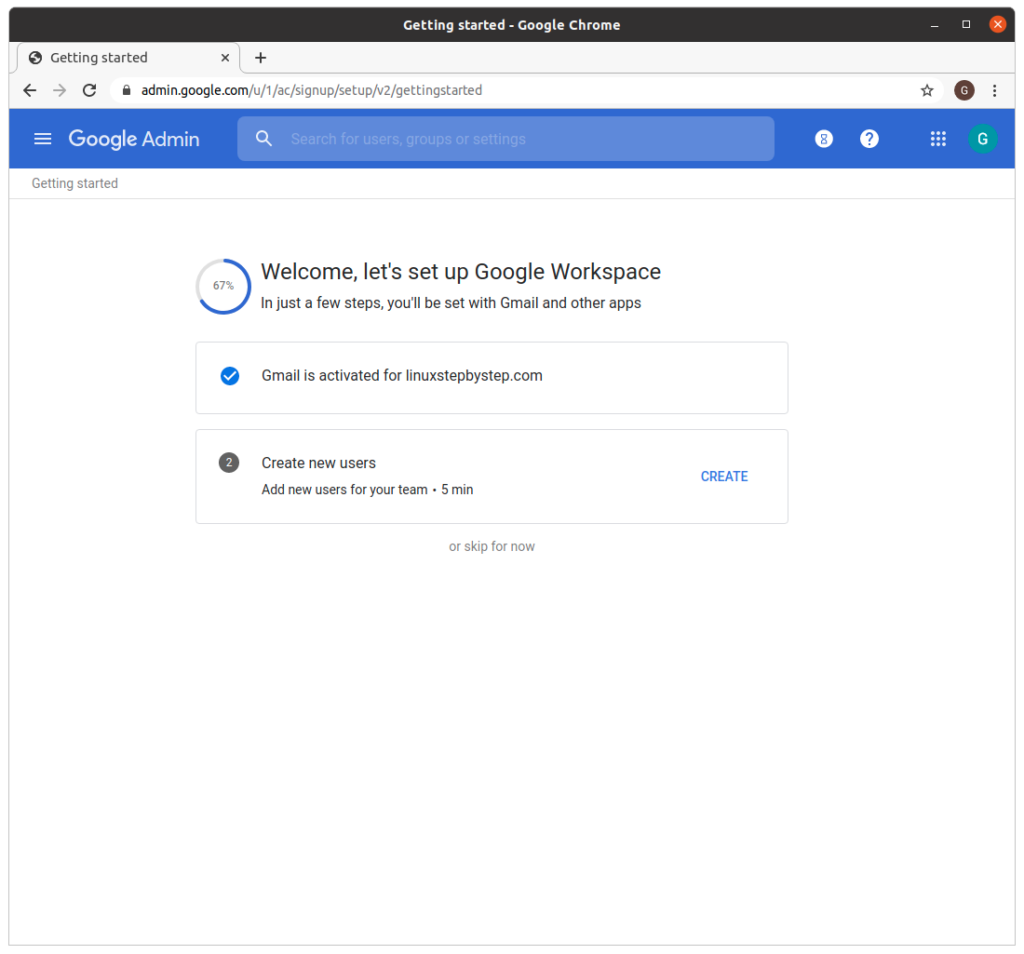
Google Workspace shows this screen if the domain if Gmail is activated for the domain. Since we do not want to create new any more new users, click “or skip for now”:

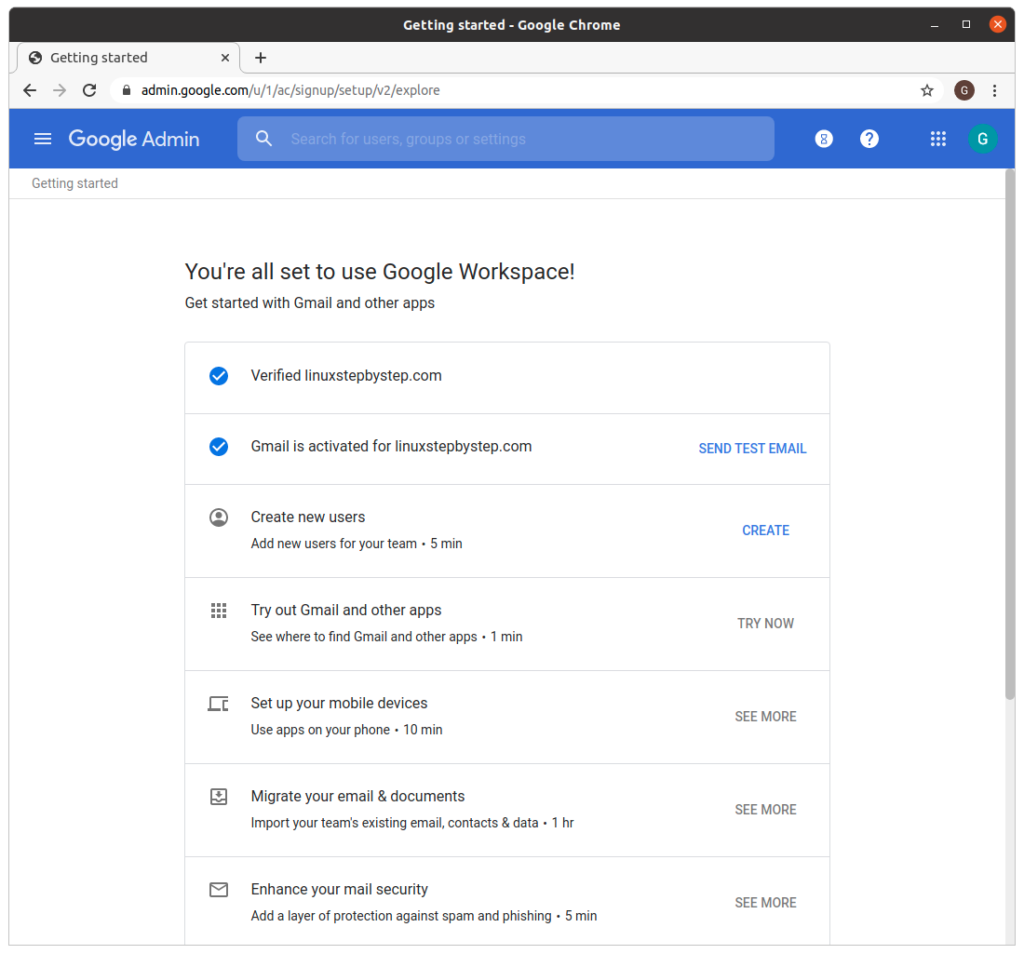
The following screen is shown.

visit Gmail and login to the email account you created, for example info@domain.com:

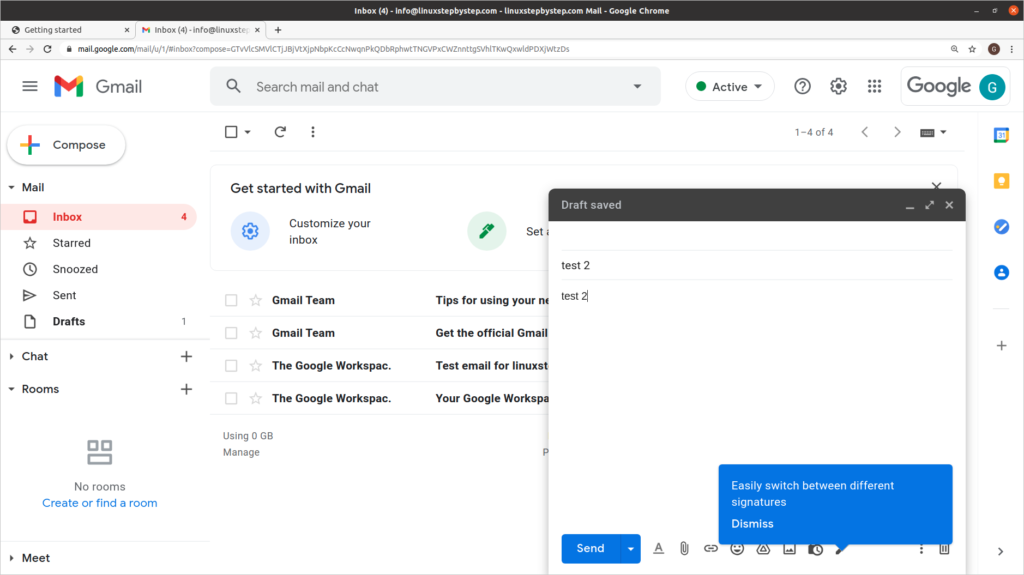
Send a test email message to an email account you control:

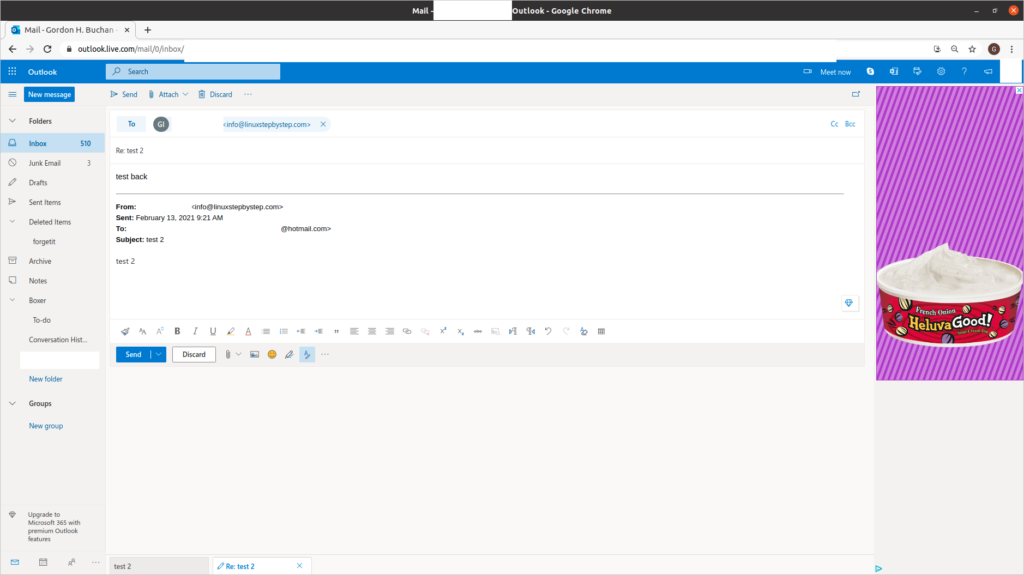
Verify that you have received the test message in the email account you control. Reply to the test message:

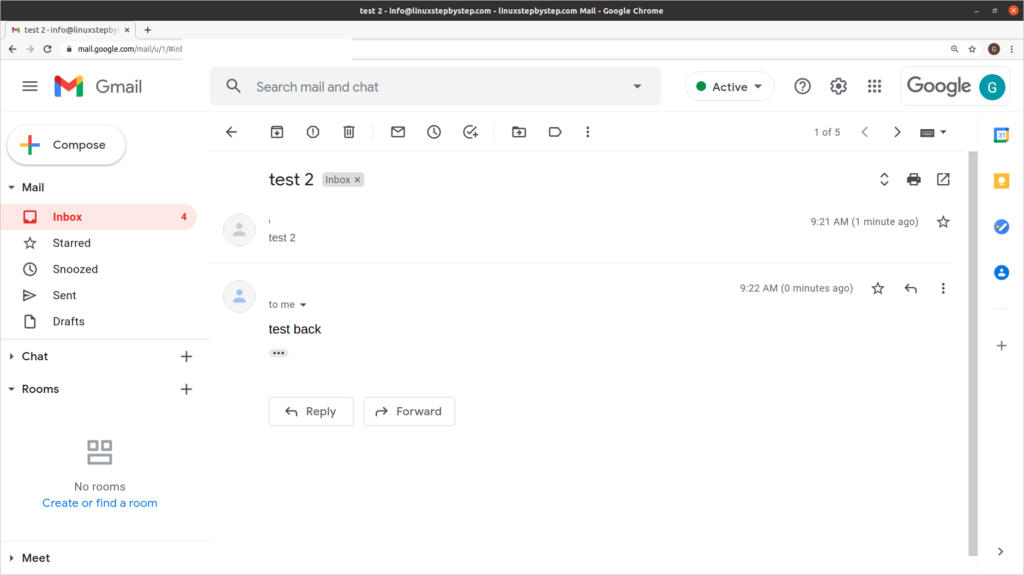
From Gmail, verify that you have received the reply to the test message:

Visit the GoDaddy site so we can examine the MX and TXT records in the DNS zone file for your domain:

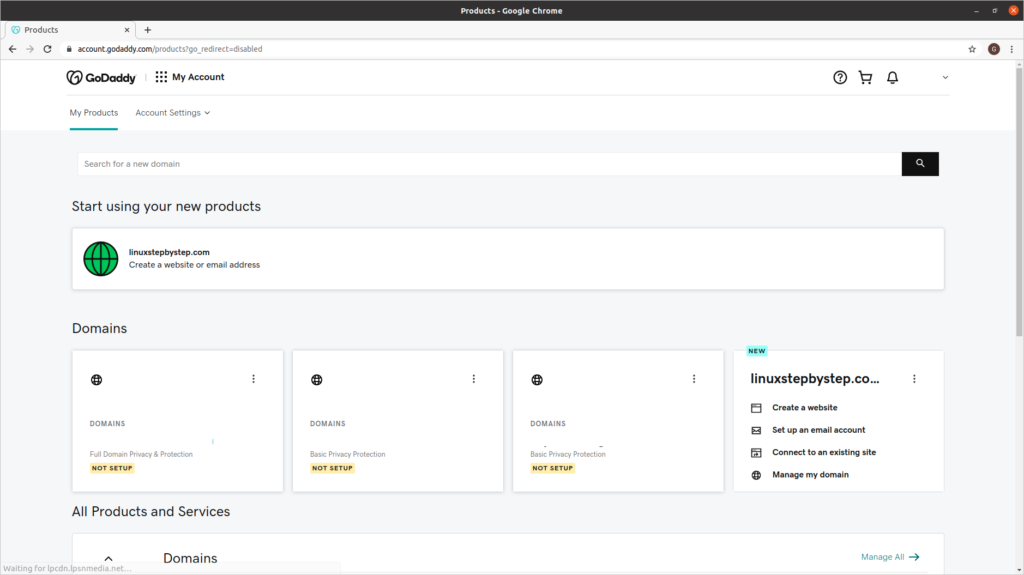
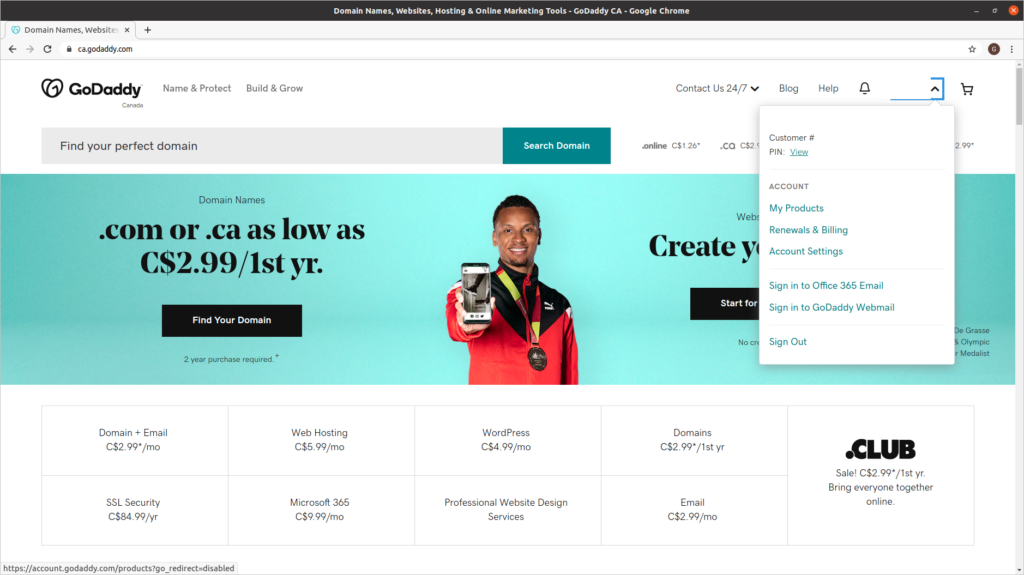
Click on the icon for your account in the upper-right corner of the site. Click on “My Products”:

Click on the “DNS” tab:

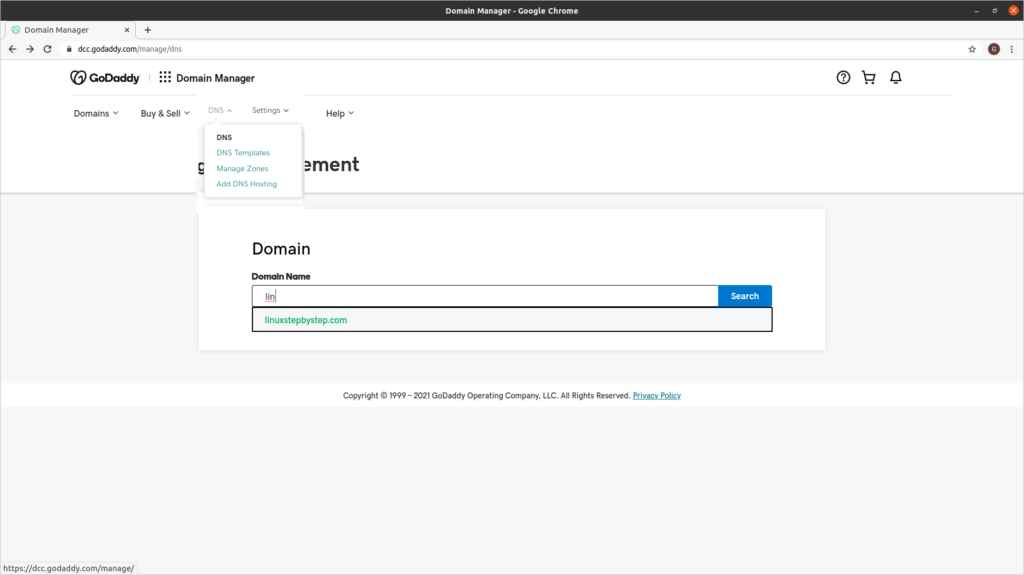
On the DNS tab’s pull-down menu, click on “Manage Zones” Search for your domain name:

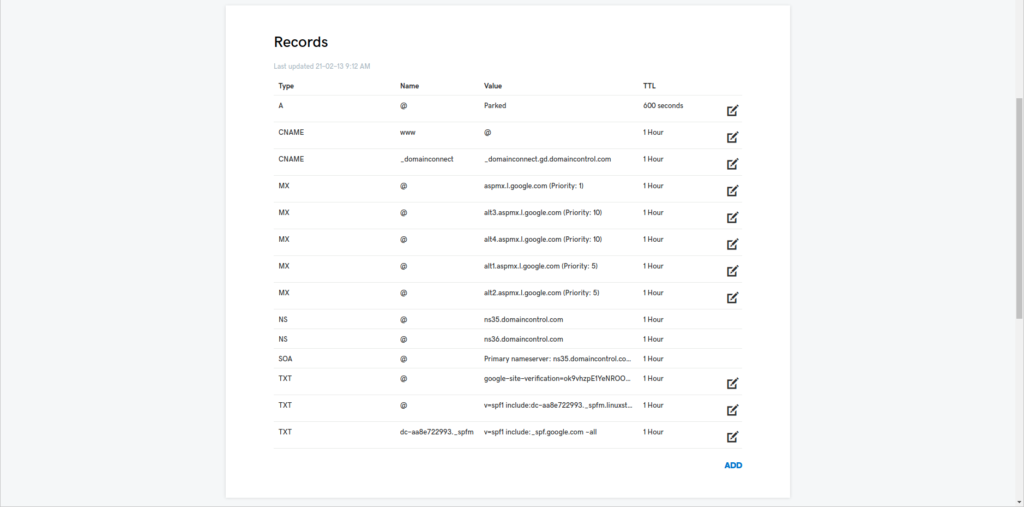
This screen shows the DNS zone file information for the domain. MX is short for Mail eXchanger. TXT is short for text comment, but TXT records are used for security tokens and email subsystems like SPF and DKIM.

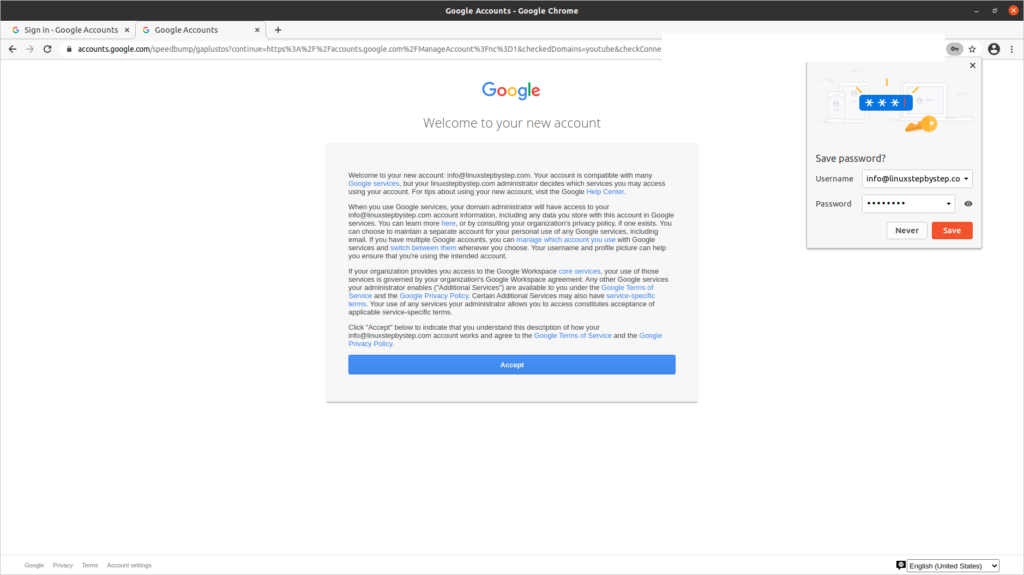
Visit the Google Workspace admin site. Click Accept:

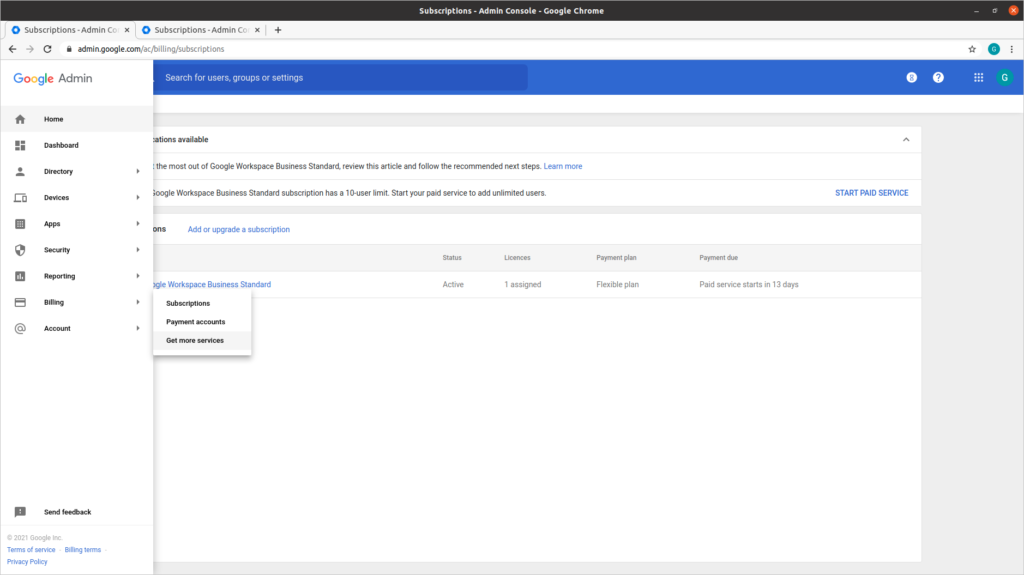
On the left-side menu, hover over “Billing,” then click on the sub-option “Get more services”:

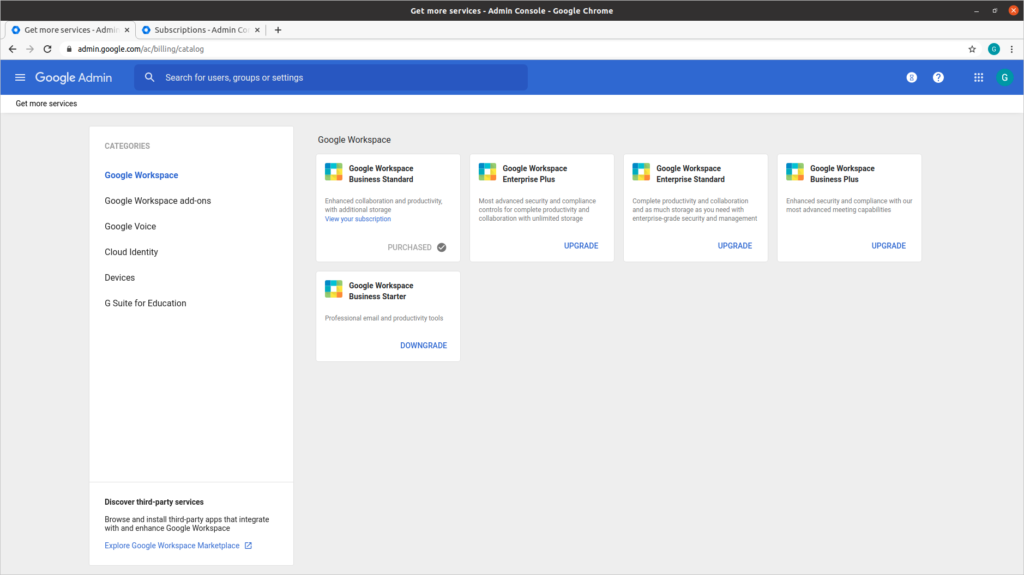
In the rectangle labeled “Google Workspace Business Starter,” click “Downgrade”:

Click “Checkout”:

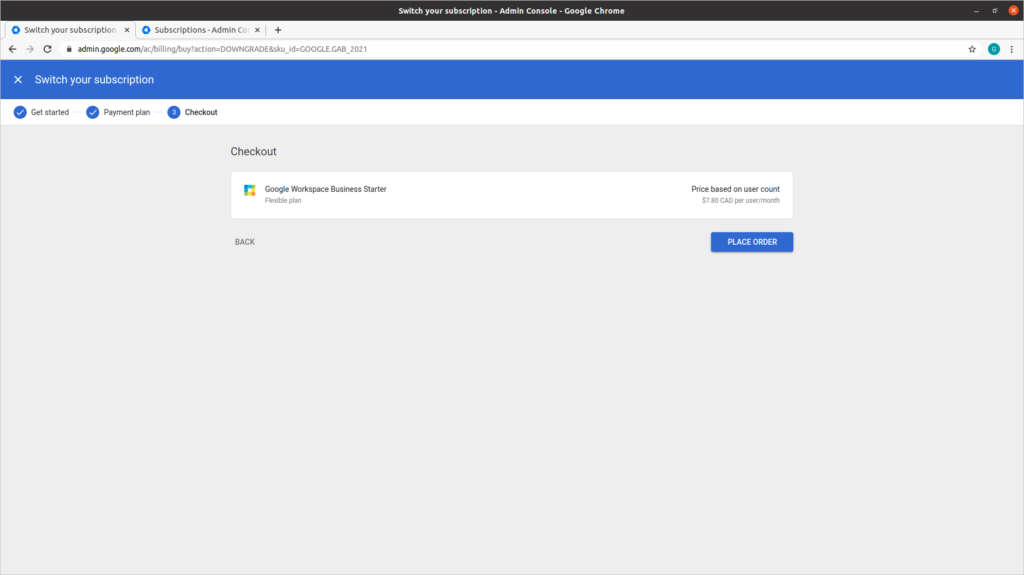
Click “Place order”:

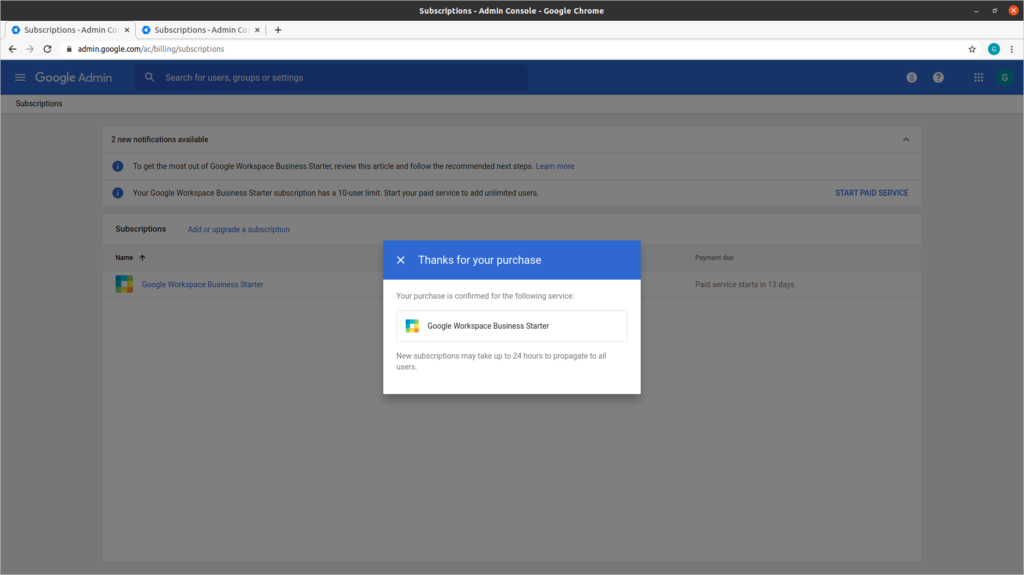
Google will present the following screen:

Previous step: Chapter 1: Buying a domain name from GoDaddy
Next step: Chapter 3: Buying an Ubuntu Linux cloud server from Digital Ocean

Web presence step by step Chapter 1: Buying a domain name from GoDaddy

Next step: Chapter 2: Buying branded email from Gmail

Web presence step by step is a series of posts that show you to how to build a web presence.

In this post, we register a domain name with GoDaddy, a domain name registrar.

Make sure that you select private registration. Skip the offers for email and website builders. Use the default name servers (DNS servers) provided by GoDaddy.

(In later chapters, we will build out our email and website capabilities with other vendors.)

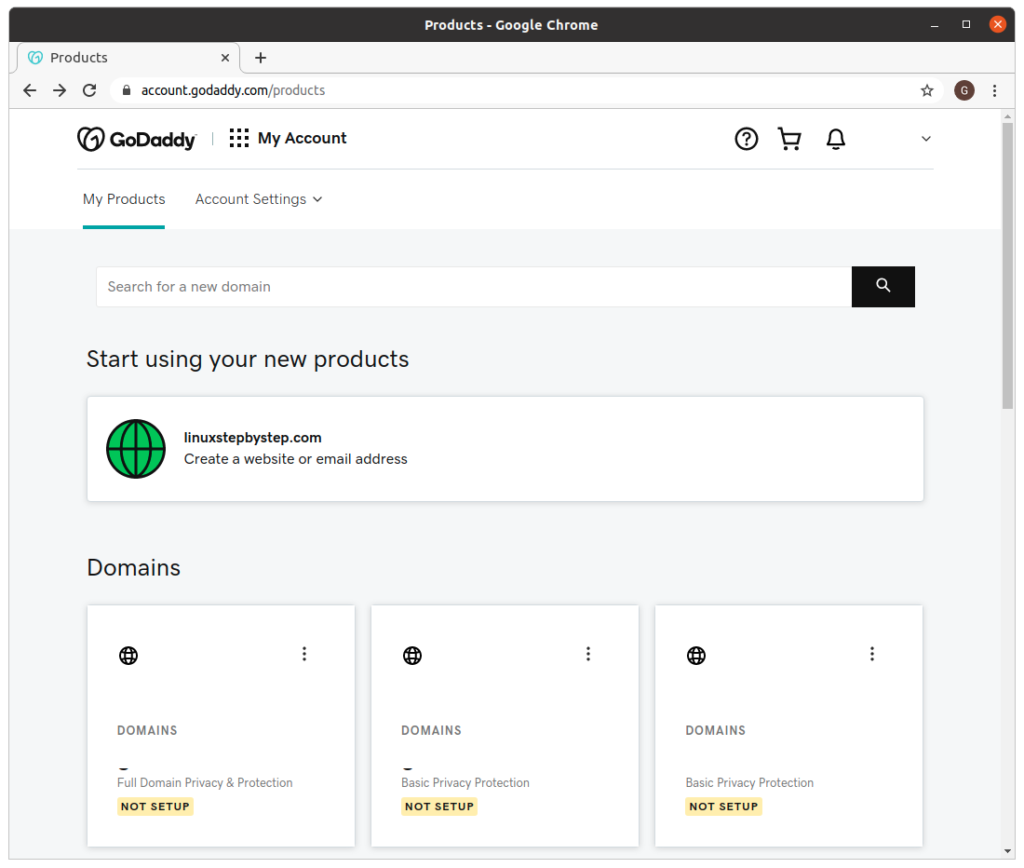
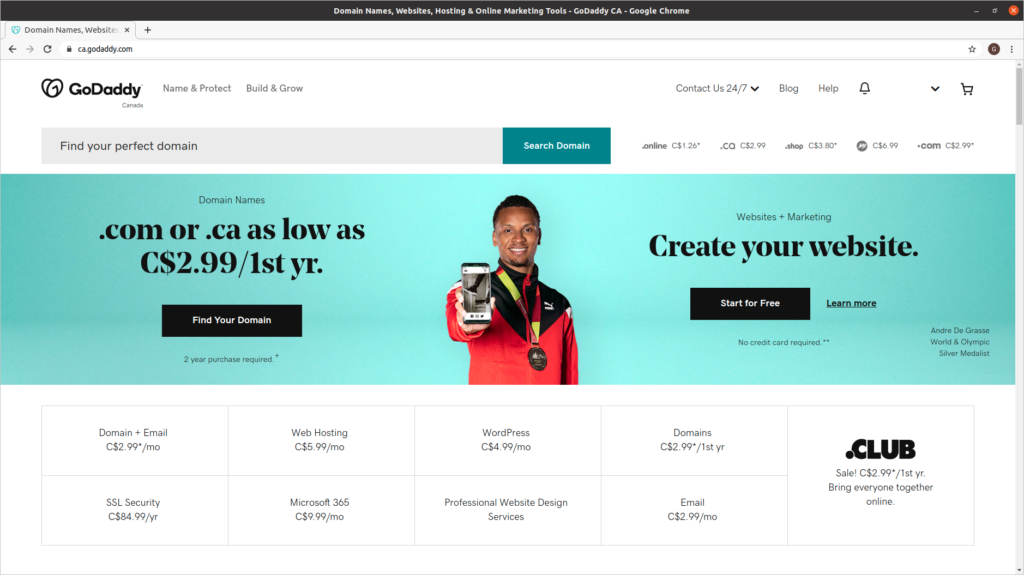
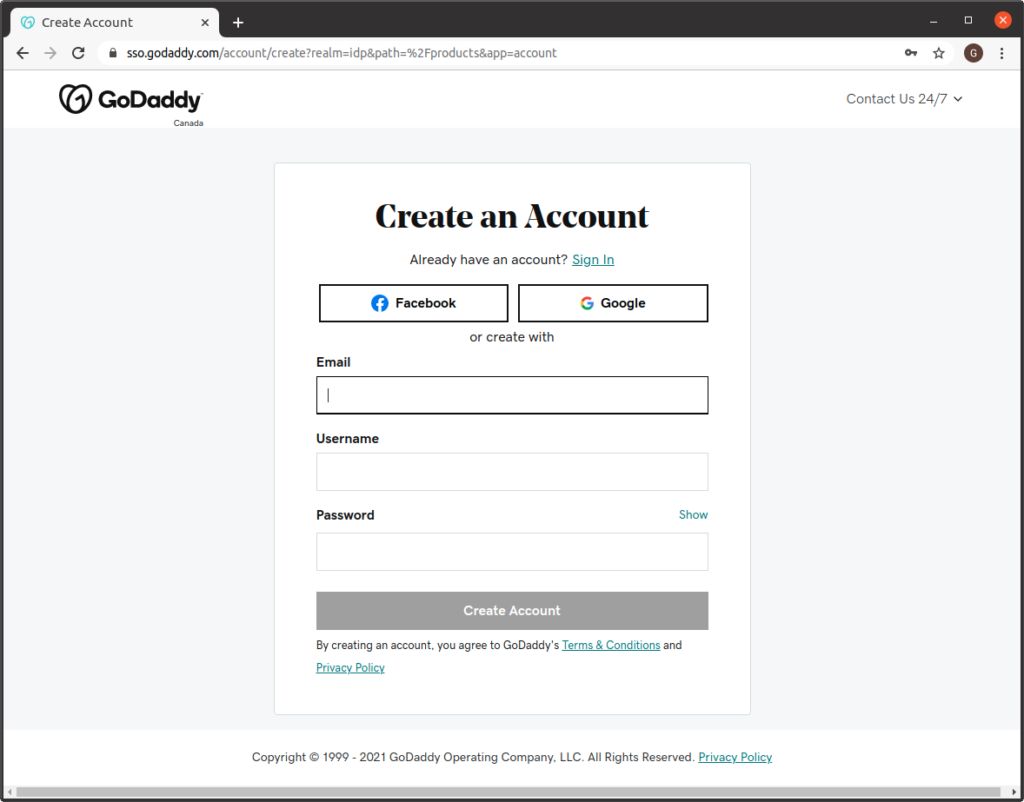
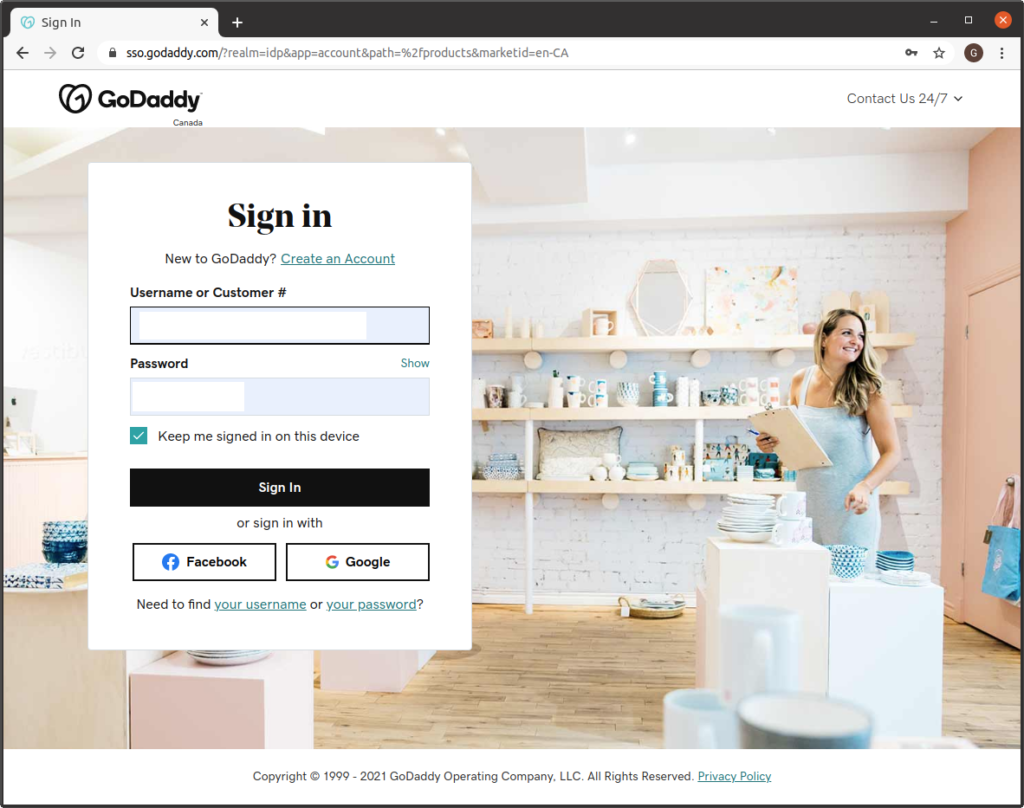
Create an account or sign in to an existing GoDaddy account:

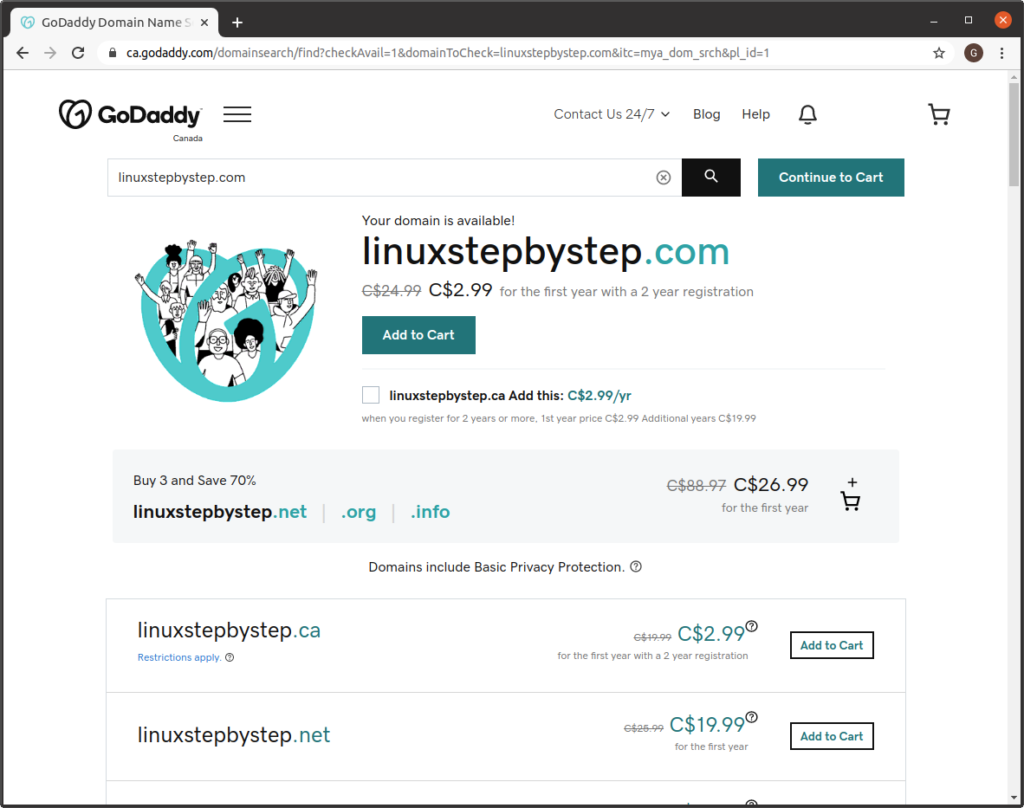
enter the name of the domain you would like:

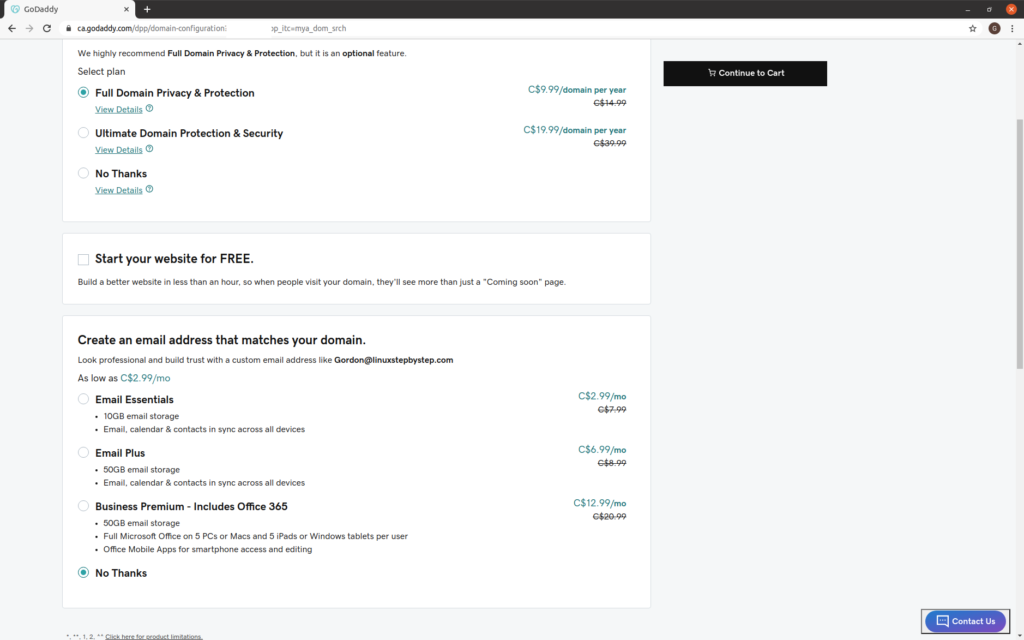
Choose “Full Domain Privacy & Protection.” Do not select “Start your website for FREE.” Do not take optional email services under “Create an email address that matches your domain.” Click “Continue to Cart”:

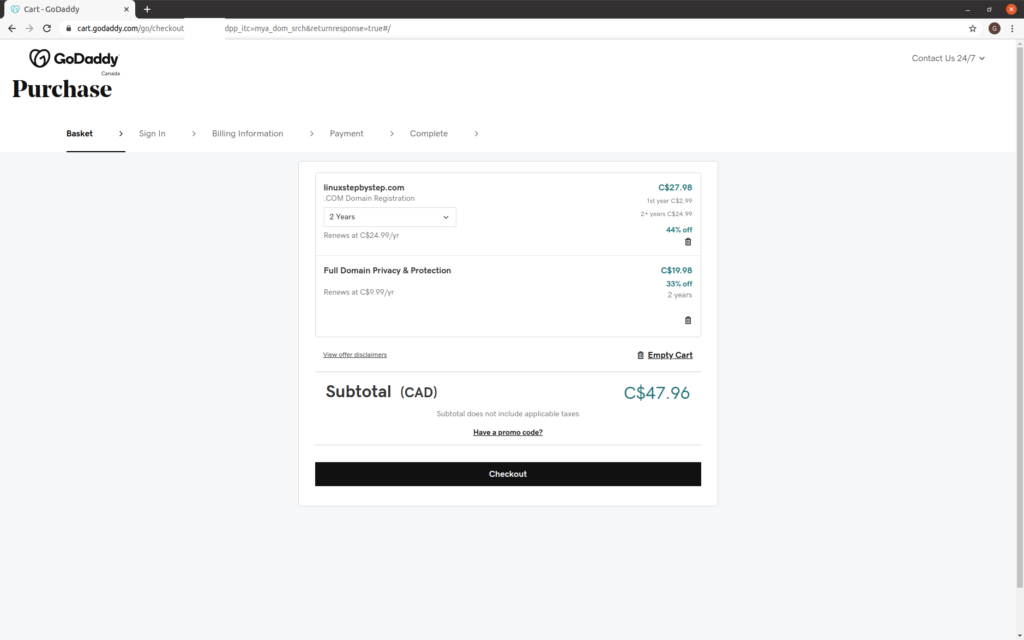
Click “Checkout”:

Click “View Domain Settings”:

Click “Complete setup”:

Select “SMS text messages.” Click Continue:

Enter the code sent by SMS text. Click “Next”:

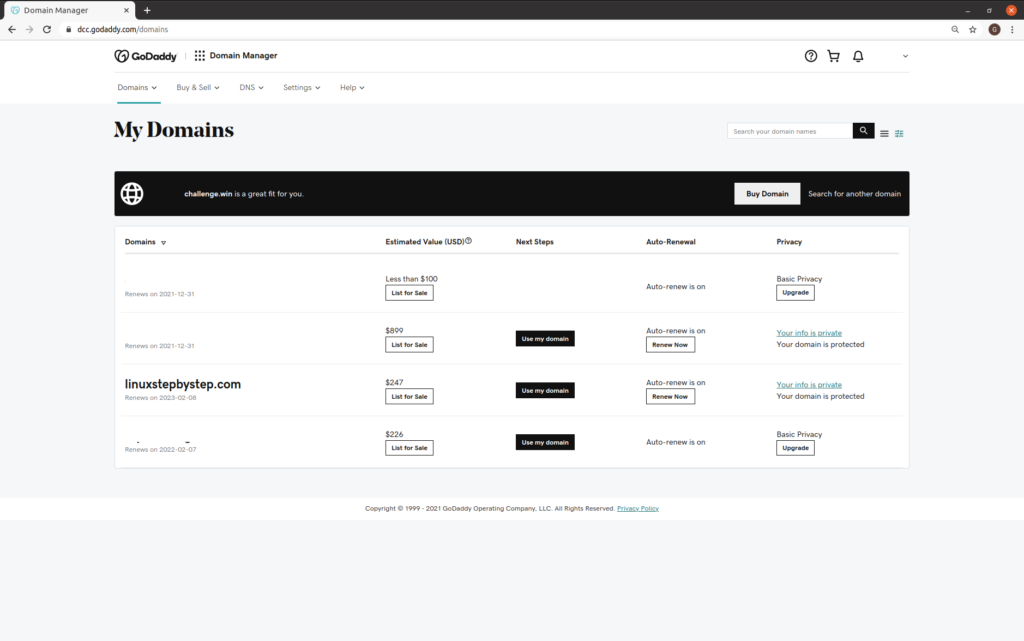
Click “View Domain Settings”:

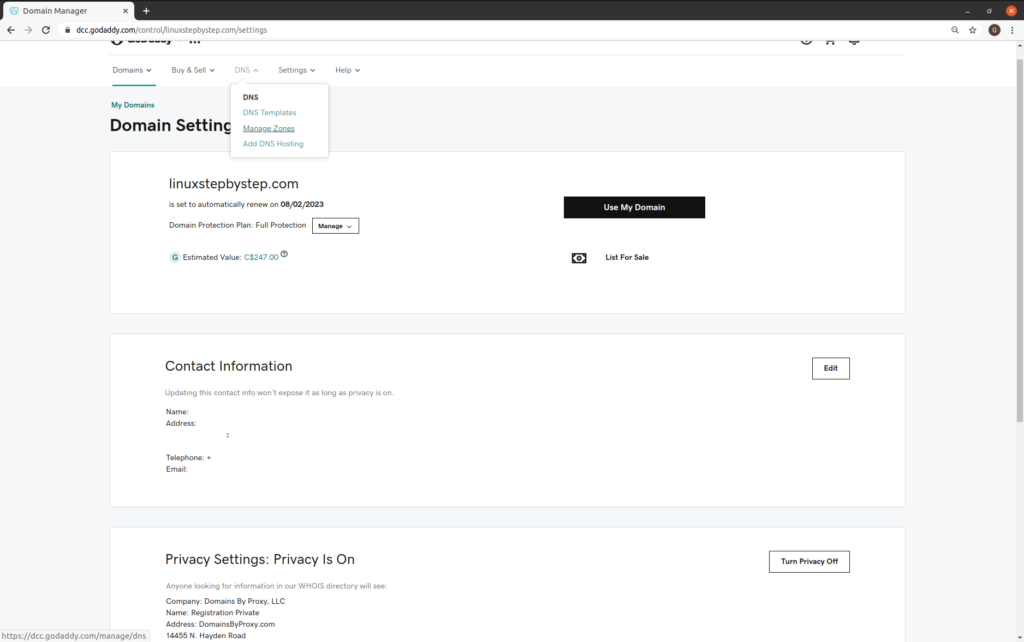
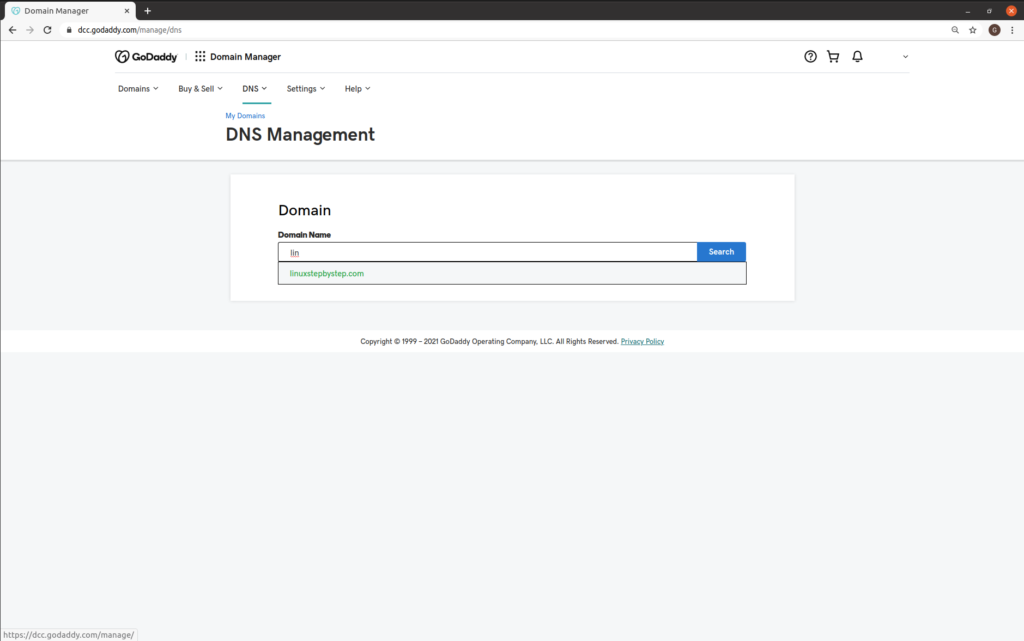
From the DNS menu, select “Manage Zones”:

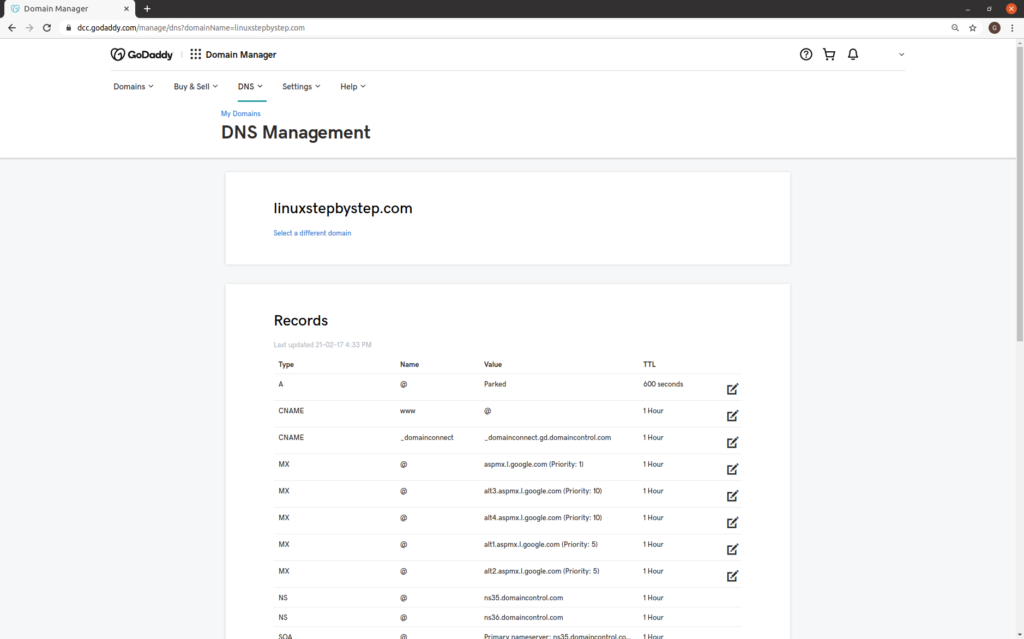
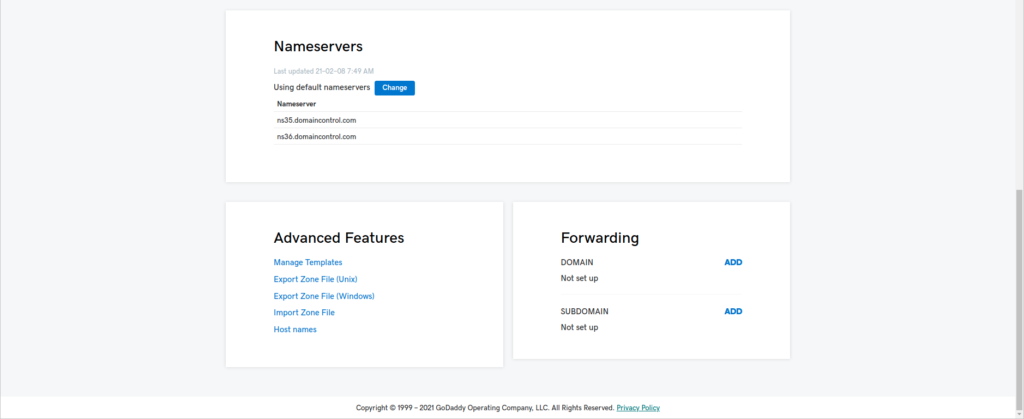
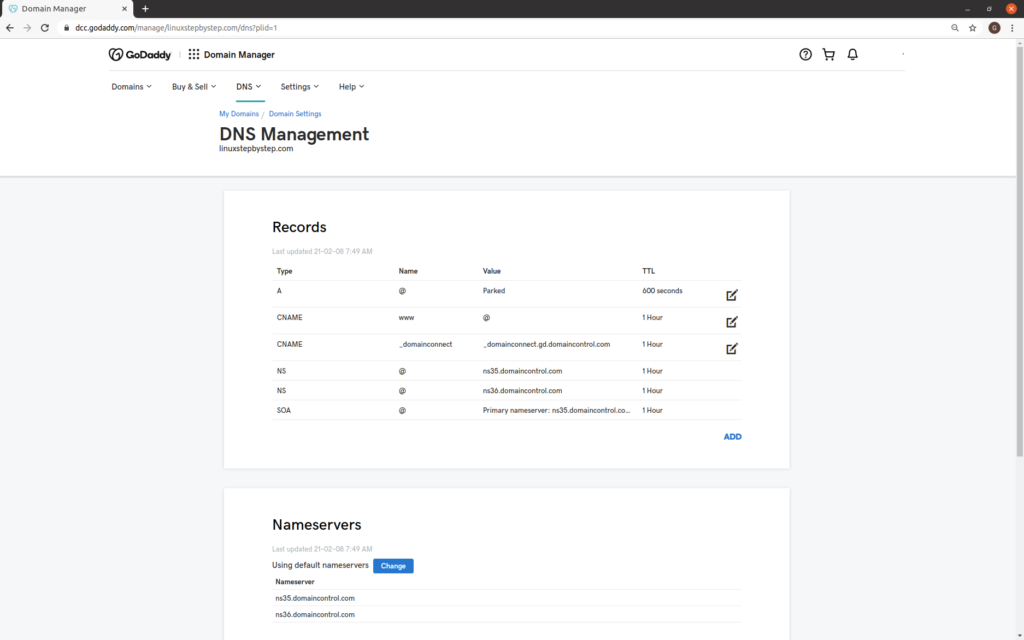
For now, just look. This is your DNS control panel.

You will use the GoDaddy DNS servers to control your domain in later steps.

Next step: Chapter 2: Buying branded email from Gmail

Fedora 33 broke my UEFI boot

Recently, I read that a kernel update in Fedora 32 had resolved a problem with HDMI audio and Nouveau video drivers (https://bugzilla.kernel.org/show_bug.cgi?id=207223). My plan was to use the “live” distribution of Fedora 33 to test HDMI audio. I burned a USB stick, and tried to boot. “Selected boot image did not authenticate.” Worse still, the UEFI order in my motherboard was changed: the system booted to Windows. I had to use a UEFI utility to change my UEFI boot device order to restore the multiple-boot menu offering a choice between Linux and Windows.

Live distributions should be safer than this

Live distributions are supposed to be a safe way to evaluate an operating system. Now I cannot recommend that somebody try a Fedora USB stick until I have tested that version.

UEFI is important

I use UEFI/Secure Boot on my laptops because it enables multiple-boot menus with grub2. This allows me to see a menu at boot time offering a choice between Linux and Windows. UEFI is also important because some modern system like NVMe drives require UEFI.

The worst part is… they knew

https://bugzilla.redhat.com/show_bug.cgi?id=1883609#c73

Adam Williamson 2020-10-22 21:42:08 UTC

“To clear up blocker status here: after FESCo retracted it as a FESCo blocker – see https://bugzilla.redhat.com/show_bug.cgi?id=1883609#c66 – this was voted on under the normal criteria process in the Go/No-Go meeting today:

https://meetbot-raw.fedoraproject.org/fedora-meeting-1/2020-10-22/f33-final-go_no_go-meeting.2020-10-22-17.00.log.html

and rejected as a blocker more or less on the grounds that the majority of voters didn’t think enough people would run into it before Fedora 34 release, and that we can potentially release a subset or full set of rebuilt/updated images at some point during the 33 cycle if it is considered necessary.

Our current best understanding is that Ubuntu was shipping the DBX update to users (whether all or some subset) at some point but has now stopped doing that, and Microsoft will not ship the DBX update until Q2 2021.”

Linux, Bluetooth, and sound

Linux can provide a fast, secure, and modern desktop computing experience. However, Bluetooth audio on Linux sucks.

Bluetooth audio cuts out intermittently

If you experience 1 second gaps of silence approximately every 300 seconds of Bluetooth audio playback, this post may help you.

Try adding this line to the /etc/modprobe.d/alsa-base.conf file

sudo su
cd /etc/modprobe.d
nano alsa-base.conf

add this line:

options snd-hda-intel model=generic

save and exit
reboot

Can you use a wire instead?

A dear friend, of the same generation that refers to “Walkman jacks,” first helped solve this problem for audio at work from my personal laptop: by gifting a sound bar that can plug into an actual 1/8″ analog audio headphone jack.

(My friend also sent a USB-C plug to 1/8″ analog audio jack adapter, which I do not yet need, but have packed into my accessories bag, for use in the near future, when my next laptop will have even fewer ports.)

J&D USB C to 3.5mm Audio Adapter, USB Type C to 3.5mm Headphone, and Widely Compatible for Google, Samsung, Huawei, Moto, ...

No Bluetooth microphone support for Linux

There are technical and historical reasons for why there is no Linux driver support for Bluetooth microphones. My suggestion is to invest in a wired USB headset. Logitech is a safe choice.

Experimenting with Linux as a desktop operating system

There are several ways to experiment with Linux as a desktop operating system without making a full commitment to re-formatting your laptop, or giving up access to Windows. This post aims to provide ideas and a roadmap for a current Windows consumer considering a switch to desktop Linux, but unsure how or where to start.

Links for Ubuntu and Fedora distributions

https://releases.ubuntu.com/20.10/

https://getfedora.org/en/workstation/download/

There are many distributions of desktop Linux. I suggest you start with Ubuntu or Fedora.

Running Linux as a live desktop boot on a USB stick

The live version of Linux on a USB stick is useful to test the hardware on your laptop, and to get an idea of how a Linux distribution feels hands-on. The interface on Mint, for example, is quite different from the Gnome 3 desktop experience on Fedora and Ubuntu.

An example: the boot screen of a “live” distribution of Ubuntu. If you click “Try Ubuntu” the operating system will run using the USB stick as its storage.

The live version of Linux on a USB stick is impractical for day-to-day use.

(If your laptop’s SATA controller is configured for RAID mode, you will still be able to boot the live operating system from the Linux installer on a USB stick. However, you will not be able to read files on the Windows hard drive, or install Linux to the hard drive. See below for more details regarding SATA drive controllers, RAID mode, and AHCI mode.)

Running Linux as a virtual machine (VM) guest under VMware Workstation Player Free for Windows

VMware Workstation Player Free for Windows is proprietary software, but is available free of charge for personal, non-commercial use. This software offers good performance and a smooth experience.

https://www.vmware.com/ca/products/workstation-player/workstation-player-evaluation.html

Running Linux on an older, secondary machine

On average, people upgrade their personal laptop every 5 years. If you buy a new laptop, consider backing up your old laptop, then reformatting the old laptop with Linux. The old machine will get a new lease on life: Linux will run faster than Windows on the same hardware. This approach allows you to experiment with Linux without committing yourself.

Checking the SATA drive controller mode in BIOS: RAID vs AHCI

(Warning: Windows partition will be unusable after changing SATA mode to AHCI, do your backup first!)

If you intend to format a computer with Linux, you need to go into the BIOS and change the SATA drive controller from RAID mode to AHCI mode.

Go into the BIOS of the laptop by pressing F2 during bootup, and change the SATA controller mode from RAID to AHCI.

Many howtos on creating multiple-boot between Windows and Linux are now obsolete

Many of the existing howtos describing how to create a multiple-boot between Windows and Linux are now obsolete. In the past 3 years, laptop motherboards have been shipping with the SATA hard drive controller set by default to RAID instead of AHCI. Changing the SATA controller mode from RAID to AHCI renders an existing Windows installation unusable. These howtos rely on resizing an existing Windows partition to create unallocated space for a Linux install. There is, however, little point in preserving a broken Windows installation.

Formatting a computer with Windows and Linux in dual-boot mode

It is possible to install Windows and Linux in a multiple-boot configuration. However this requires backing up the unique data (documents and other unique files) from the existing Windows installation, changing the SATA controller mode, doing a fresh baremetal Windows install on part of the drive space, and doing a fresh baremetal install of Linux on another part of the drive space.

Checking whether a system is set for UEFI or Legacy/BIOS mode

Check the laptop’s BIOS to determine whether the system is set for UEFI or Legacy/BIOS mode. If the system is in Legacy/BIOS mode, change the setting to UEFI mode. This will be needed later, when the Linux installer creates a multiple-boot menu using grub2.

Installing the Windows baremetal partition

Rufus ISO utility

Rufus is an ISO burning utility:

[rufus screenshot]

https://rufus.ie/

Downloading a fresh ISO of Windows 10 from Microsoft

https://www.microsoft.com/en-ca/software-download/windows10ISO

Use Rufus, and specify partition type GPT and target system UEFI-CSM. Burn the USB stick.

Run the Windows installer. Destroy all existing partitions. Then, install Windows in a 200GB partition, but leave the rest of the drive space as “unallocated space.”

Downloading a fresh ISO of Ubuntu 20.04LTS Linux

https://releases.ubuntu.com/20.04/

Use Rufus, and specify partition type GPT and target system UEFI-CSM. Burn the USB stick.

Run the Ubuntu Linux installer. Let the installer use the remaining “unallocated space” on the hard drive.

Linux will install with a multiple-boot menu

Linux will also install a multiple-boot menu that appears when you start the computer. By default, Ubuntu Linux will boot first, but you can choose Windows as the boot within 10 seconds.

Consider Running Windows as a virtual machine (VM) guest under KVM/qemu on a Linux desktop

see my presentation on this subject:

Fedora 33: Fedora version upgrade breaks a production web server, and Fedora’s reputation for smooth version upgrades

My brother hosts his personal website and blog malak.ca on a baremetal DSL server. My brother uses Fedora on his laptop and server.

A perfectly good pre-fork mod_php MPM-ITK PHP handler was in place, and serving web pages.

Upon reboot after the major version upgrade, the web server was showing error 503 for PHP requests on the blog. The config files were a mismatched mess, so we ended up having to do a baremetal format. My brother keeps his data on a separate drive so the baremetal evac only involved a mysql dump file and a few config files, but still.

Note this post about Fedora 33: “Several relatively controversial changes are currently under discussion on the project’s mailing lists…”

https://lwn.net/Articles/824620/

“The default doesn’t matter, there’s absolutely no reason to take away the sysadmin’s choice here. There are at least 40 servers I personally am responsible for where I see no reason to move from mod_php to php-fpm, for example.” John M. Harris Jr.

I was a CentOS web server admin for many years, and used Fedora on my personal laptop until last year. My brother ran CentOS in the past, but towards the end of the Long Term Support (LTS) cycle, CentOS had absurdly outdated but security-patched versions of libraries. My brother started using Fedora on his web server, and we have been able to do several major version upgrades without incident. The reliability of this upgrade process is what made Fedora suitable for a web server.

Ubuntu has trouble with major version upgrades. On some Ubuntu version upgrades, the installer freezes, requiring that a rescue kernel be entered, apt-get update –fix-missing, dpkg –repair, and other exotic interventions take place before the upgrade process can be resumed and completed.

By comparison, Fedora version upgrading has a better track record, and is usually smooth. A technical error or unforeseen incompatibility would be understandable. A deliberate policy choice to break production web servers to enforce a policy opinion: not cool.

Fortunately, Remi RPM has come to the rescue:

https://rpms.remirepo.net/

https://rpmfind.net/linux/rpm2html/search.php?query=mod_php

Read my brother’s post on this:

Dell XPS 13 (9300): considerations for Linux

The Dell XPS 13 (9300) is a high-end laptop designed for Windows, which can be reformatted to run Linux.

You can pay as much as you want, or you can be patient

My patience was rewarded with a chance to buy a full spec system at a good price on a factory refurb with full warranty. So the lesson is: you can pay as much as you want. In addition to being a factory refurb, this model is now technically obsolete: a refreshed model Dell XPS 13 (9310) with a slightly newer CPU was announced in October 2020. See my blog post about the eBay Global Shipping Program run by Pitney Bowes:

The best computer is the one you have with you

Before this purchase, my main personal laptop was a 15.6” i7-4712HQ laptop 16GB RAM 1TB SSD, which is usually connected to a monitor, keyboard, and mouse on a desk at home.

However, when leaving the house, I have usually reached for my 11.6” netbook – a single-core Celeron (essentially a 64 bit Atom) with 4GB RAM and a 64GB MMC.

The golf cart of computers

This system is the golf cart of computers, but with enough performance tuning, can provide acceptable performance under Linux.

So I knew that my next personal computer purchase had to be small.

More power

For this new purchase, I needed the horsepower of a server: lots of CPU cores, lots of RAM, lots of SSD drive space.

The Dell XPS 13 (9300) has a 13.4” screen, but fits into the Amazon Basics 11.6” Laptop Sleeve:

Specifications

This machine has some serious horsepower. I waited till i could get 32GB of low-powered DDR RAM in this small a laptop, only available as of the 10th generation Intel Ice Lake processor.

Intel i7-1065G7 CPU (4 dual-thread cores)

32GB RAM

1TB SSD

13.4” 4K touchscreen

USB-C/Thunderbolt 3 docking stations, dongles, and the BIOS compatibility issue

There are discussions on Reddit and other places that allude to compatibility problems between the Dell XPS 13 (9300) and certain USB-C/Thunderbolt 3 docking stations. My first USB-C dongle purchase, which worked with a Dell XPS 15 (9550), was not compatible with the Dell XPS 13 (9300). Several posts on Reddit said this was a known issue and spoke of rumors of a Dell XPS 13 BIOS update in November 2020. However, I was able to find a part that is compatible:

Dell support for Linux hardware drivers

Dell offers support for Ubuntu 20.04LTS hardware drivers for this model. There are apt repositories offered by Dell. However, i found that Ubuntu 20.04LTS detected all of the hardware, aside from the fingerprint reader, which required an apt repo:

Dell deserves credit for building a system which is so Linux-friendly.

Dell is still Windows-centric for utilities like Dell Update and BIOS firmware updates

Dell has done a great job in supporting desktop Linux on the Dell XPS 13 (9300). However, some things are still Windows-centric: the Dell Update utility, and the BIOS and firmware updates provided by Dell, assume you are running Windows. For this reason alone, you should consider formatting your system as dual-boot between Windows and Linux baremetal partitions.

Formatting the Dell XPS 13 for dual boot between Windows and Linux

This Dell XPS 13 came with a “digital license” for Windows 10 Pro. If you buy a new laptop, it is almost certainly associated with a license for Windows 10 Home or Windows 10 Pro that will activate as soon as you reformat.

Run the factory-installed Windows to test the hardware

The Dell XPS 13 (9300) shipped with a factory-installed copy of Windows 10 Pro.

If you buy the Dell XPS 13 (9300) for use with Linux, I suggest that you run it on the factory-installed Windows first. Test the hardware: connect to the Internet, play a video. Then run the Dell Update utility to see if there are any updates, especially firmware or BIOS updates, you will need.

RAID vs AHCI setting in BIOS for Linux

If you intend to reformat this computer with Linux, you need to go into the BIOS and change the SATA drive controller from RAID mode to AHCI mode.

Change the SATA controller from RAID to AHCI in BIOS

Go into the BIOS of the laptop by pressing F2 during bootup, and change the SATA controller mode from RAID to AHCI.

Stay in UEFI mode

It may be tempting to switch to Legacy BIOS mode, but stay in UEFI mode: it will help Linux to create a multiple-boot menu later on during the build.

Creating a bootable USB-C memory stick installer (I used a USB-C micro-SD card reader)

I found that even with a USB-C male to USB-A female adapter, i was unable to boot from a USB-A memory stick. I was almost able to boot from a micro-SD card (after enabling the option in BIOS). However, I received a device driver error from the Windows 10 installer. I succeeded with a micro-SD card in a USB-C adapter:

(I assume there is such a thing as a USB-C memory stick, but they are not yet common.)

Rufus ISO utility

Rufus is an ISO burning utility:

[rufus screenshot]

https://rufus.ie/

Download a fresh ISO of Windows 10 from Microsoft:

https://www.microsoft.com/en-ca/software-download/windows10ISO

Use Rufus, and specify partion type GPT and target system UEFI-CSM. Burn the micro-SD card.

Run the Windows installer. Destroy all existing partitions. Then, install Windows in a 200GB partition, but leave the rest of the drive space as “unallocated space.”

Download a fresh ISO of Ubuntu 20.04LTS Linux:

https://releases.ubuntu.com/20.04/

Use Rufus, and specify partion type GPT and target system UEFI-CSM. Burn the micro-SD card.

Run the Ubuntu Linux installer. Let the installer use the remaining “unallocated space” on the hard drive.

Linux will install with a multiple-boot menu

It will also install a multiple-boot menu that appears when you start the computer. By default, Ubuntu Linux will boot first, but you can choose Windows as the boot within 10 seconds.

Consider using KVM to host Windows and MacOS under Linux

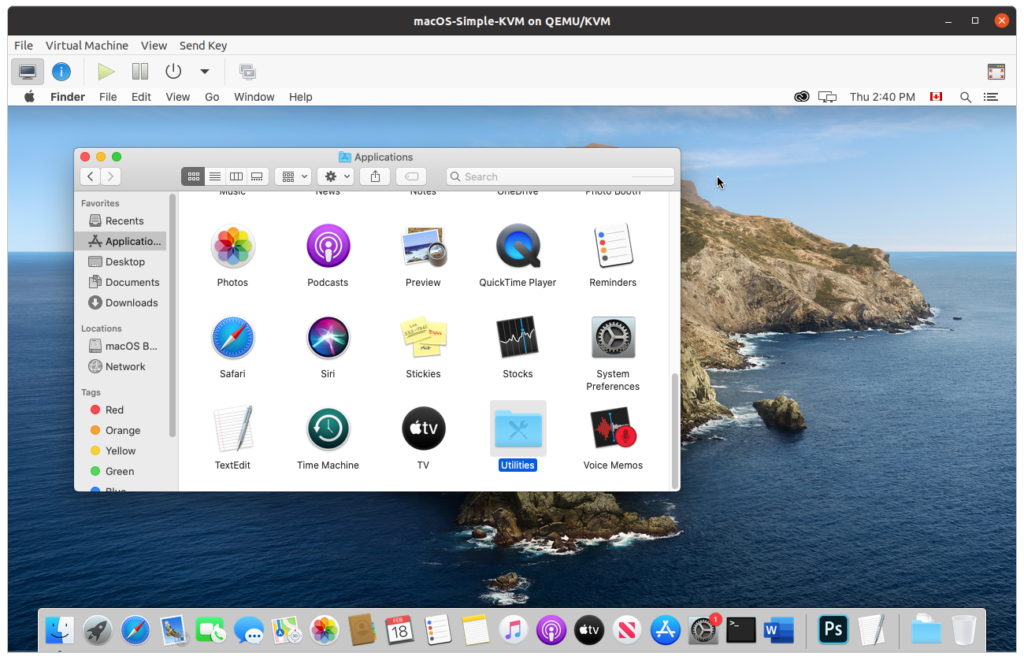
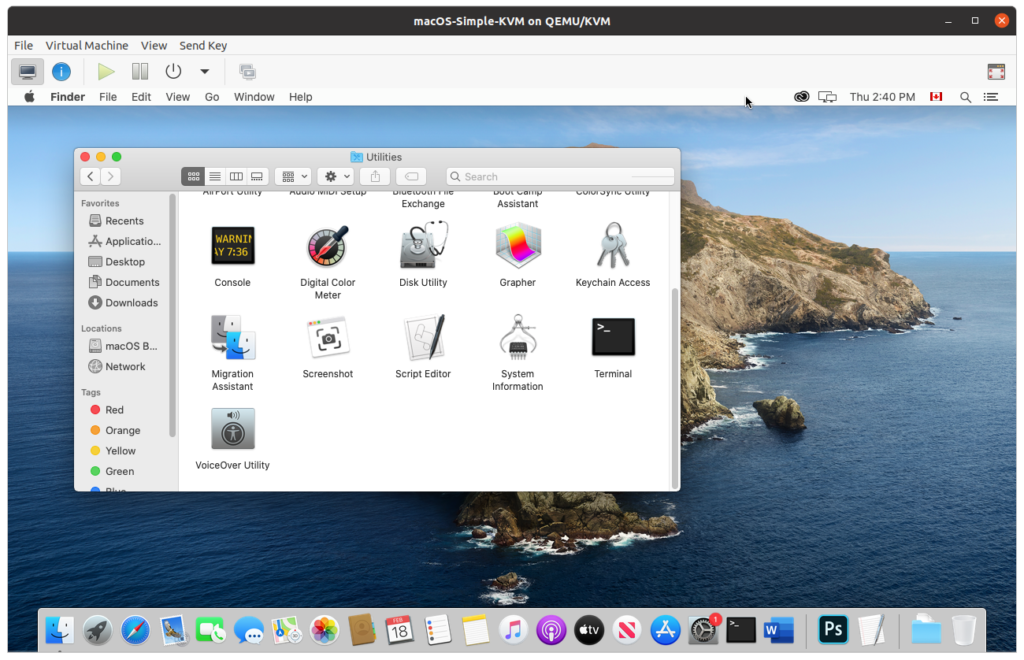
KVM allows you to host Windows, MacOS, and Linux as guest virtual machines under Linux. See my blog post on the subject:

eBay Global Shipping Program (GSP), Pitney Bowes, and 23 days between Kentucky and Canada

US-based merchants on eBay are sometimes cheaper than other sources. Many of these merchants use the eBay Global Shipping Program (GSP) run by Pitney Bowes. The GSP is cheap, slow, frustrating, but effective. I ordered a laptop from a reseller based in North Carolina. The reseller did their part promptly, shipping to the GSP warehouse in Erlanger KY within 2 days. However, after that, the package spent 11 days in limbo, without even a status update. Then it spent 12 days in a bonded warehouse in Canada before being released and shipped to me.
The brotherhood of wealthy middle powers

There is a strange brotherhood of buyers from wealthy middle powers like Canada, the UK, and Australia trading horror stories about the delays in the Global Shipping Program. There are stories about lost packages but for the most part the packages finally arrive. I am grateful to the posters for sharing tracking numbers that reassured that it is possible to not see an update for 2 weeks, then get a parcel delivered with 4 status updates all uploaded to the system at once:

https://www.ecommercebytes.com/C/letters/blog.pl?/pl/2020/7/1595105662.html

https://www.canadapost.ca/trackweb/en#/details/4011220526949650

(local archive: https://blog.gordonbuchan.com/files/eBayGlobalShippingDisappointsCollectiblesBuyer.pdf)

(Power tip: a friend pointed out that some tracking numbers, such as those provided by Canada Post, offer options that can change shipping choices before delivery. So if you do plan to share a tracking number on the Internet, better to wait until your package arrives.)

Re-estimating shipping times based on tracking numbers

Learn to use the eBay, Pitney Bowes, USPS, and your local post office tracking sites. Learn how to pull apart your status number and get statuses on local legs of the trip. Suggestion, use:

https://parcelsapp.com/en

to re-calculate your expected shipping times.

Stressful, but…

I found the Global Shipping Program to be stressful and irritating, but I saved a significant amount of money on a laptop purchase.