
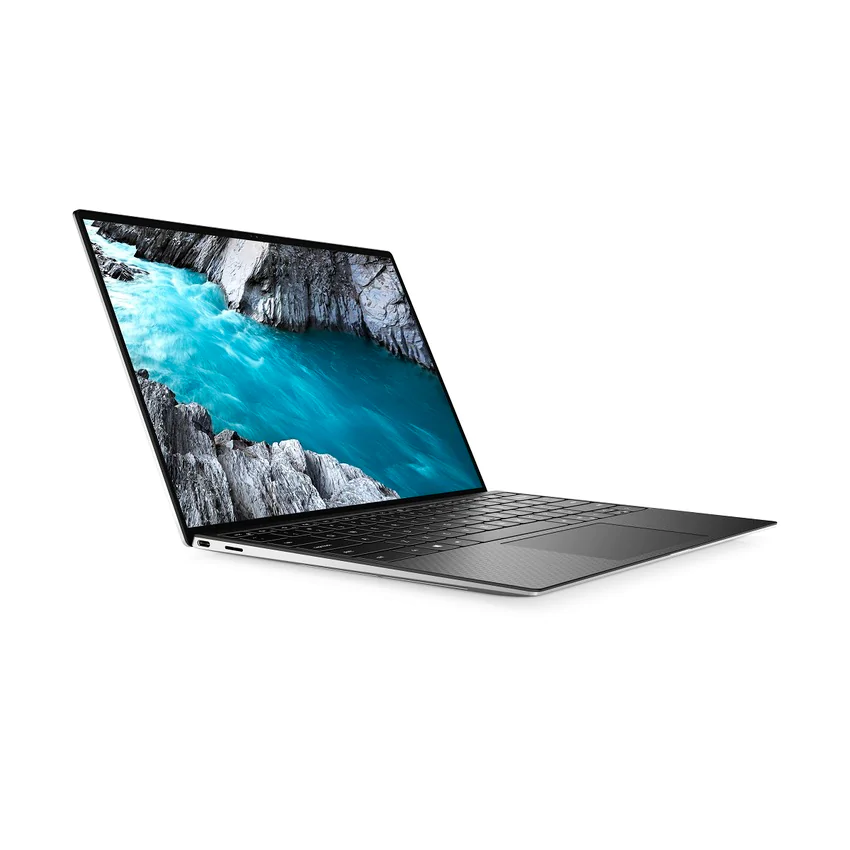
The Dell XPS 13 (9300) is a high-end laptop designed for Windows, which can be reformatted to run Linux.
You can pay as much as you want, or you can be patient
My patience was rewarded with a chance to buy a full spec system at a good price on a factory refurb with full warranty. So the lesson is: you can pay as much as you want. In addition to being a factory refurb, this model is now technically obsolete: a refreshed model Dell XPS 13 (9310) with a slightly newer CPU was announced in October 2020. See my blog post about the eBay Global Shipping Program run by Pitney Bowes:
The best computer is the one you have with you
Before this purchase, my main personal laptop was a 15.6” i7-4712HQ laptop 16GB RAM 1TB SSD, which is usually connected to a monitor, keyboard, and mouse on a desk at home.

However, when leaving the house, I have usually reached for my 11.6” netbook – a single-core Celeron (essentially a 64 bit Atom) with 4GB RAM and a 64GB MMC.
The golf cart of computers
This system is the golf cart of computers, but with enough performance tuning, can provide acceptable performance under Linux.

So I knew that my next personal computer purchase had to be small.
More power
For this new purchase, I needed the horsepower of a server: lots of CPU cores, lots of RAM, lots of SSD drive space.
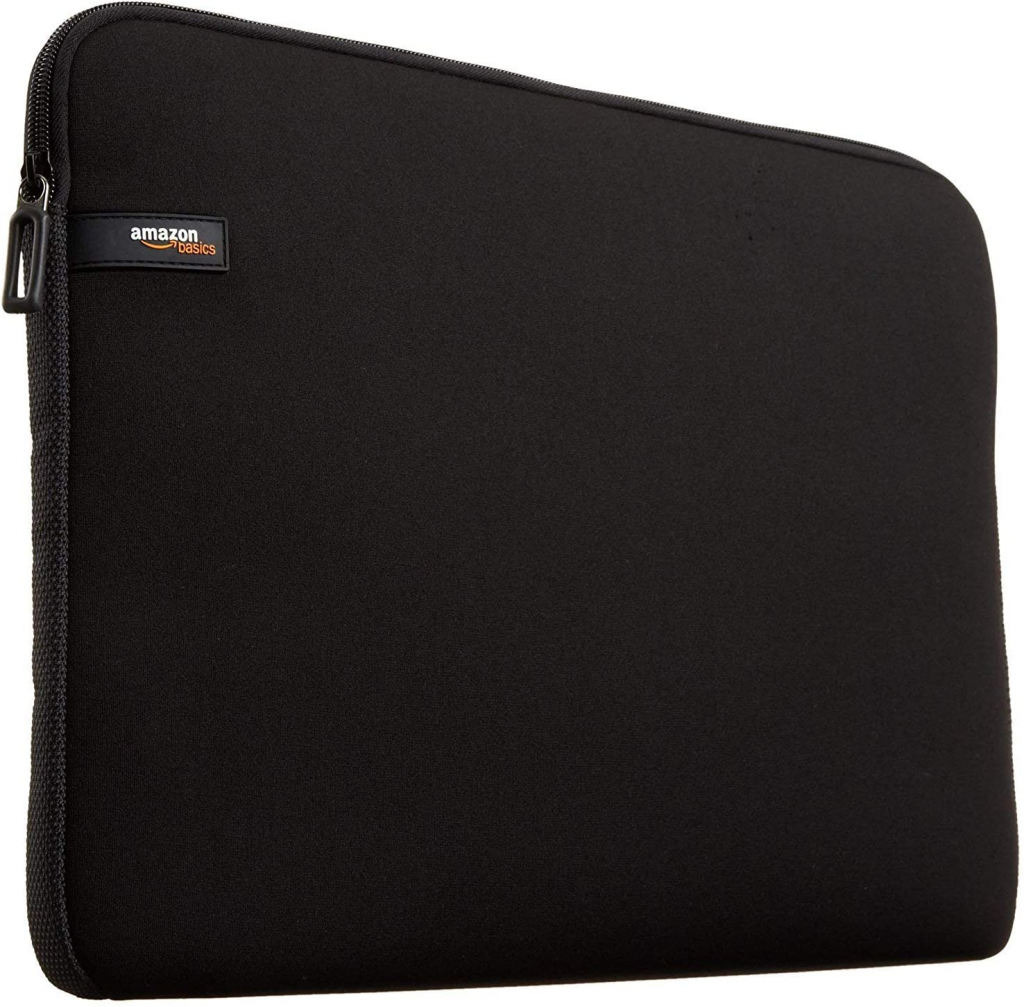
The Dell XPS 13 (9300) has a 13.4” screen, but fits into the Amazon Basics 11.6” Laptop Sleeve:
Specifications
This machine has some serious horsepower. I waited till i could get 32GB of low-powered DDR RAM in this small a laptop, only available as of the 10th generation Intel Ice Lake processor.
Intel i7-1065G7 CPU (4 dual-thread cores)
32GB RAM
1TB SSD
13.4” 4K touchscreen
USB-C/Thunderbolt 3 docking stations, dongles, and the BIOS compatibility issue
There are discussions on Reddit and other places that allude to compatibility problems between the Dell XPS 13 (9300) and certain USB-C/Thunderbolt 3 docking stations. My first USB-C dongle purchase, which worked with a Dell XPS 15 (9550), was not compatible with the Dell XPS 13 (9300). Several posts on Reddit said this was a known issue and spoke of rumors of a Dell XPS 13 BIOS update in November 2020. However, I was able to find a part that is compatible:

Dell support for Linux hardware drivers
Dell offers support for Ubuntu 20.04LTS hardware drivers for this model. There are apt repositories offered by Dell. However, i found that Ubuntu 20.04LTS detected all of the hardware, aside from the fingerprint reader, which required an apt repo:
Dell deserves credit for building a system which is so Linux-friendly.
Dell is still Windows-centric for utilities like Dell Update and BIOS firmware updates
Dell has done a great job in supporting desktop Linux on the Dell XPS 13 (9300). However, some things are still Windows-centric: the Dell Update utility, and the BIOS and firmware updates provided by Dell, assume you are running Windows. For this reason alone, you should consider formatting your system as dual-boot between Windows and Linux baremetal partitions.
Formatting the Dell XPS 13 for dual boot between Windows and Linux
This Dell XPS 13 came with a “digital license” for Windows 10 Pro. If you buy a new laptop, it is almost certainly associated with a license for Windows 10 Home or Windows 10 Pro that will activate as soon as you reformat.
Run the factory-installed Windows to test the hardware
The Dell XPS 13 (9300) shipped with a factory-installed copy of Windows 10 Pro.
If you buy the Dell XPS 13 (9300) for use with Linux, I suggest that you run it on the factory-installed Windows first. Test the hardware: connect to the Internet, play a video. Then run the Dell Update utility to see if there are any updates, especially firmware or BIOS updates, you will need.
RAID vs AHCI setting in BIOS for Linux
If you intend to reformat this computer with Linux, you need to go into the BIOS and change the SATA drive controller from RAID mode to AHCI mode.
Change the SATA controller from RAID to AHCI in BIOS
Go into the BIOS of the laptop by pressing F2 during bootup, and change the SATA controller mode from RAID to AHCI.
Stay in UEFI mode
It may be tempting to switch to Legacy BIOS mode, but stay in UEFI mode: it will help Linux to create a multiple-boot menu later on during the build.
Creating a bootable USB-C memory stick installer (I used a USB-C micro-SD card reader)
I found that even with a USB-C male to USB-A female adapter, i was unable to boot from a USB-A memory stick. I was almost able to boot from a micro-SD card (after enabling the option in BIOS). However, I received a device driver error from the Windows 10 installer. I succeeded with a micro-SD card in a USB-C adapter:
(I assume there is such a thing as a USB-C memory stick, but they are not yet common.)
Rufus ISO utility
Rufus is an ISO burning utility:
![[rufus screenshot]](https://rufus.ie/pics/rufus_en.png)
Download a fresh ISO of Windows 10 from Microsoft:
https://www.microsoft.com/en-ca/software-download/windows10ISO
Use Rufus, and specify partion type GPT and target system UEFI-CSM. Burn the micro-SD card.
Run the Windows installer. Destroy all existing partitions. Then, install Windows in a 200GB partition, but leave the rest of the drive space as “unallocated space.”
Download a fresh ISO of Ubuntu 20.04LTS Linux:
https://releases.ubuntu.com/20.04/
Use Rufus, and specify partion type GPT and target system UEFI-CSM. Burn the micro-SD card.
Run the Ubuntu Linux installer. Let the installer use the remaining “unallocated space” on the hard drive.
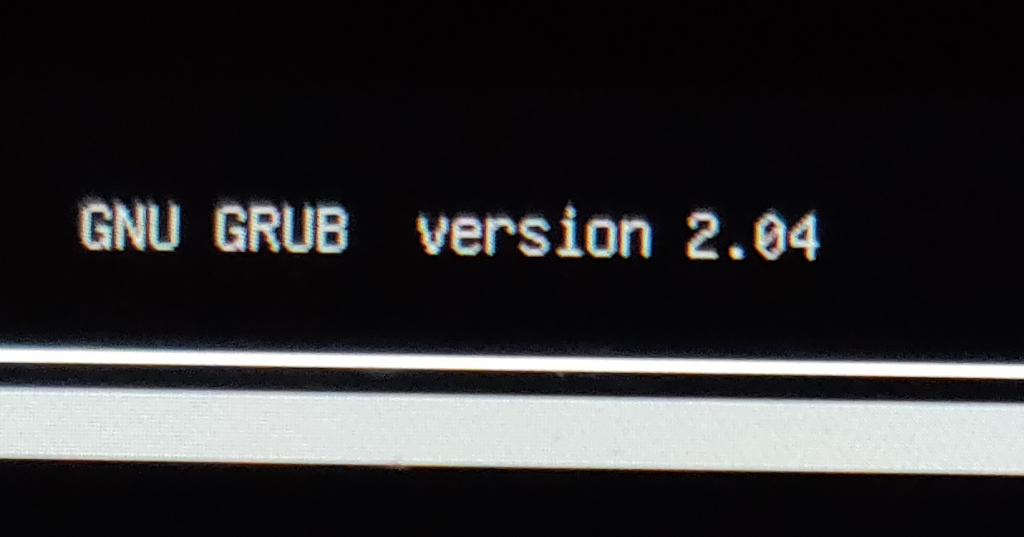
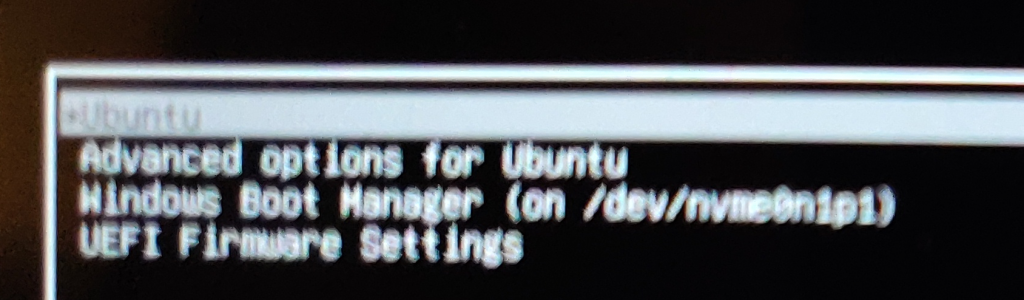
Linux will install with a multiple-boot menu
It will also install a multiple-boot menu that appears when you start the computer. By default, Ubuntu Linux will boot first, but you can choose Windows as the boot within 10 seconds.
Consider using KVM to host Windows and MacOS under Linux
KVM allows you to host Windows, MacOS, and Linux as guest virtual machines under Linux. See my blog post on the subject: