In this post, we install the Ollama LLM hosting software, and load a large language model (LLM), a 5GB file produced by a company called Mistral. We then test local inference, interacting with the model at the command line. We send test queries to the application protocol interface (API) server. We install an application called Open-WebUI that enables a web chat interface to the LLM.
Note: this procedure references the mistral model. however, you can specify other models, such as dolphin-mistral. Consult the following page for available models. Try to limit your choices to 7B complexity, unless you have a GPU.
https://ollama.com/library?sort=newest
Using the CPU servers we have now
Until 2023, graphical processing units (GPUs) were only of interest to video gamers, animators, and mechanical designers. There is now an imperative for GPU resources on most new servers going forward, for local inference and retrieval augmented generation (RAG). However we will need to devise an interim approach to use the CPU-centric servers we have, even for some AI inference tasks, until the capex cycles have refreshed in 3-4 years from now. On a CPU-only system, the system response time for a query can range from 2-5 seconds to 30-40 seconds. This level of performance may be acceptable for some use cases, including scripted tasks for which a 40 second delay is not material. Deploying this solution on a system with even a modest Nvidia GPU will result in dramatic increases in performance.
Why host an LLM locally
- To learn how LLMs are built
- To achieve data sovereignty by operating on a private system
- To save expense by avoiding the need for external LLM vendors
Preparing a computer for deployment
This procedure was tested on Ubuntu Server 24.04. Baremetal is better than a virtual machine for this use case, allowing the software to access all of the resources of the host system. In terms of resources, you will need a relatively powerful CPU, like an i7, and 16-32GB of RAM.
Note: the version of Python required by Open-WebUI is Python 3.12, which is supported by default in Ubuntu Server 24.04 LTS. If you are on an older version of the operating, you can install a newer version of Python using a PPA.
Do you need a GPU?
No, but a GPU will make your inference noticeably faster. If you have an Nvidia GPU, ensure that you have Nvidia CUDA drivers enabled. If you have an AMD GPU, ensure that you have AMD ROCM drivers. There is some talk of support for Intel GPUs but none of it is yet practical.
Note: if you have an Nvidia GPU, you may want to consider vLLM.
Ollama is able to work on a CPU-only system
Ollama is able to work on a CPU-only system, and that is what we will implement in this post. Ollama is able to achieve performance that may be acceptable for certain kinds of operations. For example, large batch operations that run overnight, that can accept a 30-60 second delay versus 2-10 seconds for a GPU-driven solution. For some questions, like “why is the sky blue?’ an answer will start immediately. For more complex questions, there may be a 5-10 second delay before answering, and the text will arrive slowly enough to remind you of 300 baud modems (for those of you who get that reference). The wonder of a dancing bear is not in how well it dances, but that it dances at all. This level of performance may be acceptable for some use cases, in particular batched operations and programmatic access via a custom function invoking commands sent to the API server.
Escalating to root using sudo
From a shell, enter the following command:
sudo su
(enter the password when requested)
Opening ports in the UFW firewall
You may need to open ports on the UFW firewall to enable the chat client.
Enter the following commands:
ufw allow 11434/tcp
ufw allow 8080/tcp
Ensuring that the system is up to date
Enter the following commands:
apt clean
apt update
apt upgrade
apt install curl python3-venv python3-pip ffmpeg
A note re RHEL and variants like Fedora and AlmaLinux
Although this procedure has not been tested on RHEL and variants like Fedora and AlmaLinux, I looked at the installation script and those platforms are supported. In theory, you could configure an RHEL-type system by using equivalent firewall-cmd and dnf commands.
Installing Ollama using the installation script
Ollama provides an installation script that automates the installation. From a shell as root, enter the following command:
curl -fsSL https://ollama.com/install.sh | sh

Pulling the mistral image
Enter the following command:
ollama pull mistral

Listing the images available
Enter the following command:
ollama list

Testing Ollama and the LLM using the command line
Enter the following command. Test the chat interface on the command line in the shell:
ollama run mistral

Testing the API server using curl
Enter the following commands:
systemctl restart ollama
systemctl status ollama
systemctl enable ollama
curl http://localhost:11434/api/generate -d '{
"model": "mistral",
"prompt":"Why is the sky blue?"
}'

Enter the following command:
curl http://localhost:11434/api/chat -d '{
"model": "mistral",
"messages": [
{ "role": "user", "content": "why is the sky blue?" }
]
}'

Preparing the system for Open-WebUI
To prepare the system for Open-WebUI, we must create a working directory, and create a venv (virtual python environment).
Enter the following commands:
cd ~
pwd
mkdir ollamatmp
cd ollamatmp
python3 -m venv ollama_env
source ollama_env/bin/activate
pip install open-webui


Starting the open-webui serve process
Enter the following command:
open-webui serve


Visiting the Open-WebUI web page interface
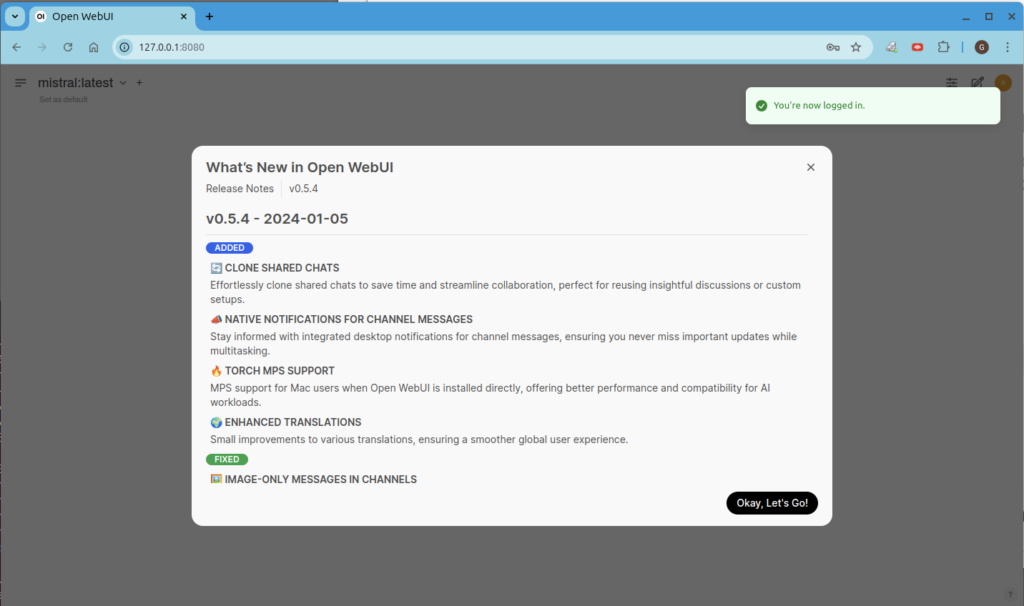
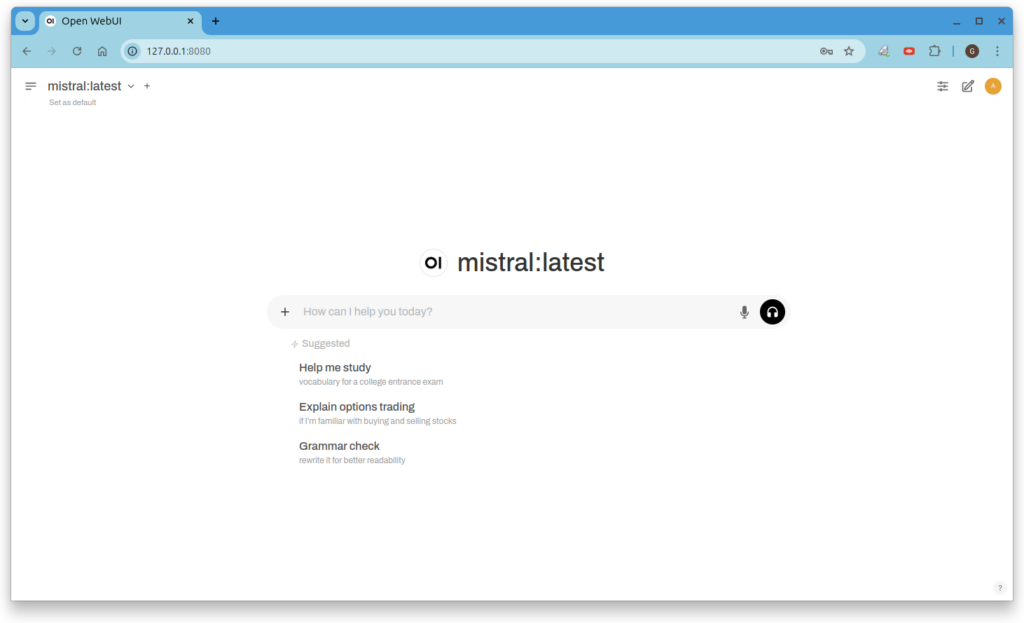
Using a web browser, visit this address:
You will be prompted to create an admin account:


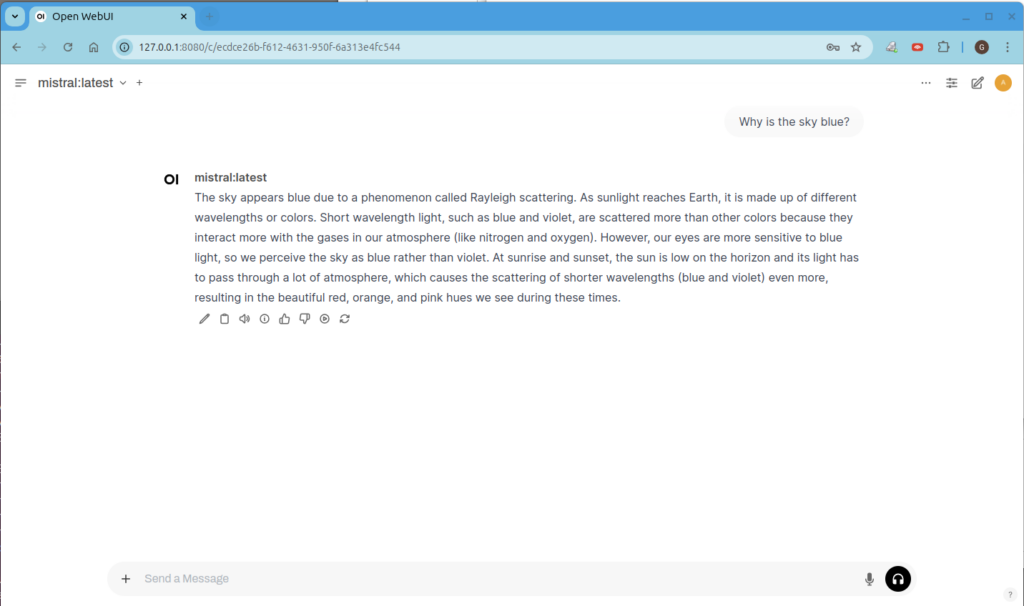
Using the Open-WebUI chat interface

This window took 30 seconds to begin showing its answer, then another 20 seconds to complete generating the answer:

Using nginx as a proxy to expose the API port to the local network
By default, the Ollama API server answers on port 11434 but only on the local address 127.0.0.1. You can use nginx as a proxy to expose the API to the local network. Enter the following commands:
ufw allow 8085/tcp
apt install nginx
cd /etc/nginx/sites-enabled
nano default
Use the nano editor to add the following text:
server {
    listen 8085;

    location / {
        proxy_pass http://127.0.0.1:11434;  # Replace with your Ollama API port
        proxy_http_version 1.1;
        proxy_set_header Upgrade $http_upgrade;
        proxy_set_header Connection 'upgrade';
        proxy_set_header Host $host;
        proxy_cache_bypass $http_upgrade;

        # Optional: Add timeout settings for long-running API calls
        proxy_connect_timeout 60s;
        proxy_read_timeout 60s;
        proxy_send_timeout 60s;
    }
}
Save and exit the file.
Enter this command:
systemctl restart nginx
Testing the exposed API port from another computer
From another computer, enter the command (where xxx.xxx.xxx.xxx is the IP address of the computer hosting the Ollama API server):
curl http://xxx.xxx.xxx.xxx:8085/api/chat -d '{
"model": "mistral",
"messages": [
{ "role": "user", "content": "why is the sky blue?" }
]
}'
Creating a systemd service to start the Open-WebUI chat interface automatically
Enter the following command:
nano /etc/systemd/system/open-webui.service
Use the nano editor to add the following text:
[Unit]
Description=Open-WebUI Service
After=network.target

[Service]
User=root
WorkingDirectory=/root/ollamatmp/ollama_env
ExecStart=/usr/bin/bash -c "source /root/ollamatmp/ollama_env/bin/activate && open-webui serve"
Restart=always
Environment=PYTHONUNBUFFERED=1
StandardOutput=journal
StandardError=journal

[Install]
WantedBy=multi-user.target
Save and exit the file.
Enter the following commands:
systemctl daemon-reload
systemctl start open-webui
systemctl enable open-webui
systemctl status open-webui
Conclusion
You now have an LLM API server, and a web chat for interactive access.
References
https://github.com/ollama/ollama
A related post
You may find the following post to be of interest: Creating a script that analyzes email messages messages using a large language model (LLM), and where appropriate escalates messages to the attention of an operator.
