
Previous step: Chapter 4: Using an SSH terminal program to connect to an Ubuntu Linux Cloud Server
Next step: Chapter 6: Configuring an Ubuntu Linux cloud server to create a Linux Apache MySQL PHP (LAMP) web server, Part 2
Web presence step by step is a series of posts that show you to how to build a web presence.
In this post, we configure a basic Linux Apache MySQL PHP (LAMP) web server and test the IP address for reputation.
A note re MySQL and MariaDB
A few years ago, the company that owned MySQL was purchased by Oracle. The open source code was legally “forked” into a project called MariaDB. When this document refers to “MySQL,” it is actually referring to the MariaDB descendant of the MySQL database engine, made possible by the terms of the GPLv2 open source software license. Notice that to maintain compatibility with existing software, the command to invoke MariaDB on the command line is “mysql.”
Installing a basic web server to test the reputation of the IP address
Sometimes, a cloud service provider will recycle an IP address with a troubled history and give you a server that has a “dirty” IP address that is blacklisted. In order to test the server’s IP address to make sure it is not blacklisted, we have to do a basic web server setup.
In order to do a basic web server setup, we will have to connect to the Ubuntu Linux cloud server with an SSH terminal program.
We will use an SSH terminal server to connect to the cloud server, and create a basic web server to test the IP address. If the IP address is blacklisted, we will simply destroy the cloud server and try again, getting a new IP address which we will test. Once we have a successful test, we can proceed to advanced web server setup in Chapter 6: Configuring an Ubuntu Linux cloud server to create a Linux Apache MySQL PHP (LAMP) web server, Part 2.
Connecting to the Ubuntu Linux cloud server with an SSH terminal program
(Note: this post assumes that you have read the preceding Chapter 4: Using an SSH terminal program to connect to an Ubuntu Linux Cloud Server, or you are familiar with SSH terminal programs.)
Use an SSH terminal program to connect to the IP address of the cloud server that you created in Chapter 3: Buying an Ubuntu Linux cloud server from Digital Ocean:
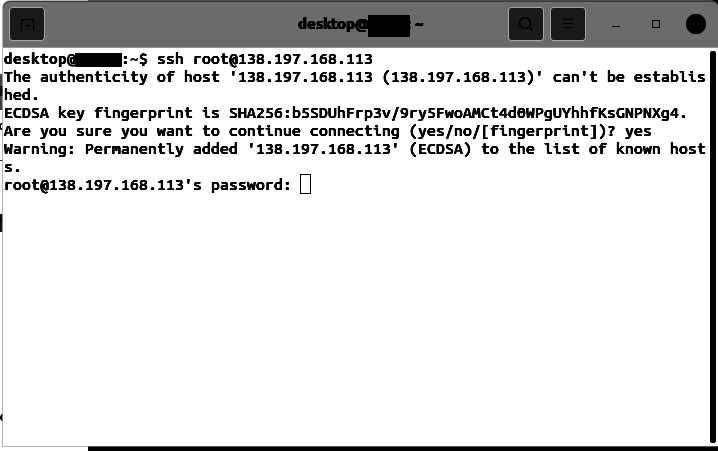
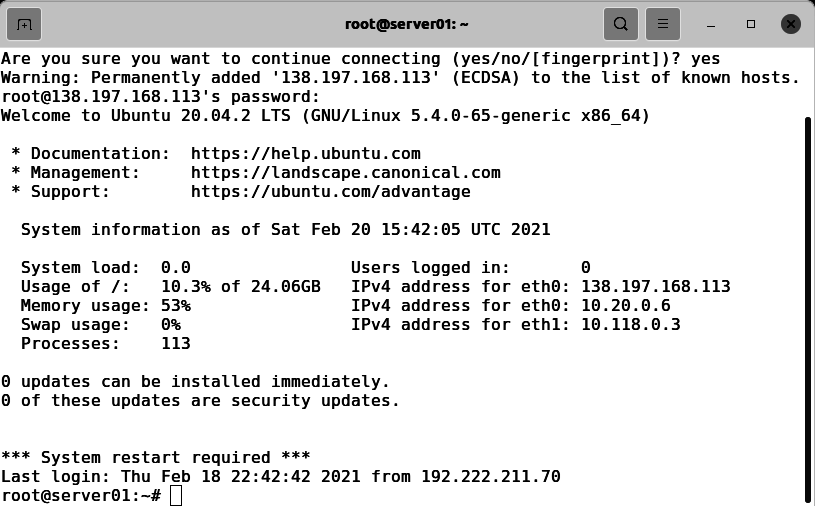
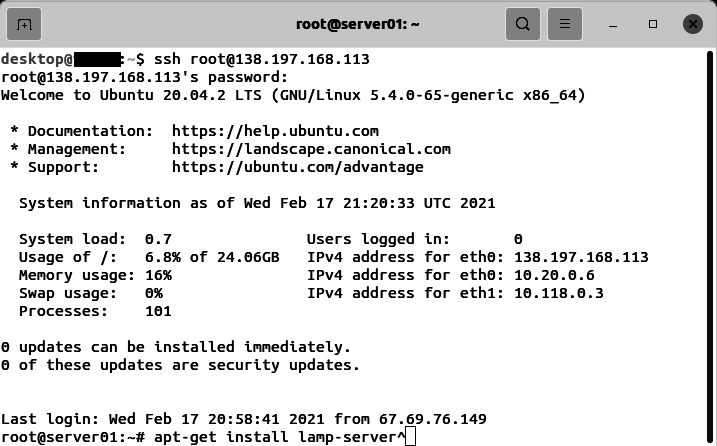
This is what a successful login looks like:
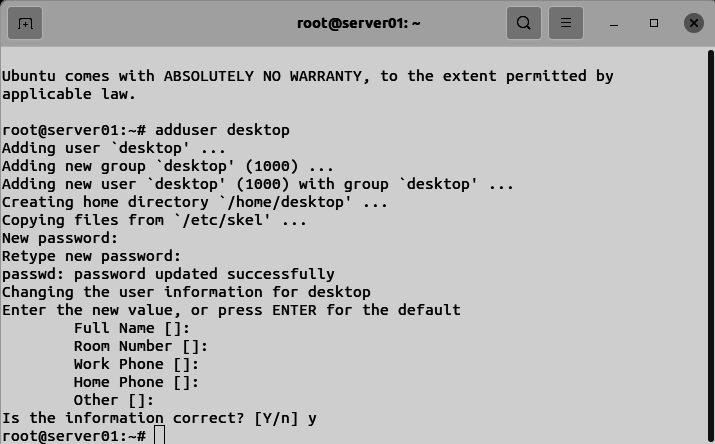
While we are here, we will add a second user to the server. Enter the command:
adduser desktop
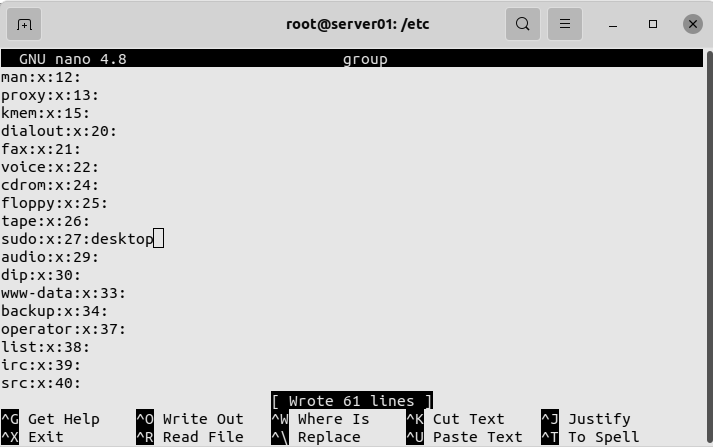
Add the user to the sudo group. Enter the commands:
cd /etc
nano group

go to the line starting with sudo, add the desktop user after the colon:
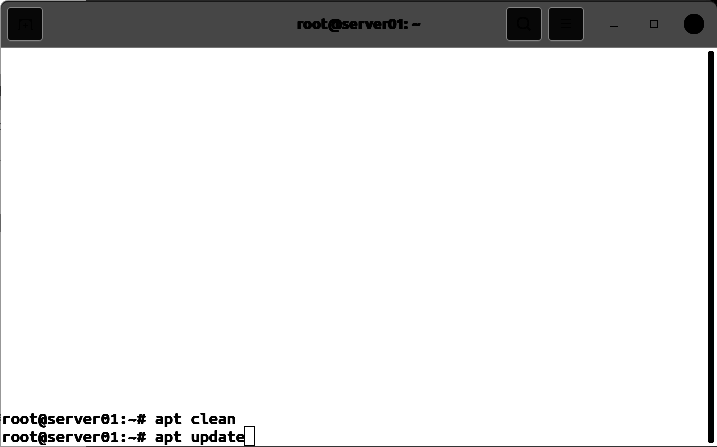
Enter the commands:
apt clean
apt update
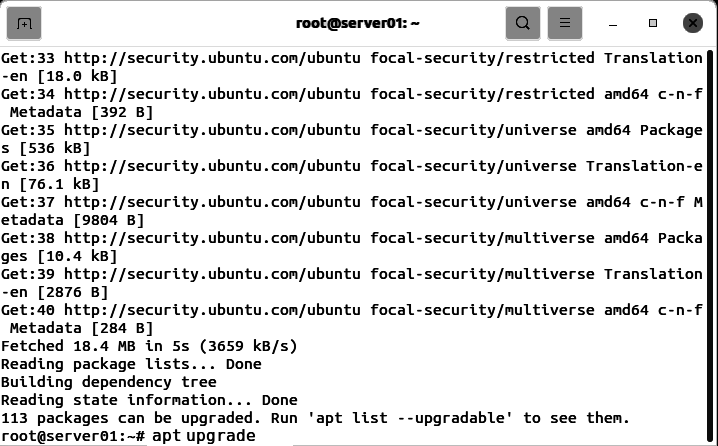
Enter the command:
apt upgrade
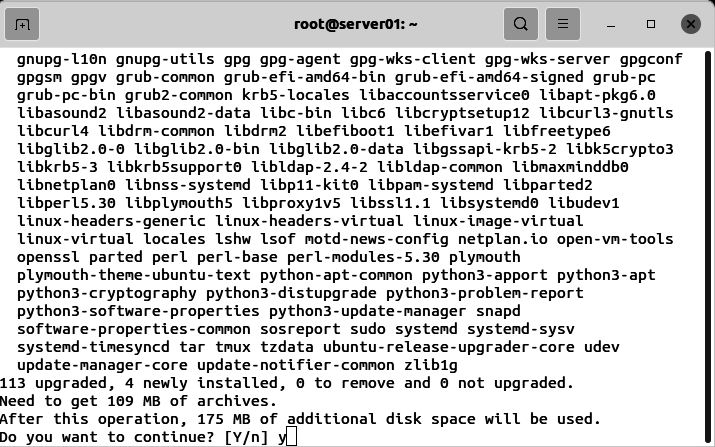
When prompted, enter y for yes, and press Enter:
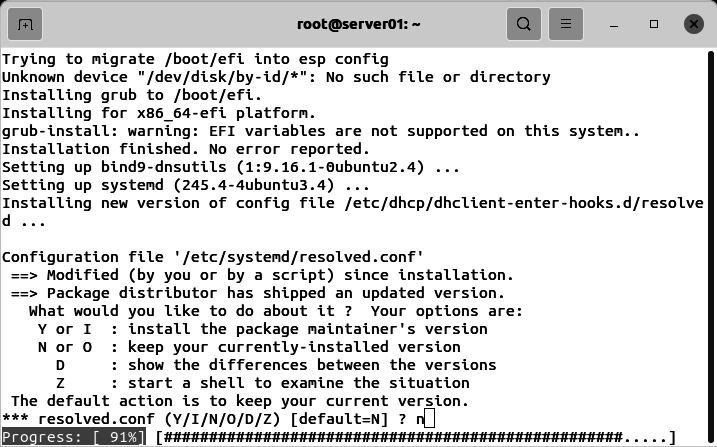
If you see a question like this, accept the default. In this case, n for no and press Enter:
Enter the commands:
ufw allow 80/tcp
ufw allow 443/tcp
apt install net-tools iptraf-ng

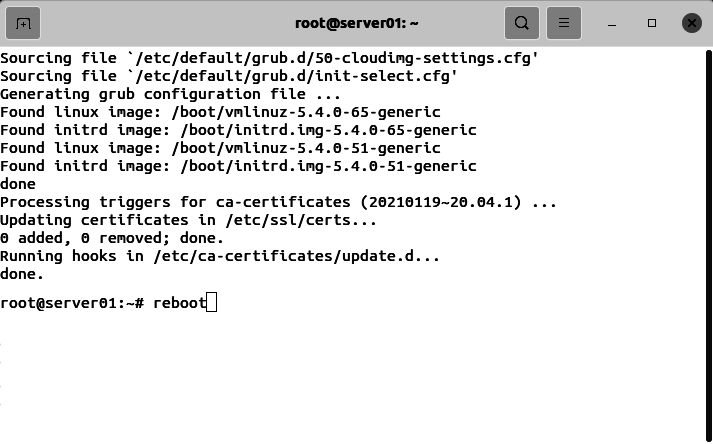
Enter the command:
reboot
Use an SSH terminal program to connect to the Ubuntu Linux cloud server. Enter the command:
apt-get install lamp-server^
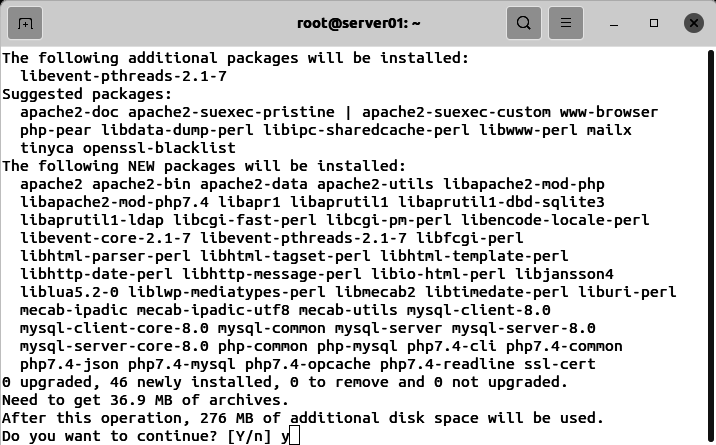
When prompted, enter y for yes, and press Enter:
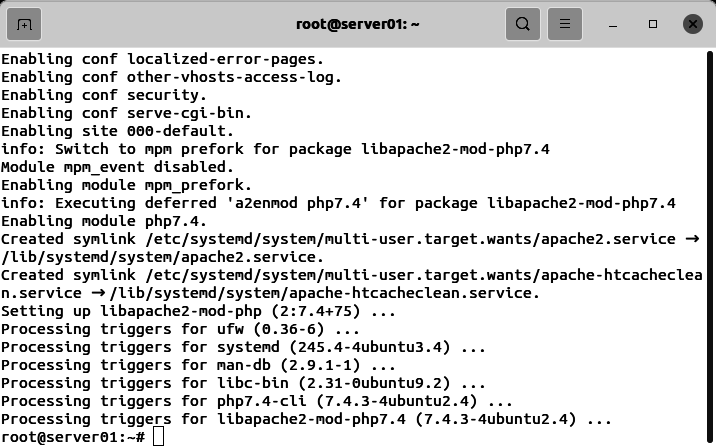
This is what it looks like when the install finishes:
Testing the IP address of the Ubuntu Linux cloud server
Use a web browser to visit the IP address of the Ubuntu Linux cloud server.
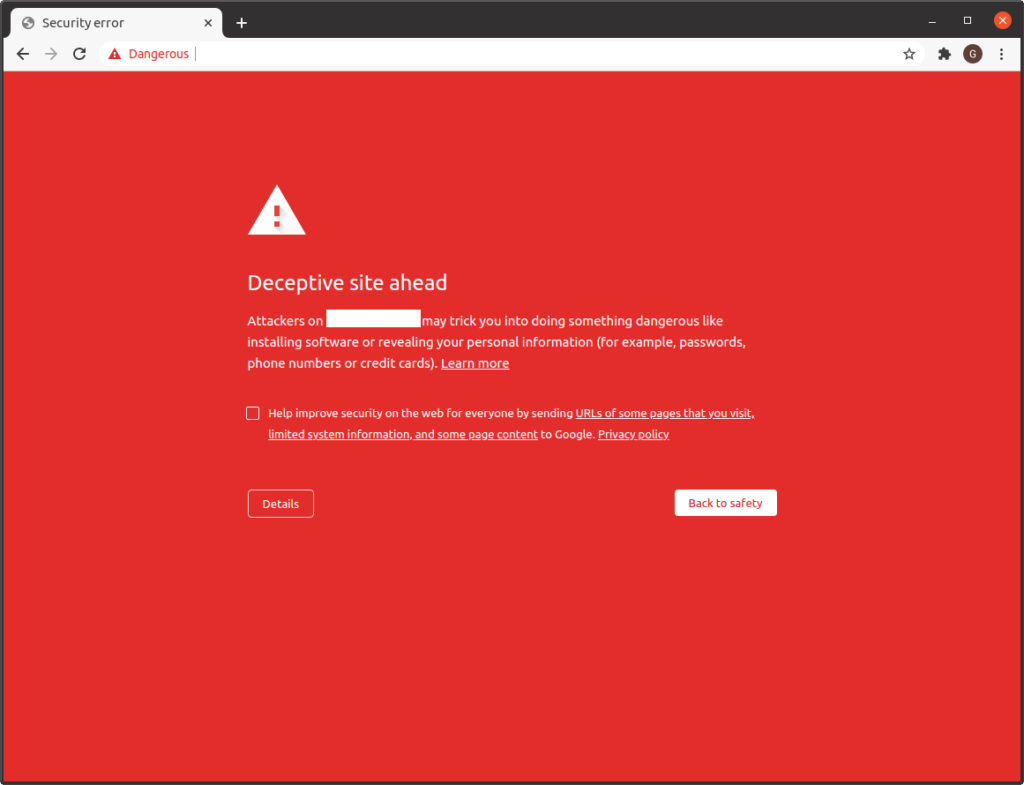
If you get a warning like this, the IP address you have been assigned has a bad reputation. If this happens for you, use the Digital Ocean control panel to destroy the cloud server, then try again.
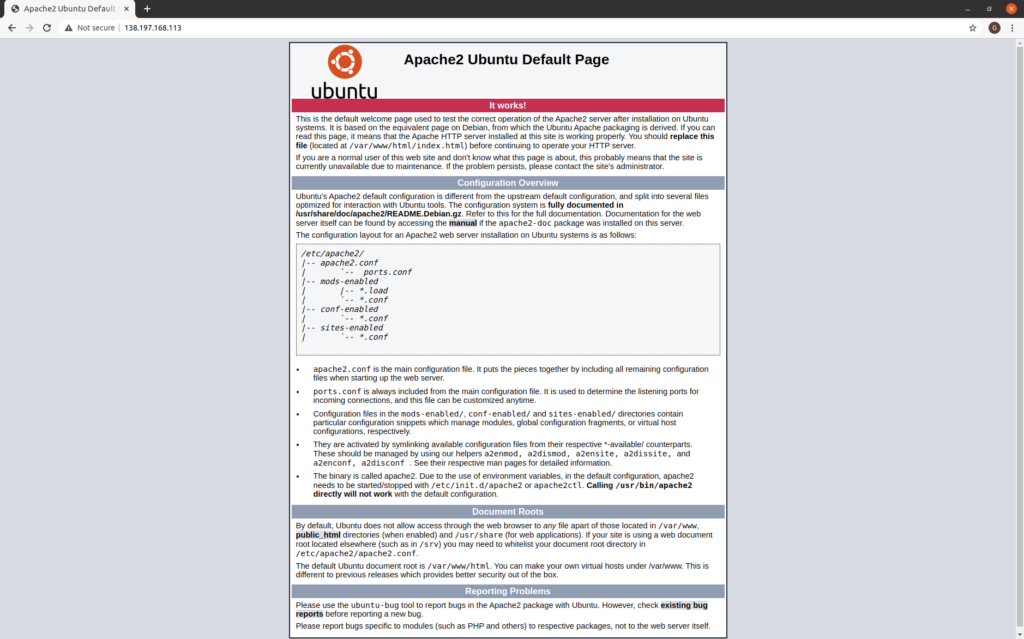
If you get a message like this, it means that the IP address you have been assigned has a good reputation. This means that we can proceed with the rest of the build:
Associating a host name with an IP address in DNS
Visit the Digital Ocean site. Click on the IP address of the cloud server to copy it to the clipboard:

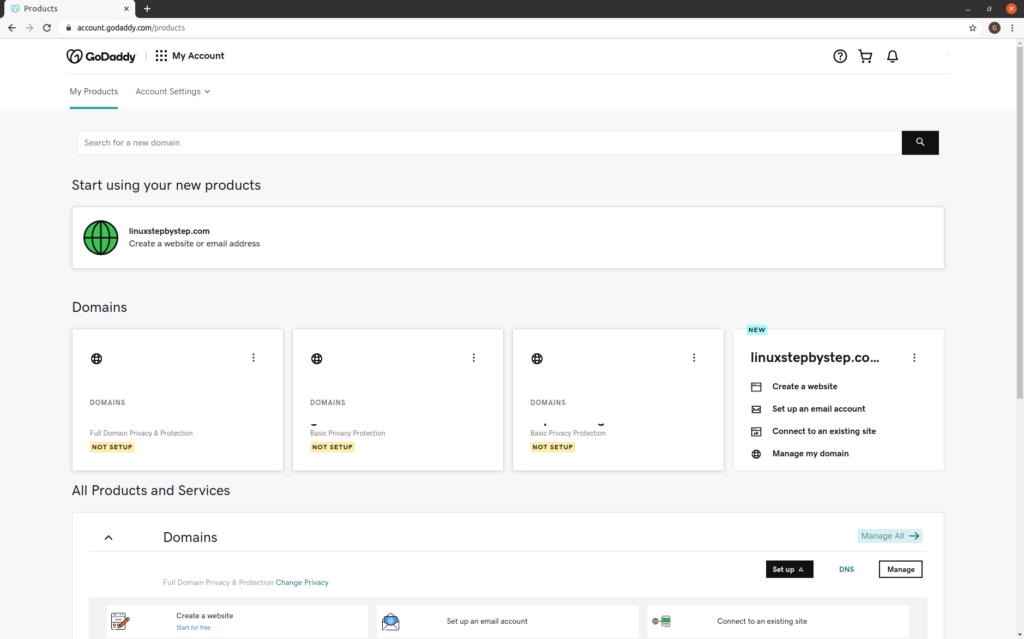
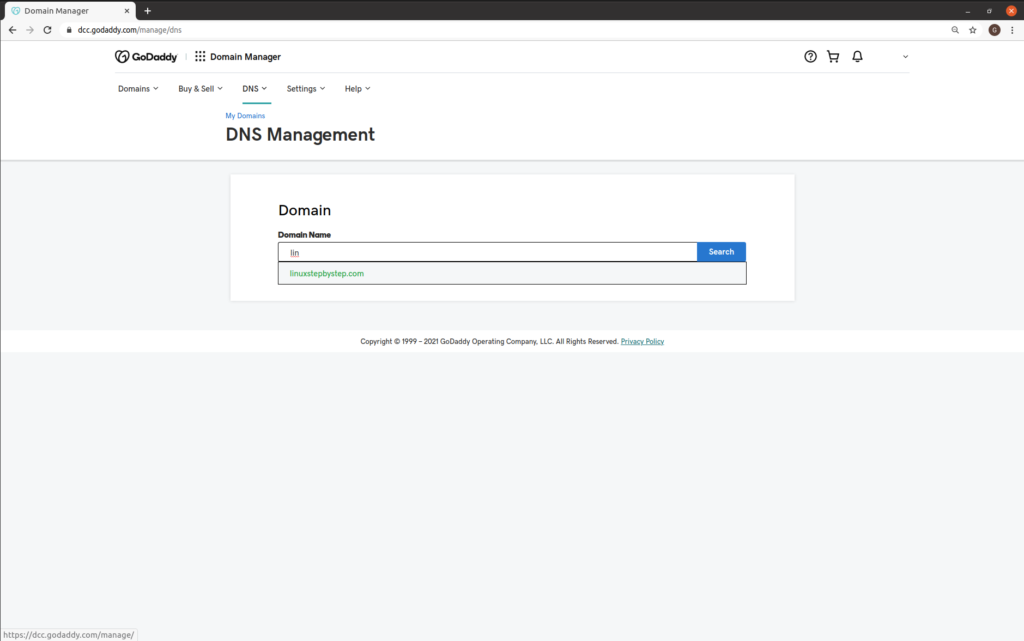
Visit the GoDaddy site. Click on “Manage All”:
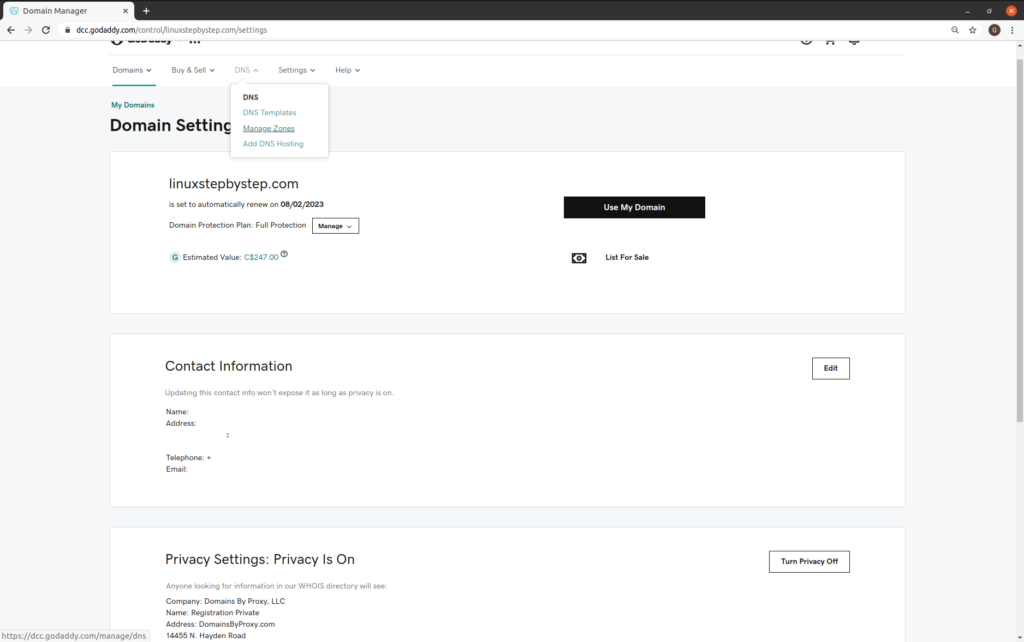
Click on “DNS”:

Click on “Manage Zones”:
search for your domain name:
This is the DNS Zone file for your domain name. It tells the Internet where to point requests for email and your website:
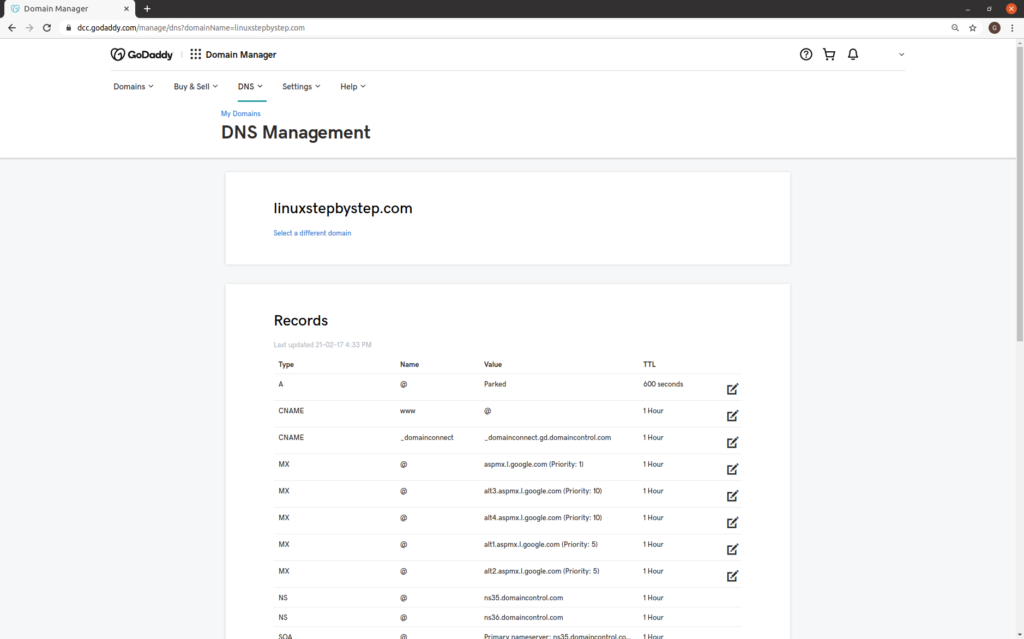
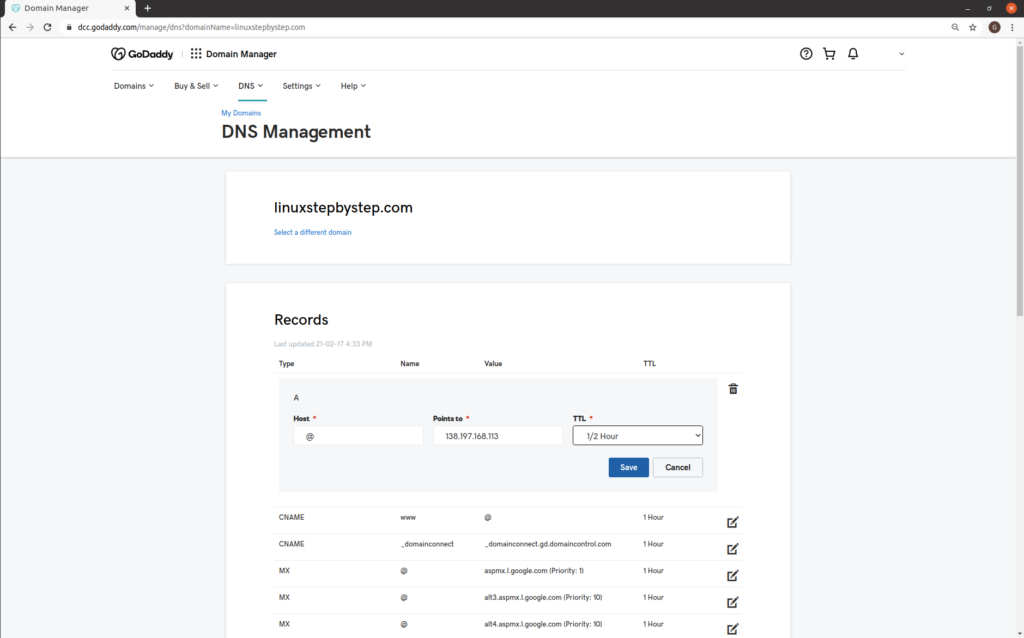
Click on the edit icon for the A record for the Name “@”
Enter the IP address for your Ubuntu Linux cloud server.
Specify a TTL of 1/2 hour.
Click save.
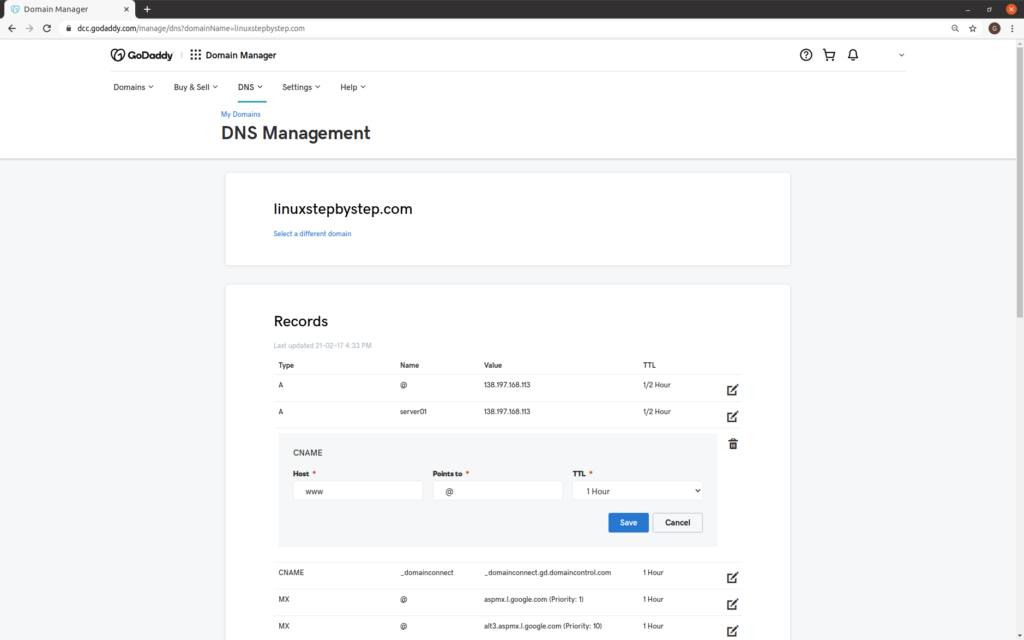
Note the CNAME record:
CNAME www @ 1 Hour
a CNAME, or “canonical name” is a nickname for a host. It means that www.yourdomainname.com will point to the IP address set for yourdomainname.com
GoDaddy populates a DNS zone file with this CNAME record by default. We are discussing this because you need to know this much about DNS zone files and domain names if you want to run a web server.
Previous step: Chapter 4: Using an SSH terminal program to connect to an Ubuntu Linux Cloud Server
Next step: Chapter 6: Configuring an Ubuntu Linux cloud server to create a Linux Apache MySQL PHP (LAMP) web server, Part 2